While there are many email services out there, Gmail is undoubtedly the most popular email service out there. It’s sleek, easy to use and brings some very cool features. However, not everything is good, for instance, there’s no way to forward multiple emails in Gmail, which is shame because there are times when you need to forward multiple mails. Doing it one by one can be a very daunting task. Thankfully, there are ways to forward multiple emails in Gmail:
Forward Multiple Emails through Chrome Extension
You can use a Chrome extension dubbed “Multi Forward for Gmail” to forward multiple emails. Here are the steps to do it:
1. First, install the extension from the Chrome Web Store. Once you have added the extension, just head to Gmail and log in to your account.
2. Then, select multiple emails from your inbox and click on the Multi Forward icon that you will find along with the other options.
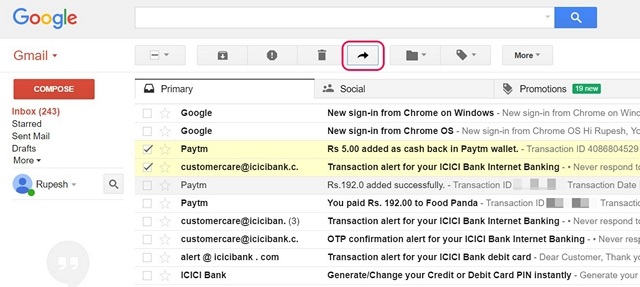
4. The Multi Forward Chrome extension will then ask you authenticate your Google Account. Just click on “Sign In“.
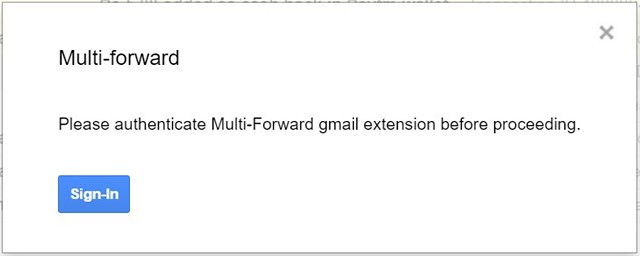
5. You will have to again log into your Google account and click on “Allow” in the permissions page.
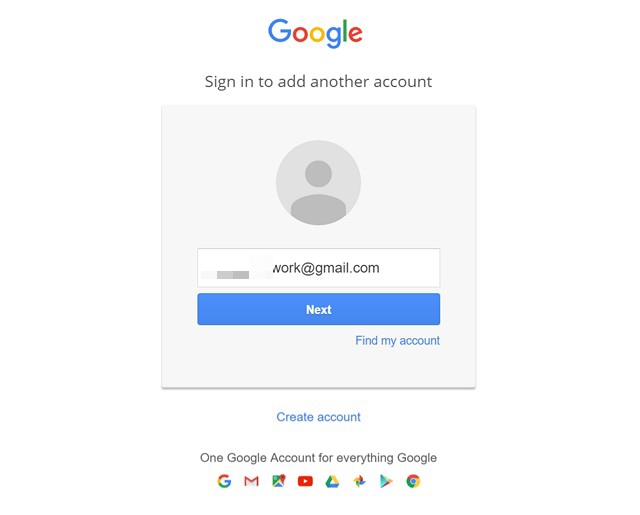
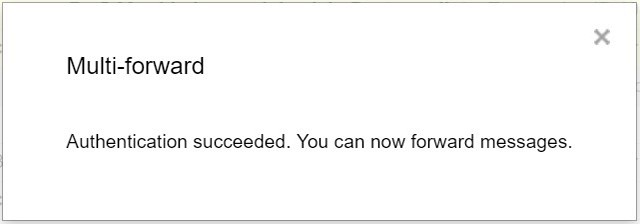
6. Once done, you will see a message saying “Authentication succeeded“.
7. Then, you can select the multiple emails you want to forward and click on the Multi Forward icon. Then, enter the email addresses of recipients. You can add multiple recipients, which is great. Once you have entered the email addresses, click on “Multi Forward”.

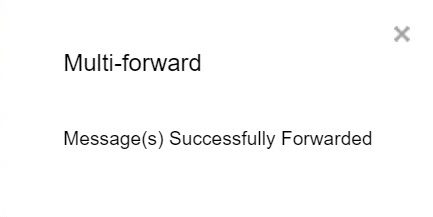
8. The emails will then be forwarded. Simple, right? The process might take a few seconds, so do not close the window.
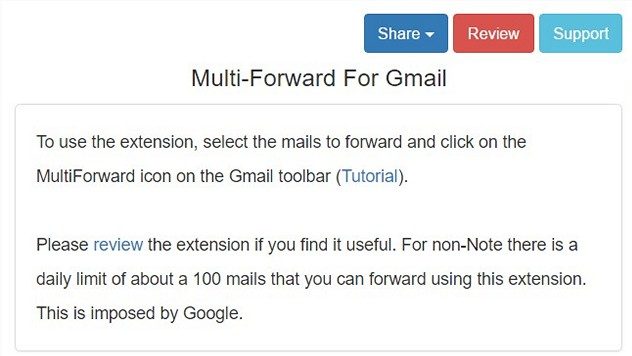
While the Chrome extension certainly gets the job done, it limits forwards to 100 emails a day, which is a restriction by Google. Also, it does not work on Chromebooks and Google Apps accounts.
Automatically Forward Emails via Filters
If you don’t want to give a third party extension access to your Gmail account, there’s a native way in Gmail to automatically forward emails in Gmail using filters. Well, here’s how to do it:
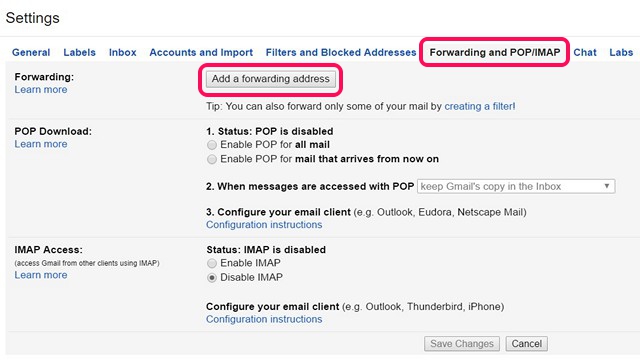
1. First, login to your Gmail account and head to Gmail Settings. In the Settings page, go to the “Fowarding and POP/IMAP” tab. Here, click on “Add forwarding address“.
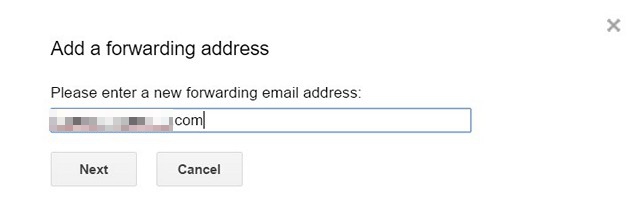
2. Then, enter the email address you want to forward your emails to. A verification code will be sent to the email address you entered.
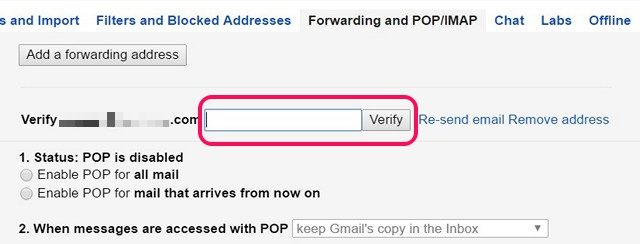
3. You can just enter the verification code and click on “Verify“.
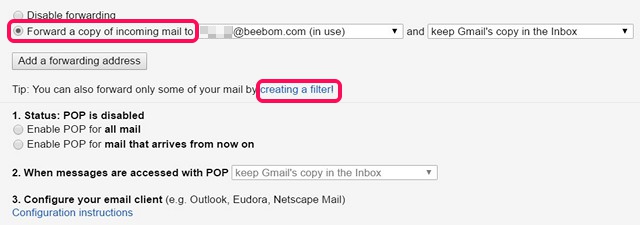
4. Then, just make sure to enable the option “Forward a copy…” and click on the option “creating a filter“.
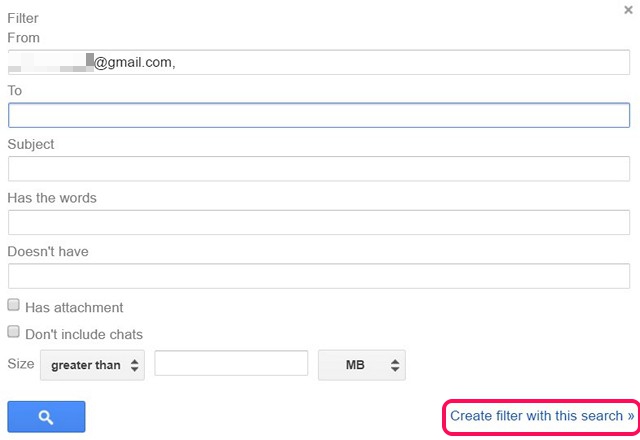
5. Here, you can create a filter for emails that you want to automatically forward to the email address you specified. For instance, if you want to forward emails from a specific address, you can enter that email address in the “From” space. You can also use specific words, attachments and their size to filter them and automatically forward them. Once done, click on “create filter with this search“.
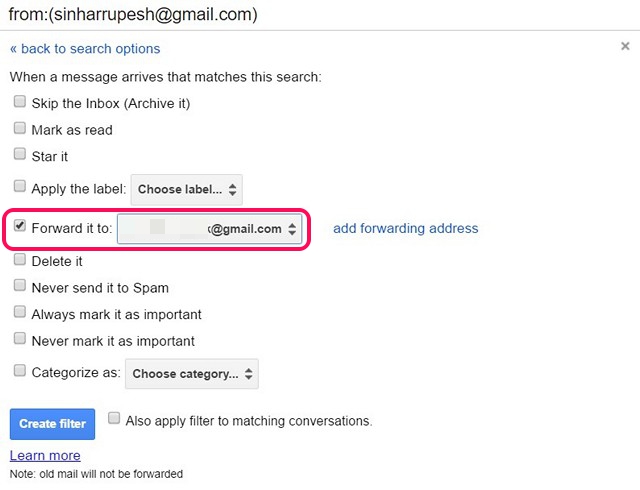
6. In the next page, just enable the “Forward it to” option and select the email address you want to forward emails to. Once done, click on “Create Filter“.
That’s it! You will now see a forwarding notice at the top of your Gmail inbox for 7 days to make sure you are aware of it.
SEE ALSO: How to Block Email Address in Gmail on Web or Android
Forward Multiple Emails in Gmail with these methods
If you want to forward only a few emails, you can use the Multi Forward extension but if you don’t want to go through the hassle of doing things manually, you can set up forwarding and filters to automate things in Gmail. Either ways, both the methods work pretty well, so you can use the one you want. Do let us know if you face any issues in the comments section below.


