#Chromebook - Page 3
130 Stories


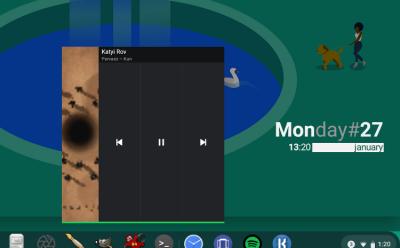
How to Get Desktop Widgets on Chromebook
![~10 Best Drawing Apps for Chromebook You Should Try [Offline]](https://static.beebom.com/wp-content/uploads/2020/01/10-Best-Drawing-Apps-for-Chromebook-You-Should-Try-Offline-1.jpg?w=400&h=248&crop=1&quality=75)

10 Best Chromebooks for Kids You Can Buy
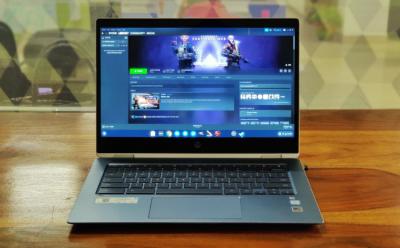
Gaming Chromebooks With Steam Support May be Coming Soon: Report
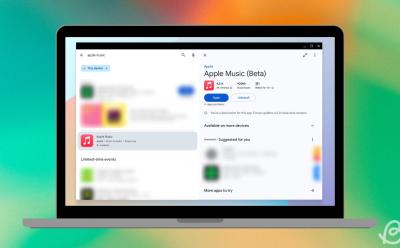
ChromeOS is a Google product, and that creates incompatibility between two distinct ecosystems. If you want to install iTunes on your Chromebook, you can do so via Linux and Wine. It's worth noting that installing iTunes is mostly a waste of your Chromebook's storage because you won't be able to use it much. For example, installing iTunes via Linux is possible, but you still won't be able to connect your iPhone because of the lack of USB drivers. Besides, iTunes has been discontinued, so if you're looking to listen to music, you might want to try Apple Music instead.
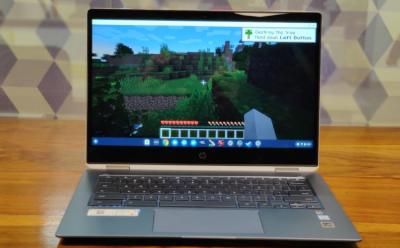
You can install Minecraft on your Chromebook officially via the Google Play Store. Users can also install the Trial version to play Minecraft for free on Chromebooks. Apart from that, you can install Minecraft Java Edition via the Linux system on Chromebooks.
![How to Install Flatpak and Snap App Store in Linux on Chromebook [GUI]](https://static.beebom.com/wp-content/uploads/2020/01/How-to-Install-Flatpak-and-Snap-App-Store-in-Linux-on-Chromebook-GUI.jpg?w=400&h=248&crop=1&quality=75)


Enabling Developer Mode on ChromeOS is pretty easy but it also has its shortcomings. The reason why you may want to enable Developer Mode on a Chromebook is to interact deeply with Crosh, install Android APKs, and for some serious app development. Developer Mode on ChromeOS can be enabled using the esc + Refresh keys and pressing the power button to boot into Recovery and following the on-screen instructions.
Chrome OS Might Get USB Tethering Support for iPhones
How to Install Kodi on Chromebook


Chromebooks to Get Native Support for Linux Apps Soon

Samsung Upgrades 2017 Chromebook Pro with Backlit Keyboard

Google Assistant is Coming to More Chromebooks Soon


This App Lets You Run Windows Apps on Chromebooks

How to Install Linux on Chromebook (Guide)

How to Print From A Chromebook

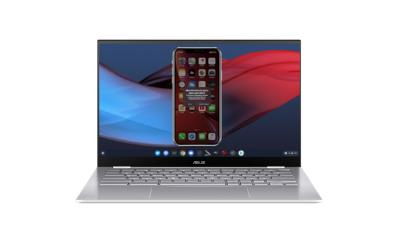
How to Unlock Chromebook With Your Android Device


