- You can install Minecraft on your Chromebook officially via the Google Play Store.
- Users can also install the Trial version to play Minecraft for free on Chromebooks.
- Apart from that, you can install Minecraft Java Edition via the Linux system on Chromebooks.
Minecraft is undoubtedly one of the most popular games in the world. After its release, Minecraft birthed a new kind of gaming genre called sandbox games, where players could create, modify, or destroy their environment. Now, Mojang has officially launched Minecraft for Chromebooks. This means you can install and play Minecraft on your Chromebook officially without much friction. So, let’s check out how to play Minecraft on Chromebooks in 2025.
Minimum Requirements to Run Minecraft on Chromebooks
Mojang has published the requirements to run Minecraft on Chromebooks. Basically, if your Chromebook was launched in 2020 or later, you can play Minecraft on ChromeOS without any issues.
- Operating System: ChromeOS 111 or later
- System Architecture: 64-bit (x86_64, arm64-v8a)
- Processor: AMD A4-9120C, Intel Celeron N4000, Intel 3865U, Intel i3-7130U, Intel m3-8100Y, Mediatek Kompanio 500 (MT8183), Qualcomm SC7180 or better
- Memory: 4 GB RAM or more
- Storage: Minimum of 1 GB game installation, maps, and other files
Play Minecraft Bedrock Edition on Your Chromebook Officially
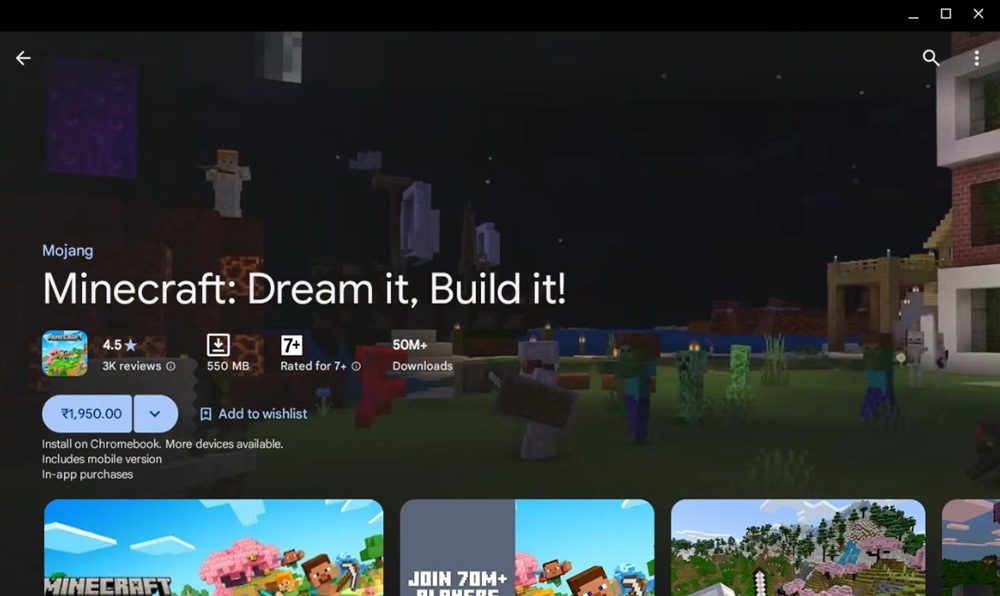
Mojang officially offers Minecraft for Chromebooks via the Google Play Store. You can either install the paid version or the trial version which offers a 90-minute session for free. Here are the steps to follow.
- Open Google Play Store on your Chromebook and search Minecraft (visit) and install it.
- You may have to pay $19.99 or $13 if you already own the Android version.
- If you want to play Minecraft for free on your Chromebook, you can try Minecraft Trial (visit).
- Once installed, you can launch the game and play Minecraft Bedrock Edition on your Chromebook.
Install Minecraft Education Edition on Your Chromebook
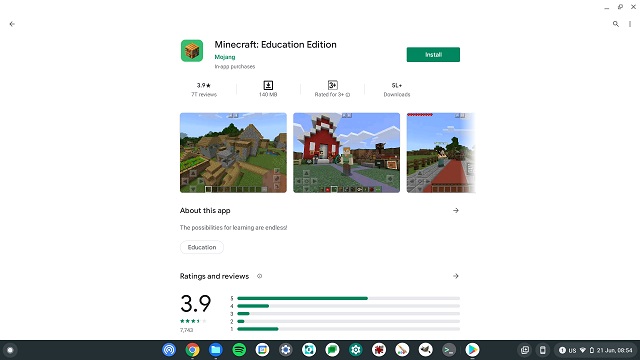
Besides that, you can play Minecraft: Education Edition on your Chromebook for free. It’s also available via the Play Store. However, note that your Chromebook must have support for Android apps.
- Launch the Play Store, search for Minecraft: Education Edition (Free) and install the game.
- Keep in mind that students have 10 free logins. Post that, you will have to buy a subscription using the link here.
- Moreover, you will have to use your school account to log in to Minecraft.

Install Minecraft: Java Edition on Your Chromebook
If you want to play the Java Edition of Minecraft on your Chromebook, you will need Linux support. This will allow you to install Minecraft on any Chromebook, beyond the officially approved list. Here is how to go about it.
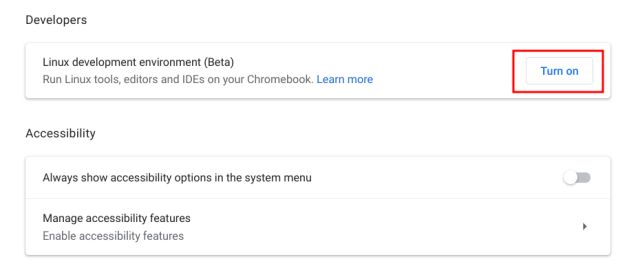
- First of all, make sure you have set up Linux on your Chromebook.
- Once Linux is installed, open the Linux Terminal.
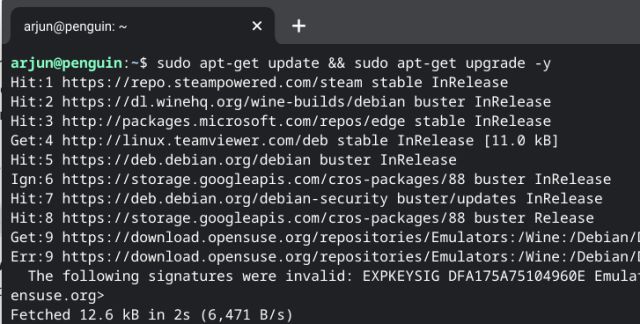
- Now, run the below command. This will update your Linux to the latest build.
sudo apt-get update && sudo apt-get upgrade -y
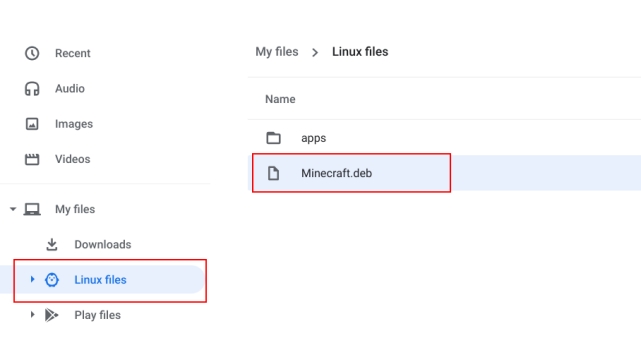
- Next, download the Minecraft.deb file (Debian/Ubuntu) from the official website.
- After that, move the file to the “Linux files” section inside the Files app.
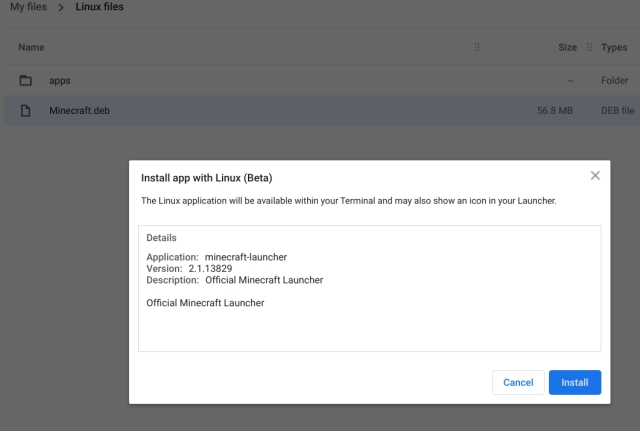
- Now, double-click on the downloaded file and click on the “Install” button.
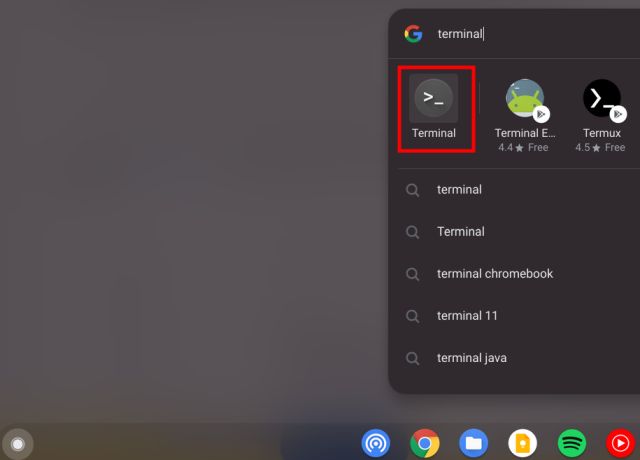
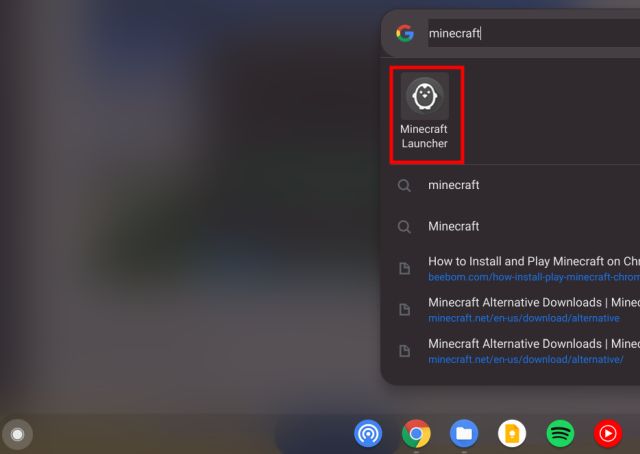
- Now, to play Minecraft, press the Search key, type “Minecraft”, and open “Minecraft Launcher”.
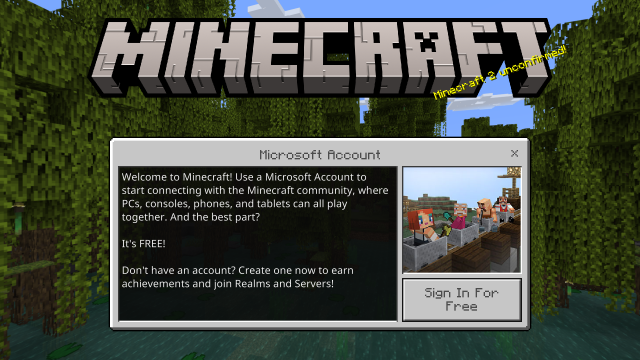
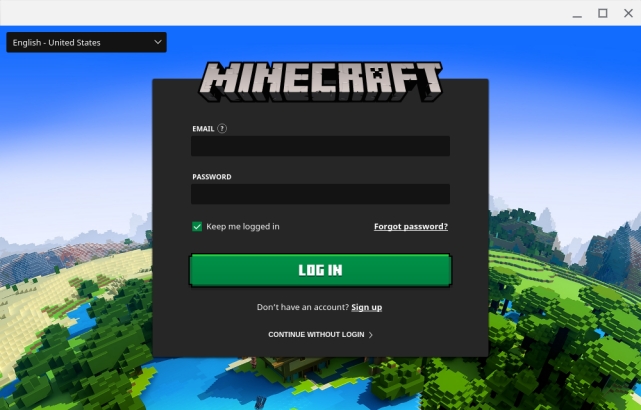
- Next, log in with your Mojang or Microsoft account.
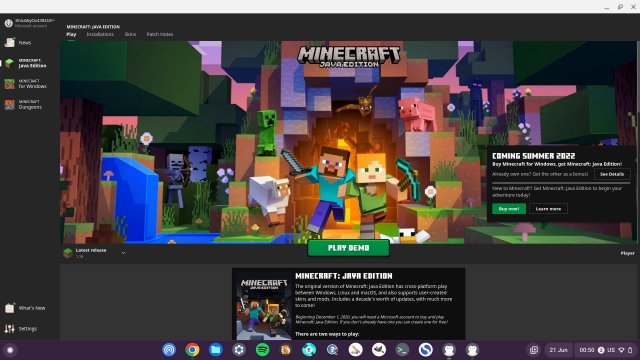
- After that, click on “Play Demo” at the bottom, and it will start downloading the latest release.
- The app will close after the installation and will reopen automatically. If that does not happen, open “Minecraft Launcher” from the App Drawer manually.
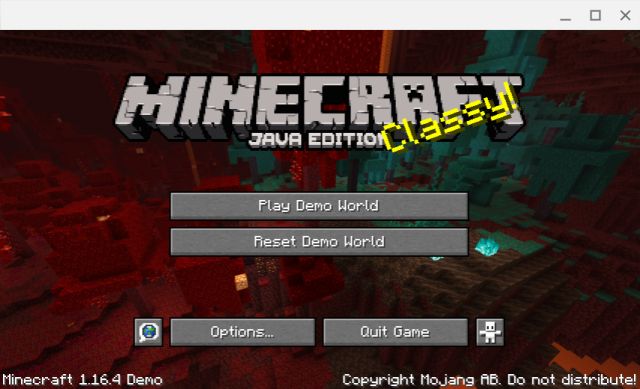
- Finally, Minecraft will open up on your Chromebook and will be ready to play.
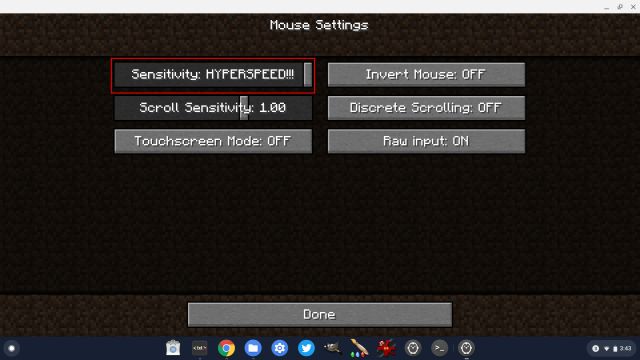
- If you want to adjust mouse sensitivity, navigate to “Options -> Mouse Settings” and change the sensitivity to “Hyperspeed”.
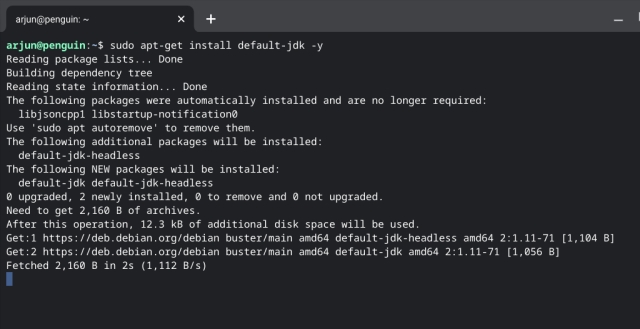
- In case you face any installation errors, open the Terminal app from the App Drawer.
- After that, run the below Linux command to install the Java Development Kit. Finally, install the Minecraft.deb file normally from the Files app.
sudo apt-get install default-jdk -y
Play Classic Minecraft on School-issued Chromebooks
Mojang Studios has released the Classic version of Minecraft on the web, which can be played using any browser. That means you can play Minecraft even on school-issued Chromebooks. However, you will just have 32 blocks to build with, and that too in a very old-school interface.
It will surely make you remember the 2009 Minecraft interface. But the best part is that WASD controls work in the browser and the game is playable without major lag. There is also a multiplayer option where you can invite up to 9 players. With all that said, here is how you can play Minecraft Classic on your Chromebook.
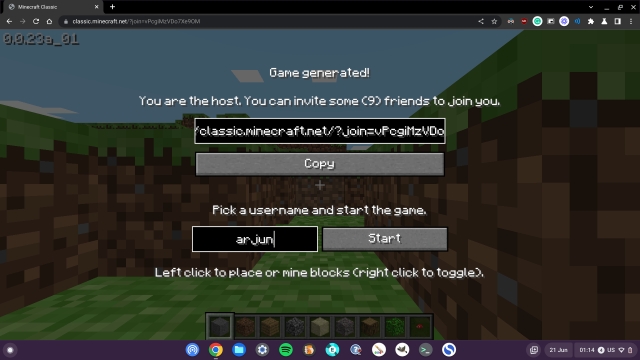
- Open classic.minecraft.net in the Chrome browser and hit Enter.
- As you can see, you can share the link with your friends to start the multiplayer mode, or you can start the game on your own.
So these are the different ways to play Minecraft on a Chromebook. With the official launch, users have multiple options to run Minecraft and you don’t need to jump through hoops. If you face any issues, let us know in the comments below.


 Abubakar Mohammed


