- You can access the Gemini API key for free and without having to set up cloud billing. Google has made the process straightforward.
- Currently, Google is offering Gemini Pro models for both text and text-and-vision models for use via the API.
- You can feed images to Gemini Pro's visual model via the API and check out its multimodal capabilities with coding examples.
After Gemini AI’s announcement, Google has released API access for its Gemini models. Currently, the company is offering API access to Gemini Pro, including text-only and text-and-vision models. It’s an interesting release because so far, Google has not added the visual capability to Bard as it is running the text-only model. With this API key, you can finally test Gemini’s multimodal capability on your computer locally right away. On that note, let’s learn how to access and use the Gemini API in this guide.
Note:
The Google Gemini API key is free for now for both text and vision models. It will be free until general availability early next year. So, you can send up to 60 requests per minute without having to set up Google Cloud billing or incurring any costs.
Set Up Python and Pip on Your Computer
- Head to our guide and install Python along with Pip on your PC or Mac. You need to install Python 3.9 or above version.
- If you have a Linux computer, you can follow our tutorial to install Python and Pip on Ubuntu or other distros.
- You can run the below commands in the Terminal to verify Python and Pip installation on your computer. It should return the version number.
python -V
pip -V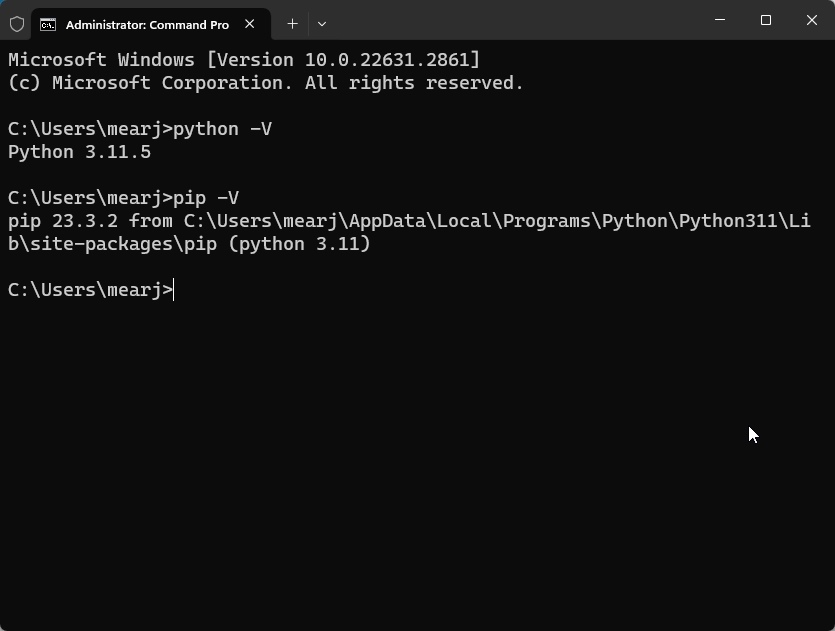
- Once the installation is successful, run the below command to install Google’s Generative AI dependency.
pip install -q -U google-generativeai
How to Get the Gemini Pro API Key
- Next, head over to makersuite.google.com/app/apikey (visit) and sign in with your Google account.
- Under API keys, click the “Create API key in new project” button.

- Copy the API key and keep it private. Do not publish or share the API key publicly.

How to Use the Gemini Pro API Key (Text-only Model)
Similar to OpenAI, Google has made it straightforward to use its Gemini API key for development and testing purposes. I have made the code pretty simple for the general user to test and use it. In this example, I demonstrate how to use the Gemini Pro Text model through the API key.
- First off, launch a code editor of your choice. If you are a beginner, simply install Notepad++ (visit). For advanced users, Visual Studio Code (visit) is a great tool.
- Next, copy the below code and paste it into your code editor.
import google.generativeai as genai

genai.configure(api_key='PASTE YOUR API KEY HERE')

model = genai.GenerativeModel('gemini-pro')

response = model.generate_content("What is the meaning of life?")

print(response.text)- In the code editor, paste your Gemini API key. As you can see, we have defined the ‘gemini-pro’ model, which is a text-only model. Also, we have added a query where you can ask questions.

- Now, save the code and give a name to the file. Make sure to add
.pyat the end. I have named my filegemini.pyand saved it on the Desktop.

- Next, fire up the Terminal and run the below command to move to the Desktop.
cd Desktop- Once you are on the Desktop in the Terminal, simply run the below command to execute the
gemini.pyfile using Python.
python gemini.py
- It will now answer the question you had set in the
gemini.pyfile.

- You can change the question in the code editor, save it, and run the
gemini.pyfile again to get a new response right in the Terminal. That’s how you can use the Google Gemini API key to access the text-only Gemini Pro model.

How to Use the Gemini Pro API Key (Text-and-Vision Model)
In this example, I am going to show how you can interact with the Gemini Pro multimodal model. It’s not live on Google Bard yet, but through the API, you can access it right away. And thankfully, the process is again quite easy and seamless.
- Open a new file in your code editor and paste the below code.
import google.generativeai as genai
import PIL.Image

img = PIL.Image.open('image.jpg')

genai.configure(api_key='PASTE YOUR API KEY HERE')

model = genai.GenerativeModel('gemini-pro-vision')

response = model.generate_content(["what is the total calorie count?", img])

print(response.text)- Make sure to paste your Gemini API key. Here, we are using the
gemini-pro-visionmodel, which is a text-and-vision model.

- Now, save the file on your Desktop and add
.pyat the end of the filename. I have named itgeminiv.pyhere.

- In the third line of the code, as you can see, I point the AI to an
image.jpgfile that is saved on my Desktop with the exact name. Whatever image you want to process, make sure it’s saved in the same location asgeminiv.pyfile, and the filename is the same with the correct extension. You can pass local JPG and PNG files up to 4MB.

- In the sixth line of code, you can ask questions related to the image. Since I am feeding a food-related image, I am asking Gemini Pro to calculate the total calorie count.
- It’s time to run the code in the Terminal. Simply move to the Desktop (in my case), and run the below commands one by one. Make sure to save the file if you have made any changes.
cd Desktop
python geminiv.py
- The visual Gemini Pro model answers the question straight up. You can ask further questions and ask the AI to explain the reasoning.

- You can feed a different image as well, but make sure to match the image filename, change the question in the code, and run the
geminiv.pyfile again to get new responses.
How to Use the Gemini Pro API Key in Chat Format
Thanks to unconv’s (GitHub) concise code, you can chat with the Gemini Pro model in the Terminal window using a Gemini AI API key. This way, you don’t have to change the question in the code and rerun the Python file to get a new output. You can continue the chat in the Terminal window itself.
Best of all, Google has natively implemented chat history so you don’t need to manually append the responses and manage a chat history on your own in an array or a list. With a simple function, Google stores all the conversation history in a chat session. Here is how it works.
- Open your code editor and paste the below code.
import google.generativeai as genai

genai.configure(api_key='PASTE YOUR API KEY HERE')

model = genai.GenerativeModel('gemini-pro')

chat = model.start_chat()

while True:
    message = input("You: ")
    response = chat.send_message(message)

print("Gemini: " + response.text)- As usual, paste your API key similar to the above sections.

- Now, save the file on the Desktop or your preferred location. Make sure to add
.pyat the end. I have named itgeminichat.pyfile.

- Now, launch the Terminal and move to the Desktop. After that, run the
geminichat.pyfile.
cd Desktop
python geminichat.py
- You can now continue the conversation effortlessly, and it will also remember chat history. So this is another great way to use the Google Gemini API key.

So these are a few examples you can try to check out Google Gemini’s capabilities through the API. I like the fact that Google has made its vision model available for enthusiasts and developers to give it a try, comparing it to OpenAI’s DALL-E 3 and ChatGPT. While the Gemini Pro vision model doesn’t beat the GPT-4V model, it’s quite good nonetheless. We are waiting for the Gemini Ultra’s launch which is on par with the GPT-4 model.
Apart from that, the responses from the Gemini Pro API feel a bit different from Google Bard, which is also powered by a finetuned version of Gemini Pro. Bard’s responses seem slightly boring and sanitized, but Gemini Pro’s API responses feel more lively and have character.
We will be tracking all the changes in this space, so stay tuned for more Gemini AI-related content. Meanwhile, go ahead and check out the Google Gemini API by yourself.


