Are you among the power users who always look to leverage the max potential of their MacBook? If yes, then you must know how to split screen on MacBook to use multiple apps at the same time, easing multitasking and boosting your productivity. And while the split screen feature has been on Macs for some time now, accessing it isn’t as easy as using other Mac features. So, in this tutorial, we have explained how to use split screen on MacBook and Mac devices.
Enter Split Screen on MacBook using Full Screen Button
The split screen feature on MacBook works only in a full screen view. This means while you are using two apps using the feature, the dock and the menu bar will remain hidden. While this may seem inconvenient to some, it is actually good, as it keeps distractions at bay. Here’s how you can enter split view on MacBook using the maximize button:
1. Open two apps on your Mac that you want to view side by side. Make sure that you have not maximized or enabled full-screen view on both apps.
2. Now, place the mouse pointer on the “Full Screen” (green circle) at the top left corner of any app.
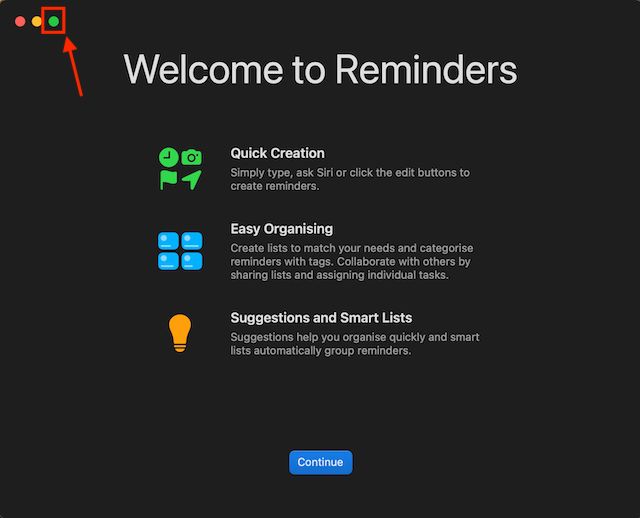
3. A menu will appear with three options. Click the “Tile Window to Left of Screen” or “Tile Window to Right of Screen” tab to move the app to the split screen view on the chosen side.

4. The selected app will move to the chosen side on your Mac or MacBook’s screen.

5. Now, click the other app, and your Mac will enter the Split Screen mode.

Enter Split Screen on MacBook using Mission Control
1. Open two apps on your Mac.
2. Drag it to the top edge of the screen using the mouse pointer to access Mission Control and move it to an empty position. You will now see a “+” icon to create a new desktop.

3. Now, repeat the same process for the other app, but this time, place the other app on the previous one to open both apps in split screen.

Alternatively, you can also use keyboard shortcut keys to access the mission control.
1. Press the “Control” + “Command” + “F” keys simultaneously, and the window will enter full-screen view; now hit the F3 key to bring up the Mission Control and drag the other window and place it on the first one.
2. Now, both windows will open in split view.
How to Work in Split Screen View on Your Mac
Once you enter the split screen mode on your Mac, you can work on both apps side by side. Here’s how you can use the split screen view on MacBook efficiently:
1. Click anywhere on a window to start working on it, and it won’t impact the other.
2. Use the Vertical line in the middle to adjust the window width.

3. Drag a window to either side to switch positions.
4. Use the Mission Control or Trackpad gestures to move to other apps on your desktop. While you are here, also check out how to screen record on Mac.
How to Exit Split Screen on your Mac or MacBook
Now that you know how to enter the split screen on MacBook, knowing how to exit it is also important. You won’t always like to be using the split view. Here’s how you can exit split view on your Mac:
1. Move the pointer to the top edge of the screen to bring up the menu bar.
2. Now, click the “Full Screen” (green) button, and your Mac will exit the Split Screen View.

Note: The other window will enter the Full Screen mode, and you can access it using Mission Control or with a trackpad gesture.
3. Press the “Control + Command + F” keys simultaneously to exit the full-screen mode on the other window. And that’s it. This is how you can use split screen on MacBook to boost your productivity.
Best Third-Party Split Screen Apps for Mac
If you want more functionality and customizability, there are many well-designed third-party split-screen apps available on macOS. So, just in case you aren’t impressed with the built-in split-screen feature or wish to try out more powerful alternatives, check out these couple of notable options.
1. Magnet
Magnet is one of the most feature-packed split screen apps for Mac and MacBook power users. It supports snapping to the left/ right/ top/ bottom halves to let you multitask with many apps more conveniently. With a simple drag to the edge of your Mac display, you can resize a window into half of the screen. This feels more seamless than the official method of clicking and holding on the full-screen button and choosing the option to enable Split View.

What’s more, Magnet also allows you to sort your windows into sixths, which can come in handy on an ultra-wide monitor. Notably, it offers fully customizable keyboard shortcuts to easily use apps in split screen mode on your Mac. As for compatibility, Magnet supports OS X Yosemite or later. Though the $10 price tag makes it slightly expensive, it’s worth the top-notch multitasking features for power users.
Install Magnet: $9.99
2. Moom
Moom is a complete split screen window manager for Mac devices. It offers five preset size/ location options to let you move and zoom windows on your Mac with the desired flexibility. Moreover, you can even define custom controls to manage windows in line with your workflow.

But what has caught my attention is the option to chain custom controls together, making window management on macOS an easy affair, especially when you are working with several apps simultaneously. Moom also lets you save window layouts to recreate a preferred window arrangement. To speed up your tasks, it invokes saved window layouts automatically so that you can start working right away. And with a keyboard mode always at your disposal, you can snap windows faster without using a mouse.
Just like Magnet, Moom (requires macOS 10.9 or later) is also quite pricey at $10. But if you want a complete window manager for your Mac, it will live up to your expectations.
Install: $9.99