
While you can remotely set up and run Raspberry Pi without a monitor or an ethernet cable, you will need a host of wired accessories if you choose to install Android on your Raspberry Pi 4 board. So in this article, we bring you a detailed guide on how to install Android on Raspberry Pi 4 and 3. We have also mentioned a way to run the Android 11 build on Raspberry Pi, but for stability and good performance, we have chosen to stick with Android 10. With that in mind, let’s go ahead and learn how to run Android on Raspberry Pi 4 and RPi 3.
Install Android on Raspberry Pi 4 & 3
This is an all-in-one guide for both beginners and experts to get Android running on Raspberry Pi. I would suggest you closely follow the step-by-step instructions, and you will have Android running on your board in no time.
Basic Requirements
1. You will need a separate monitor to set up and install Android on Raspberry Pi.
2. HDMI cable based on your board. Raspberry Pi 4 will need a micro HDMI to HDMI cable whereas Raspberry Pi 3 will require an HDMI to HDMI cable.
2. A microSD card having free space of 16GB or more.
3. Keyboard and mouse. If you have a wireless combo one, that’s even better.
4. A power adapter depending on your board.
Essential Downloads
1. First of all, download Android for Raspberry Pi. A developer named KonstaKANG is popular for making Android ROMs for Raspberry Pi 3 and 4. The ROMs are based on Lineage OS and available in many versions, including Android 9, 10, and 11. Depending on your board, download any Android version, but I would recommend Android 10 for stability. You can click here to head over to the download page for RPi 4. If you want to download Android for RPi3, click on the Devices menu at the top-right corner.


2. Next, you need to download the GApps package as the Android build does not come with Google apps and services. Open this link and choose “ARM” and “Android 10” as we are installing the Android 10 build and “pico” as it’s the bare minimum required for running Google Play Services.


3. Next, you need to download balenaEtcher (Free) to flash Android onto the SD card.


Install Android on Raspberry Pi
1. Once you have downloaded the Android build, extract it, and you will get an IMG file.


2. Next, open balenaEtcher and select the Android IMG file. In my case, it’s an Android 10 build. After that, choose the SD card and click on “Flash!“.


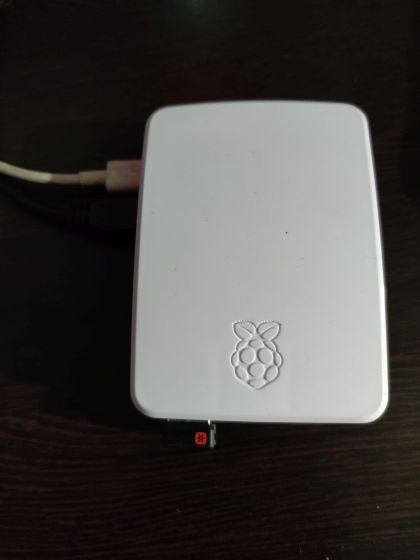
3. Once the flashing process is complete, remove the SD card and insert it into the Raspberry Pi module. In addition, connect a mouse and keyboard. Finally, connect the power source and HDMI cable to the monitor.

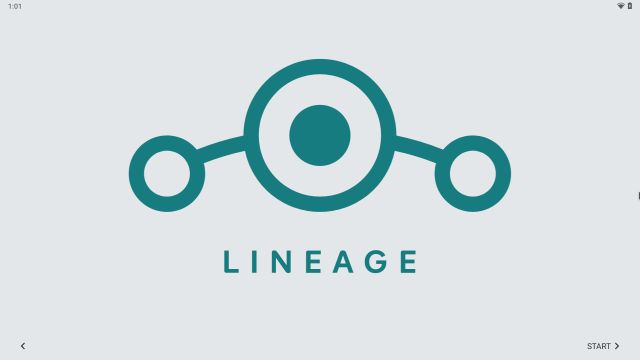
4. Power up the Raspberry Pi, and you will find Lineage OS loading up on the screen within a few seconds.

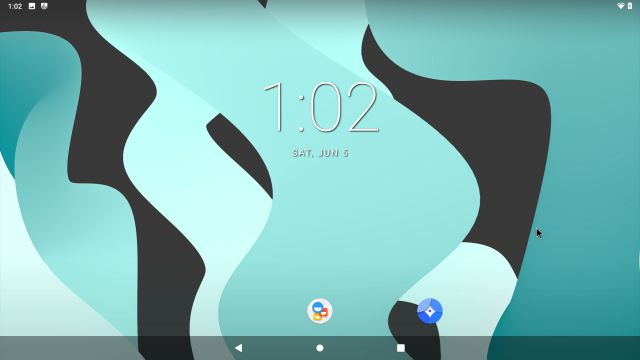
5. After a while, you will be greeted with the usual Android setup process. Follow the on-screen instructions and make sure to connect to a Wi-Fi network.
Install Google Play Store and Services on Android-based Raspberry Pi
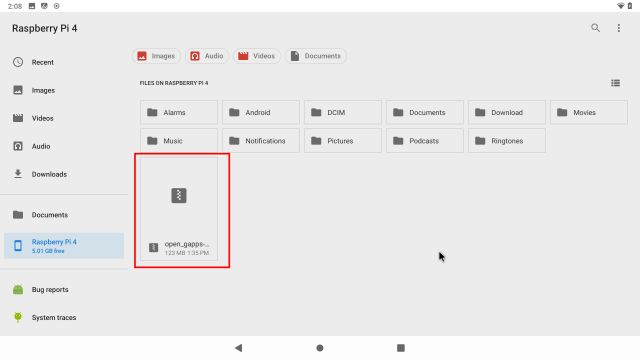
1. Now that you have installed Android on Raspberry Pi, it’s time to add support for Google Play Store and other services. Use a USB drive and move the GApps package to Raspberry Pi from your computer. I tried downloading the GApps package directly on the Raspberry Pi, but that didn’t work. If you can download it on the board itself, it will be easier for you.
2. Once you have moved the GApps package to the board, open Settings and move to “About tablet”. Here, click on “Build Number” 7-8 times continuously to unlock Developer Options. You can search for “build” on the Settings page if “About tablet” does not appear on the settings page.

3. Now, move back to the main Settings menu and navigate to System -> Advanced -> Developer Options.

4. Next, turn on “Advanced Restart“.

5. Now, to restart Android on Raspberry Pi, you need to press and hold the “F5” key on the keyboard. Then, click on “Restart” and choose “Recovery”.
Note: Some keyboard shortcuts for Android on Raspberry Pi are as follows: F1 = Home, F2 = Back, F3 = Multi-tasking, F4 = Menu, F5 = Power, F11 = Volume down, and F12 = Volume up.

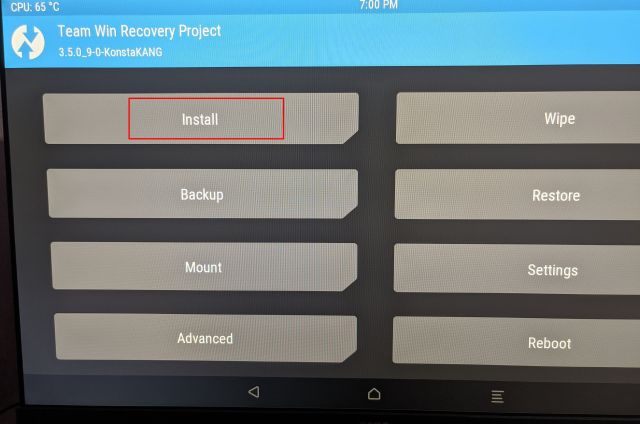
6. You will now boot into the TWRP recovery. If prompted, click on “Swipe to Allow Modifications”. After that, click “Install“.

7. Here, choose the GApps package that we transferred to the Raspberry Pi board.
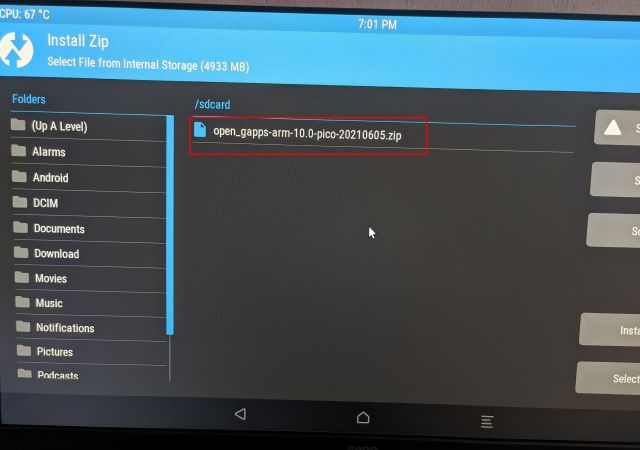

8. Finally, click on “Swipe to confirm Flash“.


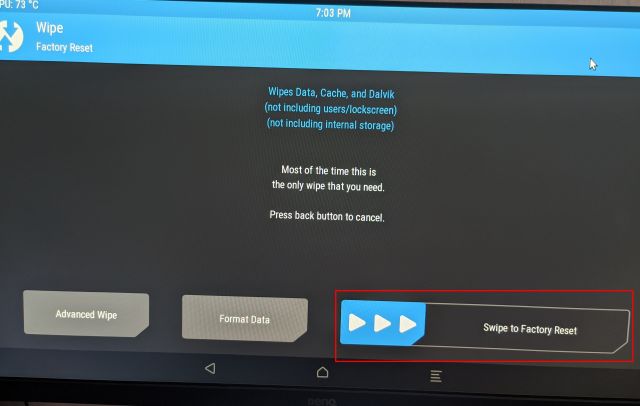
9. Now, click on the TWRP icon on the top-left corner, and it will take you to the main menu. This time, navigate to Wipe -> Swipe to Factory Reset.

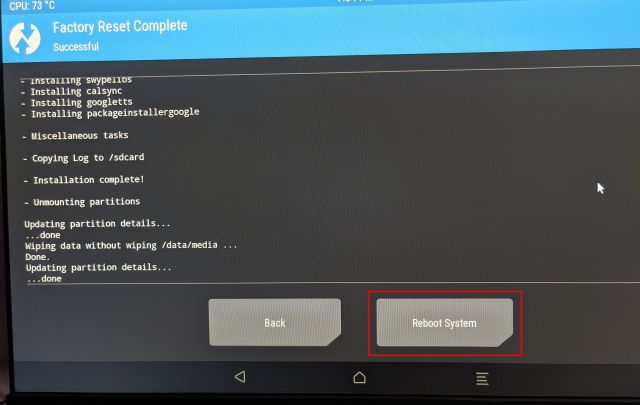
10. Once the reset is complete, click on “Reboot System” on the same page.
11. And voila! You will boot directly into Android on your Raspberry Pi. And this time, you will be prompted with the Google setup. Now, go ahead and follow the on-screen instructions to log into your Google account. I suggest you not to add your primary Google account as Google has been terminating accounts for unknown policy violations of late.

12. So here it is. Google Play Store and all the Google services are now installed on Raspberry Pi and working absolutely fine. In case you are getting a “Device is not Play Protect certified” notification or some apps like Netflix are not available for download, follow the steps below to fix this issue.

Fix “Device is not Play Protect certified” Error on Android-based Raspberry Pi
If you are getting this error on your Android-based Raspberry Pi, there is nothing to worry about. You can manually enroll your Android-based Raspberry Pi on Google’s list of certified devices. To begin with, install the Device ID app by Evozi (Play Store/ APKMirror) on Raspberry Pi. If Play Store is not opening for you, you can sideload the Device ID APK from APKMirror.

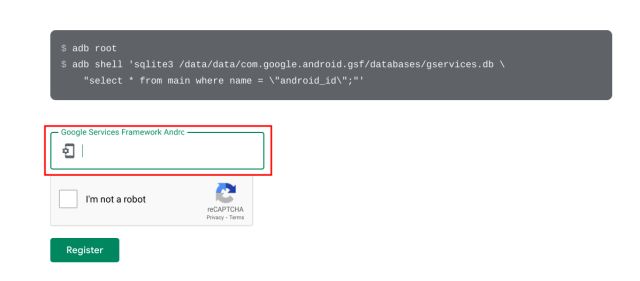
2. Next, open the Device ID app, and it will display the code for Google Service Framework (GSF). Click on it and “copy” the code.

3. Now, open google.com/android/uncertified on your Raspberry Pi and paste the GSF code. After that, click on “Register“. That’s all you need to do to fix the “Device is not Play Protect certified” error. Now, wait for 5-10 minutes, and the notification should be gone. You will be able to access the Google Play Store and all its apps on your Raspberry Pi 4.

4. If it’s still not working, restart your Android-based Raspberry Pi. Press and hold the F5 key and click on Restart -> System. This time, the error should be gone. You can check your device certification from the Play Store -> Profile menu on the top-right corner -> Settings -> About -> Play Protect certification. Here, it should show the “Device is certified”.

Run Android on Raspberry Pi Without Any Restrictions
So that is how you can install and run Android on a Raspberry Pi. In this guide, I have chosen KonstaKANG’s Android build as it offers more stability and has wider support for older Pi boards. In case you want to run the latest Android 11 build, check out recently released OmniROM builds. That said, it’s only compatible with RPi 4, featuring at least 4GB of RAM. But the good part is that it comes preloaded with Google services.
So for more such interesting tutorials on Raspberry Pi, stay tuned with us. And if you want to use your Raspberry Pi to set up Pi-hole, we have a dedicated guide that provides the instructions from scratch. Finally, if you have any questions, comment them down below and let us know. We will try to help you out.

