
The “IRQL NOT LESS OR EQUAL” error in Windows 10/ 11 usually refers to a fault with the system file integrity. Now, your SSD or HDD, which is responsible for storing essential data on your system, can become corrupted. And it can result in this particular BSOD error on your Windows PC. Although, the solution could also be as simple as repairing corrupted Windows OS files using built-in utilities. There is also a chance that your RAM has become faulty and needs to be replaced. With that said, we have included 7 ways to fix the ‘IRQL NOT LESS OR EQUAL’ error in Windows here.
1. Fix Corrupted System Files with DISM & SFC
The most common reason you might see the ‘IRQL NOT LESS OR EQUAL’ error is damaged system files. This can happen out of nowhere, especially if your PC has been shutting down intermittently or forcefully. Thankfully, Windows has in-built tools to alleviate this issue and repair the pre-existing operating system.
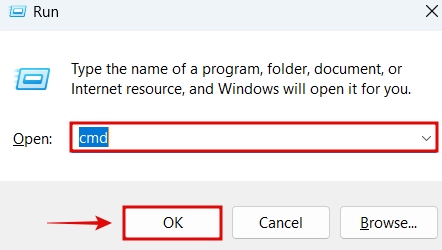
- Use the ‘Windows + R‘ keyboard shortcut to launch the Run tool. Here, type ‘CMD‘ and then click on OK.

- Copy-paste the below commands one by one, and press Enter. You have to do this for each of the three commands. You can read about the DISM command here and what exactly it does. By the way, you need an active internet connection for the DSM command to work.
DISM /Online /Cleanup-Image /CheckHealth

DISM /Online /Cleanup-Image /ScanHealth

DISM /Online /Cleanup-Image /RestoreHealth

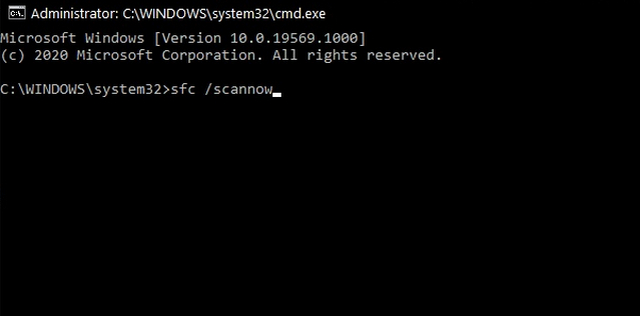
- Now, copy and paste the below command in the CMD window. Press Enter when done. Your system will run the System File Checker utility, which will take some time to verify the integrity of your OS. When the entire process is done, your system should now be stable and no longer encounter the IRQL_NOT_LESS_OR_EQUAL BSOD error.
SFC /scannow
2. Perform a System Restore
One of the easiest ways to fix this BSOD is to simply revert to an earlier system restore point. Even if you haven’t created one, chances are that Windows or some other app did create a system restore point before making changes to your system. So, you can use one of these to restore your system to an earlier state, when the ‘IRQL NOT LESS OR EQUAL’ BSOD was not occurring. Here’s how to perform a System Restore:
- Press the Windows + I keyboard shortcut to launch the Settings app. Then, type System Restore in search, as shown below. Click on the result, which says Create a restore point.


- Now, click on ‘System Restore‘ to launch the utility.


- When the System Restore utility opens, click on ‘Next‘. Then, you will find the various restore points if made.
- Click on a restore point at a specific date and time when the ‘IRQL NOT LESS OR EQUAL’ error was not happening. Then, click on ‘Next‘.


- Lastly, click on ‘Finish‘. After that, Windows will automatically start with the System Restore process.

3. Update Windows & Drivers
Updating your Windows as well as device drivers can potentially prevent the BSOD from happening again. To do this, we can use Windows Update and check for the latest updates which also include any new drivers for your PC’s hardware.
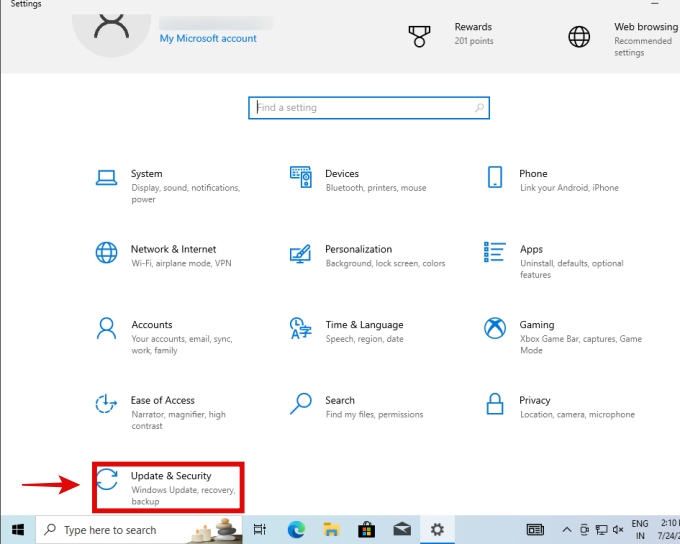
- Press the ‘Windows + I‘ keyboard shortcut to launch settings. Scroll down and click on the ‘Update & Security‘ option.
- Then, click on ‘Check for Updates‘. When new updates are found, Windows will download them automatically. Restart your PC if needed afterward.


- You can also try these third-party tools for driver updation. Personally, we recommend IOBit Driver Booster from the list.
4. Run a Memory Test
One of the major causes of the ‘IRQL NOT LESS OR EQUAL’ error is faulty memory. So, perform this fix to check your memory using the diagnostic tools in Windows itself, as shown below.
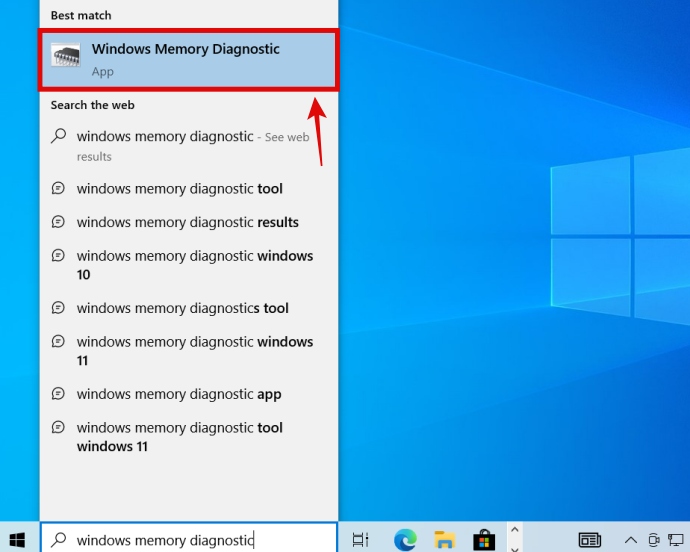
- Press the ‘Windows + S’ keyboard shortcut to launch search, and then type Windows Memory Diagnostic. Click on the suggested result.

- Next, click on the first option ‘Restart now and check for problems‘.

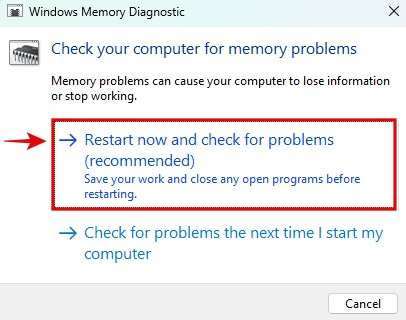
- Your PC will restart and the tool will scan for faults in your memory.
- We also recommend you try one of these 6 tools for stress testing your RAM (memtextx86 is excellent) so you can confirm if the RAM is faulty or healthy.
5. Check Storage Health; Consider Replacing OS Drive
In my experience, the ‘IRQL NOT LESS OR EQUAL’ error has been caused many times by a faulty storage drive. If the SSD on which your Windows 11/10 OS is installed on becomes faulty, the OS won’t be able to function in a stable manner and will result in a BSOD error like this one. Here’s how to check your storage health on Windows 10.
- Press the ‘Windows + R‘ keyboard shortcut to launch the Run tool. Type ‘CMD‘ and then click on OK.
- When you see the CMD window, copy and paste the below command. Then, press enter.
wmic diskdrive get status, model- You will get the status of your drive like shown below. If it says ‘OK‘, then the drive should be fine.


- However, you can check some more stats to verify the drive’s health. These include CrystalDiskInfo and Hard Disk Sentinel. We have mentioned more ways to check your drive’s health in this guide (methods are valid for both SSDs & HDDs).
- If your SSD or HDD seems to not be OK, you should try replacing the drive and performing a reinstall of the operating system. Here is our guide on how to download and clean install Windows 11 on your PC.
6. Clean Install Graphics Drivers
Sometimes, your GPU drivers need to be reinstalled in order to fix the BSOD error we are trying to fix. You should also make sure that all traces of the previous driver and its settings should also be reset.
- Firstly, download your GPU drivers from the manufacturer’s page. We have a dedicated guide here on how to update GPU drivers, and it will guide you through the process to identify your GPU and download drivers. The driver shown below is for an NVIDIA RTX 3070 Ti GPU.


- When you launch the GPU driver installer, wait before proceeding to install it. Keep going through the menus by clicking on ‘Next‘. At a certain point, whether you have an AMD, Intel, or NVIDIA GPU, you will get the option for ‘Clean Install‘.
- This is called ‘Factory Reset‘ for AMD GPUs, and ‘Perform a clean install‘ in the case of Intel GPUs.
- Ensure this option is selected in whichever brand you are reinstalling the GPU drivers for. When done, go ahead and install the drivers.


- Your PC will reboot after the GPU driver re-installation. When done, the IRQL_NOT_LESS_OR_EQUAL error should be solved if caused by your GPU drivers.
7. Disable Third Party Services
After using Windows 10/11 for a long time, several services schedule themselves to start as you boot your PC. They can sometimes cause issues, so we will disable third-party services in this fix and make sure Windows only loads the essential system services. Here’s how you can do that:
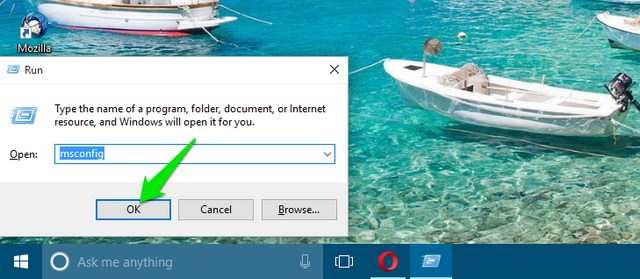
- Press the ‘Windows + R‘ shortcut key to launch the Run tool. Here, type ‘msconfig‘ and then click OK.

- Now, go to the ‘Services‘ tab. Here, click next to the tickbox for ‘Hide all Microsoft services and ensure they are hidden. Now, click on ‘Disable All‘.
- You should keep a few services enabled that are essential. This is different depending on what PC you own, and you need to ensure the relevant services are checked.
- For me, this includes all the services by NVIDIA (my graphics card, in your case it could be Intel or AMD as well), as well as any services from ASUS (my PC’s motherboard manufacturer).
- Click ‘OK’ when done. Restart your system to apply changes.


