Windows 11 is surely feature-rich, but you have to maintain Microsoft’s latest desktop OS every once in a while, so it runs without any fuss. We already have a guide in place on how to speed up Windows 11, but we bring you a dedicated tutorial on how to clear cache in Windows 11. This guide will allow you to free up precious storage on your Windows PC and fix app-related, network, and Microsoft Store issues. So let’s not waste any more time and learn how to clear cache in Windows 11.
Clear Cache in Windows 11 (2022)
In this tutorial, we have included seven ways to clear the cache in Windows 11. Apart from freeing up space, these methods will also help you fix most of the issues (if you’re facing any) on your PC. Expand the table below and move to any section of your liking.
Clear Cache in Windows 11 from Settings
The easiest way to clear cache in Windows 11 is through the Settings app. Microsoft has included an all-in-one menu, where you can find all the cache files and temporary storage files eating up your computer’s space. From here, you can seamlessly clear cache and free up space on your Windows 11 computer. Here is how to do that.
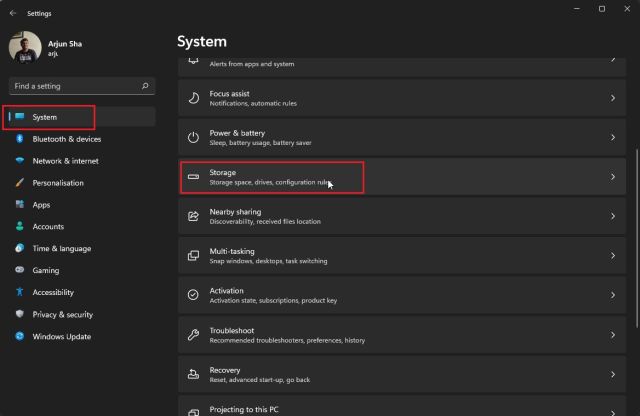
1. First, press the “Win + I” keyboard shortcut on Windows 11 to open the Settings app. Then, navigate to “System -> Storage“.
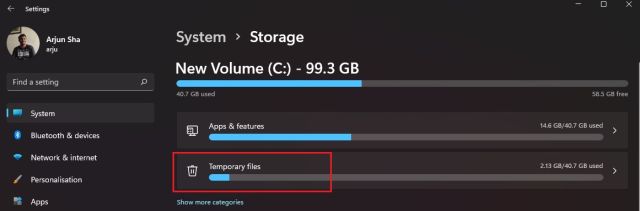
2. Next, click on “Temporary files“.
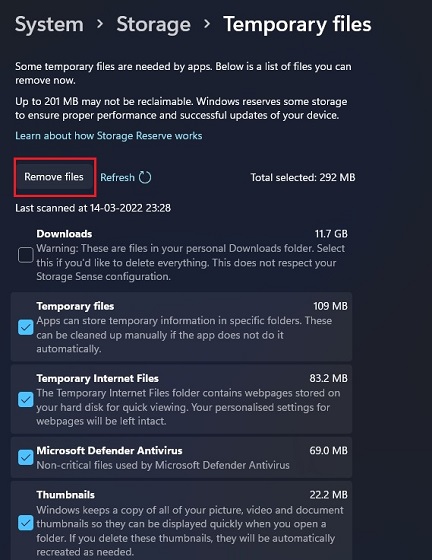
3. Your Windows 11 computer will now take some time to process all the files, and within a minute, it will display all the cached files stored on your computer. Along with that, it will also show the Downloads folder, Windows Update Cleanup, etc. Here, untick “Downloads” and click the “Remove files” button. That’s it. All the cached files, be it related to a program or Windows Update, everything will be deleted.
Note: Keep in mind that after removing Windows Update files, you can’t go back to Windows 10 seamlessly. So to learn more about how to roll back to Windows 10 from Windows 11, follow our linked tutorial.
Clear Cache in Windows 11 using Disk Cleanup
If you are an old-school user like me and want to clear cache in Windows 11 via the legacy Disk Cleanup (or Clean Manager) tool, you can do that effortlessly. The tool is similar to what we get through the Windows 11 Settings app but offers a more familiar interface to veteran Windows users. To learn how to quickly access the Disk Cleanup tool to clear cached items on Windows 11, follow the steps below.
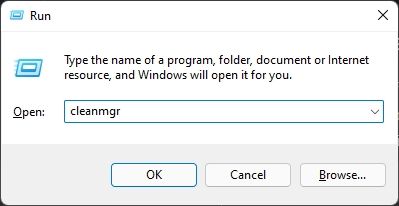
1. Press the “Windows + R” keyboard shortcut to open the Run window. Here, type in cleanmgr and hit Enter.
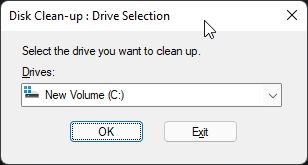
2. You will now see a pop-up window asking you to select a drive. Select “C” drive and click “OK”.
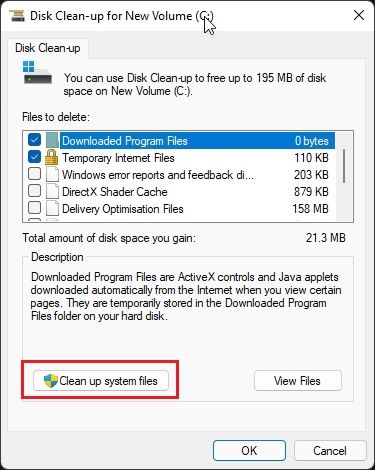
3. Next, click on “Clean up system files” on the next window that appears. You may get the same pop-up as the above step again. Select the “C” drive and hit Enter once again.
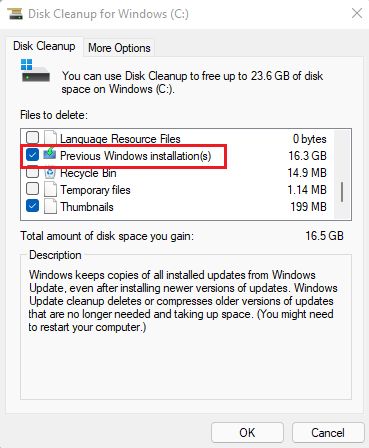
4. Now, scroll down and select all cached items, including temporary files, thumbnails, indexed logs, and more. You can also remove cached files related to Windows Update using this tool on your Windows 11 PC. Finally, click “OK,” and you are done.
Clear App Cache in Windows 11
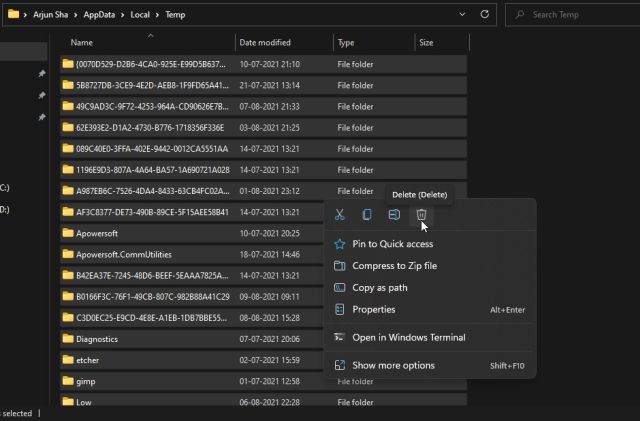
When you use an app on your Windows 11 PC, it stores its cached files in the temporary folder, also known as the Temp folder, on Windows 11 computers. Sometimes, the apps don’t clean up these files, and they take up a significant amount of storage. So to manually clear the app cache in Windows 11, delete the files inside the Temp folder. Here’s how it works:
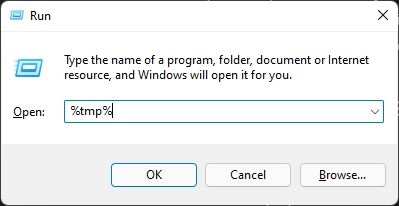
1. Open the Run window using the “Win + R” keyboard shortcut. Now, type %tmp% and press Enter.
2. Under the “Temp” folder, select everything and delete it. You won’t be able to delete some of these files as they might be in use by some active apps, so you can leave them out. This method will clear most of the app cache on your Windows 11 PC.
Flush DNS Cache in Windows 11
Apart from app cache, Windows Update cache, thumbnail cache, etc., there is a DNS cache that Windows 11 stores to quickly retrieve the domain name from the IP address. If a website is not opening for you, you should try clearing the DNS cache to fix network issues on your Windows 11 PC. In this section, we will learn how to flush DNS cache on Windows 11, and it will rebuild the DNS hereafter.
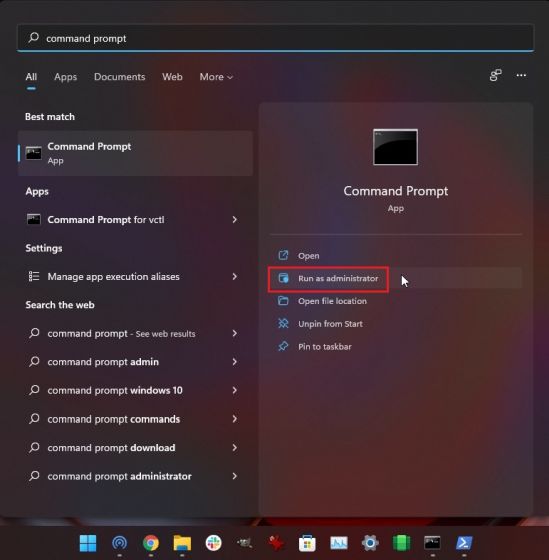
1. Press the Windows key once and type “command prompt”. Now, click on “Run as administrator” in the right pane to open command prompt with Admin privileges.
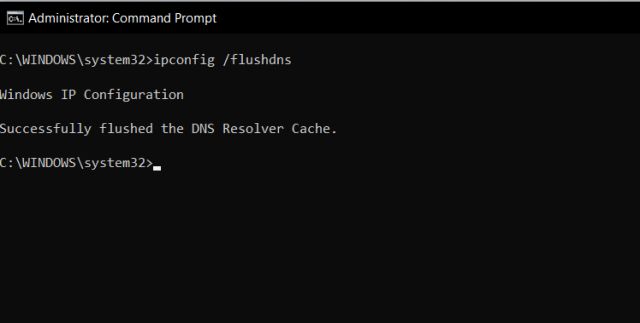
2. Once the Command Prompt window opens up, execute the below command, and it will flush the DNS cache on your Windows 11 computer. Now, restart your PC, and that’s it.
ipconfig /flushdns
Clear Microsoft Store Cache in Windows 11
Microsoft Store also keeps a healthy amount of cache on Windows 11 to quickly show search results and deliver a superior user experience. However, if you are facing issues with Microsoft Store not working or not downloading apps on Windows 11, clear its cache and check if the problem persists. Here is how you can go about it.
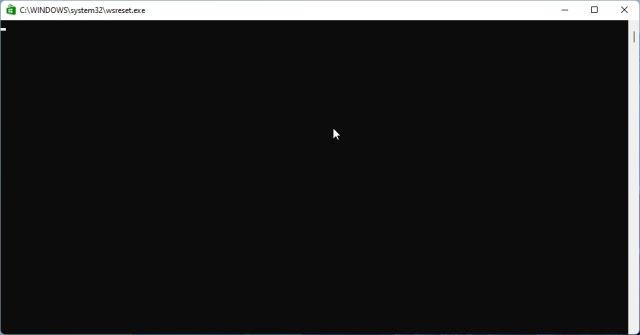
1. Press “Windows + R” to open the Run window. Here, type wsreset and hit Enter.
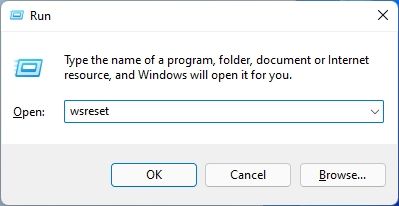
2. This will instantly flush the Microsoft Store cache on Windows 11, and you can try downloading your favorite apps once again.
Automatically Clear Cache on Windows 11 with Storage Sense
If you don’t want to manually delete all the cached and temporary files on Windows 11, you can automate this process with Storage Sense. It will periodically look for redundant files and remove them, freeing up space on your PC without much effort. Here is how you can set it up.
1. Open the Settings app by pressing the “Windows + I” shortcut. Now, move to System -> Storage.
2. Here, enable the toggle for “Storage Sense,” and that’s it. Windows 11 will now take care of clearing the cache in the background.

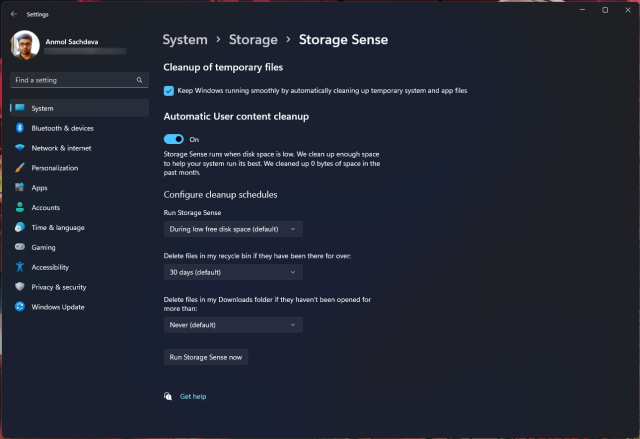
3. The Storage Sense feature offers you customization options to choose how long you wish to keep the cache and temporary files on your PC. Click on “Storage Sense” to configure cleanup schedules on the next settings page. You can choose to run this tool when storage space is low, every day, every week, or month. This tool also lets you enable the option to periodically delete Recycle Bin and Downloads folder contents.
Clear Cache in Windows 11 Using a Third-party Program
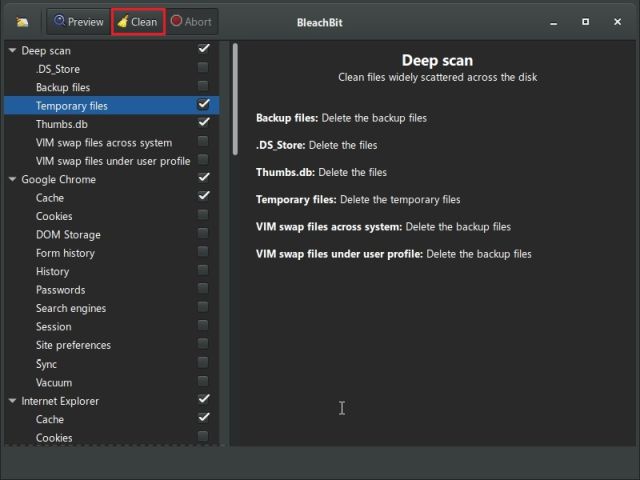
Many users prefer CCleaner to clear cache in Windows 11. However, I would not recommend it as the CCleaner app has become adware at this point. In fact, Microsoft recently added CCleaner to the list of “Potentially Unwanted Application (PUA).” As an alternative, I suggest using BleachBit, which is a free and open-source program. It lets you clear cache from the system and apps like Google Chrome, VLC, and more. Here is how to use it.
1. Go ahead and download BleachBit from its website using the link right here. After that, install the application using the downloaded EXE file.
2. Now, open the app and select the cached items mentioned under various apps. You can also choose to remove temporary files and other kinds of junk items from your Windows 11 PC. After that, click the “Clean” button at the top, and you are done.
Remove Cache Files From Windows 11 and Free Up Space
So these are the seven different methods you can use to clear the cache on Windows 11 PCs. From OS-level cache to apps data, DNS, and Microsoft Store cache, we have included all the ways you can remove temporary cache files from your computer. Anyway, that is all from us. If you want to enable tabs in File Explorer on Windows 11, we have a nifty guide linked here for you. And if you wish to set Windows 11 Taskbar icons to never combine, follow our tutorial. Finally, if you have any questions, let us know in the comments section below.