While Windows 11 is definitely a major upgrade over Windows 10 in terms of performance, you still need to perform some of the basic PC chores to keep it snappy and responsive. We already have a dedicated guide on how to speed up Windows 11, but in this guide, we will only focus on removing Temp files from Windows 11. All these methods are tried and tested, and you will not face any issues related to booting your PC. So without any delay, let’s go ahead and check out the five ways to delete Temp files in Windows 11.
Delete Temp Files in Windows 11 (2022)
We have included five different ways to delete Temp files in Windows 11 in this guide. All the methods are completely safe to use, and you will not face any boot issues by deleting temporary files and folders. We also recommend going through all the sections to have thorough knowledge about cleaning junk files from your PC.
What are Temp Files in Windows 11?
Temp files or temporary files in Windows 11 are essentially data stored by apps and the operating system to provide you with a seamless experience. For example, when you download a file using IDM — a popular download manager for Windows, it stores the file chunks in the Windows Temp folder. And when the download is complete, these file chunks are collated and moved to the Downloads folders.
Similarly, when you have not saved a Word or TXT document, those files are temporarily saved in the Temp folder. The Temp folder is located at C:\Users\YourUserName\AppData\Local\Temp.
In essence, Temp files are not bad per se for the smooth functioning of your system. It includes logs, system cache, and other disposable items. Here’s a brief list of the type of temporary files you will find in the Temp folder on your Windows 11 PC:
- Windows Update Cleanup
- Upgrade Log Files
- Windows ESD Installation Files
- Temporary Files
- Temporary Internet Files
- Device Driver Packages
- Thumbnails
- Downloads
- Microsoft Defender Antivirus
However, after prolonged usage of the PC, temporary files start gathering in huge numbers and data size. A third-party app you no longer use may have kept GBs of data in the Temp folder. Or, a program might not be cleaning up the Windows Temp folder after the job is done. In such cases, it becomes important to remove the Temp files from Windows 11. And in this tutorial, we will show you exactly how to do that.
Best Ways to Delete Temp Files in Windows 11
Method 1: Delete Temp Files From Windows 11 Settings Page
First, let’s look at the easiest method to delete temporary files in Windows 11. You can simply select the different temp files listed above in Windows 11 settings and delete them as per your convenience. Here’s how it works:
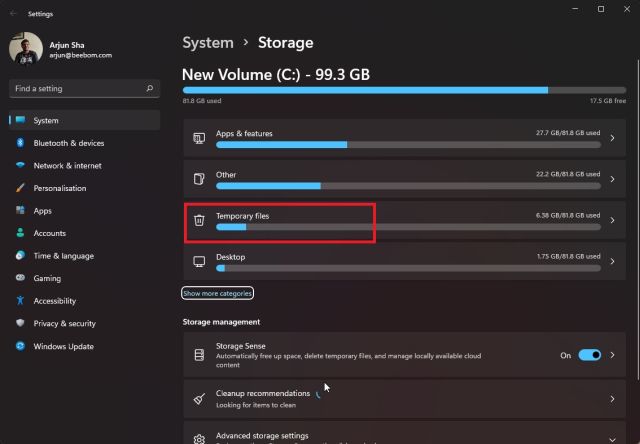
1. Press the Windows key and search for “storage”. Now, open “Storage settings” from the search results.

2. Here, you will find a section called “Temporary files” under the storage breakdown. Click to open it.
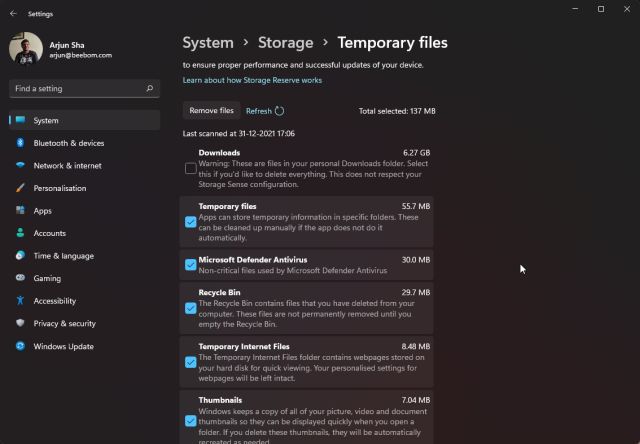
3. Your Windows 11 PC will now scan for all the temporary files and display the removable files. We suggest you keep everything checked except for “Downloads“. In case you don’t wish to roll back to Windows 10 from Windows 11, you can also check the “Windows Update Cleanup” and “Previous Windows Installation” options. This will remove a significant amount of temporary update files.
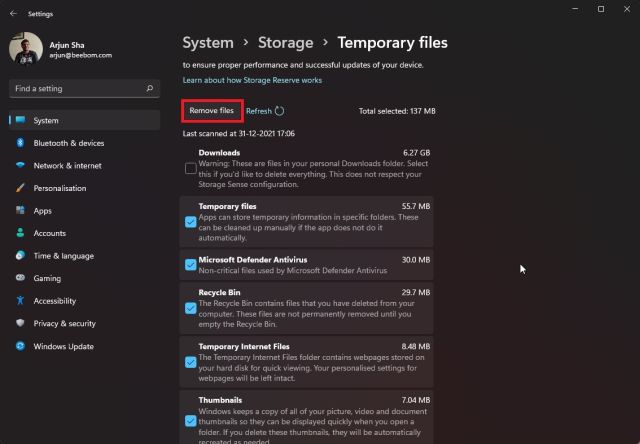
4. Finally, click on “Remove files“, and you are done. Almost all the temporary files will be removed from your Windows 11 PC with this process.
Method 2: Use Disk Cleanup in Windows 11
While Windows 11 has integrated most of the Disk Cleanup options into Windows Settings, in case you are old school and want to remove all the temporary files from Control Panel, here is how to do it.
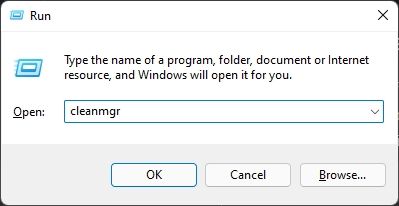
1. Press “Windows + R” to open the Run prompt. Next, type cleanmgr and hit Enter or click OK.
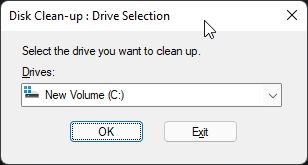
2. After that, select the “C:” drive and click “OK”.
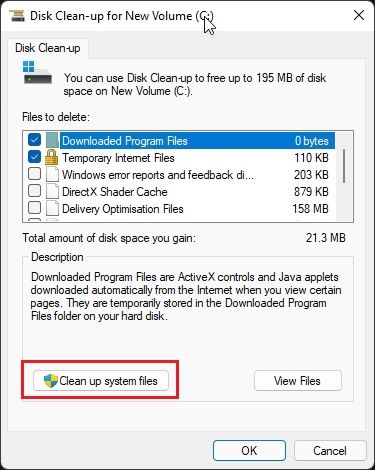
3. In the next window, click on “Clean up system files“. It will scan for all the temporary files. You may have to select the C drive again in the next prompt.
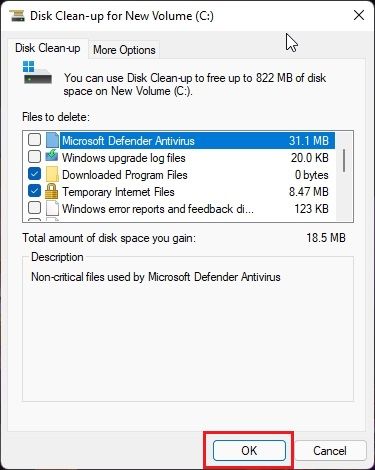
4. Now, scroll down and go through all the temporary files and folders. Enable the checkbox if you want to remove those particular files and click “OK”. Yet again, we suggest keeping everything checked. And that’s how you can remove temp files through Disk Cleanup on your Windows 11 PC.
Method 3: Remove Temp Files in Windows 11 Manually
Now, if you are a veteran Windows user, you might know how to access the Temp folder manually. However, if you are new to Windows 11 and want to learn how to access the Temp files manually, here’s how to do it:
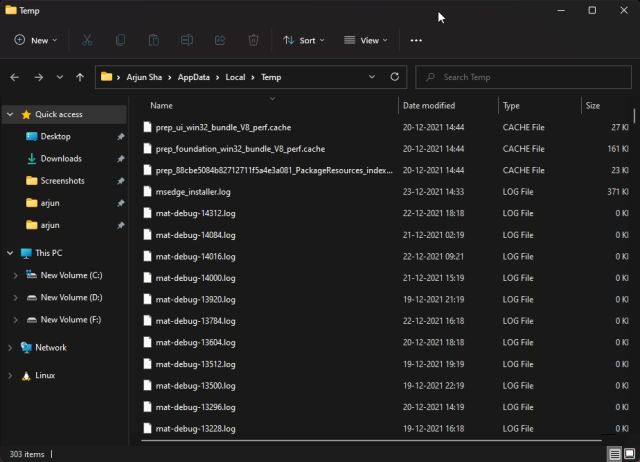
1. First, press the Windows 11 keyboard shortcut “Win + R” to open the Run prompt. Here, type %temp% and hit Enter.
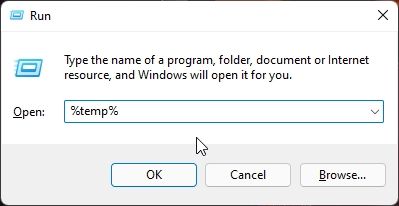
2. It will open the Windows Temp folder location in your user directory.
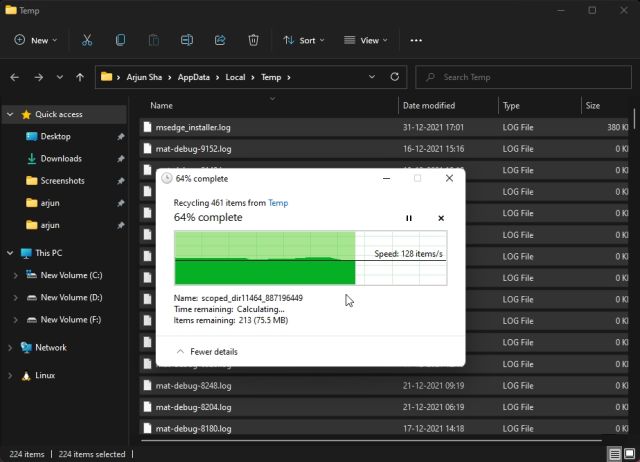
3. Now, select all the files using the Ctrl + A keyboard shortcut and delete them. That’s is another easy way to delete the Temp files in Windows 11. You might encounter some errors saying some files can’t be deleted. You can safely skip such prompts. The error generally occurs when a program is still using that particular temporary file.
Method 4: Delete Temp Files From Windows 11 via Command Prompt
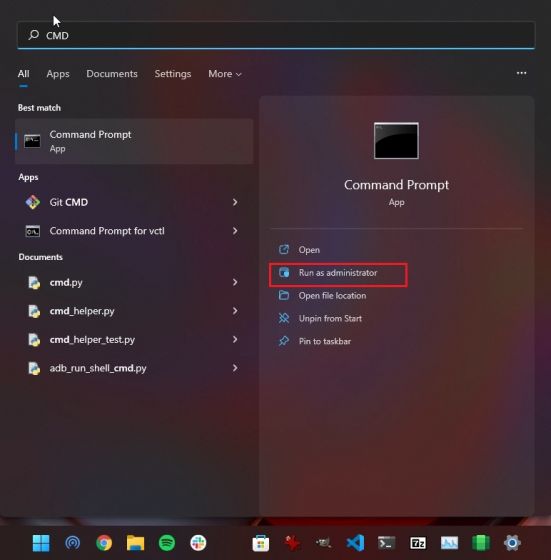
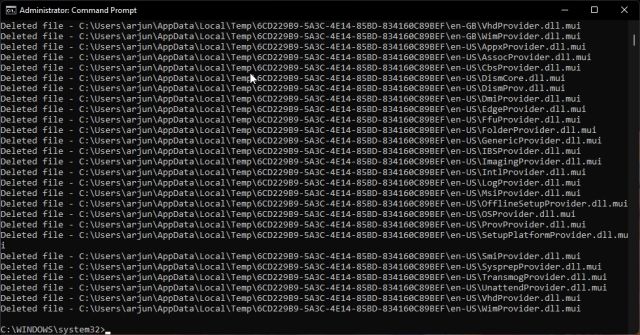
1. Another way to completely delete temp files from Windows 11 is through the Command Prompt. Press the Windows key once and type “cmd” and open a Command Prompt window by clicking on “Run as administrator” in the right pane of the search results. By the way, you can also open Command Prompt inside Windows Terminal (which you greatly customize to your liking).
2. Next, copy the below command and right-click on the CMD window to paste the command.
del /q/f/s %TEMP%\*
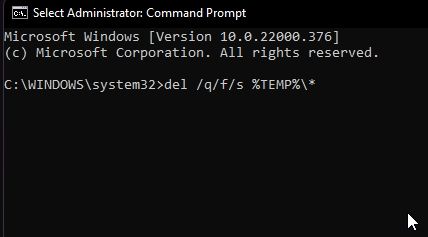
3. Now, simply hit Enter, and the entire heap of Temp files will be deleted from Windows 11.
Method 5: Automatically Delete Windows 11 Temp Files Using Storage Sense
In case you find the whole process tedious, you can enable a setting in Windows 11 that will take care of cleaning up temporary files automatically. Here is how to go about it.
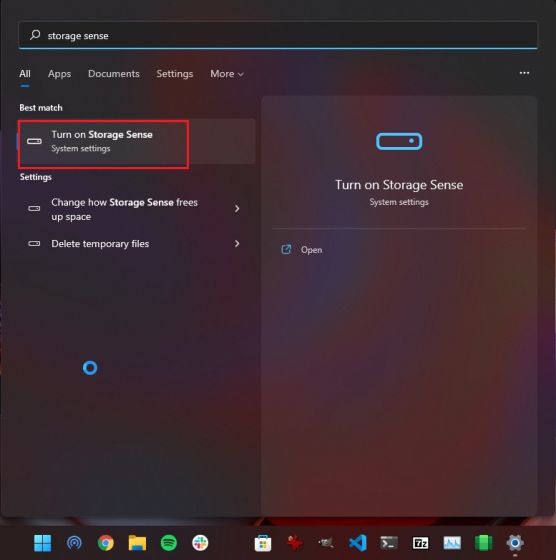
1. Press the Windows key, type “storage sense”, and open the “Turn on Storage Sense” system setting.
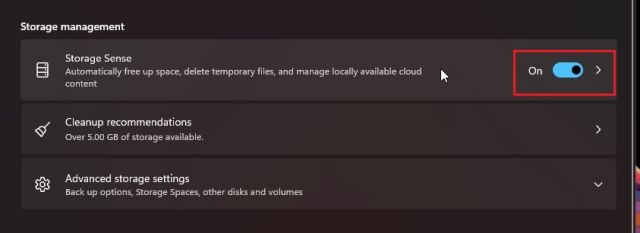
2. Next, enable the toggle for “Storage Sense” in Windows 11 settings.
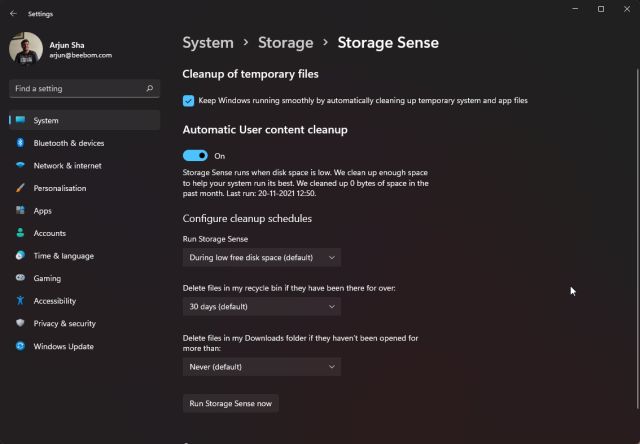
3. After that, open the Storage Sense menu, and here you can configure everything. You can choose when to run Storage Sense, configure it to not delete your downloaded files, and more. This way, you don’t have to follow any of the manual methods listed above.
Frequently Asked Questions (FAQ)
Q. How do I delete junk files in Windows 11?
There are several ways to delete junk files in Windows 11. Open Storage menu in Windows Setting and delete the temporary files. You can also run Disk Cleanup or use Command Prompt to delete all the junk files with just one command. Follow our tutorial for detailed steps.
Q. Where is the temp folder located in Windows 11?
The Temp folder is located at C:\Users\YourUserName\AppData\Local\Temp. You can copy and paste this folder location directly in the File Explorer address bar. Or, you can use the Window 11 keyboard shortcut Win+R to open the Run Window and type %temp% to access this folder.
Q. How do I delete Microsoft temp files in Windows 11?
Open Windows Settings by pressing the “Windows +I” shortcut and then move to System -> Storage -> Temporary files. Here, you can delete Microsoft temp files in Windows 11.
Q. Is it safe to delete temp files in Windows 11?
Yes, it’s safe to delete temp files in Windows 11. If a file is needed by the operating system, it will automatically prevent you from deleting it. Plus, while deleting temp files, there are a few things you should keep in mind. For example, if you want to move back to an older version of Windows 11, don’t delete “Windows Update Cleanup” or “Previous Windows Installation”. You should deselect the Downloads folder while removing junk files.
Q. How do I perform disk cleanup in Windows 11?
Press “Windows + R” to open the Run prompt. Here, type cleanmgr and hit Enter. Select the C drive, and you can perform disk cleanup in Windows 11 with ease.
Get Rid of Temporary Files From Windows 11
So these are the five best ways you can safely delete Temp files from Windows 11. In this tutorial, as you may notice, I have not included any third-party tools to clean up your PC. Increasingly, third-party clean-up tools are now laden with adware and malware, so it’s better to use the built-in system tools. Also, Windows 11 does have all the features to keep your PC snappy and responsive. Anyway, that is all from us. If you want to learn how to free up disk space in Windows 11, follow our linked guide. And if you have any questions, feel free to let us know in the comments section below.