
Microsoft has done a great job with Windows in recent years, however, system failures and Blue Screen of Death (BSOD) still exist. In this article, we are covering one such BSOD error “PAGE FAULT IN NONPAGED AREA.” This error occurs due to memory issues in Windows or bad hardware like faulty memory modules. We have included multiple ways to fix the PAGE FAULT IN NONPAGED AREA BSOD error on Windows 10 and 11.
1. Update Device Drivers
Bad device drivers or faulty drivers are one of the primary reasons for BSOD errors such as Page Fault in Nonpaged Area. So, we always recommend updating drivers on your Windows. Though we have a dedicated guide on the subject, here are the steps in brief:
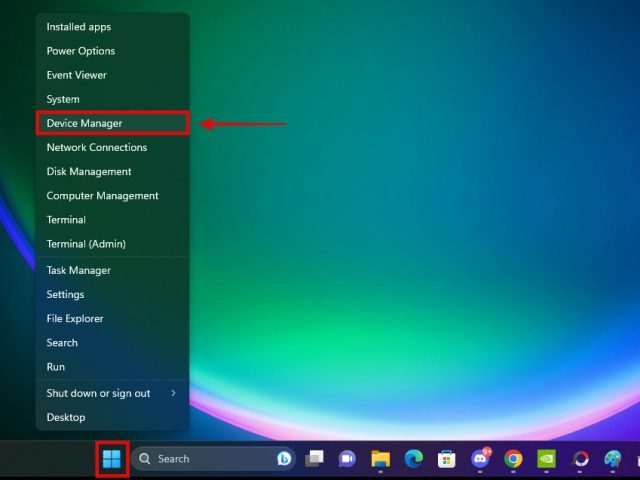
- Right-click on the Start button and select Device Manager from the Quick Links menu.

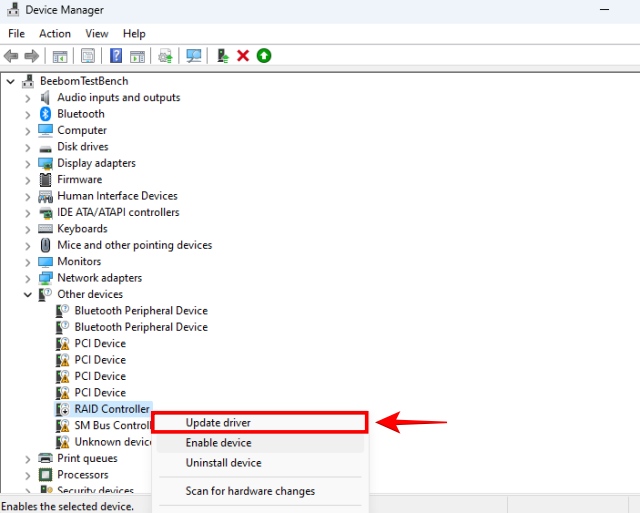
- If you find a non-functioning driver here, right-click on it and then click on Update Driver.

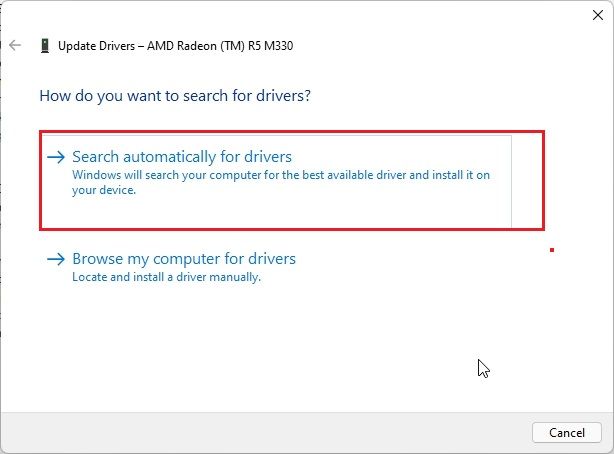
- Then, select the Search automatically for drivers option.
- Click on Search for updated drivers on Windows Update.

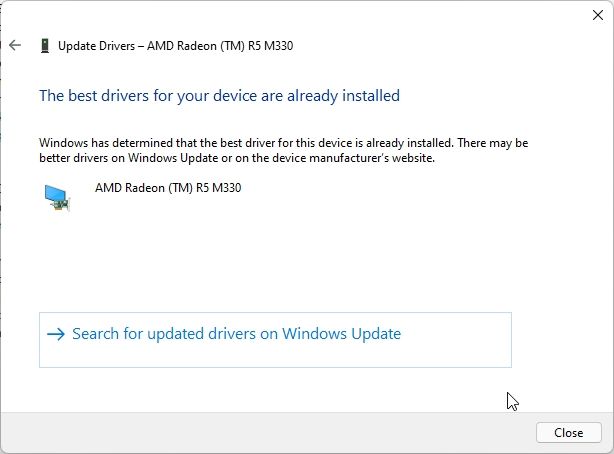
- Windows will start searching for compatible drivers and install them automatically.
2. Check for Faulty RAM
Faulty RAM could be another reason for the Page Fault in Nonpaged Area error on Windows systems. So, we will diagnose the RAM using Windows Memory Diagnostic Tool.
- Press the Windows + S keyboard shortcut on Windows to launch Search and then type “Windows Memory Diagnostic.” Click on the first result.


- Now, select the first option — Restart now and check for problems.

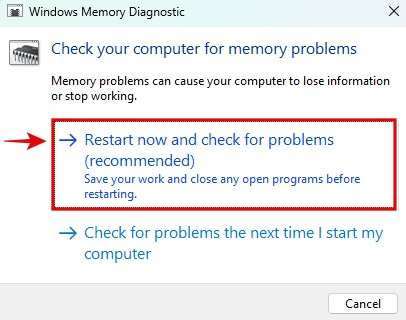
- It will restart your PC or laptop and start checking for faults with your memory sticks.
In case the RAM in your PC is damaged, you will need to replace it with a new RAM module. You can learn how to replace or install RAM in your desktop and Windows laptop via the linked guides. Also, check out some methods to stress test your RAM for checking its stability, so you can confirm if it has gone faulty before replacing it.
3. Disable Automatic Paging File Management
Windows automatically manages the paging file size and also does it well. But this could trigger unexpected BSOD errors as well like Page Fault in Nonpaged Area on Windows 10 and 11 devices. In this situation, try disabling the automatically manage paging file size for all devices option in Windows. Here’s how you can do that:
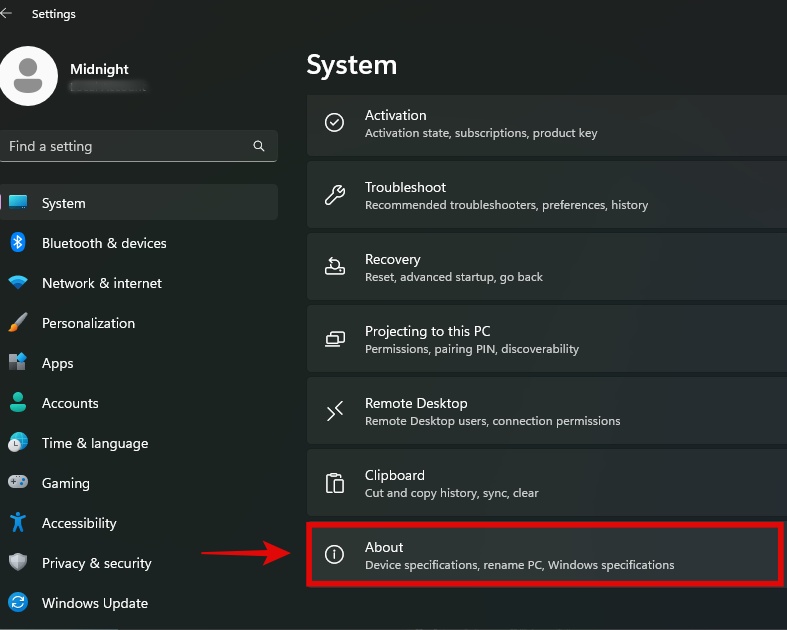
- Open Settings using the Windows keyboard shortcut Windows + I.
- Then, under System settings, scroll down and click on the About section.

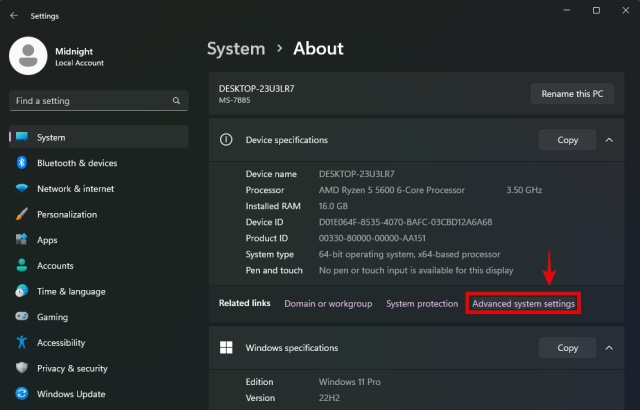
- Next, click on Advanced system settings here.

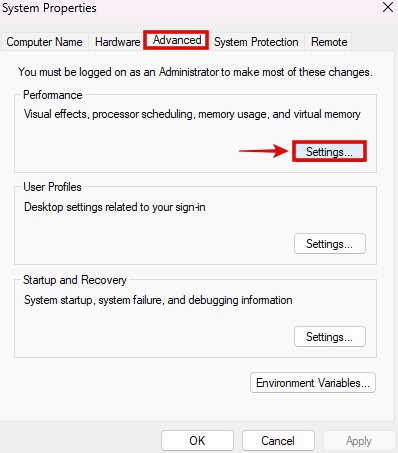
- Now, go to the Advanced tab and click the Settings button under the “Performance” section.

- Now, in the pop-up window, go to the Advanced tab.
- Next, click the Change button under Virtual memory.

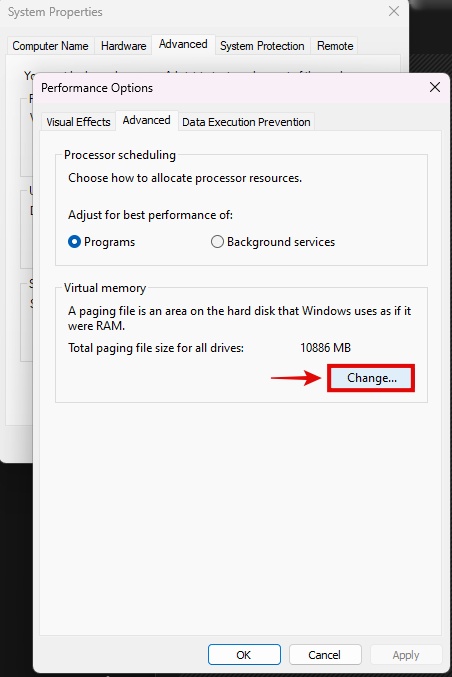
- Here, untick the “Automatically manage paging file size for all drivers” checkbox. Then, click on OK.

- Restart your PC to apply the changes. And this method should fix the BSOD errors on your Windows PC.
4. Check For Disk Errors and Bad Sectors
Disk Errors could typically be caused by bad logical sectors on the drive and could lead to multiple BSOD errors and stop codes. To find and fix disk errors, we use the Windows Check disk utility. Here’s how it works:
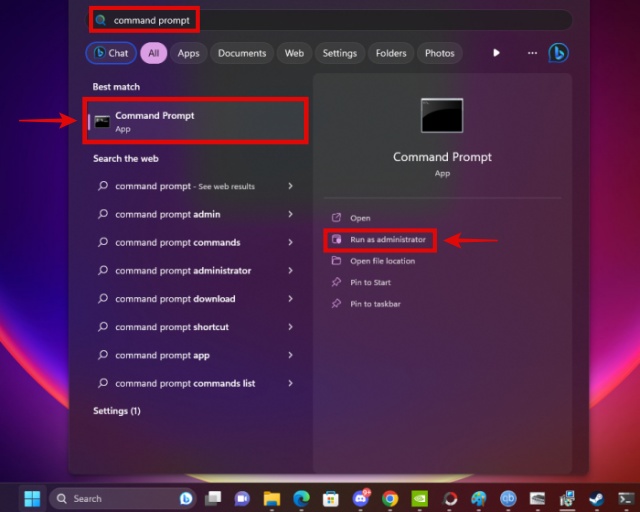
- Use the Windows + S shortcut to launch Windows Search.
- Now, type Command Prompt and click on ‘Run as administrator’ in the right pane.
- Copy and paste the below command in the CMD window, and then press the Enter key. This will fix all the logical disk errors that can potentially solve the Page Fault in Nonpaged Area BSOD error.
chkdsk C: /f/x/r
- Don’t close the Command Prompt window yet, as there is one more command to execute.
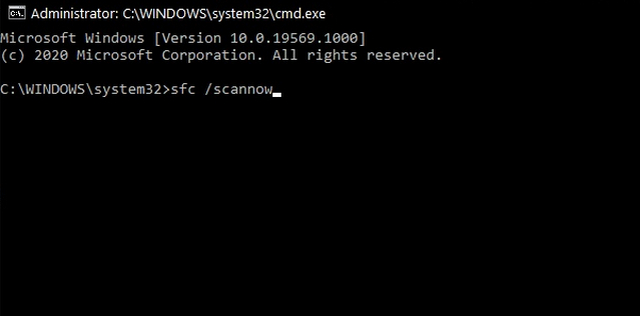
5. Run an SFC Scan To Fix Corrupted Files
SFC stands for System file checker, a Windows utility that is made to find and repair damaged/corrupted system files. It also works via the Command Prompt and should fix the Page Fault in Nonpaged Area BSOD error. Copy paste the below command in the CMD window, and then press the Enter key to run this tool.
sfc /scannow

6. Keep Only One Anti-Virus Software Active
Keeping both Windows Security and another third-party antivirus enabled together is not a good state to run your PC in. You only need to keep one trustworthy anti-virus software active, which will ensure your PC is protected from threats.
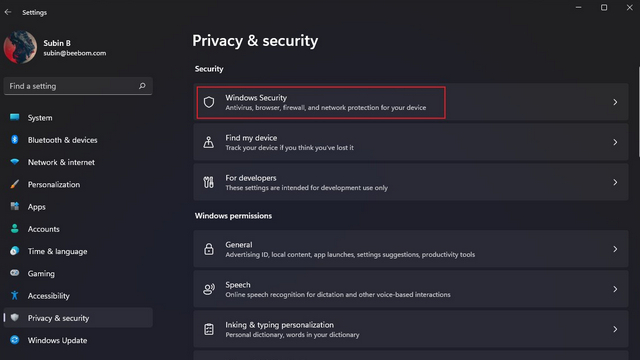
- To disable third-party antivirus, press Windows + I to launch settings.
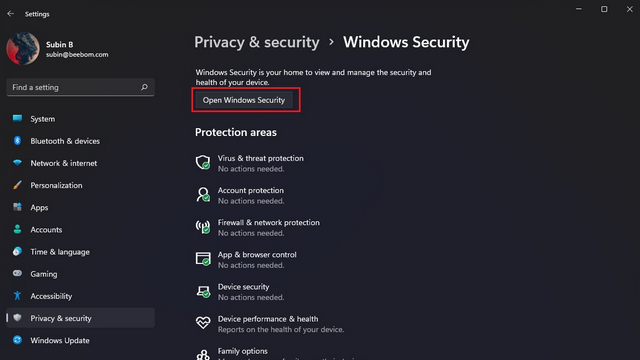
- Then, move to Privacy & Security -> Windows Security.
- Next, click on ‘Open Windows Security‘.

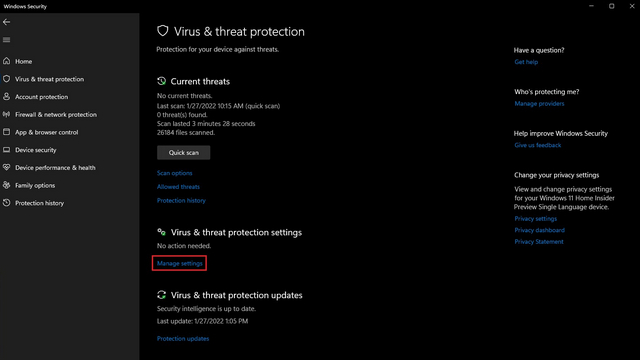
- Next, click on Manage Settings under Virus & Threat protection settings.
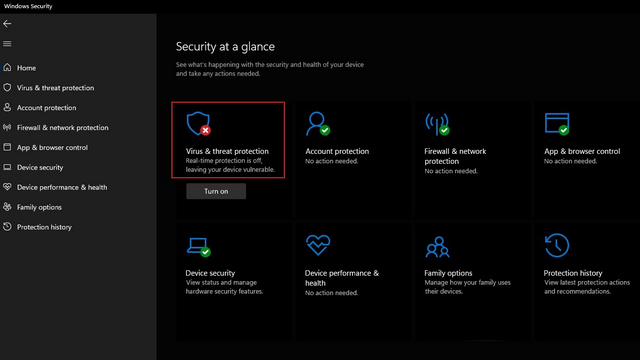
- Now, click on Virus & Threat Protection.
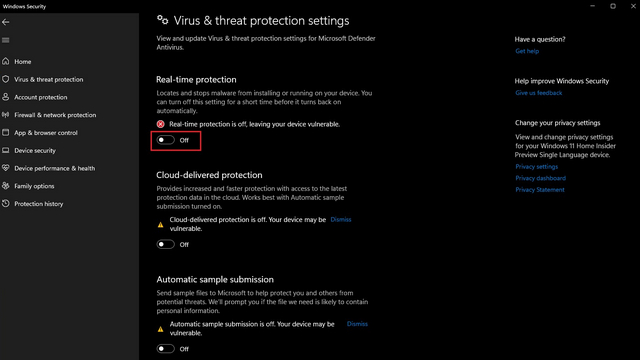
- Finally, under Real-time protection, click on the toggle and disable it. This will disable Windows Defender. Only do this if you have a third-party antivirus active such as QuickHeal, MalwareBytes, etc.
Hope these solutions were helpful in solving the error for you. But if you are stuck on another BSOD error, I recommend checking out our guide on how to fix the Blue Screen of Death in Windows error.


