Raspberry Pi is mostly about networking, and having a static IP address is a must if you are redirecting your internet traffic or connecting other network devices to RPi automatically. If the IP address keeps on changing, your whole setup breaks, and you need to manually re-configure the IP address. So to make things easier for you, here’s a handy guide to set a static IP address on Raspberry Pi. So on that note, let’s go ahead and find out how to reserve Raspberry Pi’s IP address.
Set a Static IP Address on Raspberry Pi
We have discussed two methods to set a static IP address on Raspberry Pi in this article. If you are comfortable with the Terminal, you can go with the first method. But if you want to change it via a graphical interface, follow the router’s guide. You can move to any section from the table below.
Set a Static IP Address Using Raspberry Pi’s Terminal
1. First, open the Terminal if you are using the graphical user interface of Raspbian OS. You can also SSH into Raspberry Pi remotely to connect to the Terminal from your Mac, Windows PC, or smartphone.

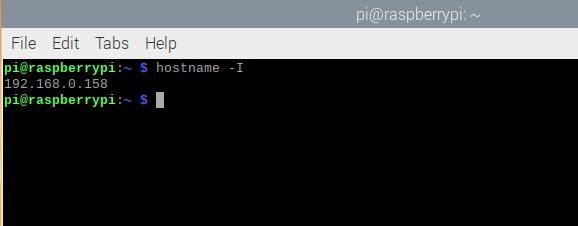
2. Next, enter the below command to find out the current IP address of your Raspberry Pi. Note it down as we will use the current IP address to make it static.
hostname -I
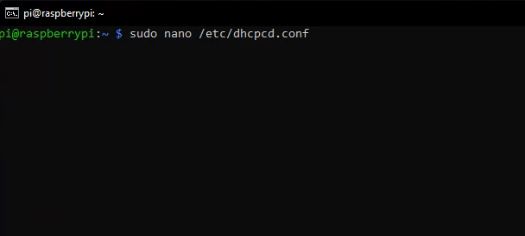
3. After that, execute the below command to open the dhcpcd.conf file via Nano editor. Keep in mind that Nano is a keyboard-based editor, so you can’t use your mouse to move between lines and edit the file.
sudo nano /etc/dhcpcd.conf
4. Now, scroll down and move to the bottom. Here, you will find four lines starting with “interface”.
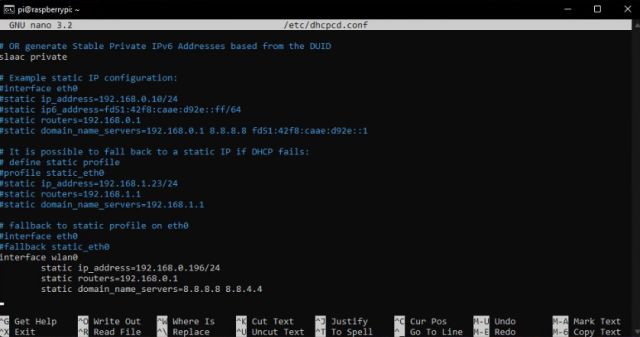
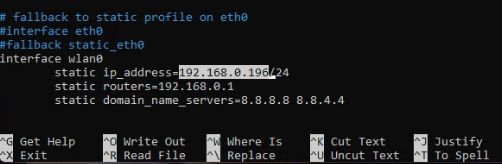
5. Move to “static ip_address” and change the highlighted part in the screenshot below to your current IP address of the Raspberry Pi (that we noted in step #2). If you wish, you can assign a custom IP address too. You don’t need to touch anything else.
6. Now, to save the file, press “Ctrl + X” and hit enter. Finally, press “Y” to save the changes.
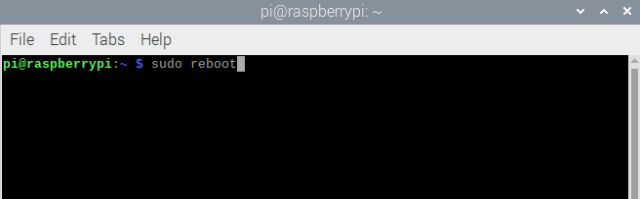
7. On the Terminal, run the below command to restart your Raspberry Pi instantly. By the way, you can check out the best Raspberry Pi commands from our linked article.
sudo reboot
8. That’s it. You have assigned a static IP address to your Raspberry Pi in a few easy steps. Now, your router will only use the static IP address you have set for your Raspberry Pi.
Using the Router Settings to Set Static IP on Raspberry Pi
If you don’t want to mess with Raspberry Pi’s Terminal, there is another easy way to set a static IP address on Raspberry Pi. You need to access your router’s admin page. Generally, it’s 192.168.0.1, but it can differ based on your router. You may have to look on the internet to find the router’s address.
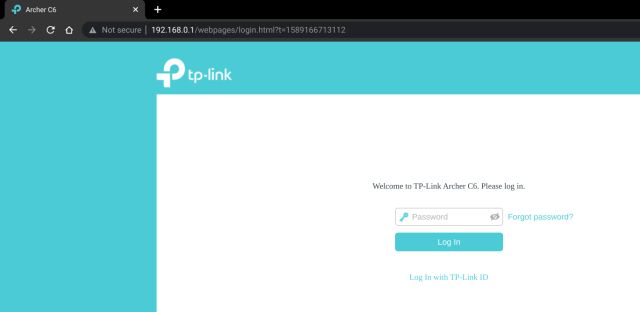
1. Open a browser on any device in your local network, enter 192.168.0.1, and hit Enter. Now, enter the default credentials for your router and sign in. Generally, both the username and password are admin, but if that does not work, look up the default credentials on the internet or the back of the router.
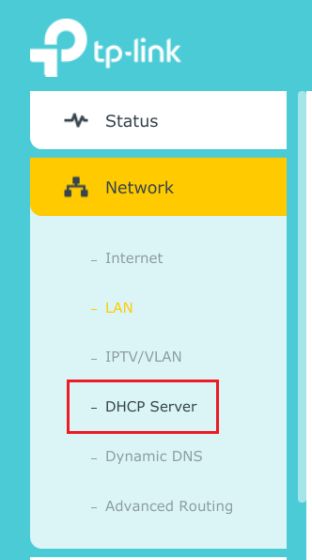
2. Next, you need to look for the “DHCP server” or “Address Reservation” option. I am using a TP-Link Archer C6 router, and the DHCP server setting is available under Advanced -> Network. For other routers, it may be present under a different page, so we suggest you look it up on the internet and find the settings page.
3. Here, scroll down and move to the “Address Reservation” section. Basically, you can reserve the IP address of the Raspberry Pi, so it’s not assigned to any other device in your home network. In tandem, you are assigning a static IP to Raspberry Pi via your router.
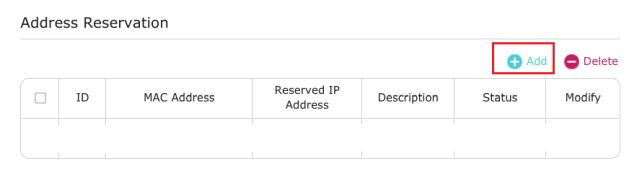
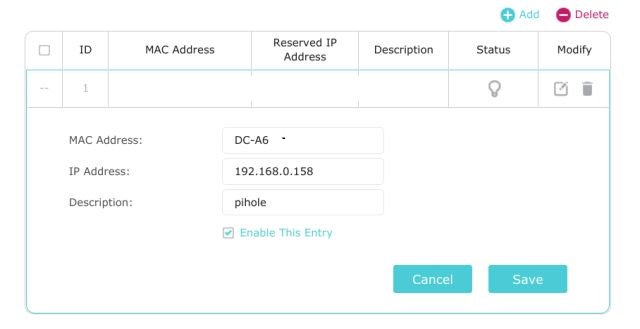
4. Click on “Add” and enter the IP address of Raspberry Pi in the “Reserved IP Address” field. You can find the IP address of your RPi board by entering hostname -I in the Terminal. To find the MAC address of your RPi, scroll down and look for the client list mentioned on the same admin page. Next, give a name in the “Description” field and turn on the “Enable This Entry” checkbox. Finally, click on “Save”. It will reserve Raspberry Pi’s current IP address, making it a static IP.
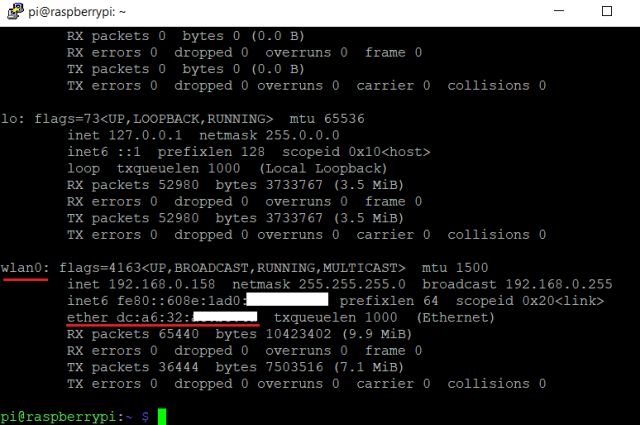
5. In case, you are unable to find the MAC address of your Raspberry Pi, open the Terminal on RPi and run ifconfig. Under “wlan0”, check the value of “ether”. That’s the MAC address of your RPi.
7. Finally, restart your router, and Raspberry Pi will now always be allotted the same IP address that you reserved on your router.
Assign a Static IP Address to Raspberry Pi in a Few Easy Steps!
So that is how to set a static IP address on your Raspberry Pi with ease. This guide will be of great help if you are setting up Pi-hole on your Raspberry Pi or pointing another network device on your home network to the mini-board. Anyway, that is all from us. If you are facing any problems, comment them down below and let us know. We will try to help you out.