- You can natively record your screen on Windows 11 using a slew of tools.
- Windows has built-in tools like Snipping Tool and Xbox Game Bar that can screen record for you, with a few caveats.
- Third-party tools like ShareX and OBS Studio offer better ways to screen record on Windows 11.
There’s no denying that Windows is THE most feature-rich and versatile desktop OS out there; however, it’s a shame that Windows 11 still does not feature a comprehensive built-in tool to record screens, which desktop OSes like Chrome OS and macOS come with built-in. One of Windows’ strengths is third-party app support and thanks to that, there are lots of screen recorder apps that you can download. Here’s how to record the screen on Windows 11.
While there are a good deal of software, we’ve narrowed this guide down to different methods using six tools. Each software has its pros and cons, so the decision ultimately depends on the type of screen recording you want to do.
Method 1: Using Xbox Game Bar on Windows 11
The Xbox Game Bar is kind of the only built-in software besides Snipping tool that lets you record the screen on Windows 11. It’s primarily meant for gaming sessions, but can be used to record other apps as well. The only drawback is that it does not record the screen when File Explorer is open, or you are on the Desktop. Here’s how to use it.
- Make sure you have an app open other than File Explorer or Desktop. Use the shortcut Windows + G to launch the Xbox Game Bar.
- Click on the Capture option from the top floating bar.
- A small floating window should pop up. Here, click on the record button (the third button from the left) to start recording.
- To stop recording, click on the Stop button in the floating overlay.
- The screen recording will be saved inside
C:\Users\yourusername\Videos\Captures.


Method 2: Using OBS Studio
The Xbox Game Bar has its limitations, and that’s where OBS Studio comes to the rescue. It is, by far, the best application for screen recording and streaming on Windows 11. Here’s how to use it.
- Install OBS Studio from the official website. It’s also available on the Microsoft Store (website) for free.
- Launch OBS Studio and go to Optimize just for recording > Next.
- On the OBS home page, click on the + icon under the sources section.
- Click Display Capture, rename the source, and click on OK.
- Once done, press Start Recording.
- When you’re done, go back to OBS Studio and click on Stop Recording.
- The recorded videos can be found inside
C:\users\username\videos.


Method 3: Using Microsoft PowerPoint
If you are a student looking for the easiest way to record the screen on Windows 11, you can do so using Microsoft PowerPoint. Generally, students get an Office subscription through their schools or colleges, so this might come in handy for recording the screen. Here is how to go about it.
- Launch Microsoft PowerPoint and go to the Insert tab.
- Here, click on the Screen Recording option and select an area you want to record.
- Now, hit the Record button to start recording.
- You can use the Windows + Shift + Q keyboard shortcut to stop the recording once done.
- The screen recording will be added to your PowerPoint presentation. Right-click on the video and select Save Media as.
- Browse the location where you wish to store the recording and click on Save. Your recording will be saved as an MP4 file.


Method 4: Using Snipping Tool on Windows 11
The updated snipping tool comes with a screen recorder, and it’s very convenient to use. Here’s how to use it.
- Launch the new Snipping tool on Windows 11 by going to the Start menu and searching for it.
- Here, click on the video camera icon to switch to the recording mode.
- Hit the New option and select the region you want to record.
- Finally, click on Start to start recording.
- Your recordings will be saved in the
Videos\screen recordingsdirectory.


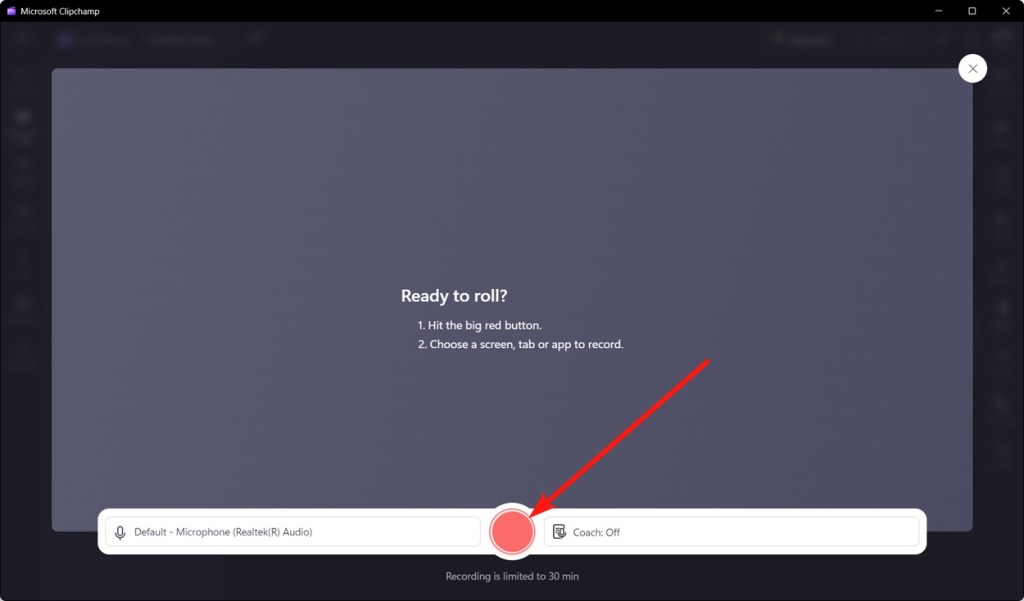
Method 5: Using Microsoft Clipchamp
Windows 11 has a native video editor called Clipchamp, and it lets you record the screen with ease. Besides recording the screen, you can add an optional webcam overlay to your screen recording, which could come in handy for recording tutorials if you’re a teacher. A major con is that you can only record the screen for up to 30 minutes and export the video in 1080p in the free version.
- Launch Clipchamp. Install it if you haven’t already from the Microsoft Store (website).
- Sign in to your Microsoft Account on Clipchamp.
- Click on Create a new video and select Record & create.
- Then click on Screen and hit the Record button to start recording.
- You’ll then be asked if you want to record the entire screen or a specific window; choose as you wish and select Share.
- Once you’re done recording, click on Stop Sharing. At this point, the recording should be saved in the Downloads directory as a WEBM file.
- If you want an MP4, click on Save and Edit, and select Export.
- Choose a quality and wait for it to be exported. Once done, you should find the MP4 file in the Downloads folder.


Method 6: Record Windows 11 Screen Using ShareX
ShareX is our favorite open-source screenshot utility, and it can also record the screen, besides boasting tons of other features. Here’s how to record a Windows 11 screen using ShareX.
- Install ShareX from the official website or the Microsoft Store (website).
- Once installed, launch it and go through the usual installation process.
- On the ShareX home screen, click on the Capture option in the sidebar.
- Then hit the Screen recording option.
- Select the region you want to record, and ShareX will automatically begin recording.
- Once done, click on Stop and the recording should stop immediately.
- You will find all recordings inside
C:\Users\username\Documents\ShareX\Screenshots\.


And that’s how you can record your screen on Windows 11 without spending a penny. All the methods are free to use, don’t have any ads, and save the screen recordings without watermarks. Some of the apps used to take screenshots can also screen record for you, which is super convenient. Got questions about any of the above methods? Shoot them in the comments below.


