With Windows 11, Microsoft has gone a step ahead to try and force users to stick to its Edge browser. Notably, the company has made the process of changing the default browser more complicated than it was on Windows 10. But even if you switch to your favorite web browser, there are certain aspects in the operating system like the new widgets panel, where Windows 11 won’t respect your default browser and open the link in Microsoft Edge. This can be frustrating, so we will show you how to force Windows 11 to open all links in your browser of choice in this article.
Force Windows 11 to Open Links in Default Browser (2022)
Other than enforcing the default browser preference, we have included instructions to use your preferred search engine whenever you are using Windows Search to browse the web. Hence, make sure you read on till the end to know everything you need to know to take control of your browsing habits in Windows 11.
Download and Install MSEdgeRedirect
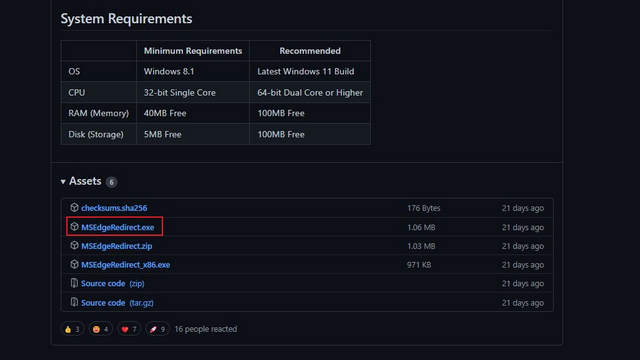
1. We will be using a free app called MSEdgeRedirect to enable you to use your favorite browser without any interference from Microsoft. You can download MSEdgeRedirect from GitHub. Under the Releases section, click on “MSEdgeRedirect.exe” to download the application.
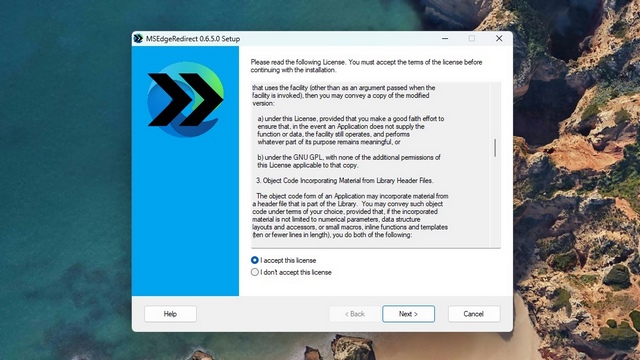
2. Open the installer and review & accept the license agreement. Click “Next” to proceed with the installation.
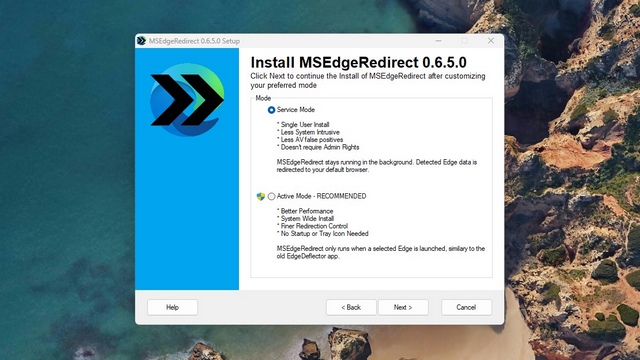
3. You can then pick either service mode or active mode to complete the installation. While active mode requires admin controls, service mode runs without having to allow admin rights. Choose the mode you’re comfortable with and install MSEdgeRedirect on your PC.
Configure MSEdgeRedirect to Open Links in Default Browser
After the installation is complete, make sure you enable the “Start Service Mode with Windows” and “Windows Store ‘Apps'” toggles. Click the “Save” button to confirm the changes. And that’s it, as you don’t even have to pick MSEdgeRedirect in the default apps list.
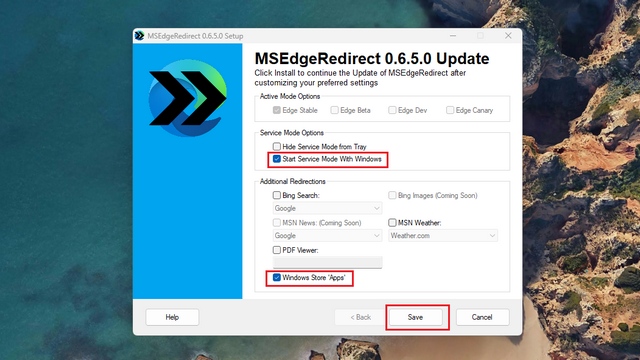
Keep the default app to the featured “Microsoft Edge” listing, and MSEdgeRedirect will automatically redirect links to your default web browser for you. If you haven’t changed your default browser yet, you can check the next section for instructions.
Change Default Browser in Windows 11
In case you are wondering how to change your default browser in Windows 11, we have you covered. Open the Settings app and navigate to Apps -> Default apps -> [your browser of choice]. Here, you will see a “Set default” option at the top of the app listing. Click on it to change your default browser. We also have a dedicated guide with step-by-step instructions to change the default browser in Windows 11 linked here.

Use Preferred Search Engine with Chrome on Windows Search
Microsoft typically uses Bing when you browse the web using Windows Search. However, you can choose to use the search engine of your choice using a Chrome extension. Here are the steps to use your preferred search engine on Windows Search:
Note: Do keep in mind that Chrome should be your default browser for the feature to work as intended. You can check the above section for changing the default browser in Windows 11.
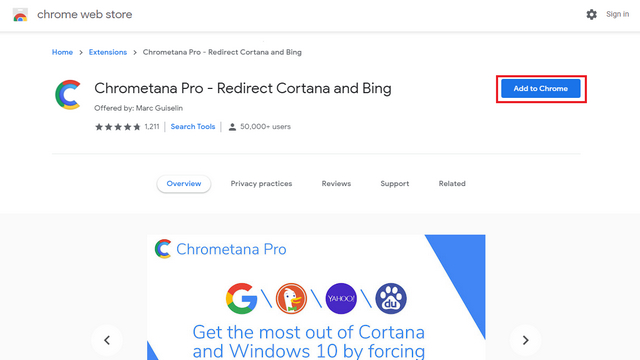
1. Chrometana Pro is an open-source extension that you can use to force Windows 11 to use Chrome and your search engine of choice while using Windows Search. You can download the Chrometana Pro (Free) extension from Chrome Web Store. Click on ‘Add to Chrome’ to install the extension.
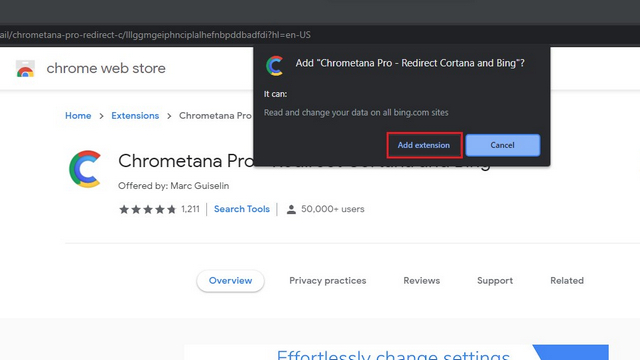
2. When the pop-up appears, click on ‘Add extension’ to confirm your action.
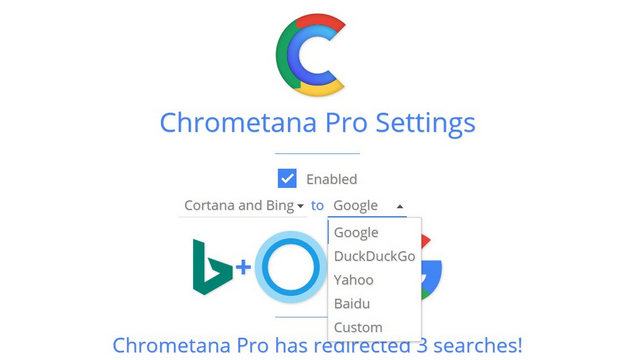
3. Once installed, click on the extension’s icon to configure it. Here, you can choose to redirect Bing search queries to Google, DuckDuckGo, Yahoo, Baidu, or set a custom one.
Use Preferred Search Engine with Firefox on Windows Search
And for those who use Firefox, there exists an official port of Chrometana Pro named Foxtana Pro. The steps to get started are similar to its Google Chrome counterpart.
1. First, you should download Foxtana Pro from the Firefox Add-ons website by clicking on ‘Add to Firefox’.
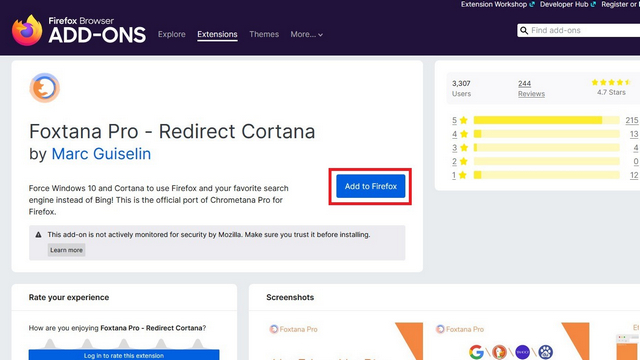
2. From the in-browser pop-up, click on ‘Add’, and Firefox will install the extension.

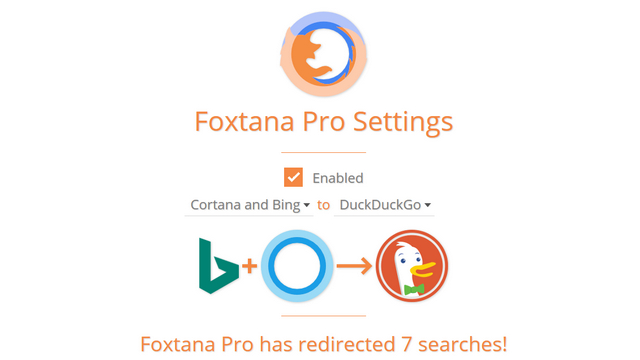
3. You can then click the extension’s icon and pick your favorite search engine. Do keep in mind that the extension won’t consider your default search engine. Hence, you will have to specify it from Foxtana Pro settings manually.
Open Links in Your Favorite Browser on Windows 11
So there you have it. If you set it all up correctly, you will no longer be bothered by Microsoft’s nudges to keep using its own services. While you are at it, check our other articles on disabling suggested notifications in Windows 11, freeing up disk space, and using focus sessions to boost productivity. And if you have any queries, let us know in the comments section below.

