After the failure of the Windows mobile platform, Microsoft is trying to unify mobile and desktop experience across different platforms by creating quality apps for both Android and iOS devices. It has introduced a new Timeline aka activity syncing feature which follows the principle of “pick up, where you left off”. Suppose you are reading a PDF on your Android device. Using activity syncing, you can continue reading that PDF on your Windows PC. Sounds cool, right? While it’s not perfect, it does work well if you set it up correctly. In this article, we are going to show you how to set up activity syncing on Windows so you can enjoy a seamless experience across devices.
Set up the Timeline Feature on Windows
Setting up the activity sync feature is pretty easy, just follow the steps and you will be done in no time.
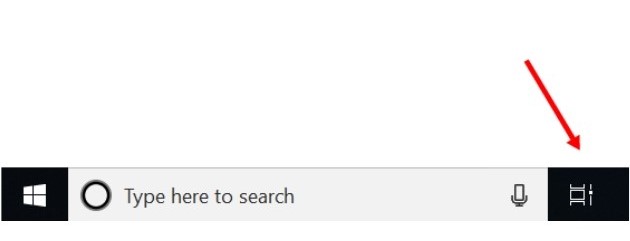
1. Click on the Task View button and scroll down to the bottom.
2. Find “see more days in timeline” feature and click on Yes.

3. Now log in to your Microsoft Account.

4. After successful login, open Settings and click on Privacy.

5. Click on the “Activity history” tab on the left pane.
 6. Here, make sure “send my activity history to Microsoft” and “Show activities from these accounts” are enabled.
 Now you are done. All your activities will show up under the Task View button. Note that, you must be logged in to your Microsoft account on all the devices to take advantage of Timeline feature.
Setting up Timeline Feature on non-Windows Devices
If you are using Mac or Chromebook, install Web Activities extension (free) on your Chrome browser. Further, login to your Microsoft account by clicking on the extension and you are done. Here is a snapshot of the PDF file I was reading on my Chromebook. As you can see it is showing in the timeline feature on my Windows PC.
 If you are using Android then you will have to install Microsoft Launcher (free) and set it as your default launcher. Further, install Microsoft Edge (free) and use it as your default browser. Log in to your Microsoft account and grant all the permissions. Now you can access the timeline in the left pane of the launcher. Here you can see all my Windows PC activities on my mobile.
 Note: The Timeline feature on Android is still in beta, so sometimes activities don’t show up.
On iOS, there is not a dedicated app to access the Timeline feature, but you can use Microsoft Edge on your iPhone (free) and all your web activities will show up under the Task View button on Windows. In our testing, it worked flawlessly. Here is a snapshot of a search query on iPhone which showed up on the Windows PC.

SEE ALSO: How to Stop Nagging Windows 10 Updates
Pick Up where you Left with Windows Timeline
That is a great development happening in the Windows ecosystem. While activity syncing doesn’t OS level deep linking, Microsoft is doing its best to bring a unified web experience. For long, Windows users dreamed of continuity across platform, and it seems the future is not so far. We love this feature and await the next cycle of Windows update which will make it even better. So what do you think about the Windows Timeline feature? Let us know in the comments section below.