
Earlier, we had put together an exhaustive guide on how to connect Raspberry Pi to a Windows laptop and set it up without a monitor or an Ethernet cable. We also detailed the various methods to remotely access Raspberry Pi from a Windows PC, Mac, and other devices. But all these methods require you to have a separate computer. What if you want to set up Raspberry Pi without a PC or any other computer? Well, there is a way now with the latest Network Bootloader, which is available in beta. In this tutorial, we are going to demonstrate the steps to update your Raspberry Pi bootloader and install Raspberry Pi OS without a PC. So without any delay, let’s get started.
Set Up Raspberry Pi Without a PC
In this tutorial, we have discussed how to set up Raspberry Pi without a PC, Mac, or a Linux machine. Along with that, we have explained what is network boot on Raspberry Pi. You can expand the table below and move to your desired section.
What is Network Boot on Raspberry Pi?
In simple terms, Network Boot is a way to install an operating system over the internet. You just need to connect the device to an internet source, and it can automatically install a fresh copy of the operating system within a few minutes. macOS also offers this kind of internet-based recovery service, and Windows still does not have one, despite having a modern UEFI interface. Nevertheless, Raspberry Pi Foundation has upped its game and brought a way to install the operating system by itself, but how does it exactly work?
Modern-day boards have something called EEPROM (a kind of memory, but read-only) that stores the bootloader or firmware. When you power on the board, it kickstarts the EEPROM and loads the bootloader from there. Raspberry Pi Foundation is using this memory to store the new bootloader that lets you install Raspberry Pi OS over the internet. So if you insert a blank SD card, it kicks the EEPROM and loads the network installer from there. And then, it can install Raspberry Pi OS onto the board without requiring a PC or another computer.
Requirements to Use Network Boot on Raspberry Pi
- Network Boot is currently supported only on Raspberry Pi 4 and Raspberry Pi 400. So you need one of these boards to test the new bootloader.
- Second, you need an Ethernet cable that should be connected to an internet source.
- A monitor with micro HDMI to HDMI cable.
- Keyboard and mouse.
- An SD card.
Update Raspberry Pi Bootloader to the New Beta Version
First, we need to update the existing bootloader on Raspberry Pi 4 to the beta version that supports Network boot. As the new bootloader is in beta, we will have to perform this action manually. However, when the bootloader exits beta, new Raspberry Pi 4 boards (and upcoming ones) will ship with the updated bootloader. In tandem, it is a one-time process to update the old bootloader to a new one. Follow the below steps to learn how it works:
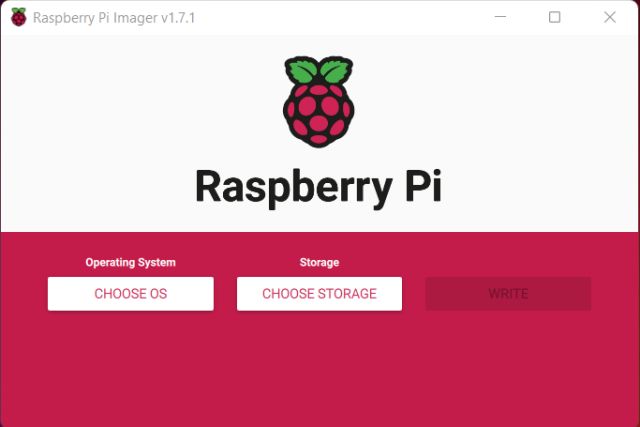
1. Go ahead and download the Raspberry Pi Imager tool from here. It’s available for Windows, macOS, and Linux computers. With this tool, you can download and install the new bootloader.
2. Next, open the Raspberry Pi Imager tool and insert your SD card into the computer. After that, click on “Choose Storage” and select your SD card. Note that, the SD card will be completely wiped, so make sure to take a backup.

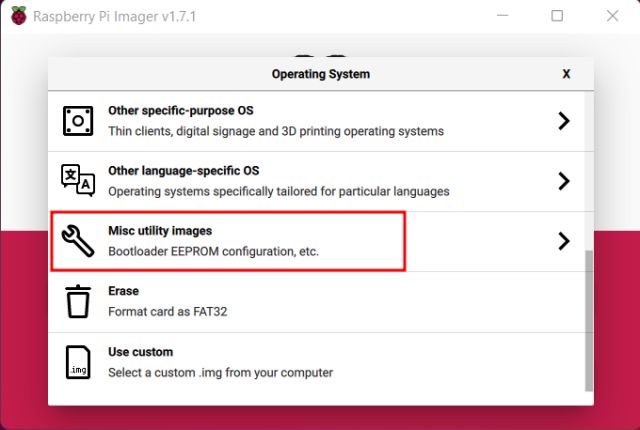
3. Following that, click on “Choose OS” and scroll down. Here, you need to click on the “Misc utility images” option.

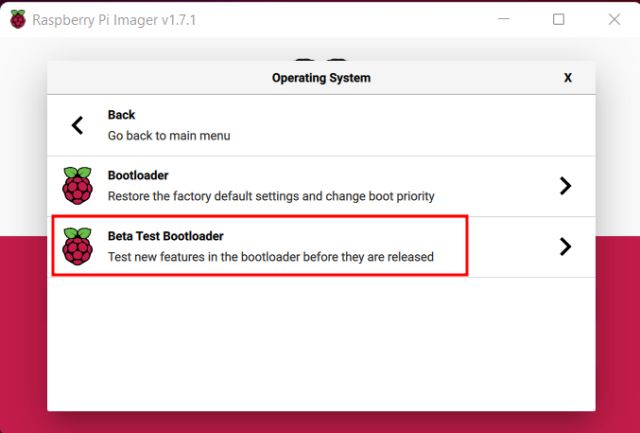
4. After that, open “Beta Test Bootloader“.

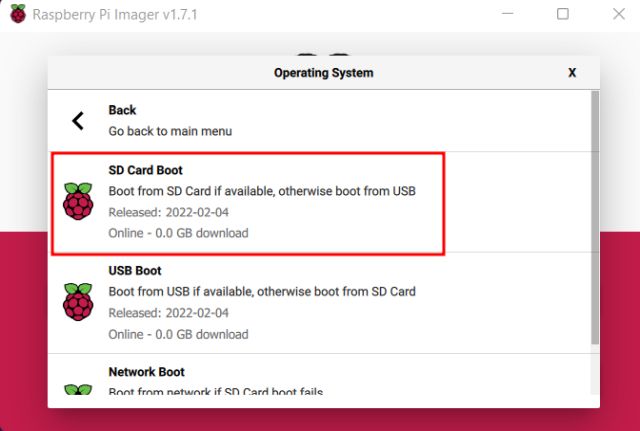
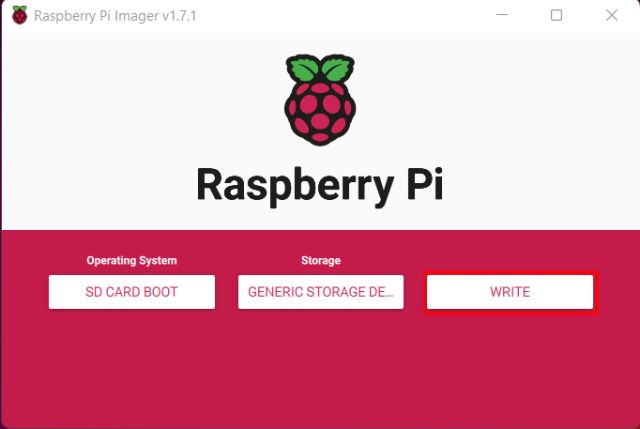
5. On the next page, choose “SD Card Boot“.

6. Finally, click on “Write“, and the new Bootloader will be flashed on the SD card in a few minutes.

7. After the flashing process, remove the SD card and insert it into your Raspberry Pi. Next, connect the monitor and power on the board. Here, you don’t need to connect a keyboard, mouse, or Ethernet cable.
8. In 3-4 mins, you should see a green screen on your monitor. It means that the new Bootloader has been updated on the Raspberry Pi board. Now, you can power off your Pi board.


How to Install Raspberry Pi OS without a PC (Using Network Boot)
After updating the bootloader, it’s time to set up Raspberry Pi without a PC. But before that, remove the SD card from the board and insert it into your computer. Make sure to format it and create a blank SD card.
The next step is to connect all the peripherals. To begin with, insert the blank SD card into the Raspberry Pi 4 board, and then connect the monitor, keyboard, and Ethernet cable that’s connected to an internet source. You can also connect a mouse if you have one, but you do not need one during the network installation. Now, follow the steps below:
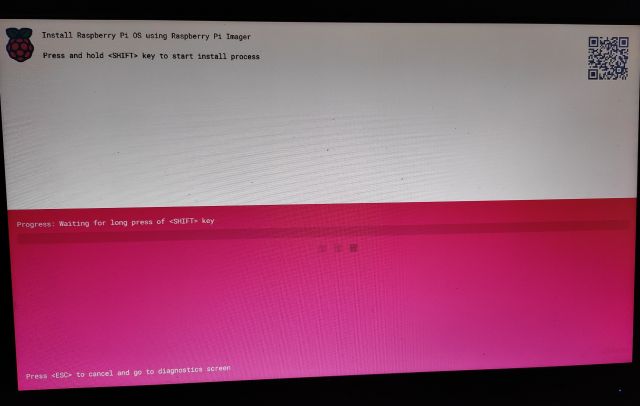
1. Turn on the board, and you should see the Raspberry Pi Network Boot installation page. Here, press and hold the “Shift” key on the keyboard to start the installation process. After that, press “Space” once to confirm your action.

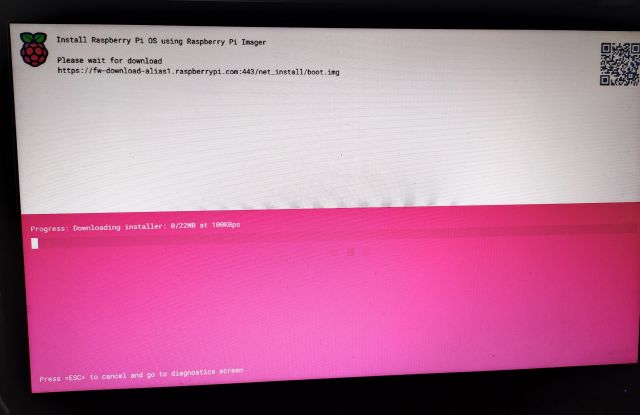
2. If your board is connected to an internet source through the Ethernet cable, it should start downloading the Raspberry Pi Imager tool automatically.

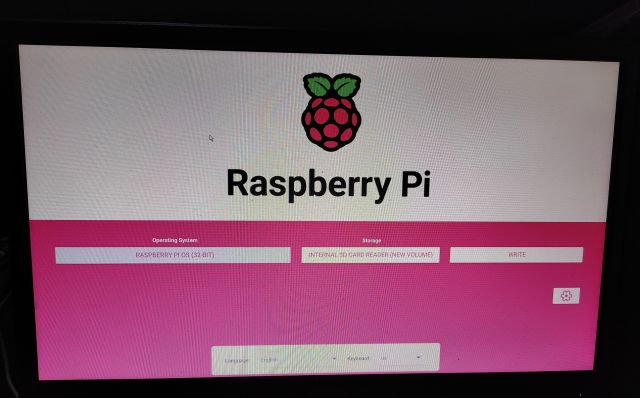
3. Once you have installed the tool, Raspberry Pi will reboot itself. Now, select your SD card from the Storage section. You can also change your language and keyboard style from the bottom menu.

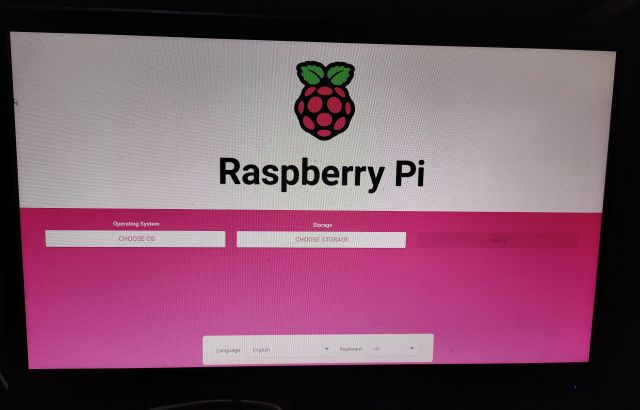
4. After that, click on “Choose OS” and select “Raspberry Pi OS (32-Bit)“. You can also install Ubuntu or other distros on your Pi board.

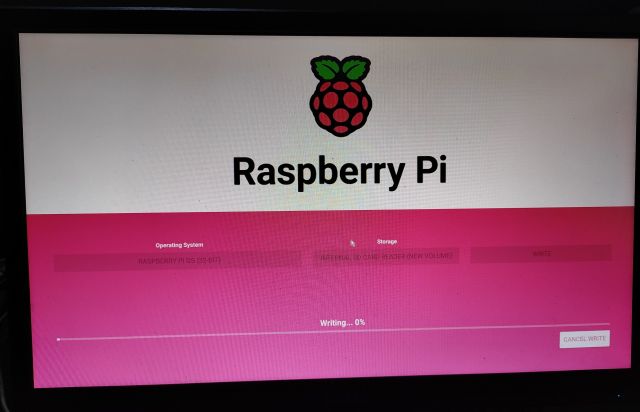
7. Finally, click on “Write“, and the installation will be completed within 10-12 minutes.

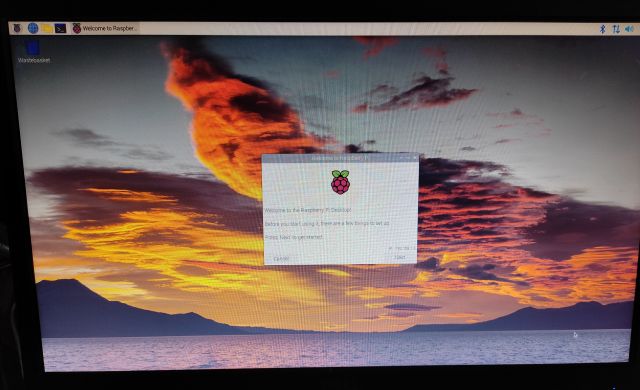
8. As you can see in the screenshot below, you will successfully boot into Raspberry Pi OS. And that is how you can set up your Raspberry Pi without a PC, Mac, or a Linux machine.

Install Raspberry Pi OS With Network Boot
So that is how you can set up Raspberry Pi without a PC, or for that matter, any separate computer. Installation over the network can come in really handy when you are trying to recover your Raspberry Pi board from boot failure, corrupt OS, and more. All you need is an internet connection, and you can install Raspberry Pi OS again without any hiccups. Anyway, that is pretty much from our side. In case you want to safely overclock your Raspberry Pi 4 after OS installation or wish to build an Android TV Box with Raspberry Pi, follow our linked guides. And if you have any questions, let us know in the comments section below.

