So you have got a new Raspberry Pi and want to build something useful? Well, first and foremost, if you don’t have a separate monitor, no need to worry. You can use your Windows laptop as a monitor for Raspberry Pi and even set up VNC Connect on RPi for remote connection. However, if you are looking to build an Android TV Box with Raspberry Pi then you will need a separate monitor or TV. In this guide, we have explained the details on how to install Android TV on Raspberry Pi and get Google Play Store and Services. So on that note, let’s begin.
Build Your Own Android TV Box with Raspberry Pi
I have written this guide keeping beginners in mind so if you are completely new to Raspberry Pi, don’t worry. Just go by the instructions and you will be running your custom Android TV on Raspberry Pi. For your ease, you can jump between sections from the table below.
Requirements
1. You will need a monitor or TV to set up and install Android TV on Raspberry Pi. This can’t be done remotely.
2. HDMI cable based on your board. Raspberry Pi 4 will need a micro HDMI to HDMI cable whereas Raspberry Pi 3 will require an HDMI to HDMI cable.
3. Raspberry Pi 3 and 4 are only supported for Android TV and they must have at least 2GB of RAM.
4. A microSD card having free space of 16GB or more.
5. Keyboard and mouse. If you have a wireless combo one then that’s even better.
6. A power adapter based on your board.
Downloads
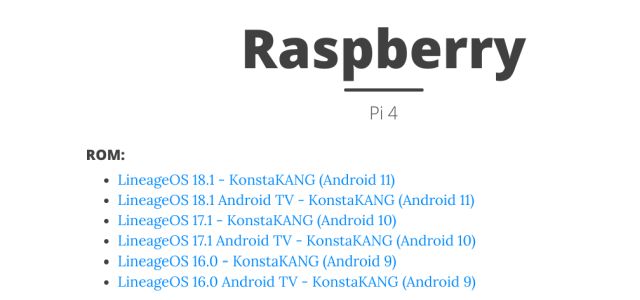
- First of all, to build an Android TV Box with Raspberry Pi, you need to download Android TV OS for Raspberry Pi. KonstaKANG is a popular developer known for building all sorts of Android ROMs for Raspberry Pi. The TV OS is based on Lineage OS and is available in many versions including Android 9, 10, and the latest 11. Based on your board, you can download any Android TV version but I would recommend Android TV 10 for stability. That said, for this guide, I am trying out Android 11 just to check how well it runs. You can click here to head over to the download page for RPi 4. If you want to download Android TV OS for RPi3 then click on the Devices menu on the top-right corner.
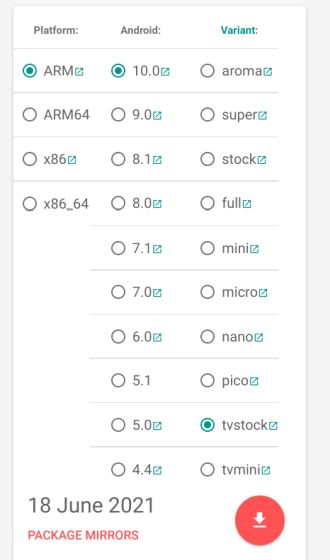
- Next, you need to download the GApps package as the Android TV build does not come with Google apps and services. If you are installing Android TV 10 then open this link and simply click on the download button (make sure “tvstock” is selected). If you are like me, trying a newly released Android TV 11 build then click here and download the “tvstock” test build.
- Next, you need to download balenaEtcher (Free) to flash the Android TV OS onto the SD card.

Install Android TV on Raspberry Pi (2021)
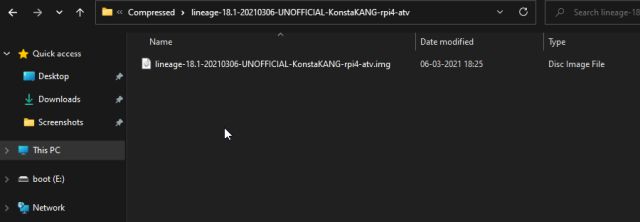
1. Once you have downloaded the Android TV build, extract it and you will get an IMG file.
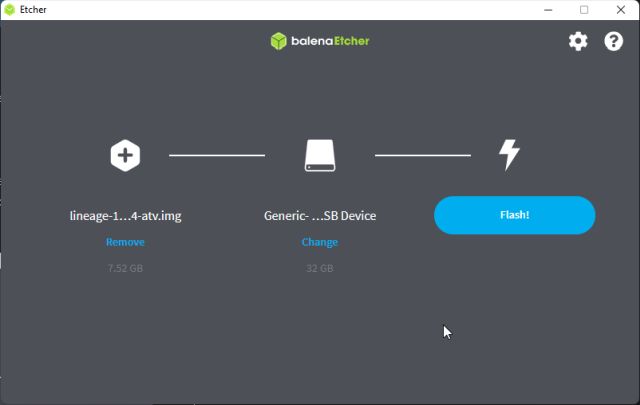
2. Next, fire up balenaEtcher and select the Android TV IMG file. In my case, it’s an Android TV 11 build, but you may have a different version. After that, choose the SD card and click on “Flash!“.
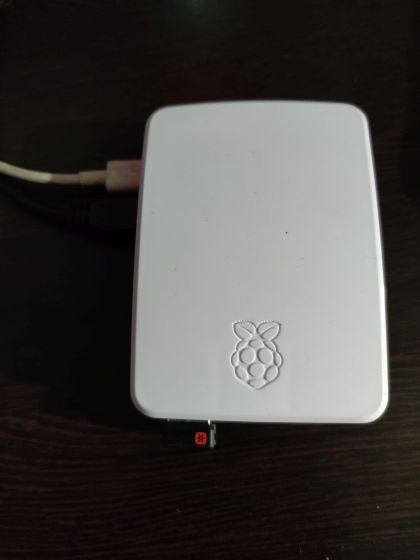
3. Once the flashing process is done, remove the SD card and insert it into the Raspberry Pi. In addition, connect a mouse and keyboard. Finally, connect the power source and HDMI cable to the monitor/TV.
4. Within seconds, you will find Lineage OS loading up on the screen.
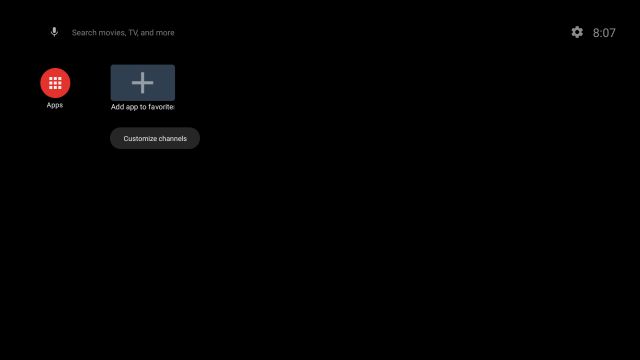
5. After a while, you will be on the barebone Android TV home screen. Now we need to add Google Play Store and Services on our Android TV. By the way, to go back, press the F2 key on the keyboard. And some keyboard shortcuts for Android TV on Raspberry Pi are: F1 = Home, F2 = Back, F3 = Multi-tasking, F4 = Menu, Press and hold F5 = Power Menu, F11 = Volume down, and F12 = Volume up.
Install Google Play Store and Services on Your Custom Raspberry Pi Android TV Box
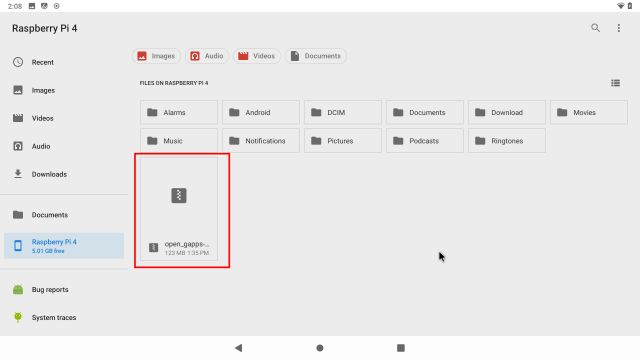
1. Now that you have installed Android TV on Raspberry Pi, it’s time to add support for Google Play Store and other services. Use a thumb drive and move the GApps package (ZIP file) to Raspberry Pi from your computer.
2. Once you have moved the GApps package, open Settings -> Device Preferences -> About -> Scroll down to the Build menu. Now, click on the “Build” menu 7-8 times continuously. It will enable Developer Options on Android TV.

3. Next, go back to Device Preferences and scroll down. You will find “Developer Options“. Open it.
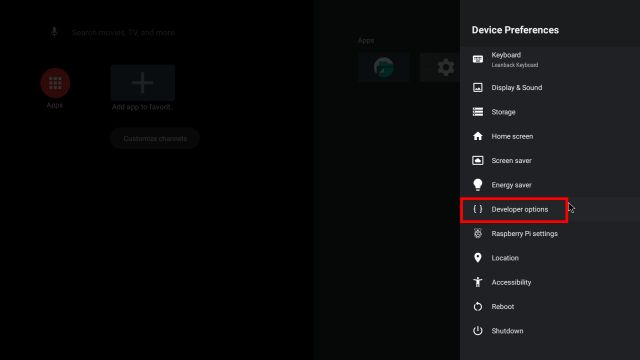
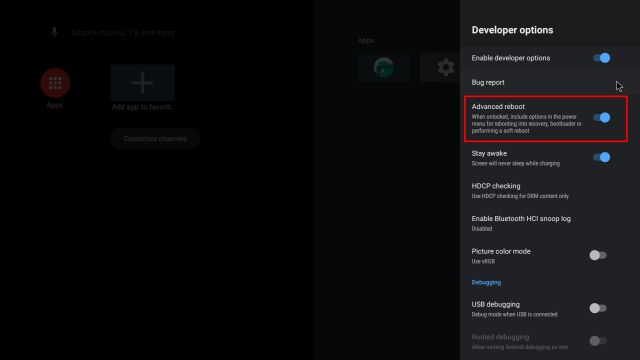
4. Here, turn on “Advanced Reboot“.
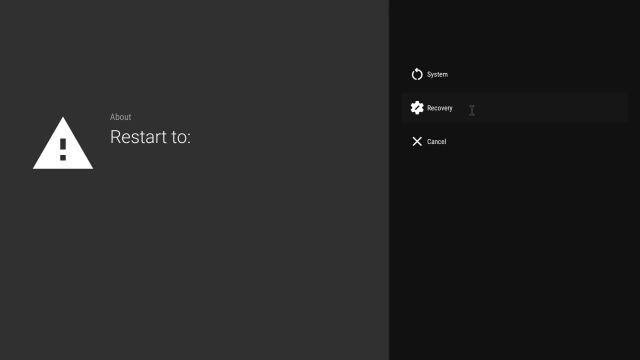
5. Now, to restart Android TV on Raspberry Pi, open Settings -> Device preferences -> Reboot -> Recovery. This will take you to TWRP Recovery.
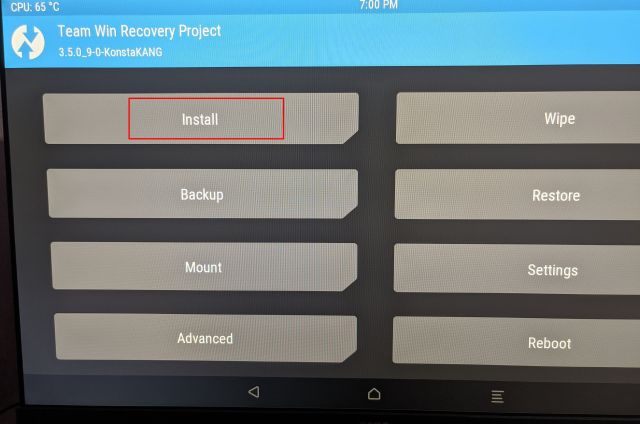
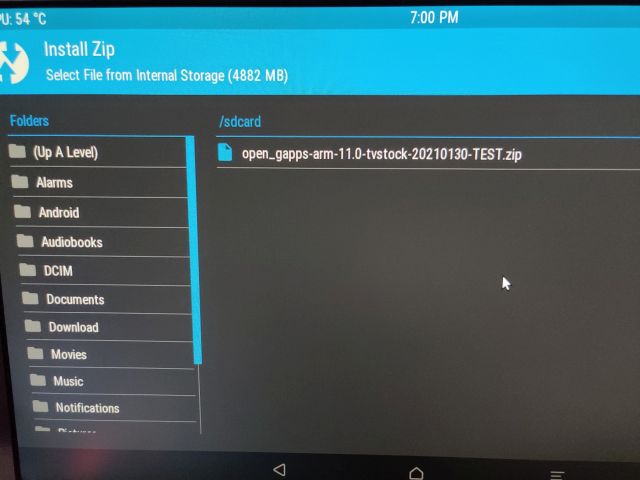
6. You will now boot into the TWRP recovery. If prompted, click on “Swipe to Allow Modifications”. After that, open “Install“.
7. Here, choose the GApps package that we transferred to the Raspberry Pi.
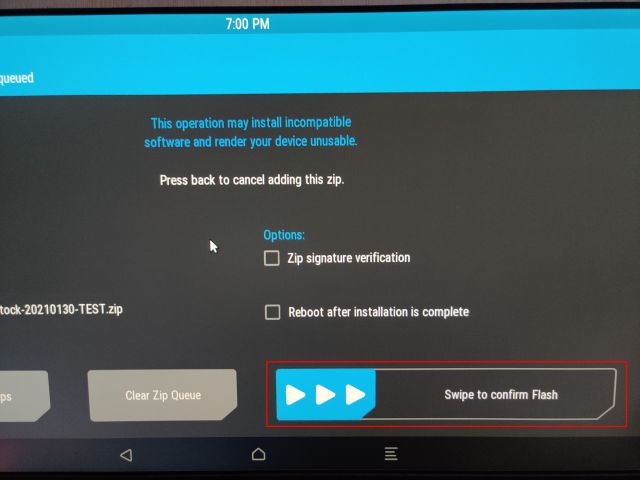
8. Finally, click on “Swipe to confirm Flash“.
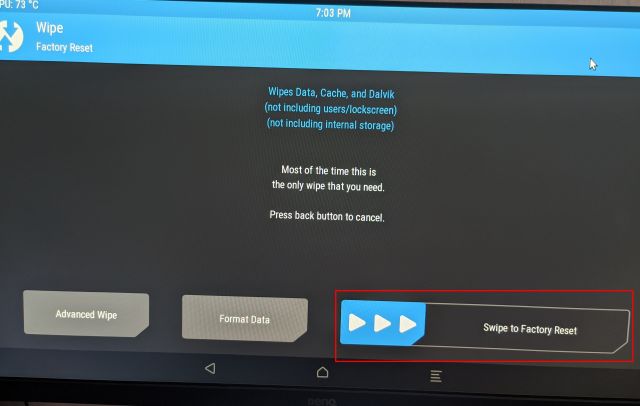
9. Now, click on the TWRP icon on the top-right corner and it will take you to the main menu. This time, move to Wipe -> Swipe to Factory Reset.
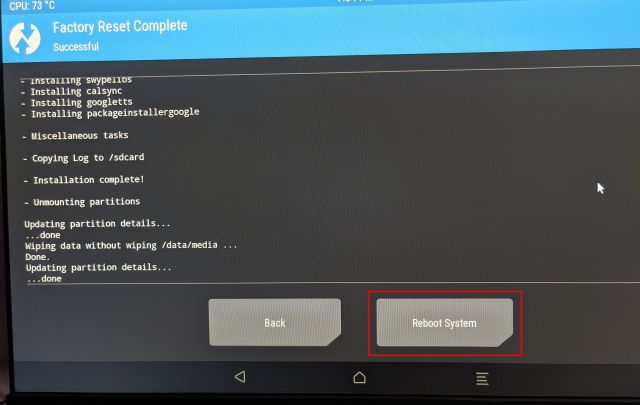
10. Once the reset is complete, click on “Reboot” on the same page.
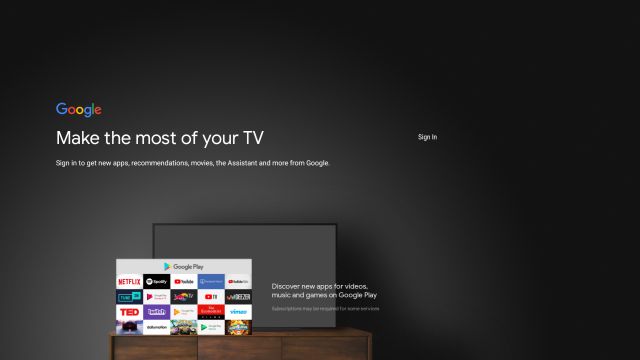
11. Voila, you will boot directly into Android TV on your Raspberry Pi. And this time, you will be prompted with the Google Setup. Now, go ahead and follow the on-screen instructions. I will suggest you not add your primary Google account as Google has been lately terminating accounts for unknown policy violations. If you get a popup to set up a remote, press “Esc” on the keyboard. Further, if you face an error during Google login, use the remote option for on-device login.
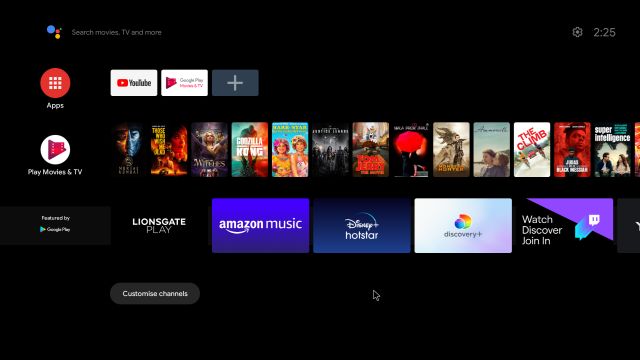
12. So here it is. Google Play Store, Chromecast, and all Google services are available on your Raspberry Pi-based Android TV and working absolutely fine. In case, Chromecast is not working or apps like Netflix are not available then follow the below fix.
Fix Chromecast on Raspberry Pi-based Android TV Box
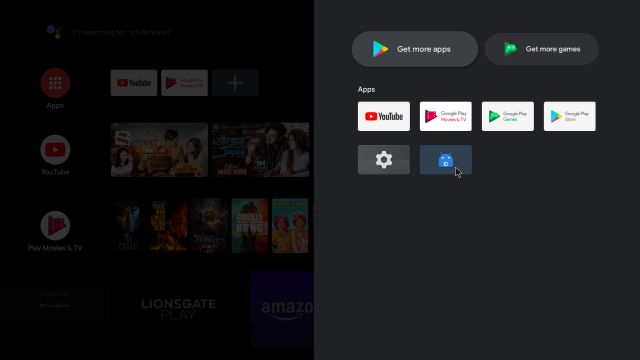
1. If Chromecast is not working on your Raspberry Pi, there is nothing to worry about. You can manually enroll your custom Android TV on Google’s list of certified devices. To begin with, install the Device ID app by Evozi (Play Store / APKMirror) on Raspberry Pi. Since the Play Store on Android TV does not have this app, you will have to sideload it.
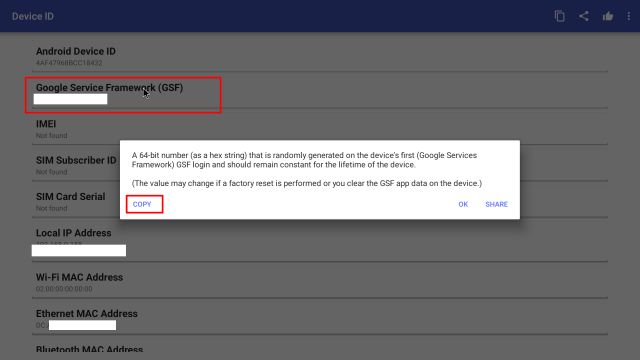
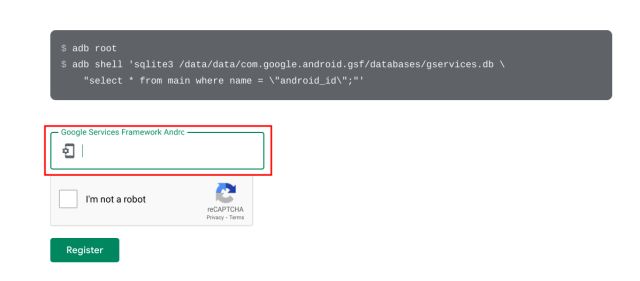
2. Next, open the Device ID app and it will display the code for Google Service Framework (GSF). Click on it and copy the code.
3. Now open google.com/android/uncertified on Raspberry Pi or your computer and log in with the same Google account that you have used on the Raspberry Pi. After that, paste the GSF code and click on “Register“. You have finally done it. Now, wait for 5-10 minutes and Chromecast should start working.
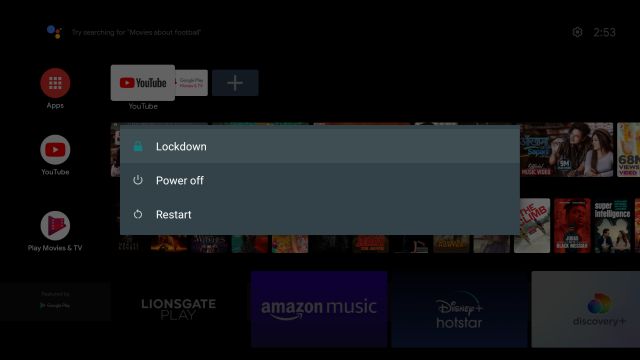
4. If you are still facing issues then restart your RPi-based Android TV. Press and hold the F5 key and click on Restart. This time, Chromecast should work fine.
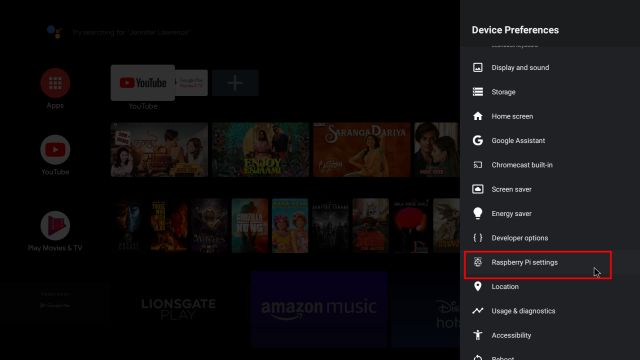
5. To further customize your Raspberry Pi-based Android TV, head over to Settings -> Device Preferences -> Raspberry Pi Settings.
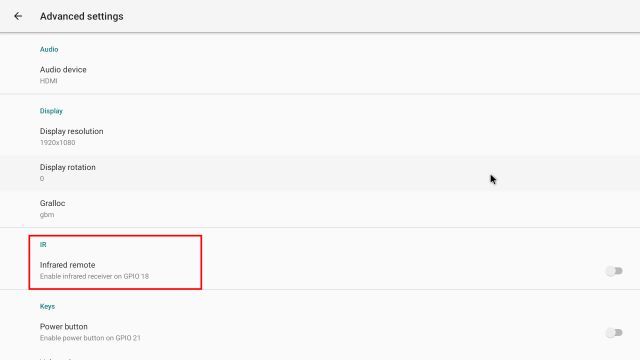
6. You can even add an IR remote to your Raspberry Android TV setup. Just enable the Infrared remote toggle and use your IR remote to control Android TV. For more information, head over to the developer’s documentation.
Install Android TV on Raspberry Pi to Make Your TV Smart
So that is how you can install Android TV and utilize Raspberry Pi as an Android TV Stick or Box. I know the installation process is a bit lengthy, but once you set it up, everything works fine. I even tested the latest Android 11 build and it worked like a charm. So go ahead and try it out.
Additionally, we would recommend you install Pi-hole on your Raspberry Pi to clean your home network from ads and trackers. And if you are wondering, yes you can set up Raspberry Pi remotely without a monitor or Ethernet/HDMI cable. Anyway, that is all from us. If you are facing any issues then let us know in the comment section below.


