


DNS, or a Domain Name System, is responsible for resolving website names into their respective IP addresses. There are multiple DNS servers and you can pick and choose the one you want to use. So, if you’re having trouble connecting to a website, or if you just want a DNS change to be seen by your Ubuntu machine, you should try to flush the DNS cache. You can also clear DNS cache in Ubuntu if you made changes to the hosts file, and you want it to be “seen” by your system without having to reboot it. Well, if you’re in any of these situations, and you want to clear DNS cache, here is how to flush DNS cache in Linux.
Note: I’m using an Ubuntu 16.10 “Yakkety Yak” system to demonstrate these methods. However, the process should be similar on most Linux distros.
Flush DNS Cache in Linux in 2020
Before we get to our tutorial, let’s see first if DNS caching is enabled on your machine or not.
Checking if DNS Caching is Enabled
All Linux distros do not behave the same way, when it comes to things like caching DNS. For example, Ubuntu, by default, doesn’t cache DNS. Before we try to clear DNS cache on a Linux machine, let’s check if caching is even enabled. To do this on an Ubuntu system, you can follow the steps below:
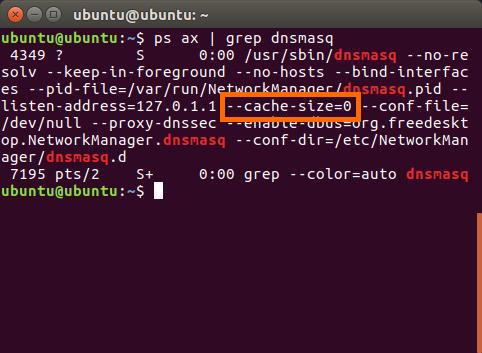
1. Launch Terminal, and type “ps ax | grep dnsmasq“.
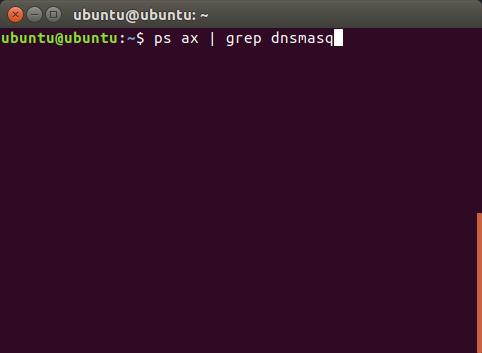
2. In the output from the command, you will be able to see a field called “cache-size“. Check its value. If the value is zero, it means that caching is disabled on the system.
Note: If you want to enable DNS caching on Linux, you can do so by using the command “sudo dnsmasq -c 150”. You can use any number in place of 150, which is basically the number of entries that dnsmasq can cache.
Flush DNS Cache in Ubuntu
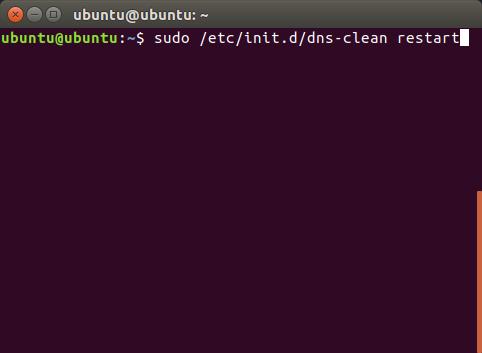
If your Linux system is caching DNS entries, then you can try to flush the DNS cache in order to get rid of any DNS related problems. To clear DNS cache in Ubuntu, you can follow the steps below:
1. Launch Terminal (ctrl + alt + T), and type “sudo /etc/init.d/dns-clean restart“.
2. Next, type the command “sudo /etc/init.d/networking force-reload”
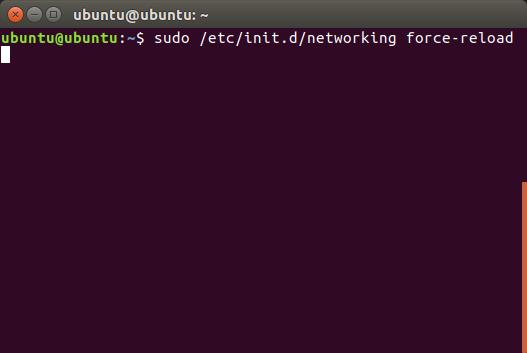
This will clear your DNS cache in Ubuntu, and if the problems you were experiencing were due to DNS issues, they should now be gone.
Flush DNS Cache in DNS Services on Linux
Like I said, Ubuntu doesn’t cache DNS entries by default, however, if you have manually installed a DNS service such as nscd, you can clear its cache. Methods to clear cache for some common DNS services are given below:
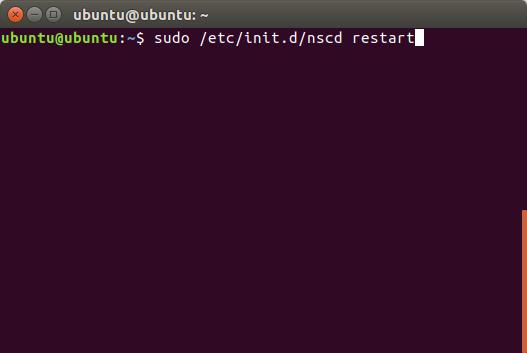
Flush nscd DNS Cache
- sudo /etc/init.d/nscd restart
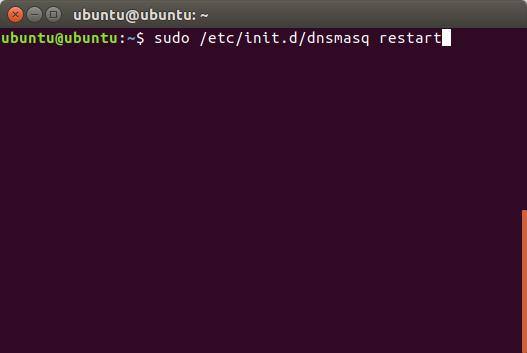
Flush dnsmasq DNS Cache
- sudo /etc/init.d/dnsmasq restart
Flush BIND DNS Cache
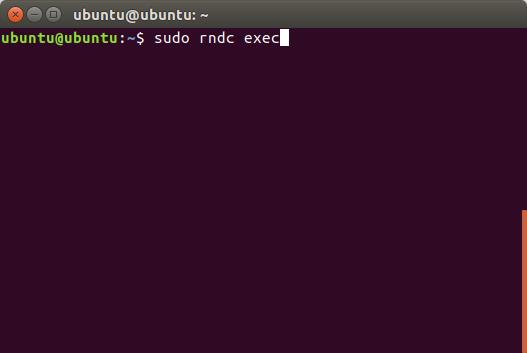
If you’re using BIND, you can clear DNS cache by using one of the following commands:
- sudo /etc/init.d/named restart

- sudo rndc restart

- sudo rndc exec
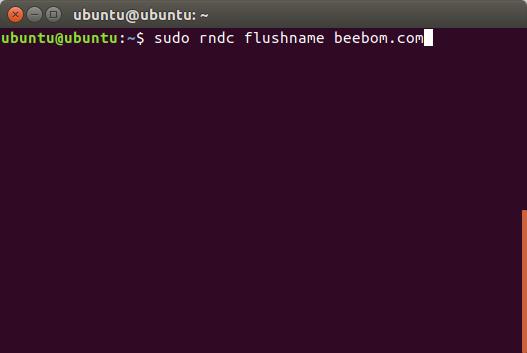
BIND version 9.3.0, and greater, support flushing DNS cache for a particular domain, as well as for the LAN, or the WAN. You can use the following commands to make use of this feature:
- To clear DNS cache for a particular domain, use “sudo rndc flushname beebom.com“
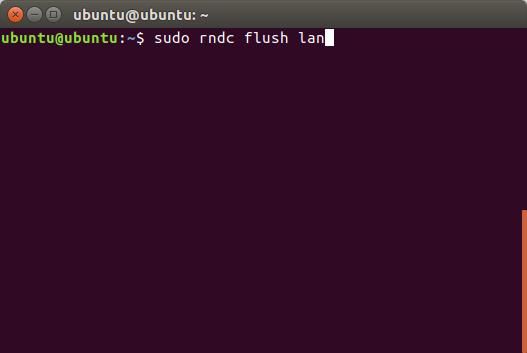
- To clear DNS cache for LAN, use “sudo rndc flush lan“
- To clear DNS cache for WAN, use “sudo rndc flush wan“

Bonus: Change DNS Settings in Ubuntu
We’ve been talking about flushing the DNS cache in Ubuntu, however, there may be cases where you just want to make a change to the DNS settings in Ubuntu. If you want to change the DNS settings in Ubuntu, you can do that using the GUI, or via the Terminal.
Change DNS Settings using the GUI
Using the GUI to change DNS settings is easier than using the Terminal. However, if you use multiple connections, you will have to change the DNS setting for each one of them. To change DNS settings using the GUI, just follow the steps below:
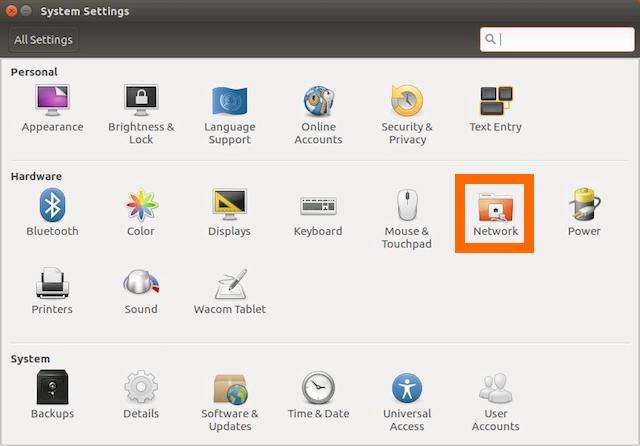
1. Open System Settings, and click on Network.
2. Click on the arrow next to the name of the network you’re connected to.
![]()
3. Now, click on “Settings”. This will open up the settings for that connection.

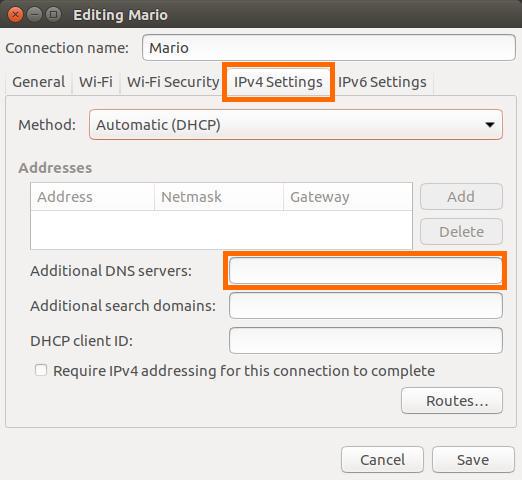
4. Switch over to the IPv4 tab, and you’ll see an option called “Additional DNS Servers“. You can enter the DNS servers you want to use in this field. If you want to enter more than one DNS server, just separate them with commas.
Change DNS Settings using the Terminal
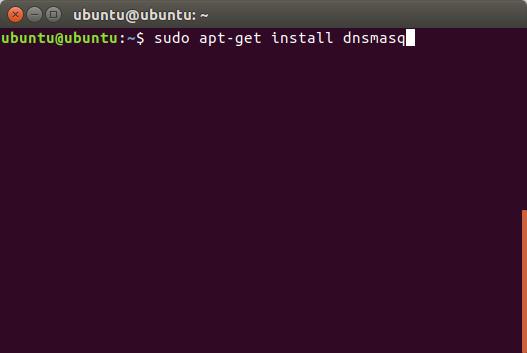
If you don’t want to use the GUI, and prefer changing DNS settings using the Terminal, you can do this by adding the nameservers to the dnsmasq config file. However, dnsmasq does not come installed by default in Ubuntu systems (dnsmasq-base, does). So, first you’ll have to install dnsmasq by launching a Terminal, and using “sudo apt-get install dnsmasq“.
- Once you have installed dnsmasq. You can edit the config file with “sudo nano /etc/dnsmasq.conf“.
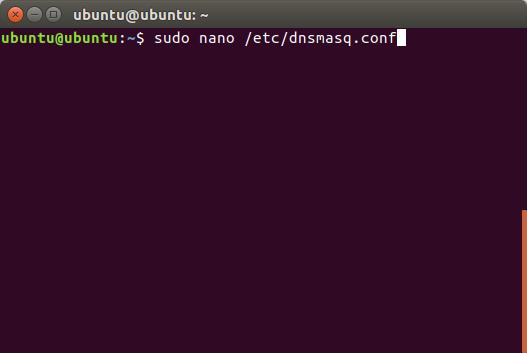
- Here, you can add your DNS servers’ IP addresses where it says “Add other nameservers here“.

SEE ALSO: How to Boot a Live Linux USB on Mac (Guide)
Clear DNS Cache in Linux Using These Methods
You can use any of these methods to clear DNS cache in a Linux system. Issues with DNS cache can cause problems such as a webpage not loading, nameserver changes not being recognized by your system, and a lot more. Once you flush DNS cache, these problems will most likely go away. So, have you ever had to flush the DNS cache on your Linux system? If so, what method did you use? If you know of any other method to clear the DNS cache on your Linux system, do let us know in the comments section below.


 Satyam Kumar

 Vikhyat Rishi


This is the third post I’ve read and none of the recommended commands show me anything about any DNS service running on my system; Debian 11 Buster. However, that can’t be right because I’m able to access web sites. What am I missing?
Thanks Akshay,
great article. I added the DNS-entry of the router.
But there is still a DNS-entry in System Settings that is incorrect and should be removed.
How can this be done?
With friendly greetings,
Martin
Hi Akshay,
The obsolete DNS-entry was automatically removed after restarting the computer.
Almost did something like “nmcli con modify eth0 -ipv4.dns 192.168.1.1”.
With friendly greetings,
Martin