- If you're on Windows or Mac, you can check for updates in OBS from the "Help" panel.
- OBS is configured to alert you when a new update is available, but if that doesn't work, you need to update it manually.
- Since it's open source, you can get the installer from GitHub or from OBS' official website.
There are way too many game recording software to choose from in 2025, but OBS stands out thanks to its friendly user interface and shallow learning curve. Its feature-rich nature might make you feel content, but you shouldn’t sleep on them as the team pushes out new updates to introduce new features and squash bugs. Therefore, if you already have it installed, here’s how to update OBS.
How to Update OBS on Windows
In most cases, OBS Studio automatically alerts you when a new version is available. However, since it’s open-source software, you can also download the latest version from its website or GitHub (website) or use the in-app settings to update manually.
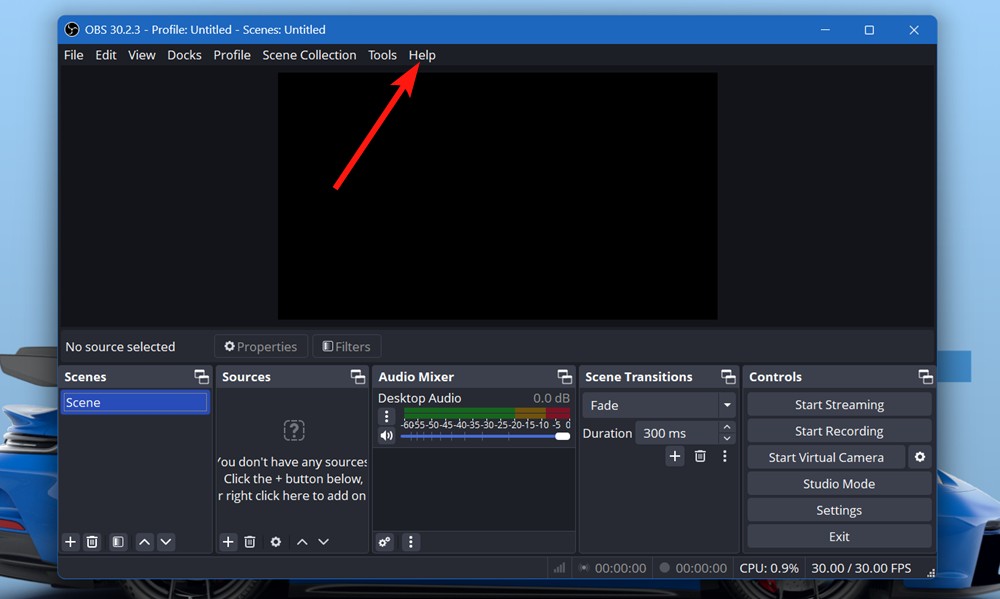
- Launch OBS on your Windows laptop or PC.
- In the top toolbar, click on the Help tab.
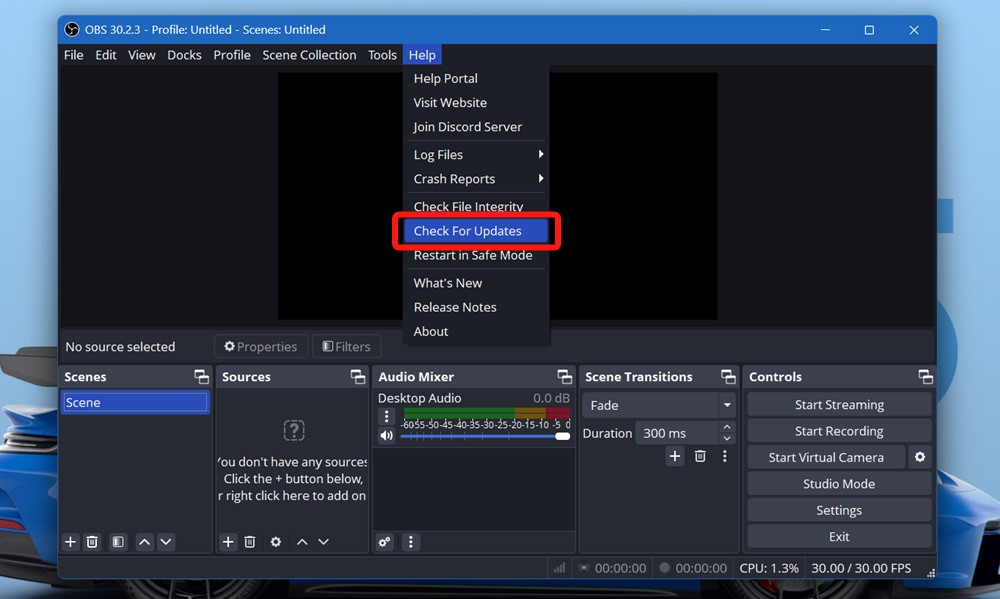
- Next, click on the Check For Updates option.
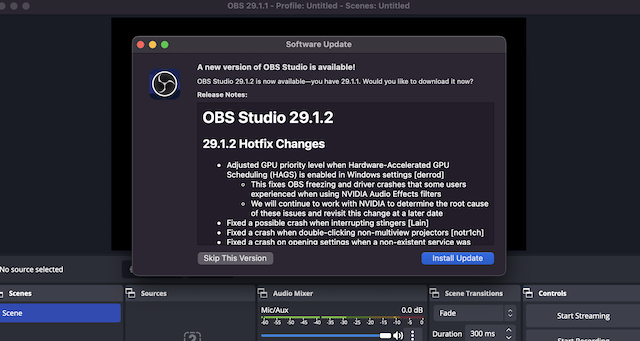
- If an update is available, click on the Update Now option from the pop-up window.
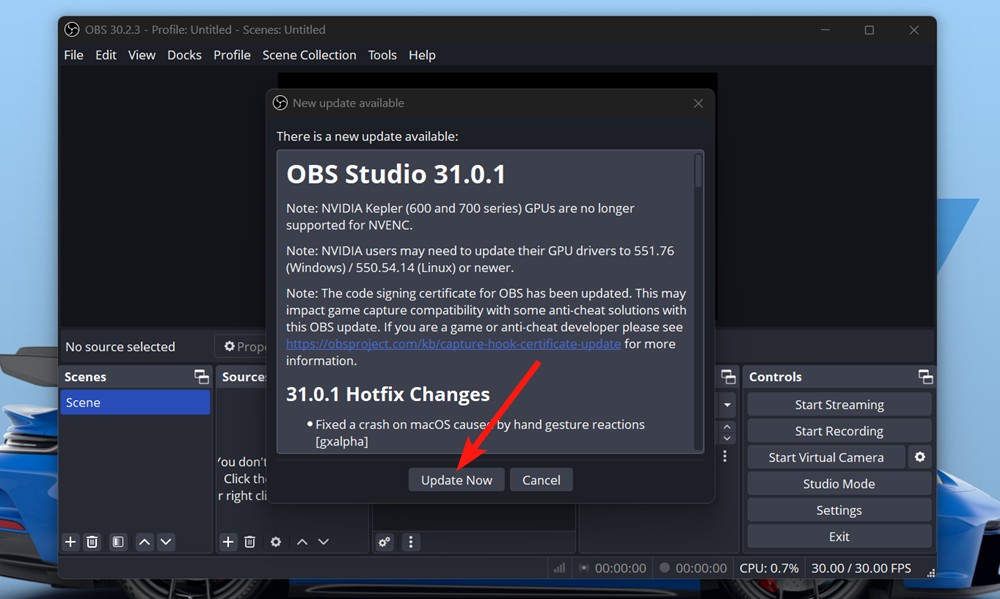
- OBS should start installing the latest version.
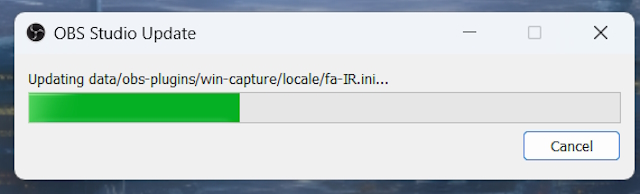
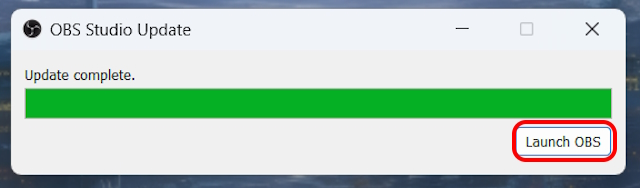
- Once the update is complete, click on Launch OBS to launch the updated OBS.
How to Update OBS on Mac
Being one of the best free and open-source software, there is a massive user base for OBS. So, it is understandably available for both Windows and Mac users to download. However, the steps to update OBS are slightly different for Mac users:
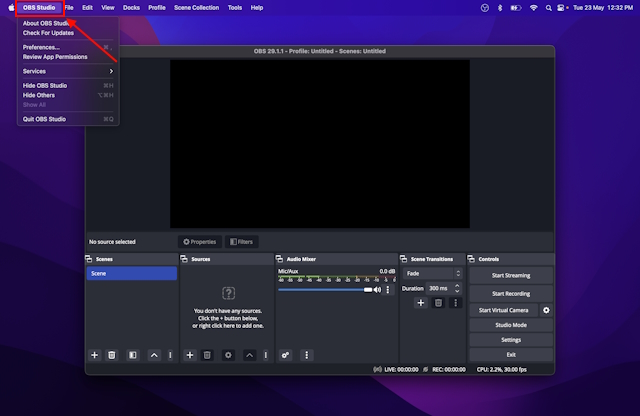
- Open the OBS Studio app for Mac.
- On the top left section of your screen, click on OBS Studio.
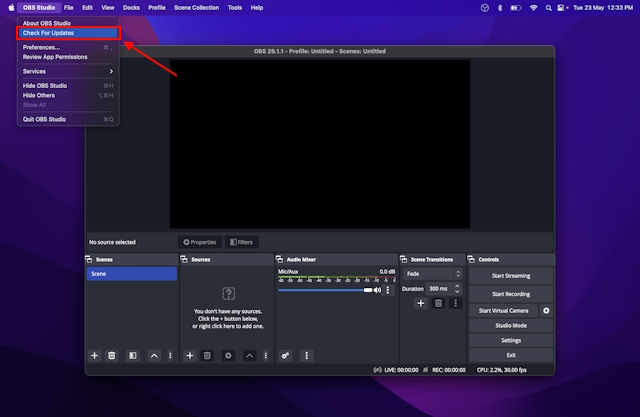
- Then click on Check For Updates.
- Your OBS for Mac application will start Checking for updates.
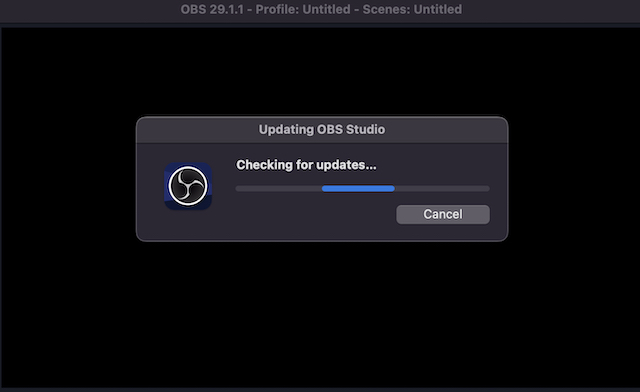
- If you are on the latest version, you will get a message saying so. If not, you will get to see a small download window pop up to upgrade OBS to the latest version, similar to the Windows version.
However, do note that this method may not work for you if you are on an older version. Many users reported that the Check for Updates option was not showing up for them. That brings us to an alternative method to update OBS.
How to Update OBS on Linux
There are a few ways to go about updating OBS on Linux. The main issue you have to tackle is knowing which distribution you are using. Now, there are tons of distributions, but each has its own store where OBS should be available. In this guide, I’ll be using KDE Plasma on Fedora, but the process should more or less be the same across all distributions.
- Head over to apps and open Discover. On Ubuntu, it’s called the Ubuntu Store.
- Search for OBS using the search bar and click Enter.
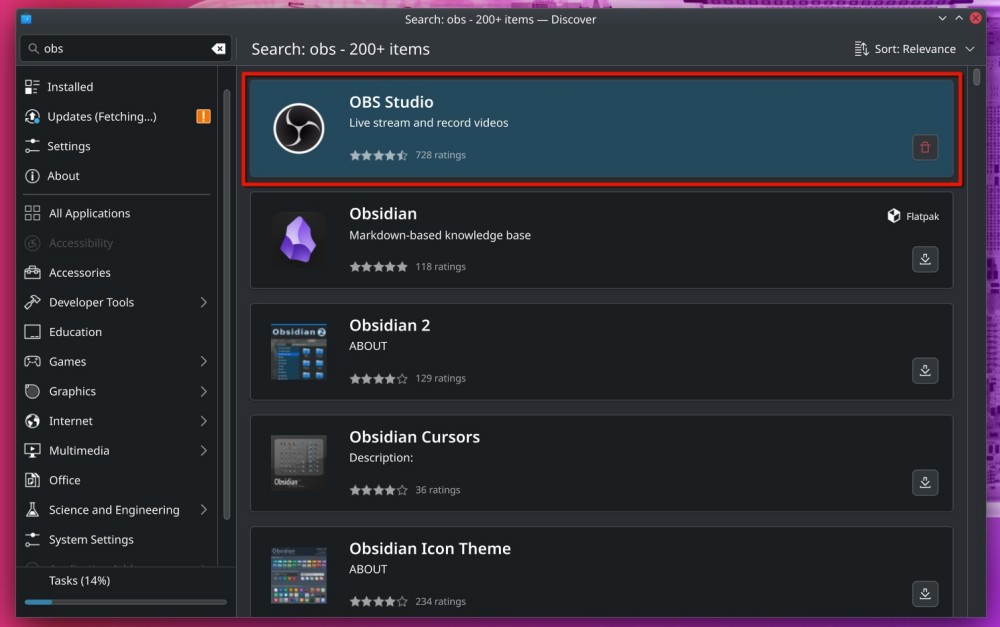
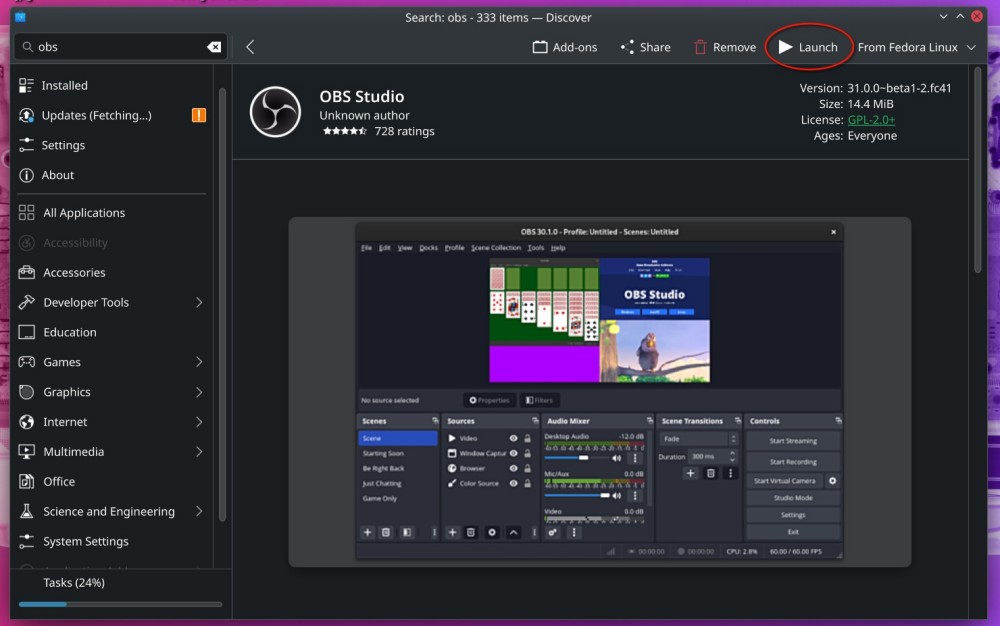
- If an update is available, click on the Update button.
- The store will start downloading the latest OBS version and will automatically install it.
Update OBS to the Latest Version from the Website
If you are unable to check for an update for any reason, you may manually update the app. Here’s how:
- Head over to the official OBS Studio downloads (website).
- Choose which operating system you want to download OBS for.
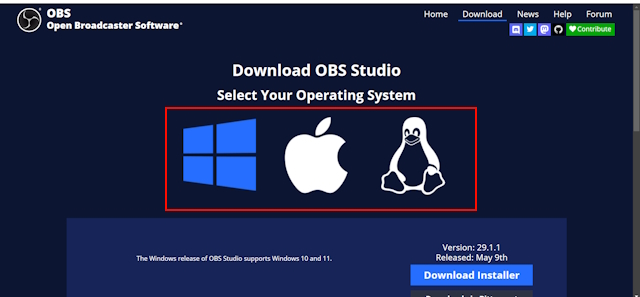
- Click on the Download Installer button to download the app installer.
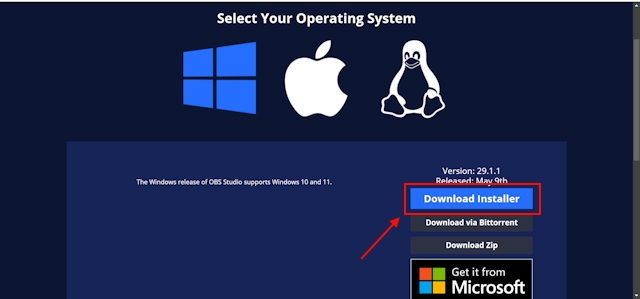
As soon as you click on it, OBS starts to download. Now, all you have to do is reinstall OBS Studio on your Windows or Mac device. The latest version will automatically replace the older version.
How to Automatically Check for OBS Updates
For those wondering if you can make OBS Studio automatically upgrade to a newer version, that is not possible. However, you can make it automatically check for updates on startup and choose to download the latest version on Windows and Mac. The process of enabling it is the same on both platforms.
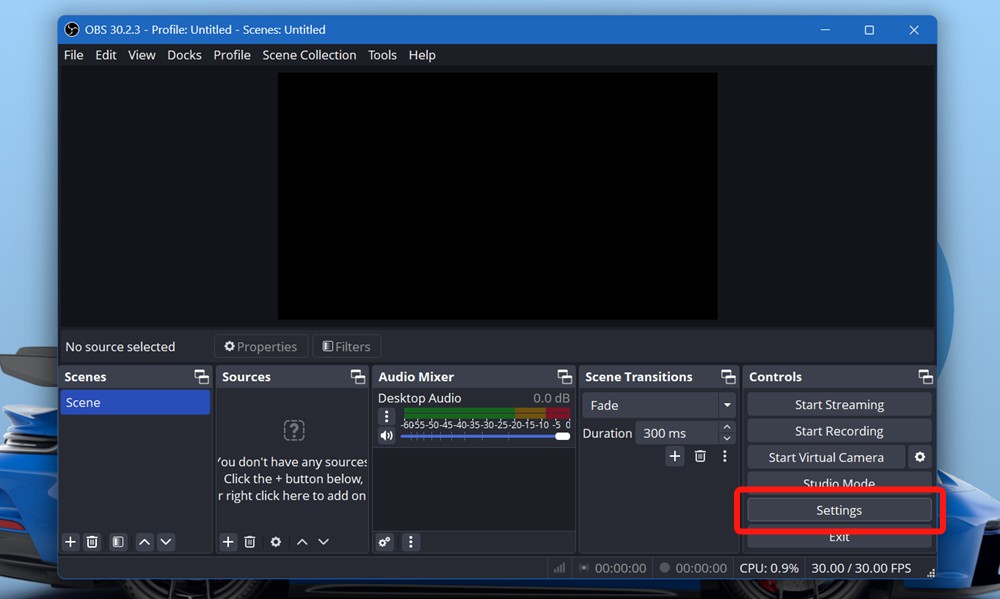
- Launch OBS for Windows or Mac and click on Settings.
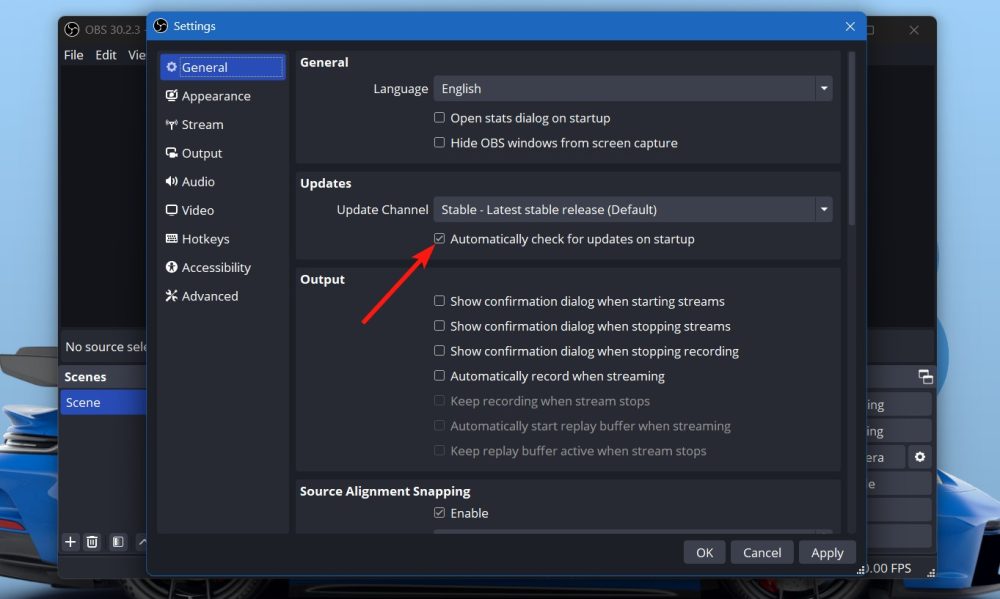
- Go to the General tab and check the Automatically check for updates on startup box.
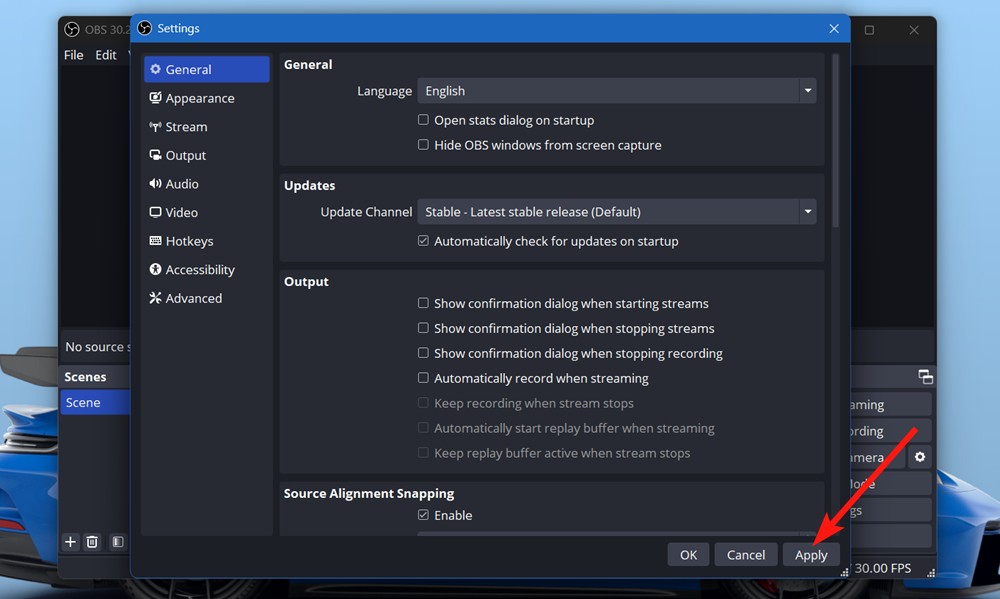
3. Finally, hit the Apply button to apply the changes and click on OK.
And those were all the ways to update OBS on Windows and Mac. The first method is incredibly easy but if you encounter issues, you can always install OBS manually without much effort. Similarly, if you want to update OBS plugins, you can manually download and install their latest versions to replace the older version.
Did we help you install OBS the right way? Let us know if you face any issues, in the comments below.
You can manually update it by heading to Help> Check For Updates > Update Now. Additionally, you can head over to the official website and download the Windows or Mac version.
To check for OBS updates on Mac, navigate to OBS Studio > Check For Updates > Update Now.
To update your OBS to the latest version, you need to ensure that you are due for one. If you are already on the latest version, no updates will be found.
Not exactly. But, you can enable the application to check for updates on startup. To enable this feature, head over to Settings > General > Tick the “Automatically check for updates on startup” checkbox > Apply > Ok.