At a time where work from home has taken center stage, screen sharing has become a must-have feature in every video conferencing app. Considering how essential this feature is for collaboration and presentation, most video-conferencing services like Zoom, Microsoft Teams, Google Meet have supported it for the longest time. Better later than never, Apple’s FaceTime video calling service has also joined the party with seamless SharePlay (enabling you to watch movies, TV shows, and listen to music together with friends) and screen sharing features. That means you can now share your screen using FaceTime on Mac for improved collaboration. With that said, let me show you how screen sharing works in FaceTime on macOS Monterey.
Share Screen Using FaceTime on Mac (December 2021)
Before getting started, make sure to check the requirements to keep hardware or software incompatibility at bay while using this nifty new FaceTime feature.
How Does Screen Sharing Work in FaceTime on Mac & What Are the Requirements?
Screen sharing in FaceTime on macOS Monterey works almost the same way as it does on iOS 15 and iPadOS 15. Once you have initiated a FaceTime call, you need to click the screen-sharing icon to start broadcasting your screen to others in the call.
As for the requirements, your Apple devices must be running macOS 12.1, iOS 15.1 or later, and iPadOS 15.1 or later. It’s worth pointing out the devices of all the participants must also be equipped with the supported operating systems and not just the host.
Can You Use FaceTime Share Screen with Android or Windows Users?
Sadly, there is no way to share your screen with Android or Windows users in a FaceTime call. Call it Apple’s age-old ploy to keep notable features exclusive to Apple Device users or a strategy to entice non-Apple device users to switch over. Even though you can now use Apple FaceTime on Android and Windows devices, you have to live with this harsh reality – for better or worse.
The Facetime functionality is rather limited on Android and Windows devices. To be more precise, non-Apple device users are merely allowed to join a FaceTime call (audio/ video) via a link. Forget about generating a FaceTime call link. They can’t even take part in any screen-sharing or SharePlay-enabled calls. What if that non-Apple device owner happens to be a loved one or close friend? Wouldn’t they feel left out of your movie night or the exciting virtual watch party powered by SharePlay? Sure they would.
A light FaceTime web app with all the basic features could have been a better option. It would have not only delivered a great experience to the end-user but also for Apple’s effort to establish its video-calling app as a compelling alternative to Zoom or Google Meet. While the rest of the world puts emphasis on connecting lives during the pandemic, FaceTime seems to be disconnected more than ever before. Hopefully, Apple listens to user feedback and fixes it sooner than later.
Enable and Use Screen Sharing in FaceTime on macOS Monterey
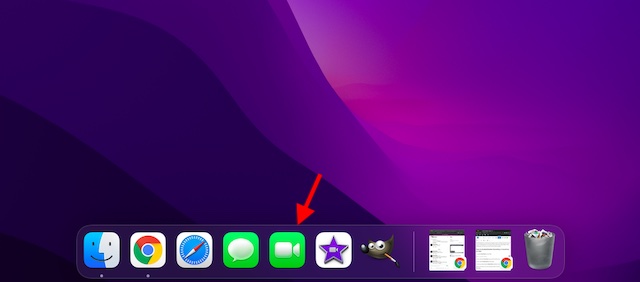
1. To get started, launch the FaceTime app on your Mac.
2. Now, click on “New FaceTime” and add the contact you wish to share your screen with. After that, hit the “FaceTime” button to initiate a video call. Alternately, you can also select a recent contact to start a call.

3. Once the call has connected, click the “SharePlay” icon in the FaceTime controls overlay. The SharePlay icon sits between the video and end call buttons.
4. Now, you will get two options in the FaceTime menu bar drop-down menu.
- Window: Select it to share a specific window or an app with others in the FaceTime call.
- Screen: Choose it to share your entire Mac screen with the users in the FaceTime call.
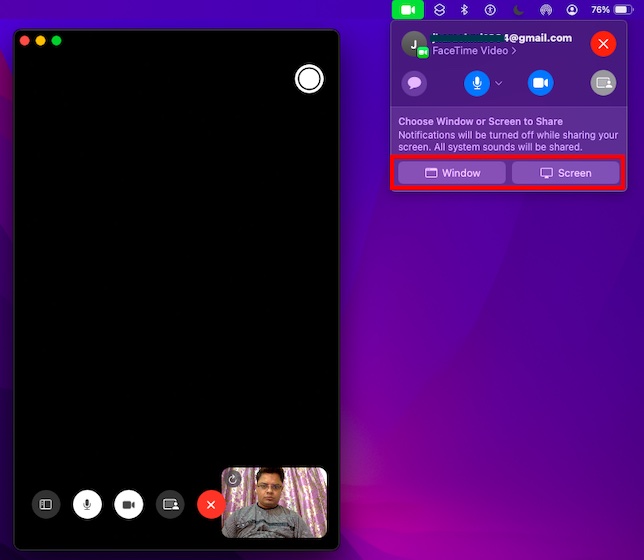
5. Under the “Choose Window or Screen to Share” option in the drop-down menu, select the desired option as per your need, and you are all set. If you choose the Window option, you will need to select a specific window from the apps open in the background.
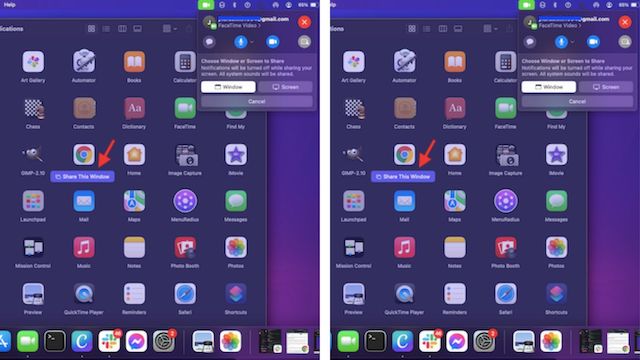
Do note that you may be prompted to click “Share This Window/ Share This Screen” options for confirmation to start broadcasting your screen, as shown in the screenshot above.
How to Change Shared Window in FaceTime on Mac
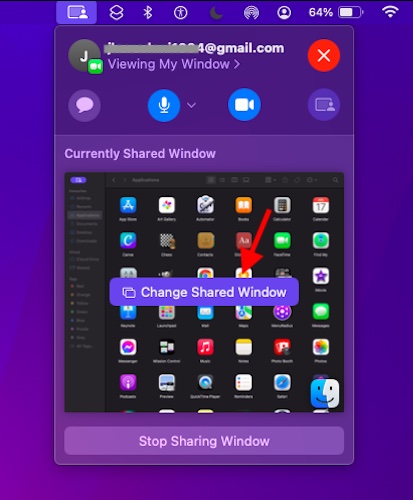
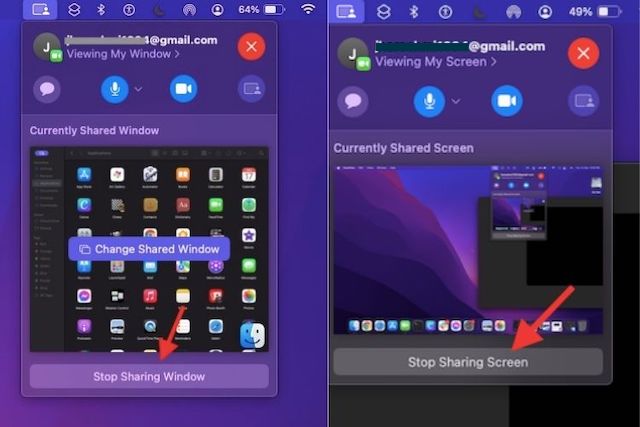
Notably, FaceTime also lets you change the shared window with ease. Simply hover the pointer over the thumbnail of the currently shared window in the FaceTime menu bar menu. Then, click on “Change Shared Window” under the “Currently Shared Window” section. After that, click the window you want to share.
How to Stop Sharing Window or Screen in FaceTime on Mac
It’s pretty simple to stop sharing your screen in FaceTime on macOS Monterey. To get it done, you simply need to click the “Stop Sharing Window/ Screen” button in the drop-down FaceTime menu bar.
Learn How to Use Screen Share in FaceTime on Mac
So that concludes our guide on how to use the screen share feature in FaceTime on macOS 12 Monterey. While there is no denying the fact that FaceTime has always been feature-rich and easy-to-use, the inclusion of a native screen-sharing feature has made Apple’s video calling app more capable. My only qualm will be Apple limiting this cool new feature to Apple device owners, leaving Android and Windows users to miss out on the fun. What’s your take on the redesigned Facetime app and its screen share feature? Do let me know your thoughts in the comments section below.