- The Windows Package Manager aka the Winget tool comes pre-installed on Windows 11.
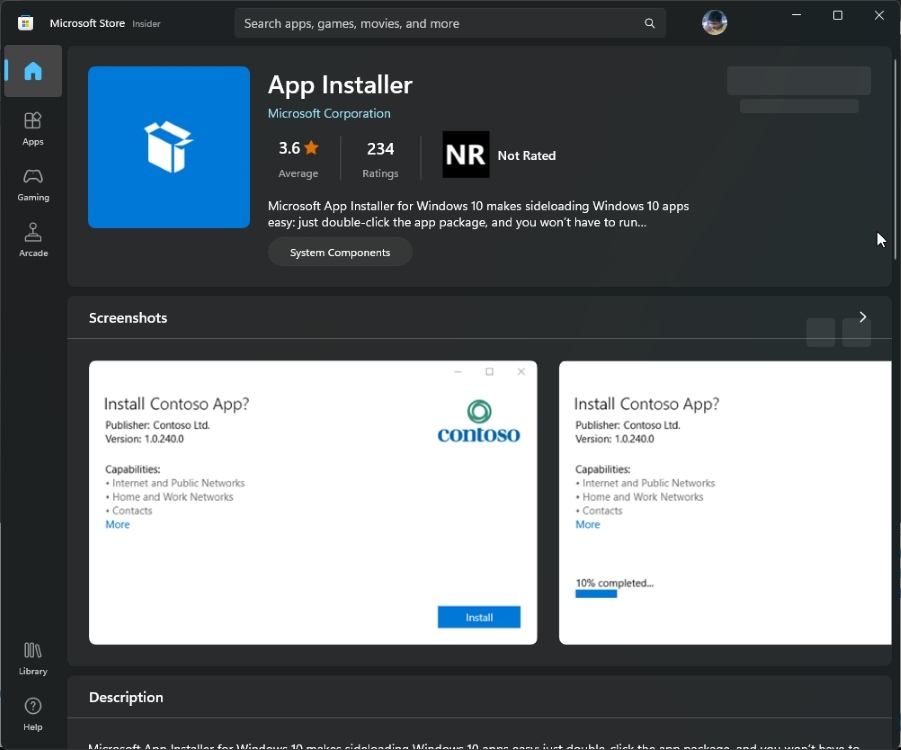
- For Windows 10, you need to install the App Installer package from the Microsoft Store.
- We have added some Winget commands to get started with the command-line tool quickly.
In the past few years, we have seen Microsoft embracing open-source technology. It started with the release of Windows Subsystem for Linux, then Microsoft acquired GitHub, and in 2020, it released the Windows Package Manager aka the Winget tool on Windows 10 and 11. It works similarly to APT on Linux, and you can use Winget to search, install, upgrade, and remove apps in a command-line interface effortlessly. So if that interests you, learn how you can install Windows Package Manager on Windows 10 and 11.
Install Windows Package Manager (Winget) on Windows 10 and 11
Note:
Besides Windows 11, the Windows Package Manager (Winget) is only supported on Windows 10 Version 1709 (October 2017) or later.
- To install the Windows Package Manager, you need to install App Installer (Free) from the Microsoft Store.
- On Windows 11, it should be already installed. If it requires an update, go ahead and update it right away to get the latest version of Winget.
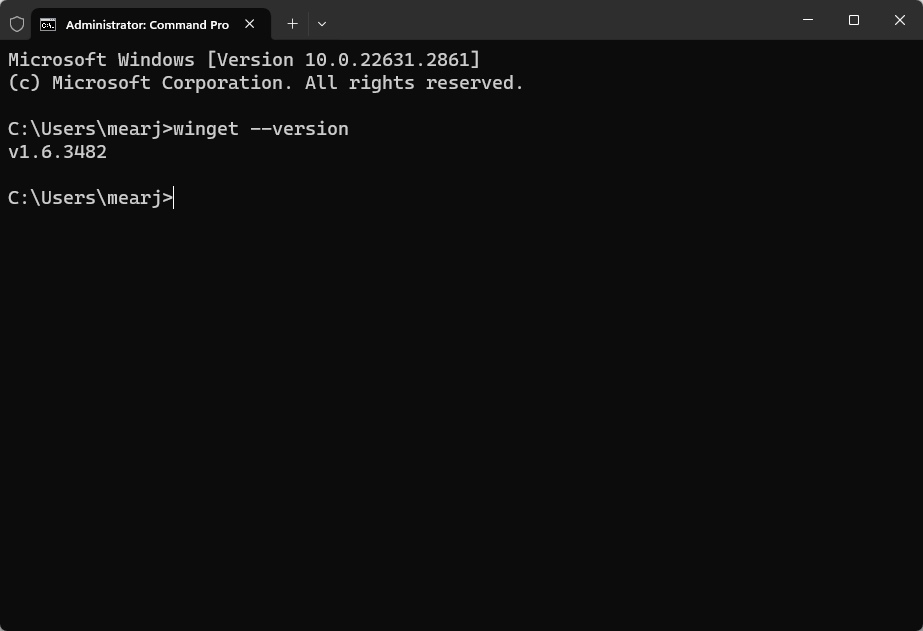
- Now that Winget is installed on your PC, open Command Prompt, Windows Terminal, or Windows PowerShell.
- Here, type the below command and press Enter. It should return the version number, which means Winget is installed on your Windows 10/11 PC.
winget --version
How to Use Winget on Windows 10 and 11
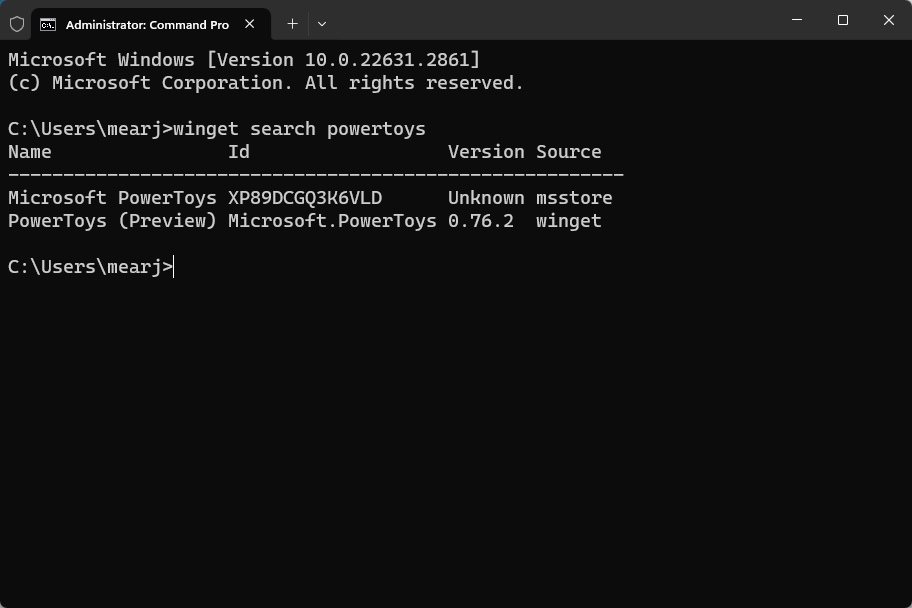
- To search an app using the Windows Package Manager, you need to run the below command. Make sure to replace
appnamewith whatever you are searching for.
winget search appname
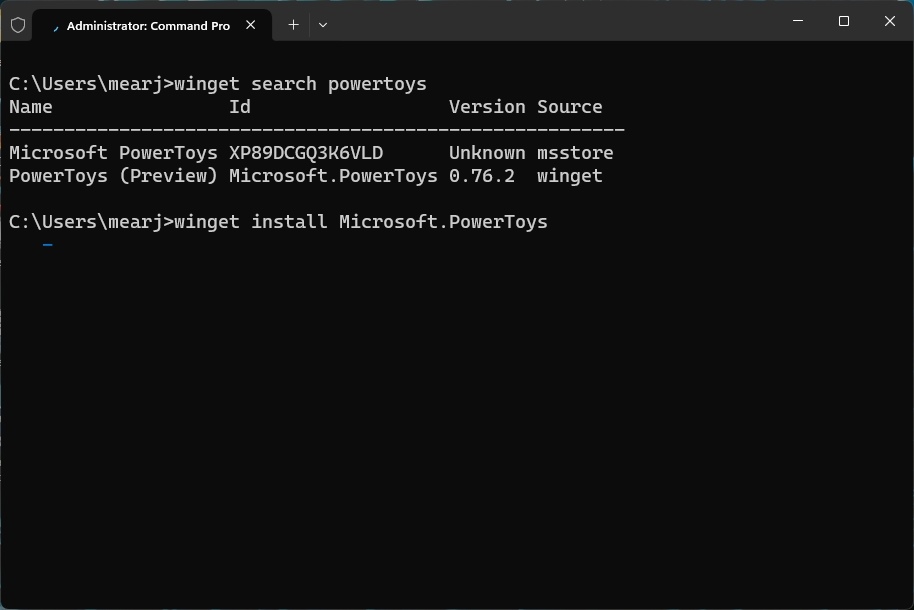
- Now, to install the app using Winget on Windows 10 and 11, run the below command. Make sure to replace
app_idwith the name under the “Id” column.
winget install app_id
- To download an app using Windows Package Manager, run the below command. The setup file will be saved to the Downloads folder.
winget download app_id

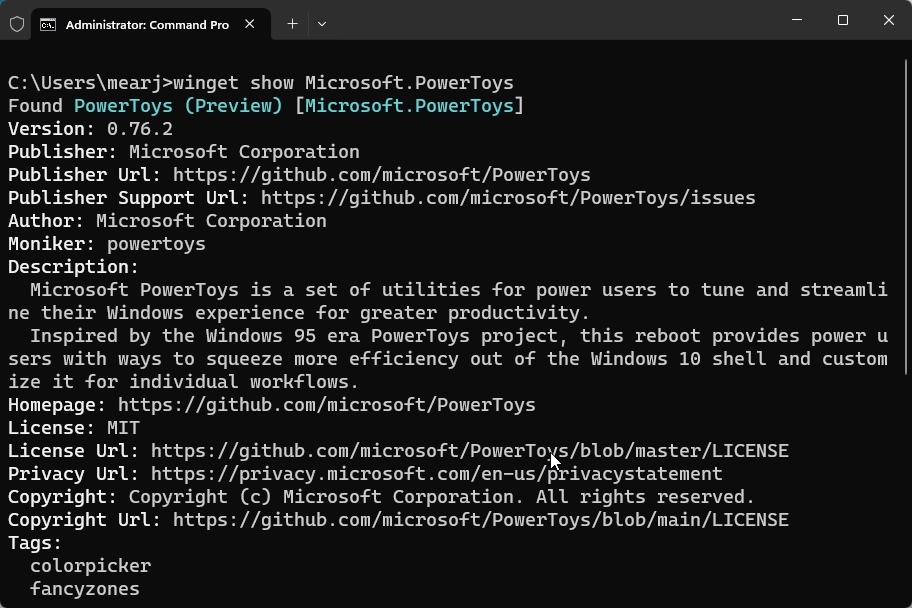
- You can also run the
showcommand to view the details of an app inside the Terminal. Of course, you need to replace theapp_idwith the actual app ID.
winget show app_id
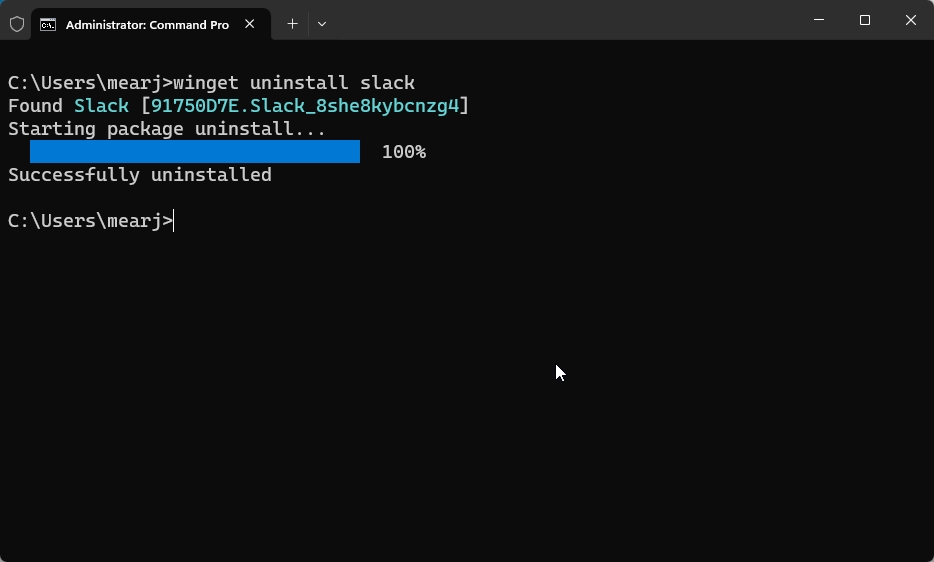
- To uninstall an app using Winget aka Windows Package Manager, you simply need to run the
uninstallcommand.
winget uninstall app_id
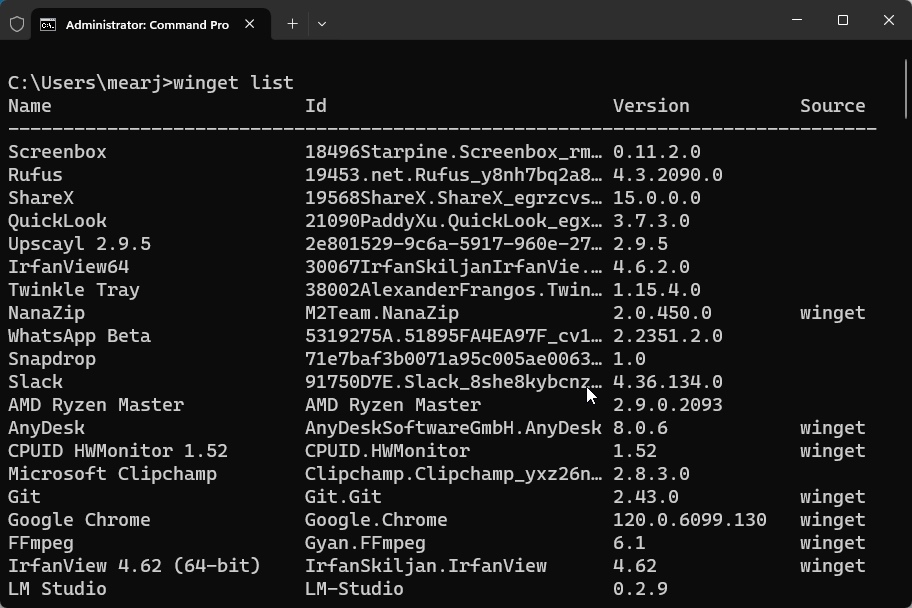
- To display all the installed packages, run this command.
winget list
- To upgrade an installed package, you need to use the below command.
winget upgrade app_id

- To find packages for which updates are available, run the below command. To update all the pending apps, run the second command.
winget update
winget update --all


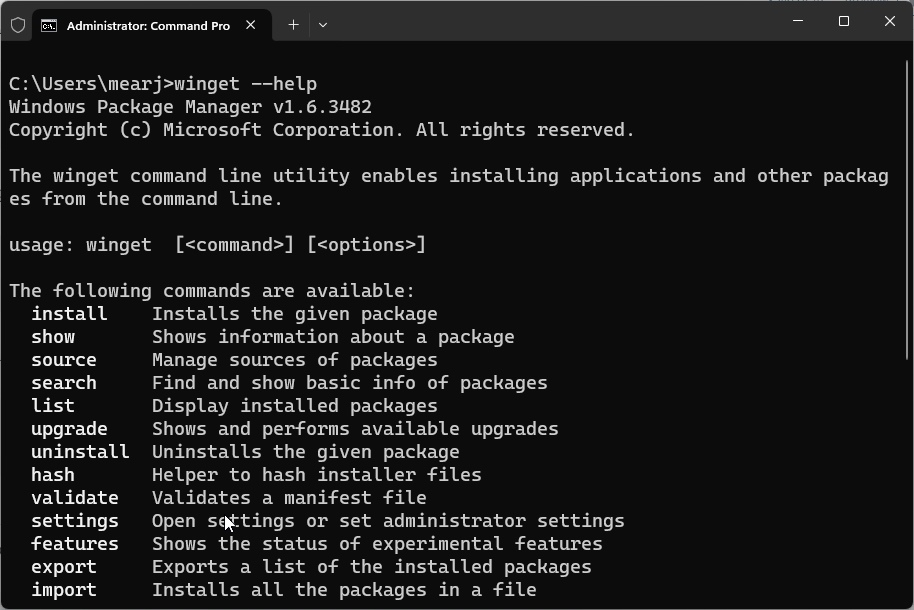
- To find more Winget commands, run this command or go to Microsoft’s documentation of the winget-cli tool (visit).
winget --help
So this is how you can install the Windows Package Manager on Windows 10 and 11 PCs. Windows 11 users already have it installed but if you have not updated it, go ahead and do it immediately. Not only for installing packages on the go, Winget is also a nifty tool for downloading popular Windows 11 apps. Moreover, if you are facing any issues, let us know in the comments section below.


