
- You can debloat Windows 11 using the Win11Debloat script. It removes all kinds of unnecessary apps, telemetry services, Bing integration, ads, intrusive UI elements, and more.
- Simply run a command in PowerShell and you can choose the Default mode which takes care of all the bloatware.
- That said, we strongly recommend users to back up all your crucial files and folders before running the script.
In our tutorial on how to speed up Windows 11, we recommended users to debloat Windows 11 to significantly improve the performance. So we have come up with another detailed guide on how to debloat Windows 11 from resource-hogging services and apps. Now, if you have an older PC and want a performance boost, learn how to debloat Windows 11 and keep Microsoft’s latest desktop OS lightweight and snappy.
Points to Keep in Mind Before Debloating Windows 11
- We are going to use the tried-and-tested Win11Debloat script (GitHub) by Jeffrey Raphire to debloat Windows 11. While I have tested the script on my PC and it works great, it’s always recommended to back up your important files before making any system-wide changes.
- I also strongly recommend users to create a system restore point on Windows 11. In case, things go south, you can use it to restore your PC to an earlier working state.
How to Debloat Windows 11
- First of all, make sure to update App Installer (Free) from Microsoft Store.


- Once updated, open the Start menu and search “PowerShell.” Now, click on “Run as Administrator.”


- In the PowerShell window, paste the below command and hit Enter. It will open a new PowerShell window.
& ([scriptblock]::Create((irm "https://win11debloat.raphi.re/")))


- Here, simply enter
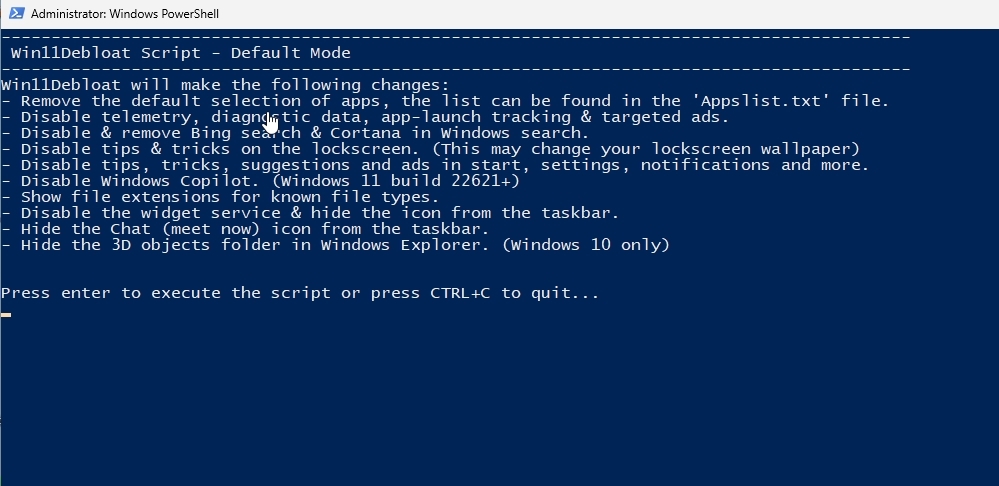
1and hit Enter. I am choosing the Default Mode because it works pretty well and removes all kinds of bloatware from Windows 11. I did test it on my PC, and it worked fine.


- You can review the changes that the script is going to remove your Windows 11 PC. Now, press “Enter” to confirm the action.

- It will start the debloating process and within a minute, the process will be completed.


- Now, simply restart your PC and you will boot to a completely bloat-free Windows 11.


So that is how you can remove all kinds of junk that come pre-installed with Windows 11. Not just that, it also disables all Telemetry services that take up a huge amount of resources in the background. You can also check out the best Windows 11 settings to change after installation. We hope this guide helped you speed up your Windows 11 PC or laptop. In case you have any questions, let us know in the comment section below.

