
- The easiest way to check your graphics card (GPU) on Windows 11 is via the Task Manager. Open Task manager and move to Performance > GPU.
- You can also find your integrated GPU inside Windows Settings. Open Settings and move to System > Display > Advanced Display > Display adapter properties.
- Moreover, you can find integrated and discrete GPU details from DirectX Diagnostic tool, Device Manager, and System Information.
If you have bought a new Windows laptop, you would want to check the GPU details to know whether it can handle your gaming or creative needs. It’s also important to know your Graphics Card in case you want to update your GPU drivers on Windows 11. You can find the graphics card memory, along with the GPU temperature and the real-time performance of the graphics card. So on that note, let’s learn how to check your graphics card (GPU) on Windows 11.
Check Graphics Card (GPU) on Windows 11 via Task Manager
On Windows 11, you can easily find information about your graphics card from the Task Manager. You just need to open the Task Manager in Windows 11 and move to the “Performance” tab. Here is how to go about it:
- Press “Ctrl + Shift + Esc” to open the Task Manager. Next, move to the “Performance” tab under the hamburger menu.

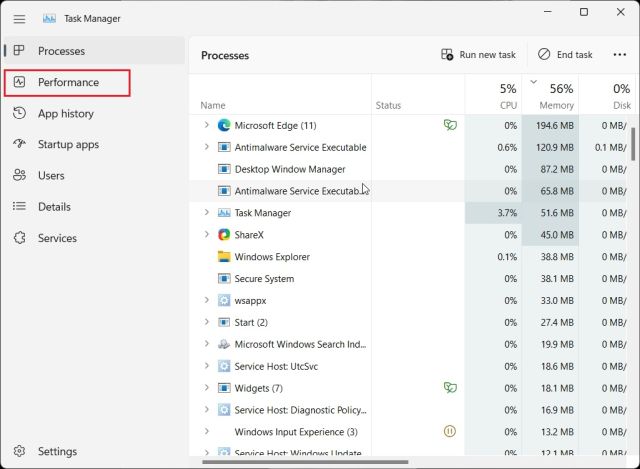
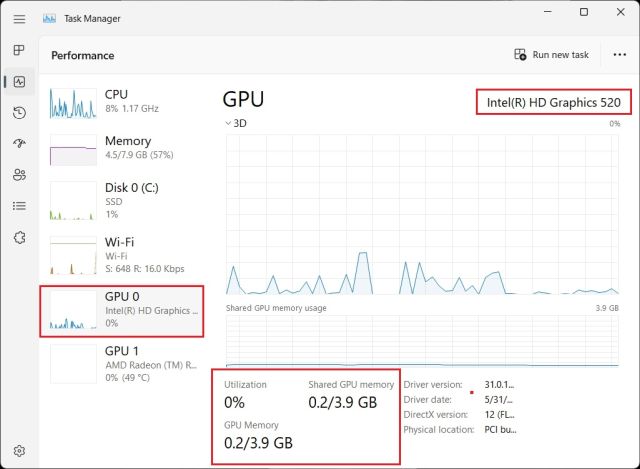
- Now, move to the GPU section to get detailed information. Here, “GPU 0” means integrated GPU, and “GPU 1” is the external GPU.
- GPU 0 shows the name of the integrated graphics card along with GPU temperature and VRAM information.
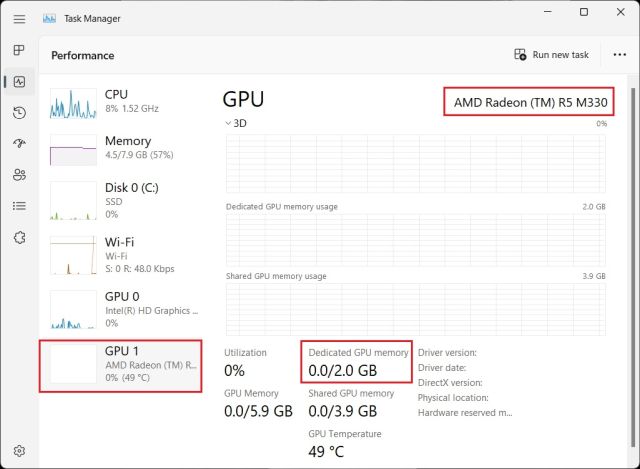
- GPU 1 shows the external GPU card name and “Dedicated GPU memory”.
Check Graphics Card From Windows Settings
Apart from the Task Manager, you can also check your graphics card details on Windows 11 from the Settings page.
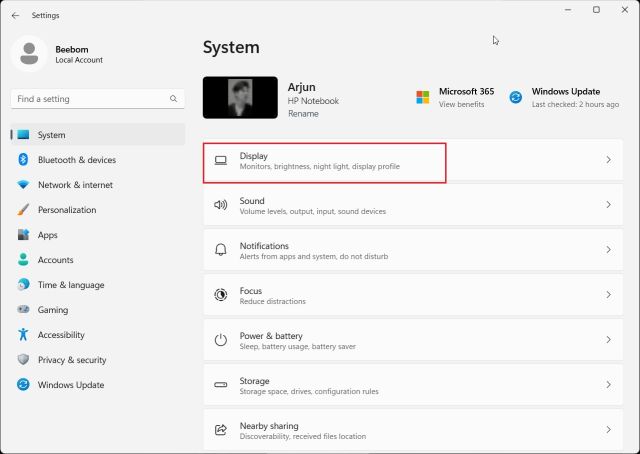
- Press “Windows + I” shortcut to open the Settings page. Next, move to “System” and then click on “Display”.

- After that, click on “Advanced display“.

- Here, click on “Display adapter properties for Display 1“.
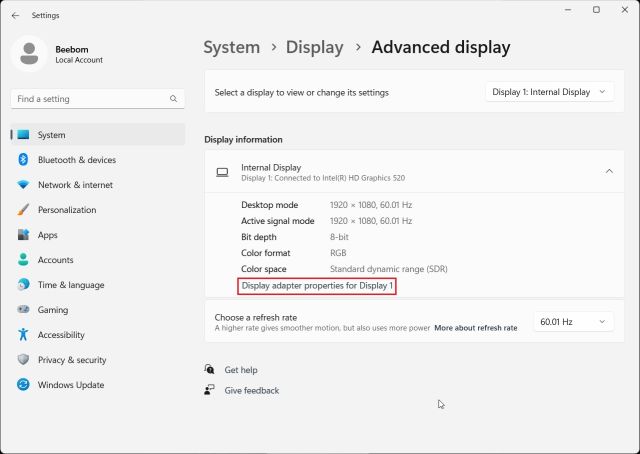
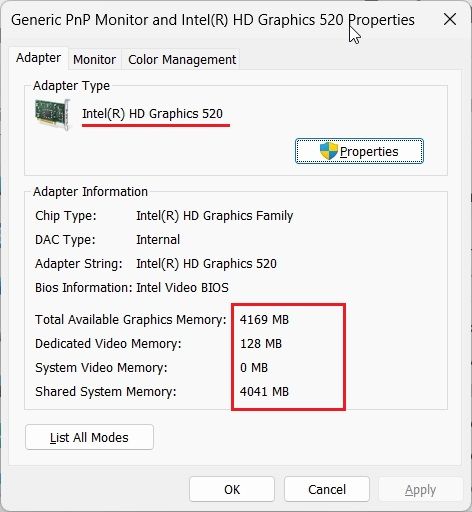
4. This will show the graphics card details, along with the GPU memory.

Check GPU on Windows 11 From DirectX Diagnostic Tool
Windows 11 also lets you check the GPU details from the built-in DirectX Diagnostic Tool. Here are the steps to follow.
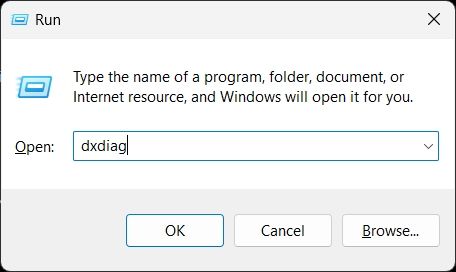
- Press “Windows + R” to open the Run prompt. Here, type
dxdiagand hit Enter.

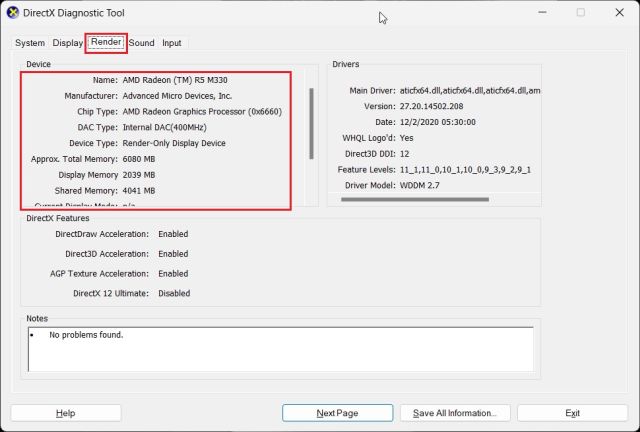
- This will open the DirectX Diagnostic Tool. Now, move to the “Display” tab, and you will find details about the integrated graphics card.

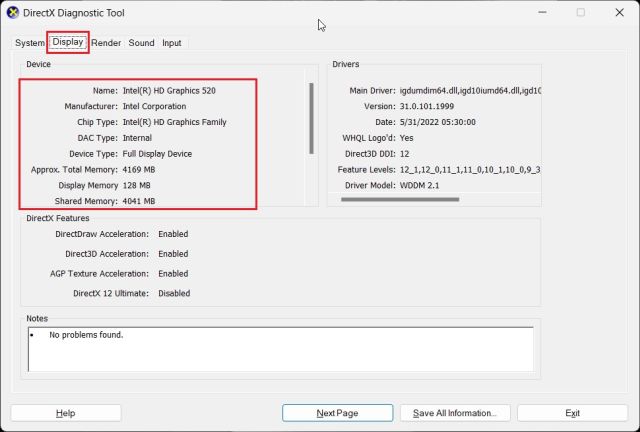
- Move to the “Render” tab to find the external GPU. The “Display Memory” is the actual graphics card memory of the GPU.
Check GPU Card From the Device Manager
GPU card details can also be seen on Windows 11 through the Device Manager. Follow the below steps in Windows 11.
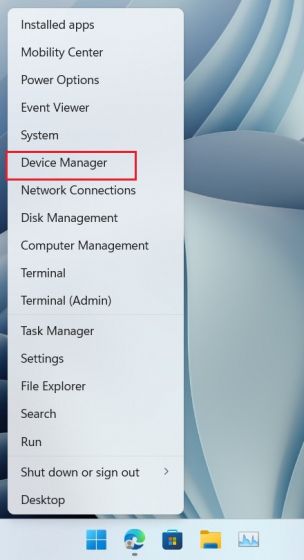
- Press “Windows + X” to open the Quick Links Menu and click on “Device Manager“.

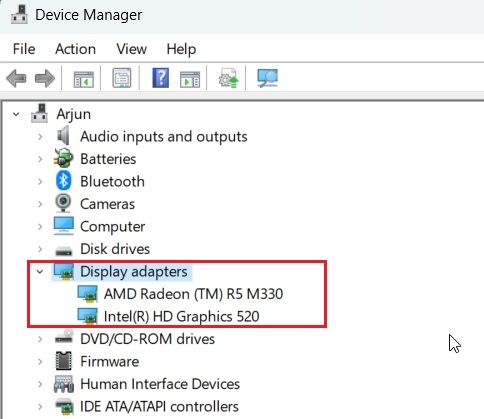
- Next, double-click on “Display adapters” to expand the menu.
- Here, you will find the name of the graphics cards available on your PC. For example, I have an Intel-integrated GPU and an external AMD Radeon GPU on my laptop.

Check Graphics Card Details From the System Information
Lastly, you can identify the graphics card details for your Windows 11 PC using the System Information app.
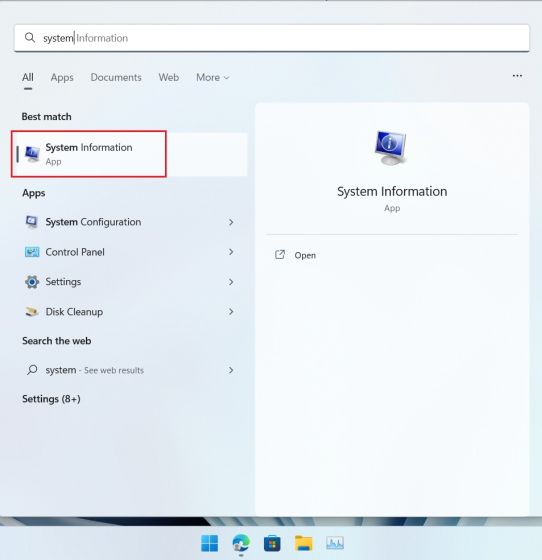
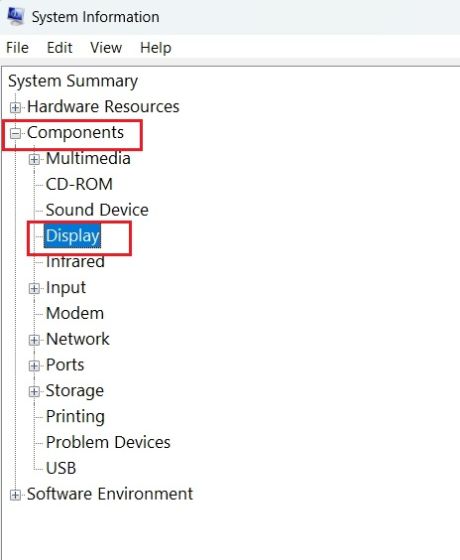
- Press the Windows key once and type “system”. Now, open “System Information“.

- Next, navigate to Components -> Display in the left sidebar.

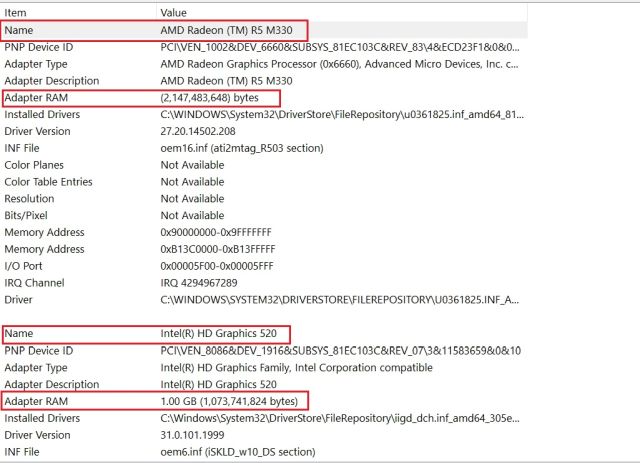
- Here, you can find the internal and dedicated graphics cards on Windows 11. “Adapter RAM“ shows the actual graphics card memory.

So these are the five ways you can use to check the GPU name and memory on Windows 11. I have included steps for both integrated and external GPUs along with how to check the graphics card memory on Windows 11 PCs. In case, you want to check the CPU temperature on your Windows 11 computer, follow our detailed guide.

