
One of the biggest UI changes and hidden features coming with iOS 14 is the new folder structure that allows us to organize things. We have already covered how you can use folders to organize shortcuts, and how useful it is in the Messages app. And in this article, we show you how you can create and manage folders in the Voice Memos app in iOS 14, to organize your voice recordings.
Create and Manage Folders in Voice Memos in iOS 14
Like always, Apple has struck the perfect balance between bringing a new feature and keeping the official UI clean. When you launch the app, as always you are presented with all your recordings. So, you won’t feel out of place. But hit the back button at the top, and you will get all the organizational tools that you need. So, let’s get started, shall we?
1. Launch the Voice Memos app and tap on the back button at the top-left.


2. You will see a single folder that stores all your recordings. To create a new folder, tap on the “new folder” button at the bottom right.

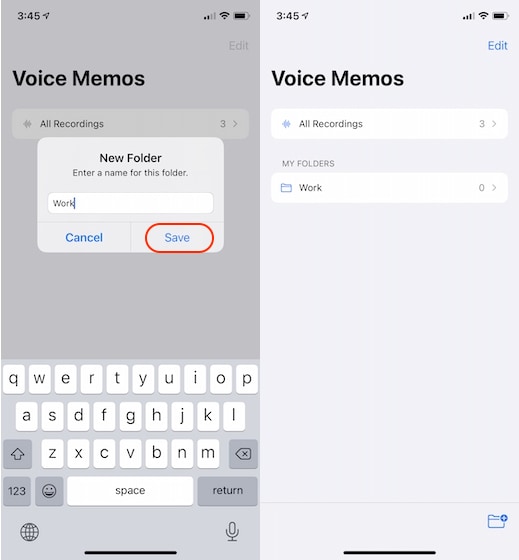
3. Now, enter the name of the folder and hit save. It will show up on the home page for folders as shown in the picture below.

4. To move recordings to a folder, open “All Recordings” and hit the “Edit” button at the top-right. Here, select the recordings and then tap on “Move”.

5. Now, select the folder, and you are done.

6. To edit or delete a folder, tap on the “Edit” button and then on the three-dot menu.
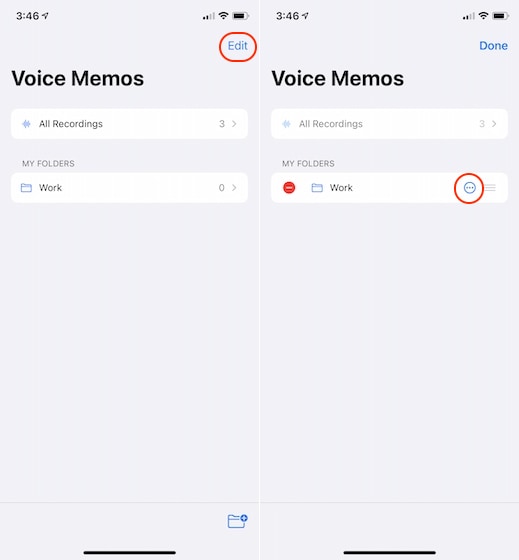
7. Select the required option to rename or delete the folder.

Organize Voice Recording in Memos App on Your iPhone
As you can see, it’s easy to create and manage folders inside the Voice Memos app. I love the new organizational abilities that Apple has included with iOS 14, as it allows me to easily manage my files. We have covered many iOS 14 features, like the incredible Back Tap feature, in detail on our website. So, don’t forget to read them to learn more.

