
Google just announced Android 12L, an OS upgrade meant for tablets, foldables, and Chromebooks. For years, Google had abandoned the tablet form-factor, but with the recent success of foldables, the Mountain View giant has finally put its act together. Thanks to the Android Studio emulator, you can try Android 12L on a Windows PC, Mac, or Chromebook right now. It does not offer great performance, but you can get a taste of how Android 12 will run on a larger screen. So if that interests you, follow our guide and learn how to install and use Android 12L on your PC, Mac, and Chromebook.
Try out Android 12L on Windows, Mac, and Chromebook (2021)
In this article, we have included the step-by-step process to install and try out Android 12L on your Windows PC, Mac, and Chromebook. Based on your OS, you can move to any section from the table below.
Install and Use Android 12L on Windows and Mac
To experience Android 12L on Windows 10/ 11 or Mac, there’s only one requirement – Android Studio. You simply need to get the latest Canary version of Android Studio to try out the Android 12L emulator on your device. Follow the steps below to learn how it’s done:
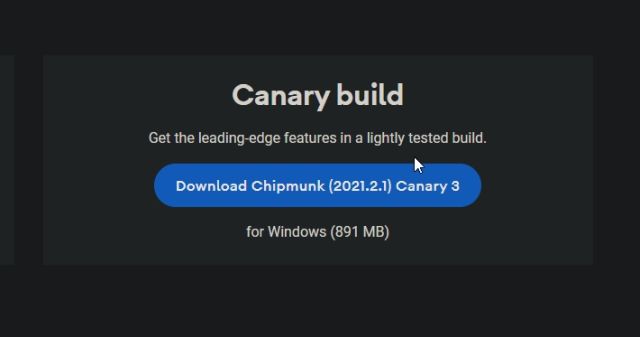
1. You will first need to download the Canary build of Android Studio. Click here and download the latest Android Studio Canary build. It will automatically offer you the setup file based on your OS – ZIP for Windows and DMG for macOS.

2. After downloading the file, Windows users will have to extract the ZIP file and navigate to the “bin” folder. Then, you need to double-click “studio64.exe“. Mac users can drag Android Studio to the Applications folder.


3. Now, an Android Studio installer will open up. Keep everything as default and click on “Next“. During the setup, it will download some packages from the internet.

4. After the installation is done, click on “More Actions” and choose “Virtual Device Manager” on the Android Studio window.


5. Next, click on “Create Device” at the top-left corner.


6. On the next screen, move to the “Tablet” section under “Category” and choose “Pixel C” or “Nexus 9”. By the way, you can also choose the “Foldable” option from the “Phone” section.


7. Then, click on “Download” next to Sv2. For those wondering, Sv2 is the new Android 12L build that we need to test. The file size is around 1.4GB, so keep patience. It should take merely 5 minutes if you have a speedy internet connection. After that, click on “Finish”.


8. Coming back to the main Android Studio window, click the “Play” button under “Actions” for the Pixel C or Nexus 9 device we just created in the previous two steps.

9. That’s it. The Android 12L emulator will load on your Windows PC or Mac right away. You can then experience all of the new features and UI changes in Android 12L with ease.


Install and Run Android 12L on Chromebook
To run Android 12L on a Chromebook, your Chrome OS device first needs to meet some eligibility criteria. I have mentioned all the said requirements and steps in a lucid manner below. Follow the instructions step-by-step to get Android 12L running on your Chromebook.
Requirements to Use Android 12L
1. You need a powerful Chromebook to use Android 12L, preferably one equipped with an Intel or AMD processor. If an ARM-based Mediatek or Snapdragon processor powers your Chrome OS device, you can’t test out Android 12L right now. In the future, Google might add support for these boards too.
2. You need Linux support on your Chromebook. Hence, most of the school-issued Chromebooks might not be able to take advantage of Android 12L, at least for now. Note that Google recently allowed Linux usage even on school Chromebooks, but it will depend on the school administrator to unlock the feature.
3. Finally, you will need support for nested KVM to use the Android 12L emulator on your Chromebook.
Set Up Linux on Your Chromebook
1. First, you need to set up Linux on your Chromebook. You can follow our detailed guide to have Linux running on your Chrome OS device in no time. Make sure to allot more than 20GB of disk space to Linux.


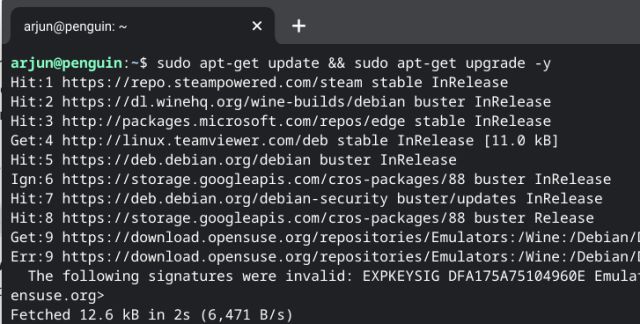
2. After Linux installation, open the Terminal and run the below command to keep everything up to date.
sudo apt-get update && sudo apt-get upgrade -y

3. If you get any errors along the lines of “not available” or “can’t connect”, run the below command. It will change the Buster repository to oldstable. This is one of the ongoing issues with Linux on Chromebook. After running this command, execute the above command, and this time, it will work without any issues.
sudo apt-get update --allow-releaseinfo-change


4. Next, you need to install Java Development Kit (JDK) on Linux in your Chromebook. To do that, run the below command in the Terminal.
sudo apt -y install default-jdk libnss3

Install Android 12L on Chromebook
1. Next, go ahead and download the Canary build of Android Studio from the link here. It will be downloaded in DEB file format.


2. After that, open the Files app and move the DEB file to the Linux section.


3. Now, open the DEB file and install it right away. Keep in mind that the installation process will take some time, so please be patience.


4. Once the installation is complete, open Android Studio from the launcher. You will find it under the “Linux” folder.


5. Now, go through the on-screen setup instructions and keep everything as default. Click on “Next” and finish the setup. The installer will download some packages from the internet.


6. Once the installation is done, move to the Windows/ Mac section above and follow the instructions from step #4. From here on, the steps for Windows, Mac, and Chromebooks are the same.
Once you have installed Android 12L on your device, check out some of these new UI and multitasking features in action:


Experience Exciting New Features in Android 12L
So that is how you can set up Android Studio and run Android 12L on your Windows PC, Mac, or Chromebook. Currently, we have this new tablet and foldable-friendly version of Android 12 through the Android Studio emulator, but soon, we will try installing the OS on a tablet. Anyway, that is all from us in this guide. If you want to check out the best Android 12 features, head over to our linked article. In addition, if you are running an older Android version, you can also get Android 12 widgets on your phone right now. And if you have any questions, let us know in the comment section below.

