- Booting into Safe mode is a great way to troubleshoot problems in your Windows 11 PC.
- The most common way to boot into Safe mode is by clicking on Restart while holding the Shift key.
- Some of the other methods involve using the command line, settings app, or force closing windows to boot into recovery settings.
No operating system is immune to issues, and it could sometimes take lots of troubleshooting to fix a particular one. One of the solutions people often recommend when trying to fix issues on Windows is to boot into Safe Mode. Here are the five ways you can start Windows 11 in Safe Mode.
When you ask Windows to boot into Safe mode, it essentially boots with the bare minimum of processes and drivers required for Windows to function. How does it translate to “troubleshooting” you ask? If Windows boots in the vanilla state, you can eliminate the possibility there’s something wrong with the hardware or a particular software, depending on what you’re troubleshooting.
What is Safe Mode in Windows 11?
Windows 11, or for that matter, all versions of Windows have something called Safe mode. It is an isolated environment where only system files and drivers are loaded. Even network drivers, Bluetooth, display drivers, and other radio devices are turned off. In essence, you can say that Windows 11 in Safe mode is a basic state, where no third-party interference is allowed.
If a problem does not occur in safe mode, it means the system files and drivers on Windows 11 are fine. Then, you should look at other third-party programs or drivers to solve the issue. Since it’s completely isolated, you can also use Windows 11 Safe mode to fix your PC, uninstall adware, and more, as no program will prevent you from performing any action.
Difference Between the Three Safe Modes
There are three Safe modes available in Windows: Minimal, Safe mode with networking, and Safe mode with Command Prompt.
The minimal Safe Mode, as the name suggests, is the most basic version of this mode. You don’t have access to the Internet (either via Ethernet or Wi-Fi), Command Prompt, alternative shells like PowerShell, etc., in this mode. Also, even the firewall doesn’t allow any inbound or outbound connections to the PC. Hence, it’s a minimal safe mode where only minimal system files, drivers, and services are started to start the GUI interface of the OS.
Next is Safe mode with networking, where all the conditions of minimal safe mode are applied, but you also get access to an Ethernet connection. Note that even Wi-Fi won’t work in this mode. You will have to use a wired Ethernet connection.
And the last one is Safe mode with Command Prompt, where the stripped-down version of Windows 11 is loaded but without the GUI interface. A Command Prompt window will open up from where you can inspect and diagnose your PC.
Method 1: Boot into Safe Mode Using the Start Menu
- Click the Windows icon to open the Start menu.


- Click the Power icon for more options.

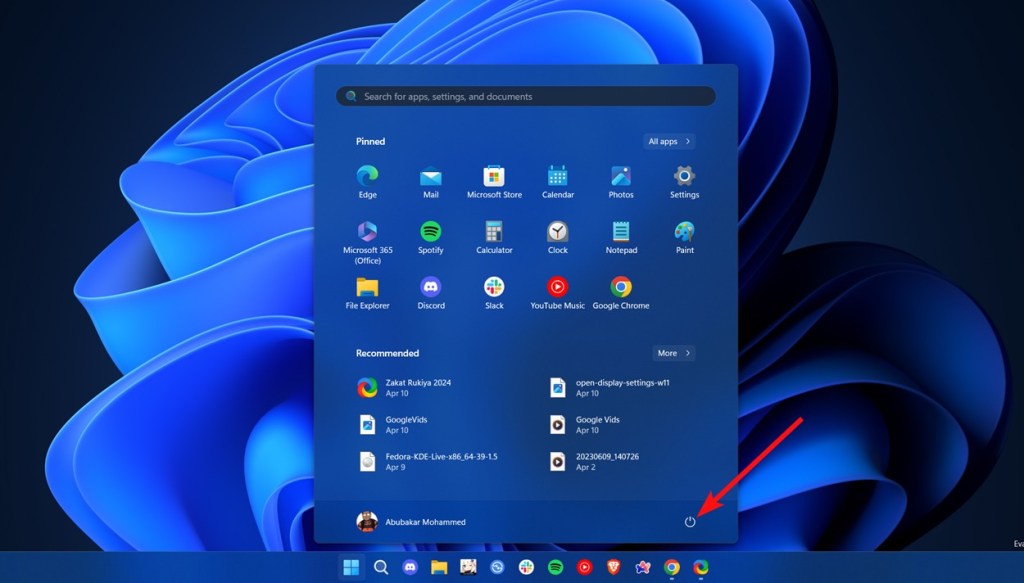
- Now hold the Shift key on your keyboard and click on Restart.

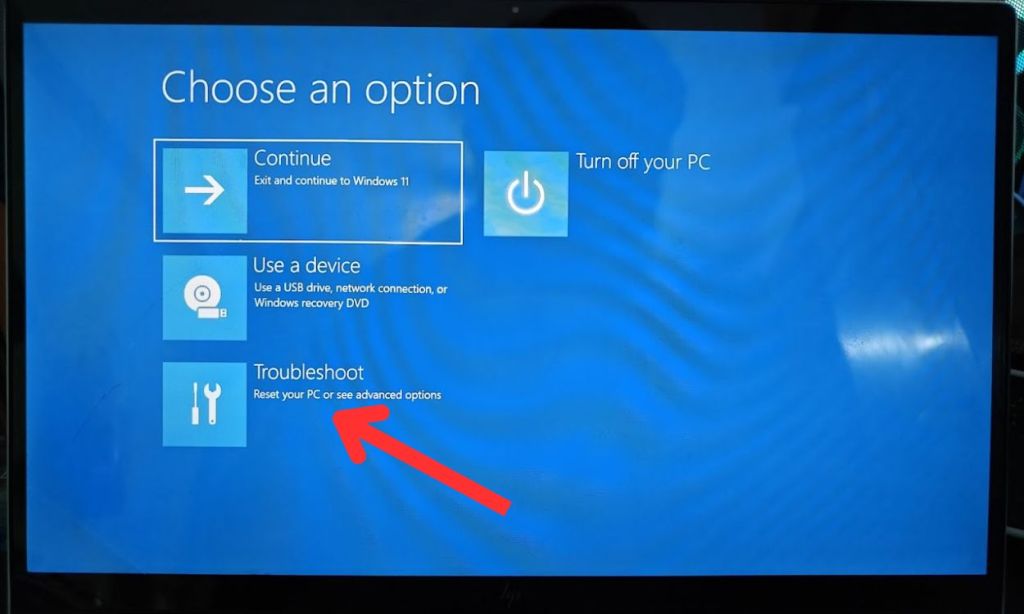
- Windows will then boot into the Advanced Startup page options page. Click on Troubleshoot.

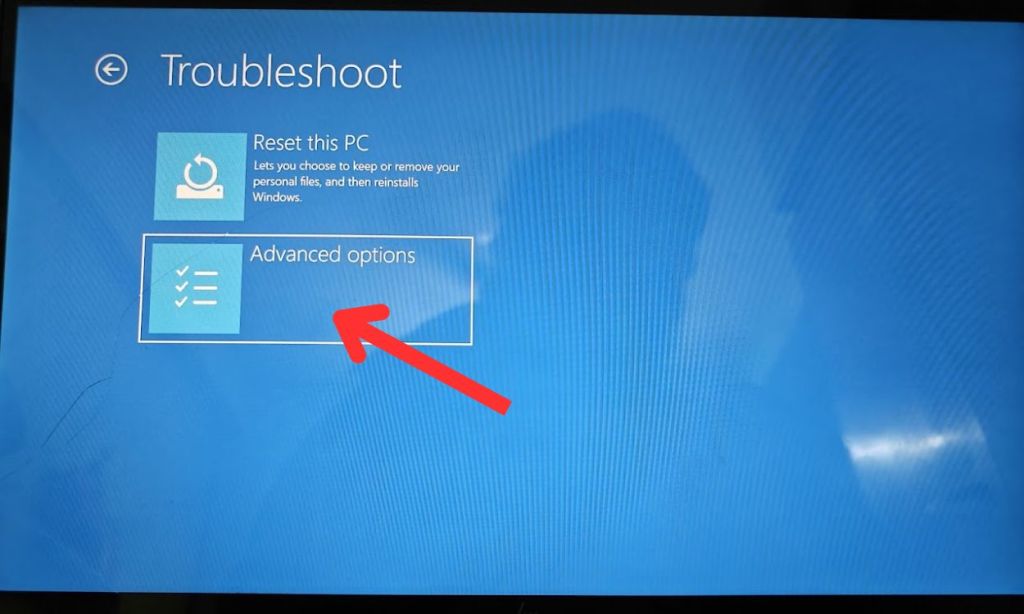
- Now select Advanced options.
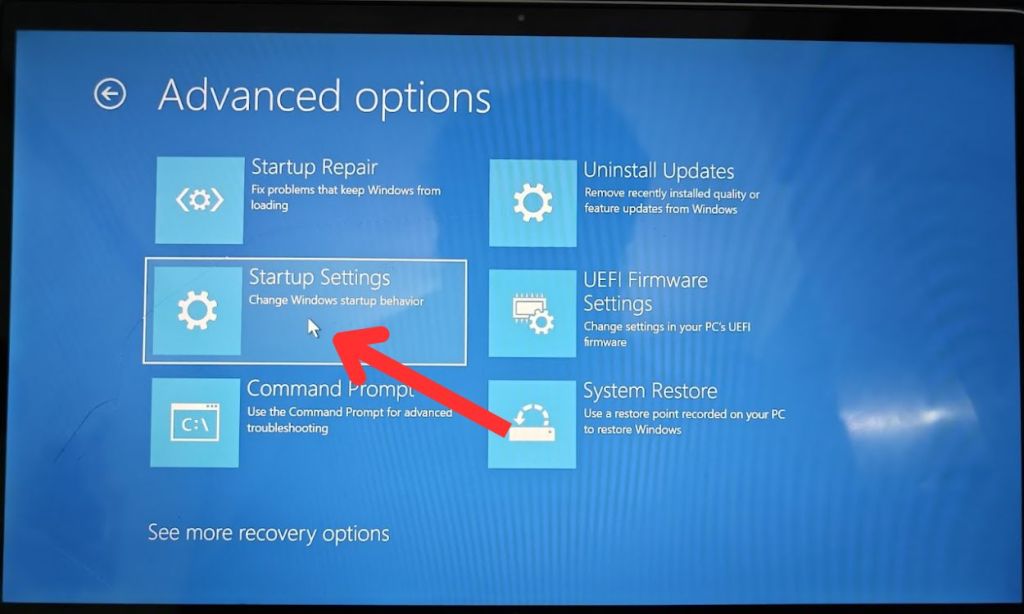
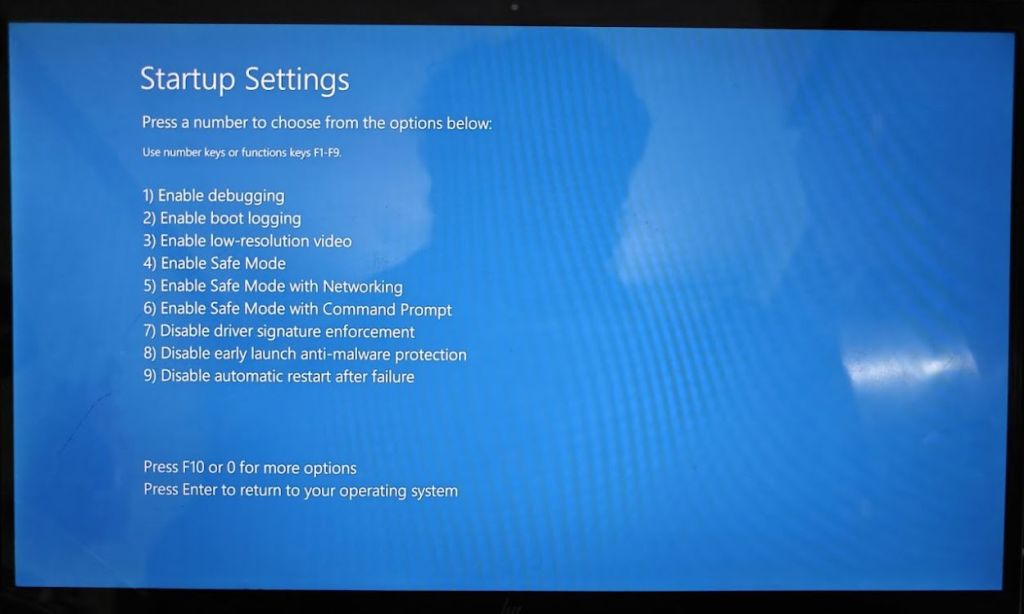
- Click on Startup Settings.
- Here, click on Restart.

- Finally, press the F4 key on your keyboard to enter Safe Mode.
Your Windows 11 PC should then boot normally and as soon as you enter your PIN, you’ll see the Safe Mode text on the bottom-right and top-left corners, indicating you’re in Safe Mode. Your installed apps and wallpaper will also disappear.
Method 2: Boot into Safe Mode from Settings
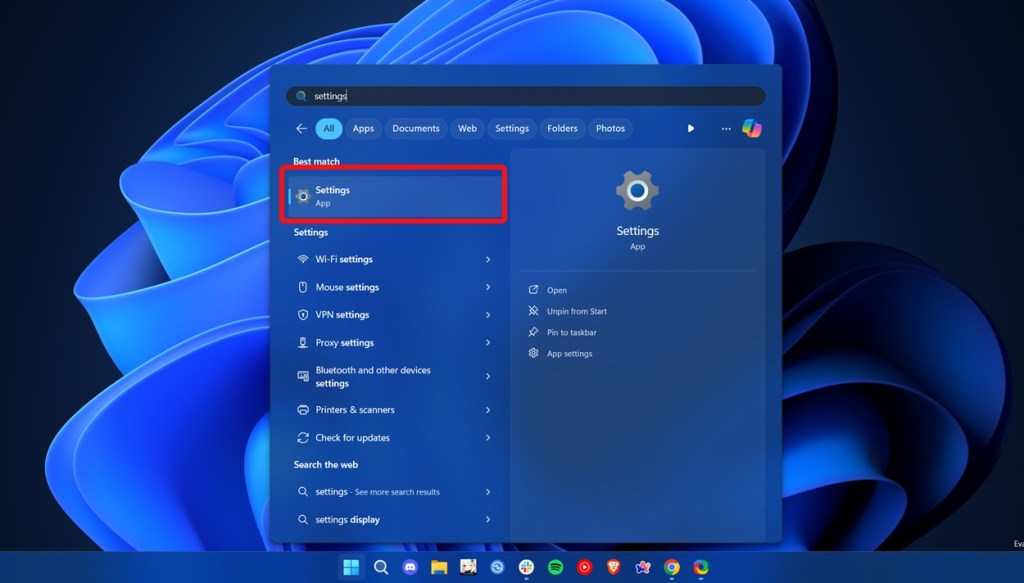
- Open the Settings app using the Windows + I shortcut or from the app menu.
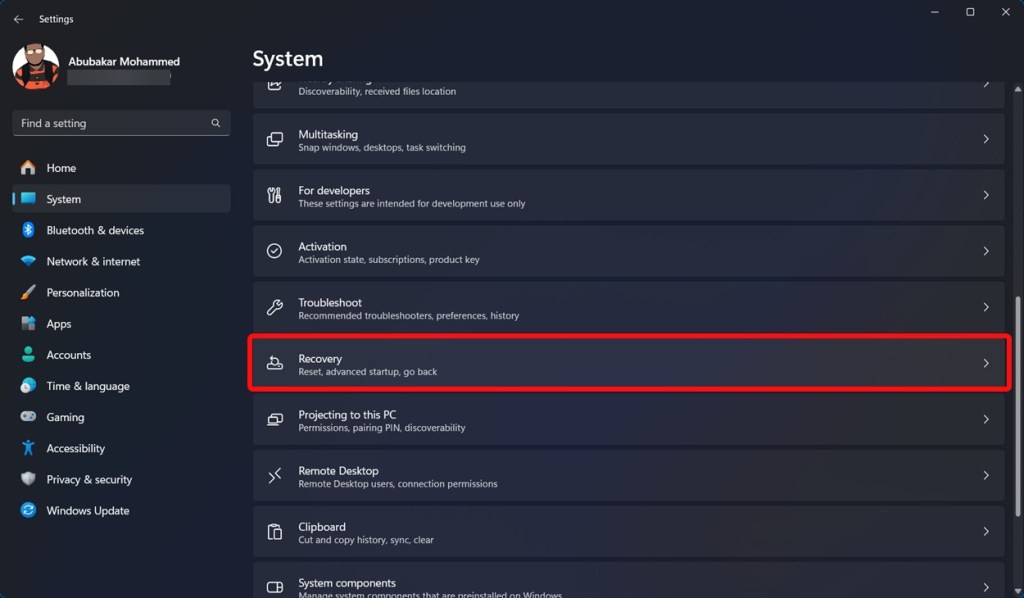
- In the sidebar, click on System and select Recovery.

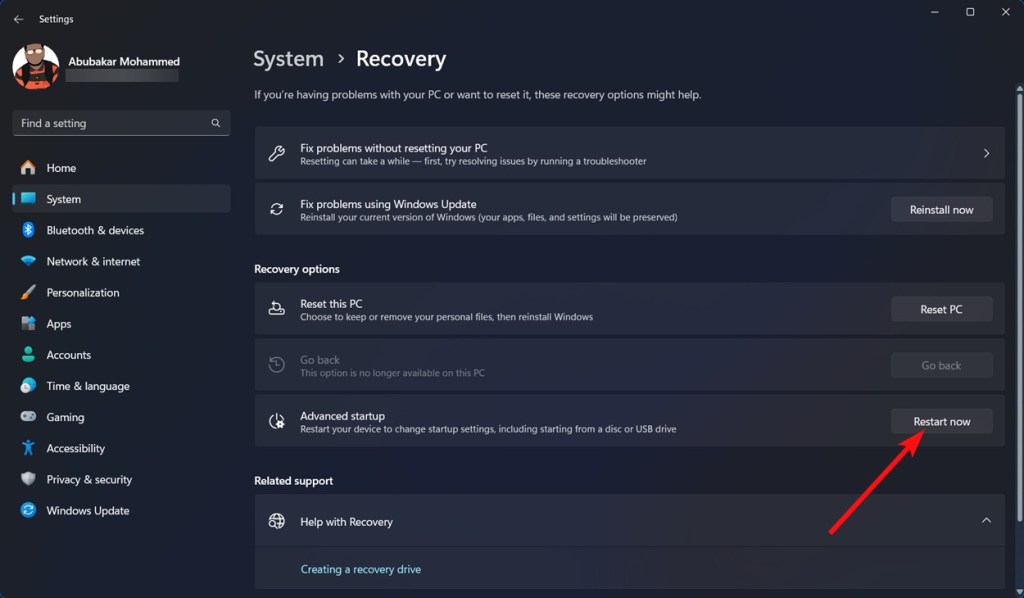
- In Advanced Startup, click on Restart now.
- Wait for your PC to reboot into the Advanced Startup page options page.
- Follow steps 4-8 from Method 1 above to enter Safe mode.
Method 3: Boot into Safe Mode Using the Command Line
The command line in Windows is quite comprehensive, which means you can Shut down, restart, or even enter Safe mode using a single command.
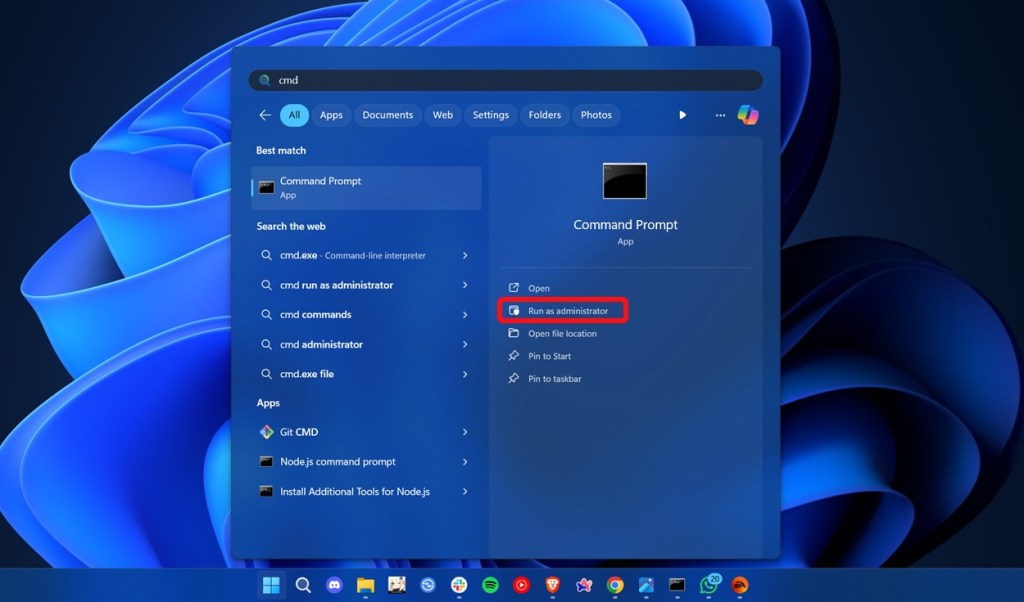
- Press the Windows key on your keyboard, type “cmd“, and in the right pane, click Run as administrator.

- Type the following command in the command line and hit the Enter key.
shutdown.exe /r /o- A popup should appear saying “You’re about to be signed out”. Here, click on Close.


- Your Windows 11 PC should restart into the Advanced Startup page options page.
- Follow the steps 4-8 from Method 1 above to boot into Safe mode.
Method 4: Force Boot Windows into Windows Recovery
If your Windows 11 PC won’t boot into Advance options to boot into safe mode, you can force your way into Windows recovery by following the below steps.
- Ensure your Windows 11 PC is turned off. Press the Power button.
- When Windows starts loading, long-press the Power button to force shut it.
- Do this at least thrice and Windows should automatically boot into Windows Recovery in the next attempt. Follow the steps 4-8 from Method 1 above to boot your Windows 11 PC into Safe mode.


Method 5: Start Windows 11 in Safe Mode with MSConfig
Windows 11 also has a GUI tool that lets you easily boot into Safe mode on your computer. With the MSConfig tool, you can start Windows 11 in Safe mode and exit from it without any issues. Here is how to proceed.
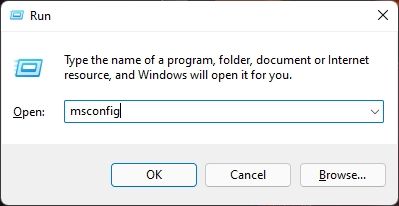
- Use the Windows + R keyboard shortcut to open the Run prompt. Here, type
msconfigand hit the Enter key.

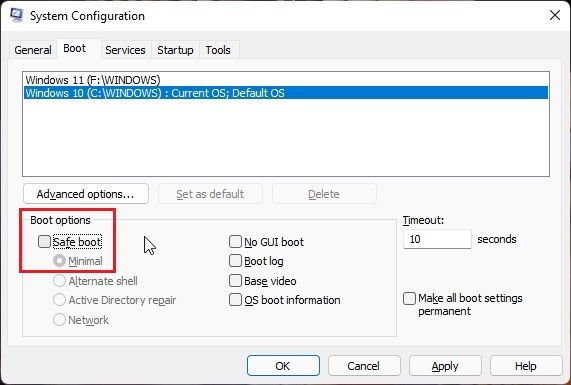
- In the System Configuration window, move to the Boot tab and enable Safe boot along with the Minimal option. Now, click on Apply > OK.


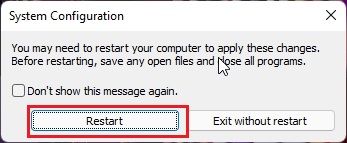
- You will be prompted to “Exit without restart”. Instead, click on Restart, and you will be immediately boot up into the Windows 11 Safe Mode.

- Follow the steps 4-8 from Method 1 above to boot your Windows 11 PC into Safe mode.
How to Exit Safe Mode on Windows 11
Thankfully, exiting safe mode isn’t as complicated as getting into it. To exit Safe mode, all you need to do is restart your PC. This can be done by clicking the Restart option in the Power options in the Start menu, or holding down your laptop’s physical Power button for some time to force shut down, and pressing it again to start your Windows 11 PC.
If this didn’t help, you can also try the following steps to exit Safe Mode using the System Configuration tool. Here’s how to do it:
- To exit Windows 11 from Safe mode, you need to follow similar steps as above. Press Windows + R on your keyboard to open the Run prompt and type
MSConfig. Now, hit the Enter key.
- Move to the Boot tab and unselect Safe boot. This will also disable “Minimal”. Now, press Apply > OK.
- Now, restart your PC, and you will exit from Safe mode on Windows 11.
So these are the methods you can use to start Windows 11 in Safe mode. Whenever I hit a snag after installing a program that later turns out to be malware, I usually open the Safe mode to disinfect my PC. The Safe mode allows me to uninstall programs, disables all the third-party services at login, and offers an isolated environment for debugging my computer.
If you don’t want to boot into the Safe mode directly, you could first try using a malware removal tool for Windows 11. Anyway, that is all from us. In case your mouse is not working in Windows 11 after the update, go through our linked guide for an easy fix. And if you have any questions, do let us know in the comments section below.