There are various backend directories, libraries, and files on your Mac device that Apple has purposefully hidden from general view so that you don’t alter, delete, or move them, as it can affect the performance of macOS. In simpler words, those hidden files allow you to leverage your Mac’s full potential. However, if you need to access those files, there are many ways to do so. Below, we have explained three different methods to show hidden files on MacBook.
How to Show Hidden Files on MacBook Using Finder
This is the easiest method to uncover the files hidden in various folders on your MacBook. All you need to do is use keyboard shortcuts to show hidden files on your MacBook. Read on to learn how to view hidden files on MacBook using Finder.
1. Open the “Finder” on your MacBook by accessing it from the Dock.

2. Now, access the folder from which you want to uncover the hidden files.
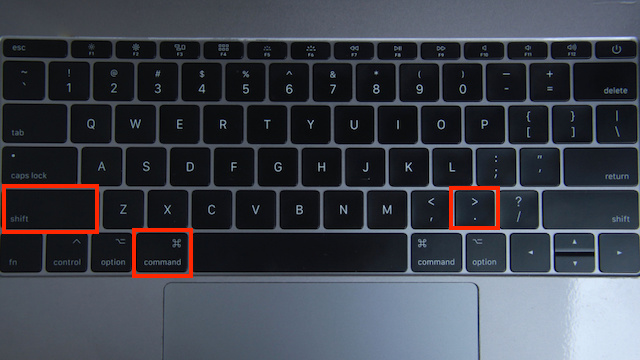
3. Then press “Command” + “Shift” + “.” (full stop/period) simultaneously.
4. Once done, all the “hidden Files” in the folder will show up but will be “greyed out,” meaning your MacBook does not want you to mess with the particular file or folder.

5. To access the hidden files, double-click on them.
6. Press “Command” + “Shift” + “.” (full stop/period) simultaneously if you want to hide the files on MacBook again. And, while you are here, also check out how to access hidden Mac settings.
How to Show Hidden Files Using the Mac Terminal
This is another simple method to view hidden files on MacBook. The macOS terminal allows you to enter commands to access the hidden chambers of your MacBook’s operating system. Here’s how you can –
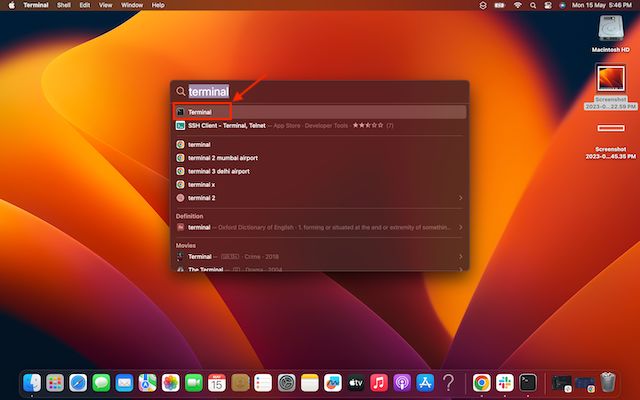
1. Open the “Terminal” app on your MacBook by typing “Terminal” in Spotlight Search.
2. Now, type the following code and press enter:
write com.apple.Finder AppleShowAllFiles true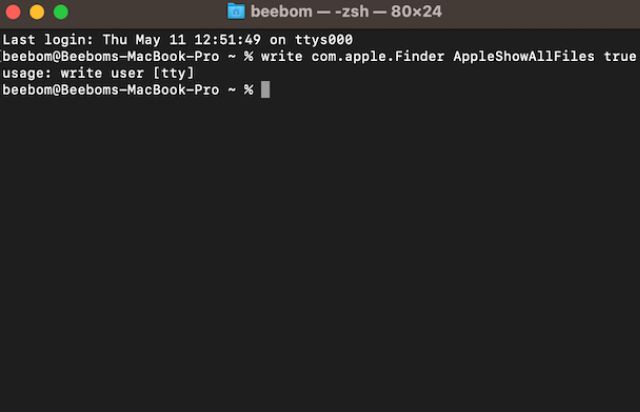
3. Then, type in the following command and hit enter.
killall Finder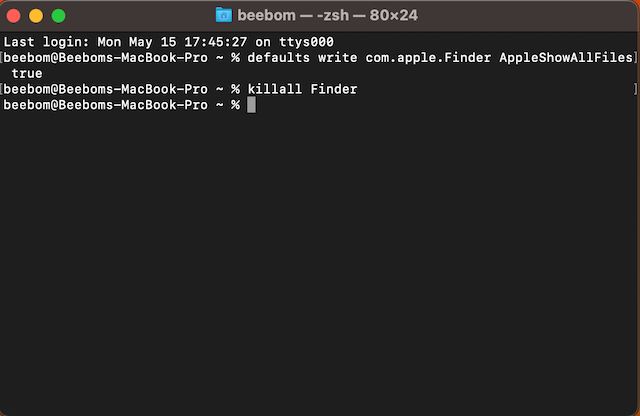
4. Once done, all the hidden files on MacBook will appear in their respective folders.
And, if you want to hide the files again, follow the steps below:
1. Type the following command in the Terminal and press enter.
write com.apple.Finder AppleShowAllFiles false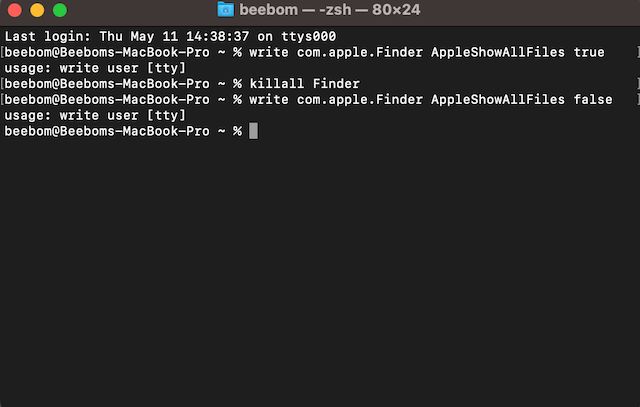
2. Then, type the following command in Terminal and press enter.
killall Finder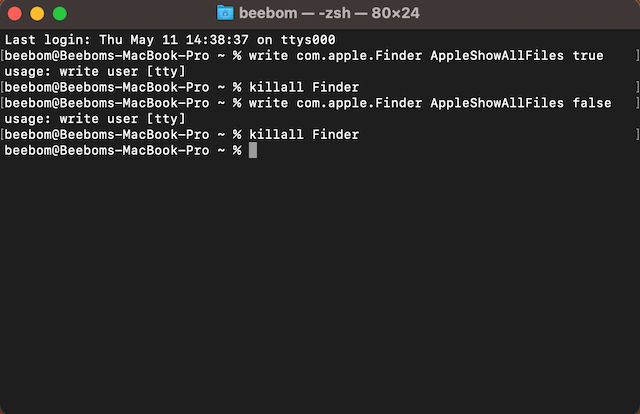
You can also hide and unhide specific files using the Mac Terminal. To know how to do so, check out how to hide or unhide files and folders using Terminal on Mac.
How to Show Hidden Files via Third-Party File Managers
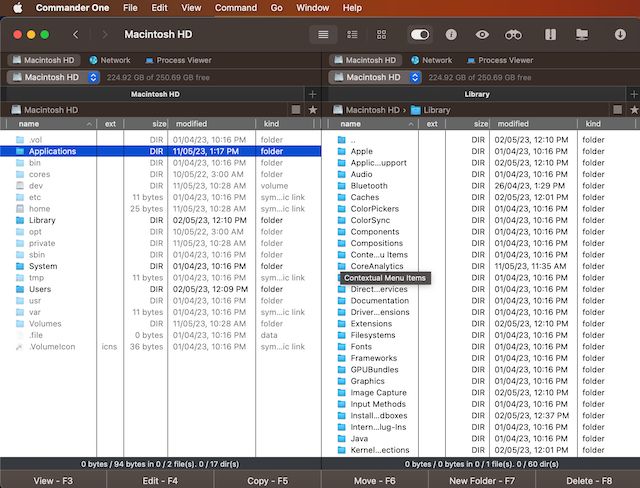
You can also use third-party files manager apps like Commander One and ForkLift to view hidden files on Mac. Here is how you can use Commander One file manager to access hidden files on Mac –
1. Download, install, and open the Commander One app (Get, Free) on your MacBook.
2. Grant all the necessary permissions to the app when prompted.
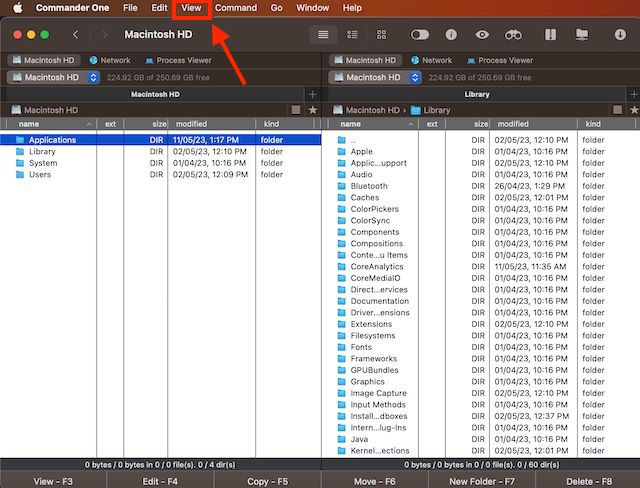
3. Now, click on the “View” tab in the menu bar.
4. Then, click “Show Hidden Files.”
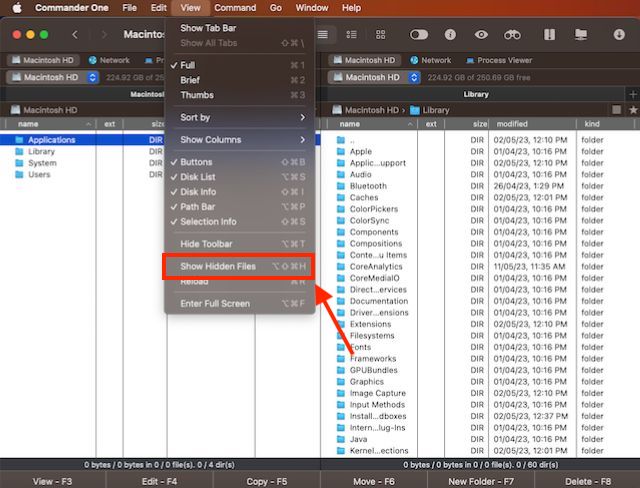
3. Now, you can view hidden files on Mac. And that’s it. This is how you can view the hidden files on your MacBook.
Frequently Asked Questions
Any sort of tempering with hidden files can deteriorate your Mac’s performance; that’s why they are hidden.
Use the Mac Terminal method to see all files on your Mac.