
While Windows 11 is a great operating system with features like Tabbed File Explorer, Live Captions, Android app support, and a lot many upcoming features yet to come. Having said that, users are still on the fence about whether to upgrade to Windows 11 or not. In that case, it’s best to install Windows 11 on a virtual machine to test out the OS and check if your preferences sit well with Microsoft’s latest desktop OS. So in this article, we bring you an exhaustive guide on how to install Windows 11 on a VM. We have provided two easy ways to create a Windows 11 virtual machine. On that note, let’s jump to the tutorial.
Install Windows 11 on a Virtual Machine (2022)
We have included two ways to install Windows 11 on a virtual machine. First through the built-in Hyper-V Manager and second through the third-party VMware tool. You can expand the table below and move to any section you want.
Install Windows 11 on Hyper-V Virtual Machine
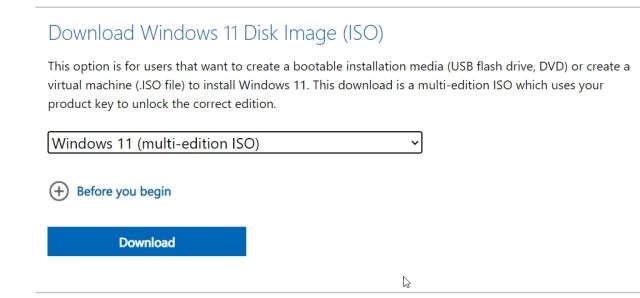
1. First, you need to download the Windows 11 ISO image. You can head to Microsoft’s website and download the official Windows 11 ISO image.


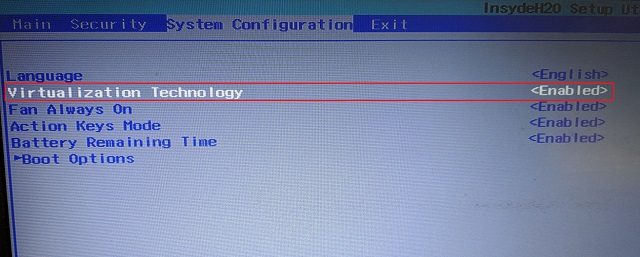
2. After that, you need to enable some key settings. First off, enter the BIOS and enable “Intel Virtualization Technology” or “AMD-V”, based on your CPU manufacturer.

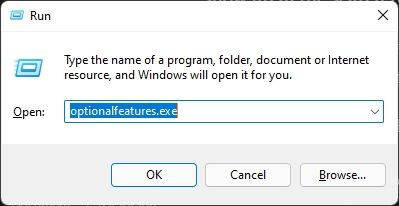
3. Next, you need to turn on Hyper-V on your Windows PC. Press Windows and R keys at once to open the Run prompt. Here, type optionalfeatures.exe and hit Enter. If you are running the Home edition of Windows, go through our separate guide and enable Hyper-V in Windows 11/10 Home.

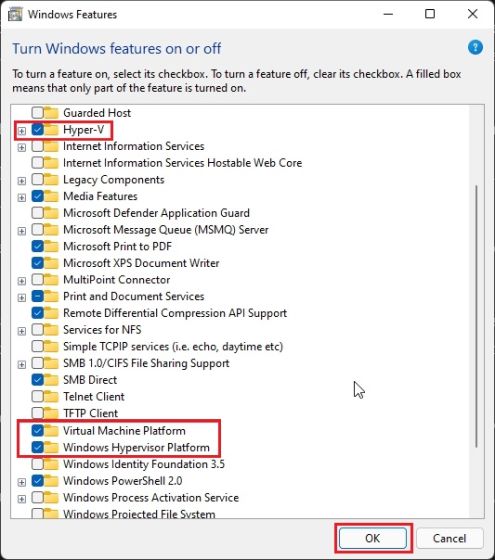
4. A Windows Features window will open up. Scroll down and enable the Hyper-V, Virtual Machine Platform, and Windows Hypervisor Platform checkboxes. Finally, hit the OK button. It will start installing the necessary packages and ask you to restart the computer once the installation is complete.

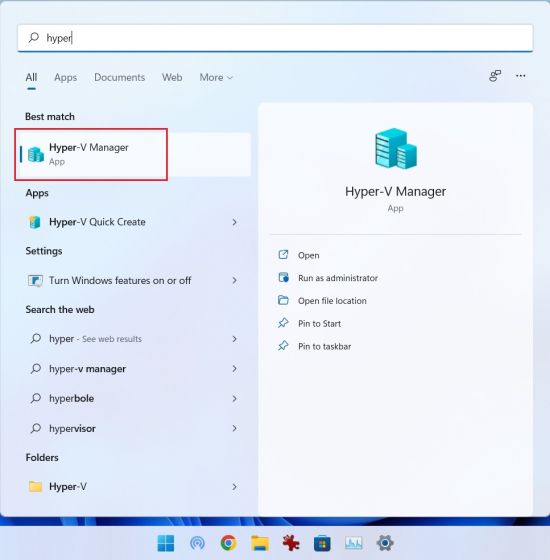
5. After the reboot, press the Windows key once and search for “Hyper”. Now, open “Hyper-V Manager“.

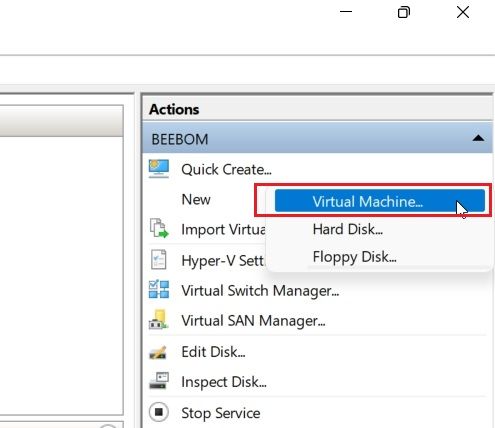
6. Here, on the right pane, click on “New” and then select “Virtual Machine”.

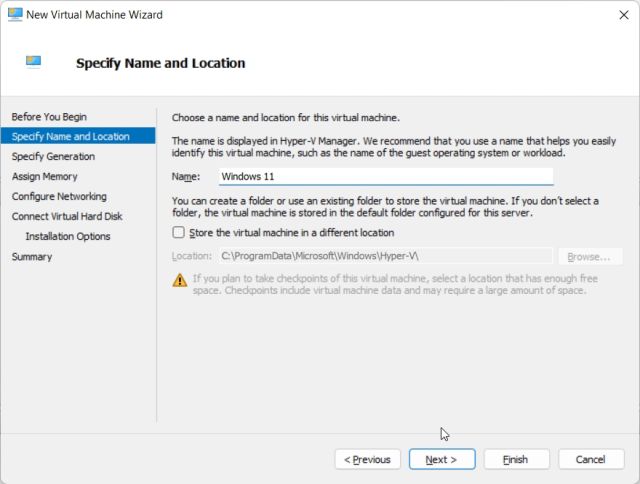
7. On the next page, click on “Next” and give a name to your virtual machine. For example, I have named it Windows 11.

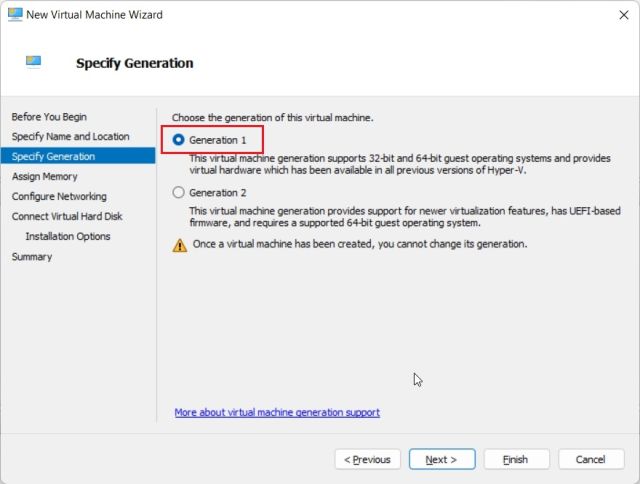
8. After that, choose “Generation 1” because Hyper-V is increasingly showing the “Start PXE over IPv4” error while using “Generation 2”.
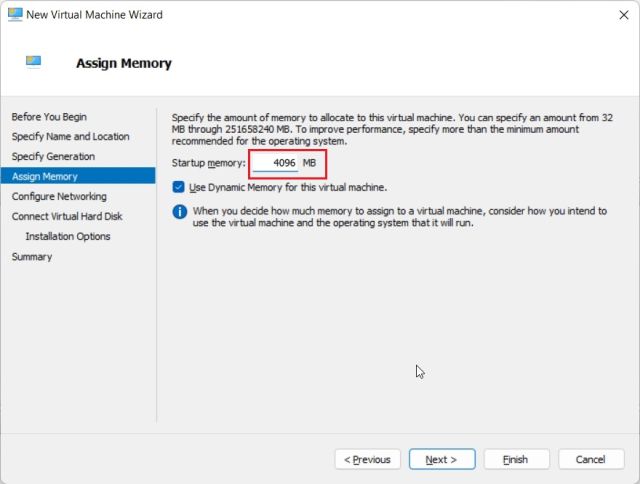
9. On the next page, enter the RAM amount. I have provided 4GB of RAM (4096MB).
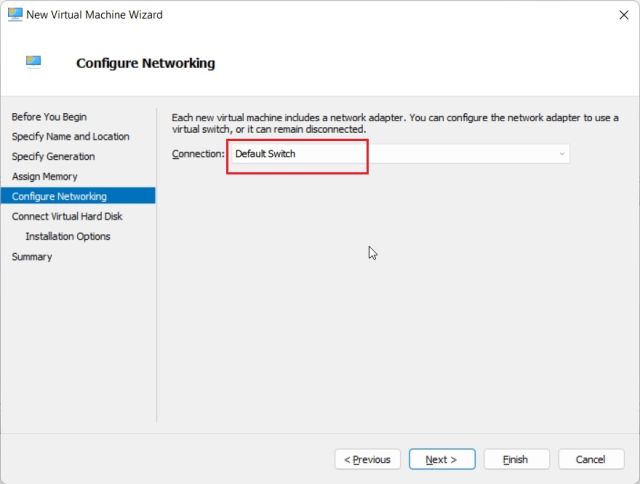
10. Here, select “Default Switch” from the drop-down menu. This will offer internet connectivity to your Windows 11 VM.
11. Following that, provide the space you want for Windows 11 VM. I have entered 64GB.

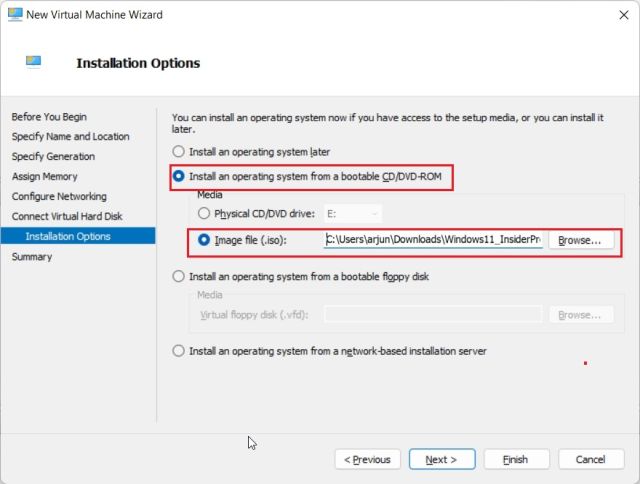
12. Next, choose “Install an operating system from a bootable CD/DVD ROM” and “Image file (ISO)”. Here, click on “Browse” and select the Windows 11 ISO image you downloaded above.
13. Finally, click on “Finish“.

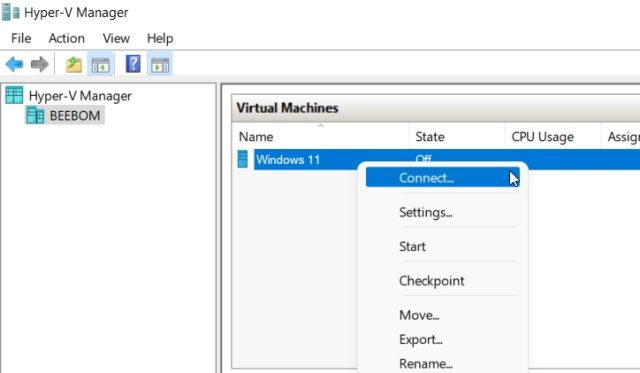
14. Now, right-click on the Windows 11 VM and choose “Connect“.

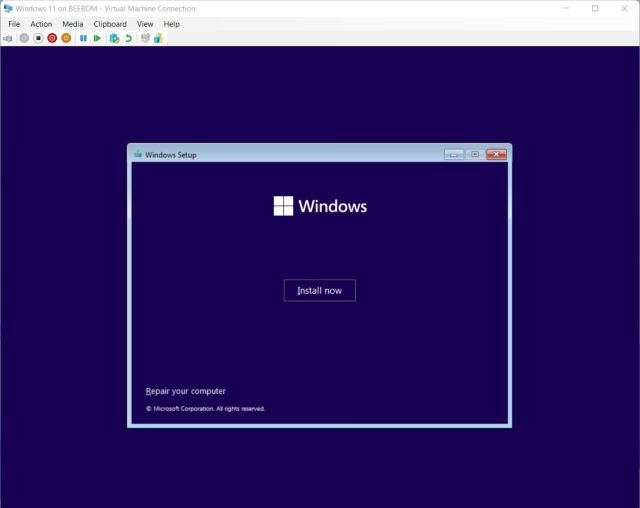
15. Finally, click on “Start“. This will start the Windows 11 OS in a virtual machine.


16. Now, you can go through the setup and install Windows 11 on a virtual machine. That’s it.

Install Windows 11 on VMware Virtual Machine
If you don’t want to use Hyper-V to create a Windows 11 VM, try VMware, which is an excellent third-party Virtual Machine software. It lets you run Windows 11 in VM without any fuss. Here is how to go about it.
1. You must have a copy of the Windows 11 ISO image. If you don’t have one, you can download the official Windows 11 ISO image from Microsoft’s website.
2. Next, go ahead and download VMware Workstation Player, which is free to use for personal users. After that, install VMware on your PC.
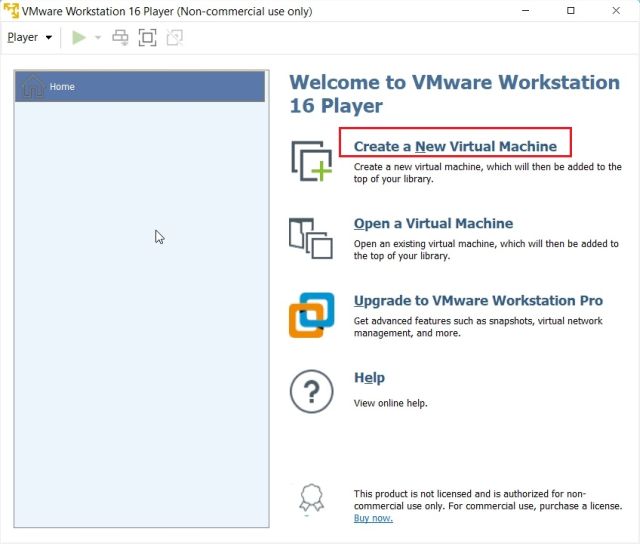
3. Now, open VMware and click on “Create a New Virtual Machine“.

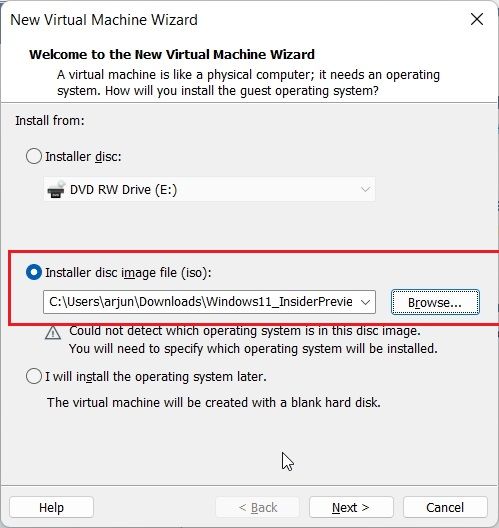
4. Here, choose the second option, i.e. “Installer disc image file (iso)“, and select the Windows 11 ISO image you downloaded above.

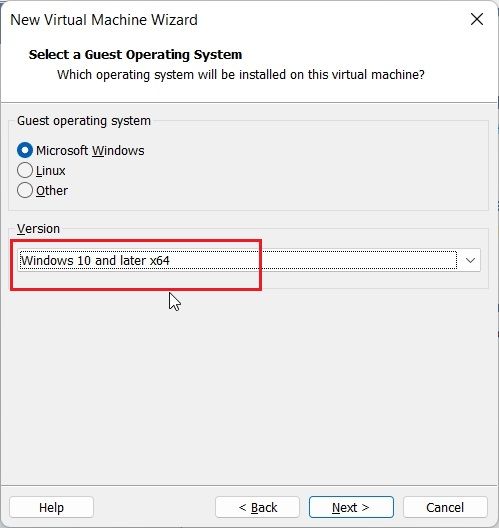
5. On the next page, choose “Windows 10 and later x64“.
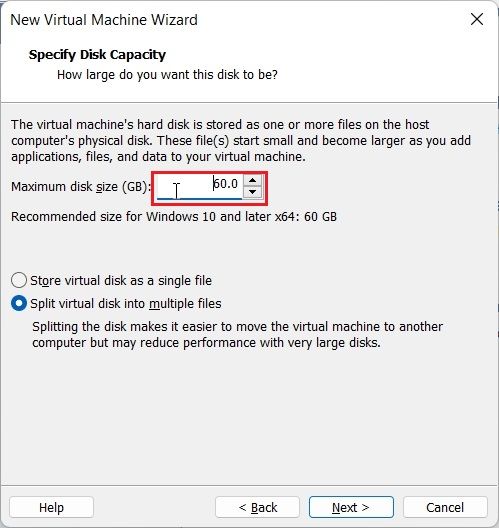
6. Click on “Next” and provide space for your Windows 11 VM. I have entered 60GB of disk space.
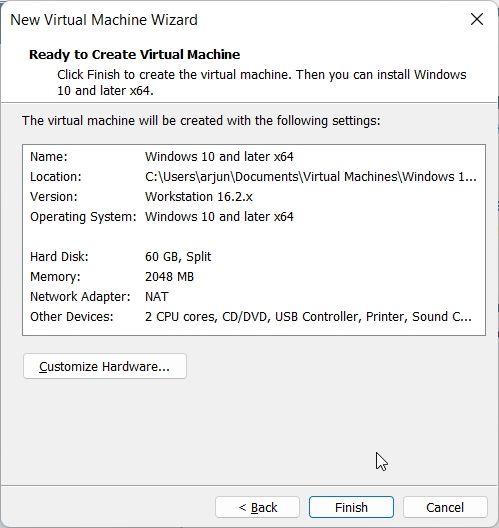
7. Finally, click on “Finish“.
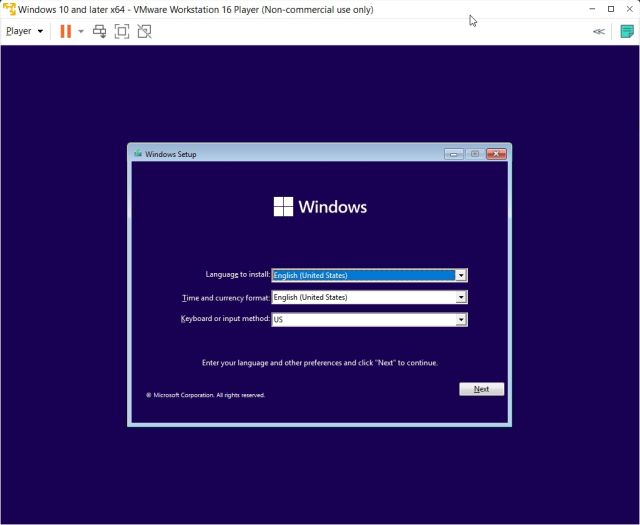
8. Once you have created the virtual machine, click on “Play virtual machine“. If you get any pop-ups, click on “OK”. Remember, to exit from the VM environment, press “Ctrl + Alt”, and your mouse cursor will be visible to the rest of the UI.

9. Within seconds, the Windows 11 virtual machine will be live. Now, you can set up Windows 11 inside the VMware virtual machine.

Run Windows 11 in a Virtual Machine Seamlessly
So these are the two ways you can run Windows 11 in a VM. If you want to test Microsoft’s latest desktop OS before upgrading to Windows 11, this is the best way to do it. Anyway, that is all from us. If you want to install a lightweight version of Windows 10 called Tiny10, follow our linked article for detailed steps. And if you want to test Windows 11 Lite, we have a dedicated guide for that as well. Finally, if you have any questions, let us know in the comments section below.

