
Hardware issues are rare on Chromebooks, but they do crop up occasionally. Earlier, the Wi-Fi card on my Chromebook stopped working, and I had to revert Chrome OS to an older version to fix the problem. And now, we are getting user reports that the Chromebook camera is not working for many. For some users, the Chromebook shows the “Camera not found” error, while the camera does not show a preview for many others. So if you are in the same boat, fret not, as we have compiled a detailed guide on how to fix camera issues on a Chromebook.
In this tutorial, we have included seven different ways to fix the Chromebook camera. If you are facing errors like “Camera not found”, do not worry. Expand the table below and try out all the solutions listed below.
Restart Your Chromebook
Before you do anything, go ahead and restart your Chromebook and check if the camera on your Chromebook has been fixed or not. Often, restarting Chrome OS fixes most of the hardware issues. To do so, follow the steps below.
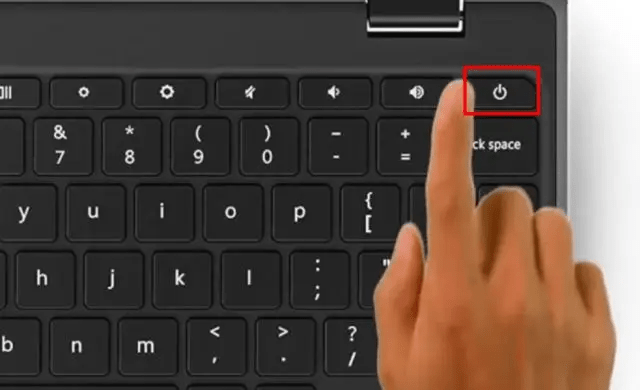
1. Open the Quick Settings panel in the bottom-right corner and click the “shutdown” button. Your Chromebook will now turn off.


2. After it’s completely powered off, press the power button on your Chromebook to turn it on. Now, the Chromebook camera should work fine.

Update Your Chromebook
Recently, due to a bug in Chrome OS 99, the camera stopped working and was displaying the “Camera not found” error. Google quickly released an update to fix the bug. So it’s always better to update your Chromebook to the latest version to steer clear of any serious bugs. Here is how to do it.
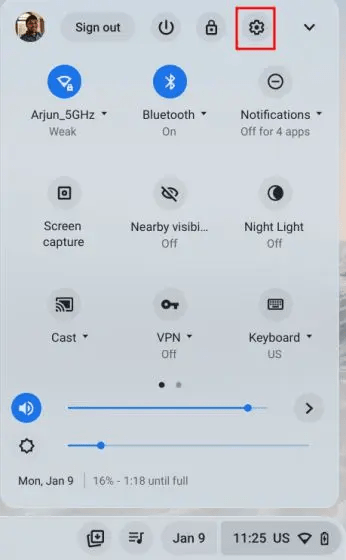
1. Open the Quick Settings panel from the bottom-right corner and click the “cogwheel” icon to open the Settings page.

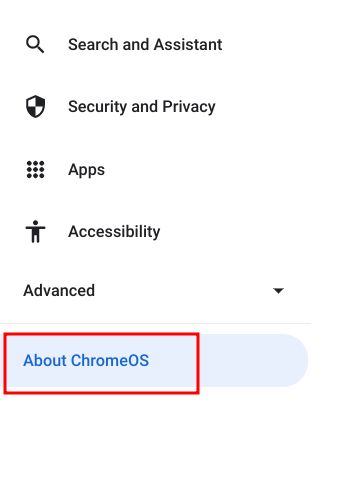
2. Next, move to “About ChromeOS” in the left sidebar.

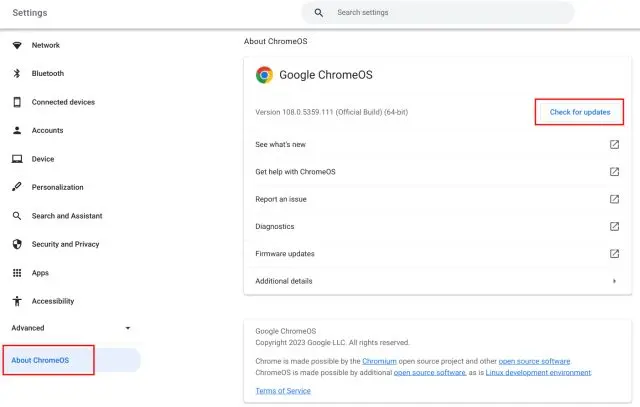
3. Here, click on “Check for updates,” and your Chromebook will start downloading the latest update if available. After installation, restart your Chromebook. Now, go ahead and check if the Chromebook camera error has been resolved or not.

Check Camera on Other Apps
If the Camera is not working on Google Meet or Zoom, do not worry. There are other ways to ascertain if the camera hardware has really gone kaput. Follow the below steps.
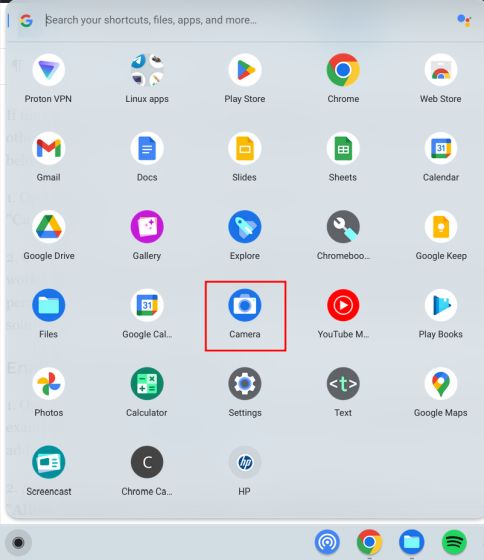
1. Open the Chrome OS App Launcher from the bottom-left corner and launch the “Camera” app.

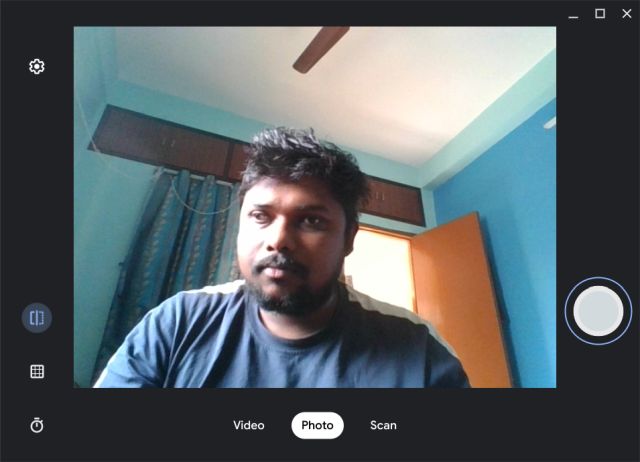
2. Check whether the camera app is showing any preview. If the camera app is working here, it’s likely that Google Meet or Zoom might not have the necessary permission to access the camera. In that case, move to the next section to find a solution.

Enable Camera Permission on Your Chromebook
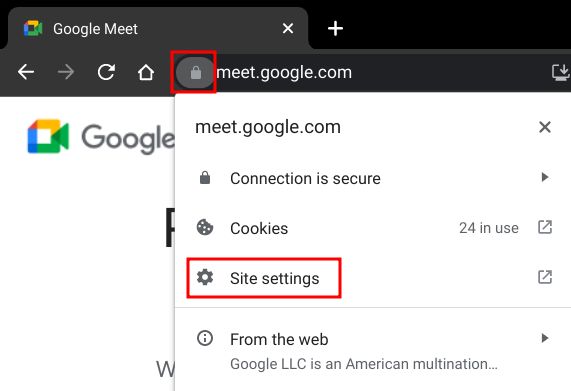
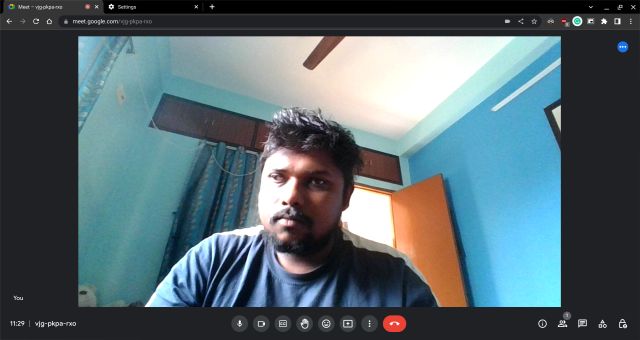
1. Open the web app where the camera is not working on your Chromebook. For example, I have opened Google Meet (visit). Now, click on the “lock” icon in the address bar and open “Site settings”.

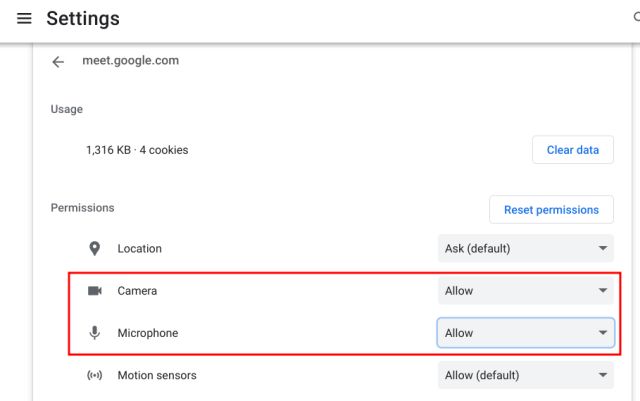
2. After that, under the “Permissions” section, change the “Camera” permission to “Allow“. Similarly, make changes to the “Microphone” permission as well.

3. Now, reload the webpage, and your Chromebook camera should work fine on Zoom or Google Meet this time around.

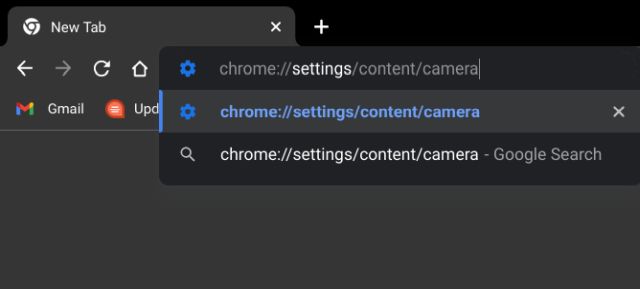
4. If you are still having issues, go ahead and open the below address in Chrome.
chrome://settings/content/camera

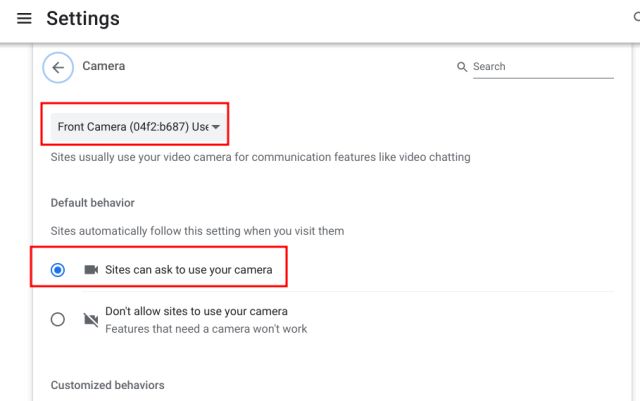
5. Here, make sure your front camera is selected in the drop-down menu. After that, ensure the “Default behavior” is set to “Sites can ask to use your camera.”
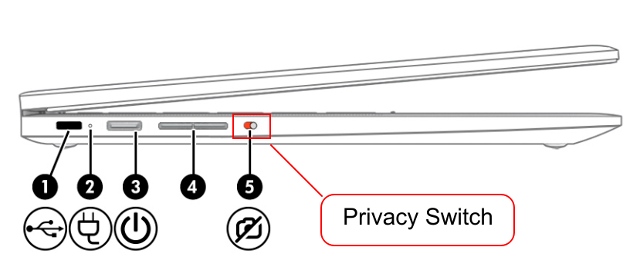
Check For Webcam Privacy Switch on Your Chromebook
Some HP Chromebooks like 14b and 14c feature a webcam privacy switch on the left edge of the Chromebook. If it’s turned off, you will see a red light indicator next to the webcam. To get the camera working on your HP Chromebook, make sure the privacy switch is disabled.

Reset the Chrome Browser
If the camera issue is limited to the Chrome browser, you can reset Chrome to the factory default settings. This should likely fix the camera issue on your Chromebook. Here are the steps to follow.
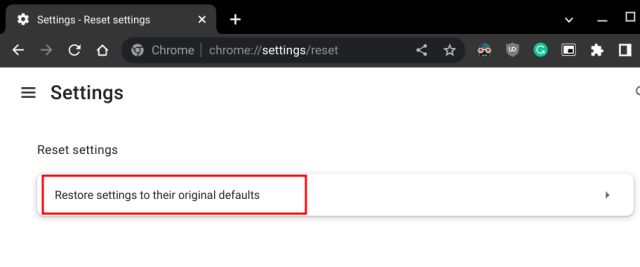
1. Open Chrome and paste the below path into the address bar and hit Enter. Now, click on “Restore settings to their original defaults”.
chrome://settings/reset
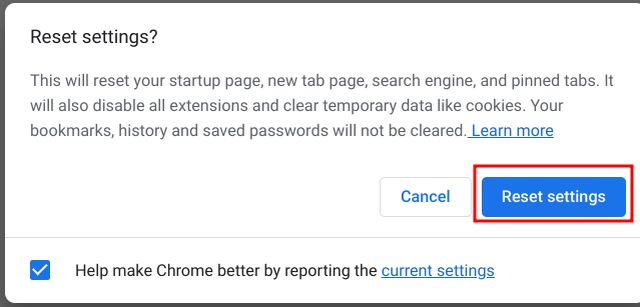
2. Next, click on “Reset settings,” and you are done. Now, go ahead and open any video conferencing web app like Zoom in Chrome. And this time, the webcam should display a preview.

Powerwash Your Chromebook
If none of the above methods worked, you have no other option than to reset your Chromebook. This method reinstalls Chrome OS and removes all the apps, files, and settings preferences from your device. So make sure to back up your personal data before you powerwash your Chromebook. That said, here’s how you can reset your Chrome OS device:
1. Open the Quick Settings panel in the bottom-right corner and click on the “cogwheel” icon to open the Settings app.
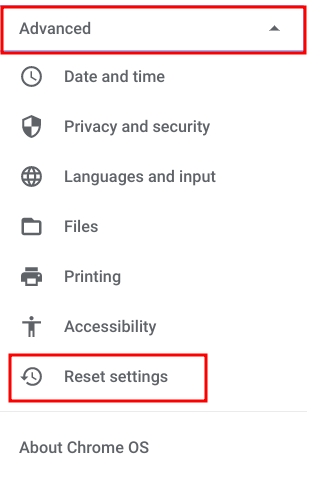
2. In the left sidebar, click on “Advanced” and then open “Reset Settings” at the bottom.

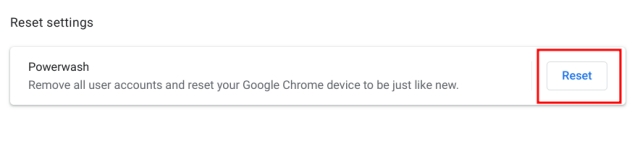
3. Here, click on “Reset,” and your Chromebook will factory reset itself within a few minutes. You will be presented with a clean Chromebook, ready for set up. Now, check whether your Chromebook camera is working or not. If you are still facing issues, do contact your Chromebook manufacturer.

So if the webcam is not working on your Chromebook, this is how you can resolve the camera errors. Some users deny camera permission to web apps, and that may be one of the primary reasons why the camera does not display a preview. In that case, enable the permission by following our guide. Furthermore, if you want to enable privacy indicators on your Chromebook, go ahead and check out our guide. It will alert you when your camera or microphone is used in the background. Also, if your Chromebook is not turning on, we have a tutorial for you to resolve the issue. Finally, if you have any questions, let us know in the comment section below.

