Piracy is a very big concern for people creating content on the web today. Now creators have to pay as much attention to protect their work from getting pirated, as they spend on creating the work itself. This is really frustrating as it’s a complete waste of time which can be utilized more productively in creating new content. That said, piracy is something none of us can take lightly and should spend some time to provide at least a layer of protection to our work.
One of the easiest things which can be pirated on the internet is photos. It hurts to see a picture, which you captured and edited sometimes for hours to get that perfect color profile, being used by someone else without giving you the due credits. That’s why watermarks are so important, as they add a layer of security to your photos, disallowing anyone to use them without your consent. But adding watermark to your pictures individually is very time consuming and not feasible. Thankfully, there are a lot of third-party apps on Mac, which allow you to batch watermark photos:
Batch Watermark Photos on Mac
Although there are a couple of apps which allow you to batch watermark photos on Mac, my favorite is PhotoBulk ($9.99). PhotoBulk makes it really easy to add either text or image-based watermark to your photos. The best part about using PhotoBulk is that once you create a custom watermark, you can save it as preset and then applying watermarks become just a one-step process. So, let’s see how to use PhotoBulk, shall we?
- The first and obvious step is to download and install the app on your Mac.
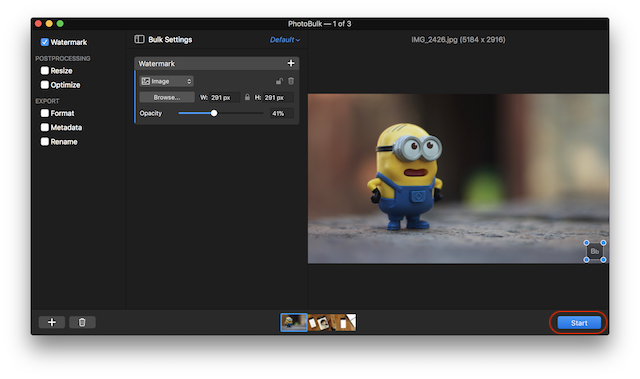
2. Once the app is installed on your device, launch the app and click on the plus button to add photos you want to put the watermark on.
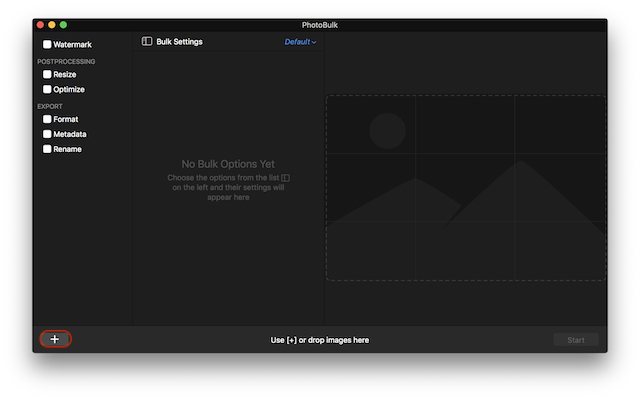
3. As you can see, on the left-hand side of the app, we get multiple options such as watermark, resize, optimize, and so on.
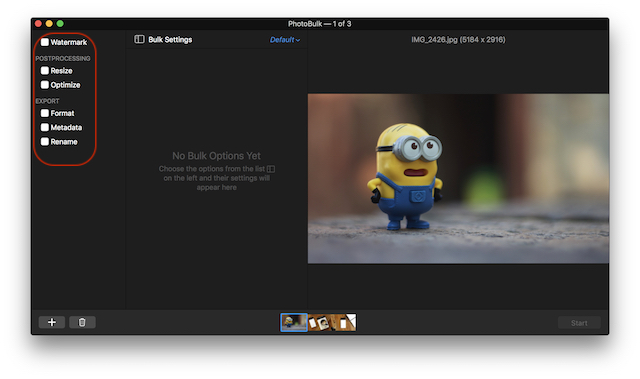
4. Since we are focusing on watermarking our photos today, click on the box beside watermark. Here you can select the type of watermark you want to add by clicking on the drop-down menu marked in the picture.
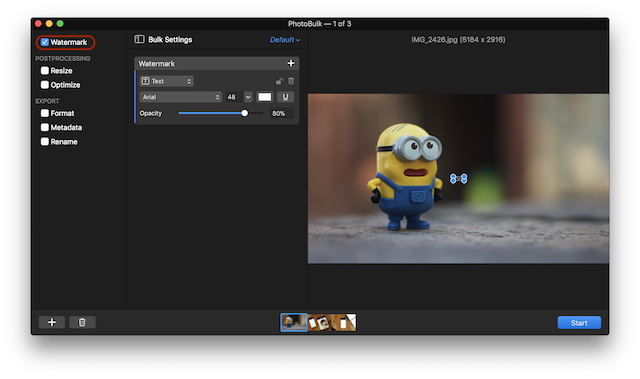
5. For the purpose of this article, we are going to use an image watermark. Select Image from the drop-down menu and then click on the browse button to select your watermark image.
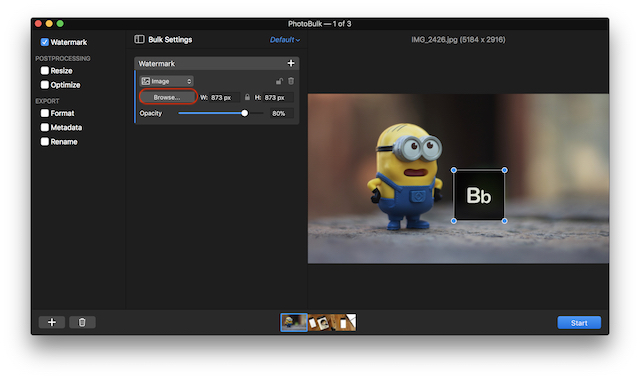
6. Now, just adjust the location, size, and opacity of watermark and tap on the “Start” button. Once you click on the Start button the app will ask you to select the location where you want to save your photo. Select the location and then save the photos.
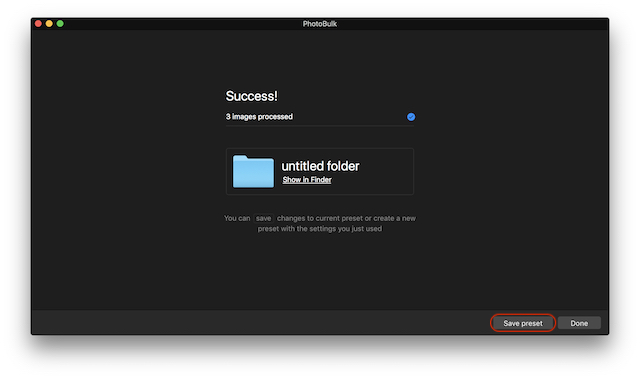
7. After the app has processed all the images, you will get an option to save your preset in case you want to use the same settings again in future. Click on the “Save Preset” button to do that.
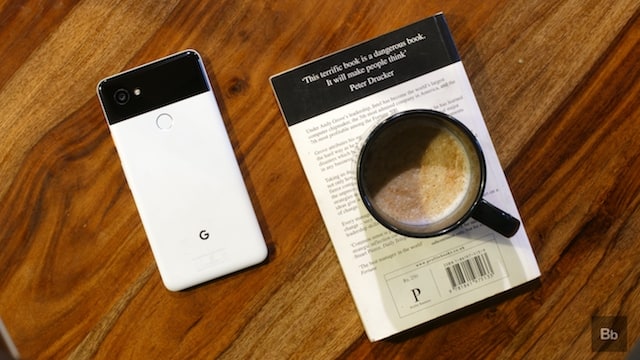
8. Below are the original and watermarked images for your comparison. You can see, the quality of original photos is not diminished in any way. The only change is the application of watermark on the photos.




SEE ALSO: How to Send Pictures Without Compression on WhatsApp
Watermark Your Pictures to Protect Them Against Piracy
As you can see, it was very easy to apply watermarks to your photos using the PhotoBulk app. Once you save your presets, it will only be a matter of seconds to apply watermarks to your photos. For me, it’s a must-have for anyone who works with photos. There are other apps out there such as Photomarks, BatchPhoto, and iWatermarkPro, however, PhotoBulk is by far the best looking and easiest to use of them all.


You missed a new tool Mass Watermark.Its quick and fast