
If you are new to Ubuntu and looking for a way to take screenshots, well, this tutorial will guide you through the steps and all the different ways to do that. Earlier, we compiled guides with the best screen recorder apps for Ubuntu and explained how you can record the screen in Ubuntu. Along the same lines, we have included 5 methods to take a screenshot in Ubuntu, including the native keyboard shortcuts as well as third-party apps like Flameshot and Shutter. On that note, let’s go ahead and check out the steps to grab a screenshot in Ubuntu.
Take a Screenshot in Ubuntu Using Keyboard Shortcuts
In case you are unaware, Ubuntu now comes with a built-in screenshot tool that lets you capture the screen with keyboard shortcuts. There are multiple shortcuts, including those to take full-screen, window, and partial screenshots. That said, the keyboard shortcut for capturing partial screenshots didn’t work in my testing. Nevertheless, I have mentioned all the ways you can capture the screen in Ubuntu.
Launch the Screenshot Tool
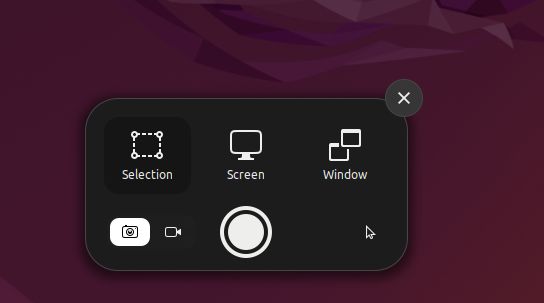
To take a screenshot in Ubuntu, you need to launch the screenshot tool. Simply press the “Print Screen” or “PrntSc” key on the keyboard to open the Screenshot tool. On some keyboards, you also need to press the “Fn” and “Print Screen” keys together.
- Ubuntu Screenshot Tool: “Print Screen” or “Fn + Print Screen”

Take a Full-screen Screenshot
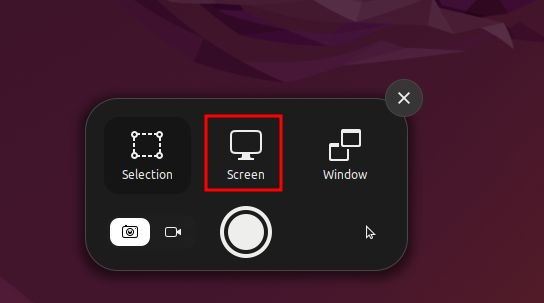
Now, to take a full-screen screenshot, you can launch the screenshot tool, choose “Screen” at the bottom, and hit Enter. You can also use the keyboard shortcut mentioned below to capture the entire screen.
- Full-screen Screenshot: “Shift + Print Screen” or “Fn + Shift + Print Screen”
Take a Window Screenshot
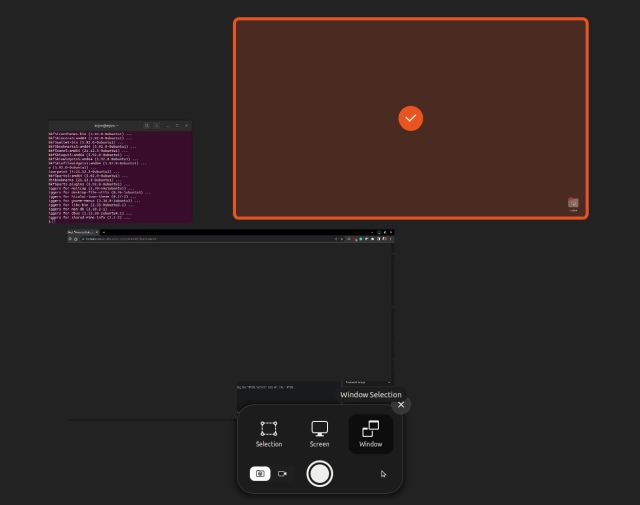
In order to take a window screenshot in Ubuntu, you first need to click on a window to make it active. After that, launch the screenshot tool and choose “Window” at the bottom. Next, select the window you wish to capture and hit Enter. Other than that, you can use the keyboard shortcut below to quickly capture a window screenshot.
- Window Screenshot: “Alt + Print Screen” or “Fn + Alt + Print Screen”

Take a Partial Screenshot
And to take a partial screenshot of an area in Ubuntu, you first need to launch the Screenshot tool by pressing the “Print Screen” key or “Fn + Print Screen”. Next, switch to “Selection” at the bottom, choose the area, and hit Enter. That’s it.


Default Screenshot Save Location in Ubuntu
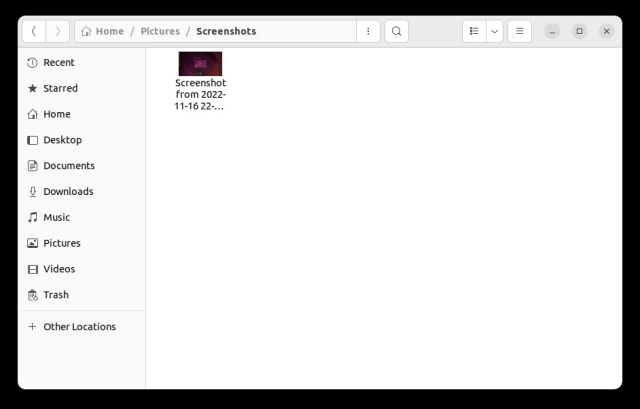
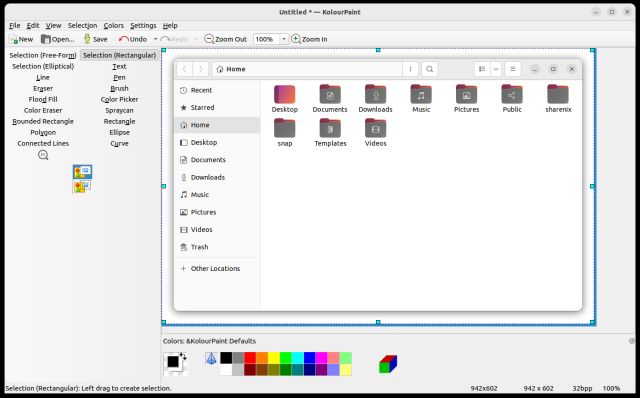
1. The screenshots will be saved under the Home/Pictures/Screenshots folder.

2. When you take a screenshot, it’s automatically copied to the clipboard as well. So if you want to paste the screengrab quickly, press “Ctrl + V” in any media field or image editor.

Take Screenshots in Ubuntu Using the Gnome Screenshot Tool
The Gnome Screenshot tool is one of the most basic and user-friendly apps you can use to take screenshots in Ubuntu. It allows you to take screenshots of the login screen as well. Here is how you can use it.
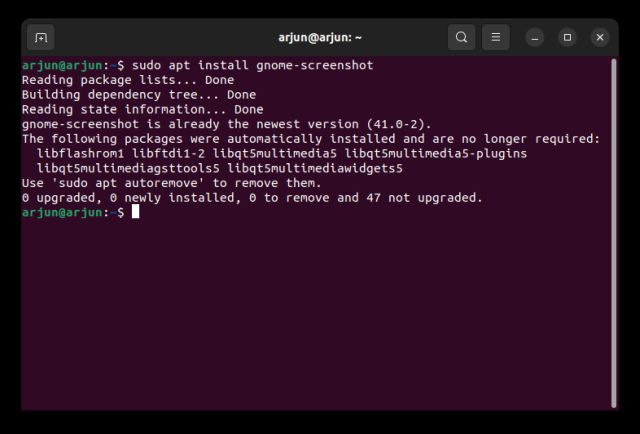
1. The Gnome Screenshot tool generally comes pre-installed in Ubuntu. But if it’s not installed, open the Terminal and install the Gnome Screenshot tool using the command below.
sudo apt install gnome-screenshot

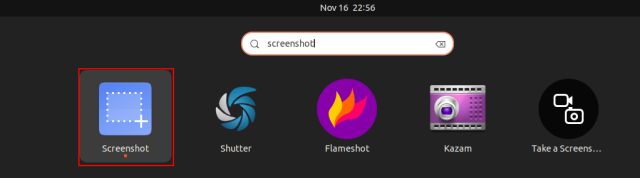
2. Now, open the app launcher and search for the “Screenshot” app.

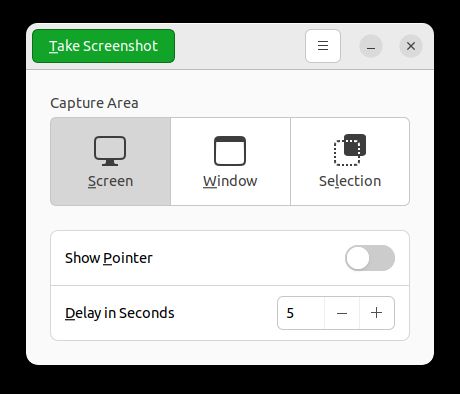
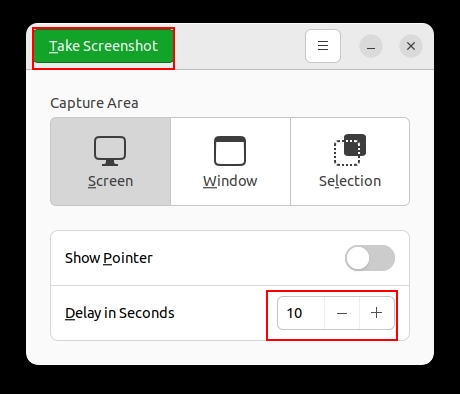
3. As you can see, you can choose “Screen” to take a full-screen screenshot, “Window” to take a screenshot of a particular window, and “Selection” to take a partial screenshot. Click on “Take Screenshot” to capture.

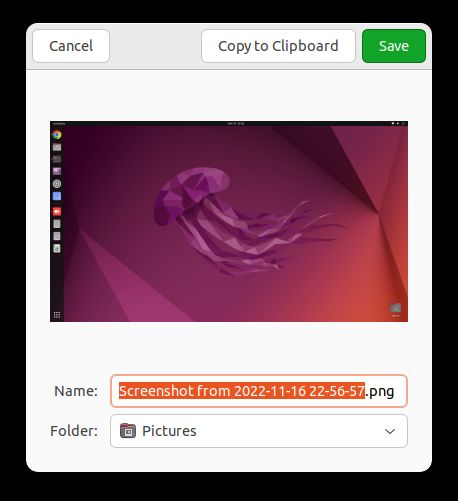
4. Now, save the captured image under the “Pictures” folder.

5. The best thing about the Gnome Screenshot tool is that you can also take delayed screenshots. That means you can take a screenshot of the lock screen as well. Set the timer to 10 seconds and click on “Take Screenshot” at the top left corner.
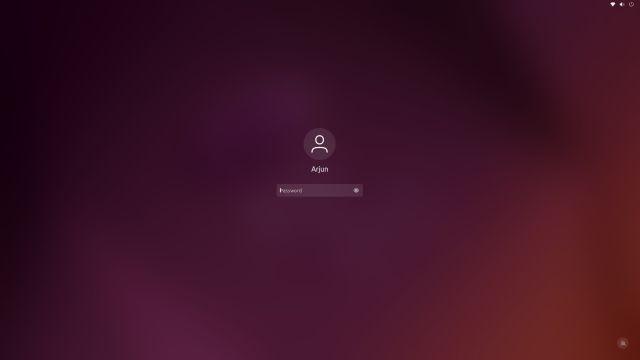
6. Now, lock the screen if you wish to capture its screenshot, and that will happen in 10 seconds. When you log in, a prompt will appear to save the screengrab of the login screen.

Capture a Screenshot in Ubuntu With the Flameshot App
If you are looking for an advanced screenshot app for Ubuntu, Flameshot is the best tool you can use. Apart from taking screenshots, it also allows you to edit, annotate, and highlight the screenshots. Not to mention, you can use this tool to upload screenshots to sites like Imgur as well. Here are the steps to follow.
1. Open the Terminal app and install the Flameshot app by running the below command.
sudo apt install flameshot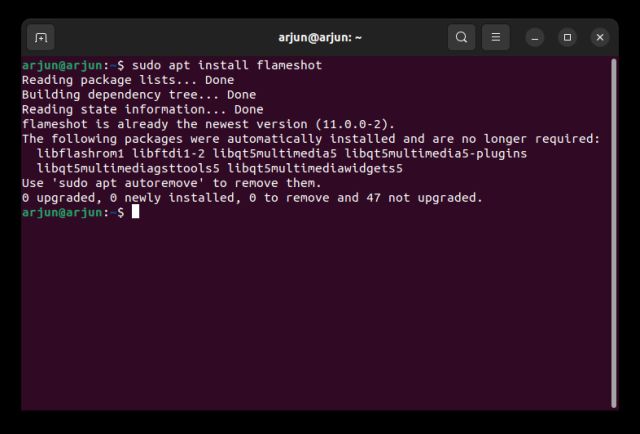
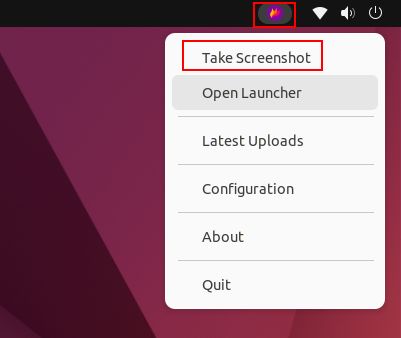
2. Once installed, open it from the app launcher, and you will find it under the system tray in the top-right corner. Click on its icon in the system tray and select the “Take Screenshot” option.

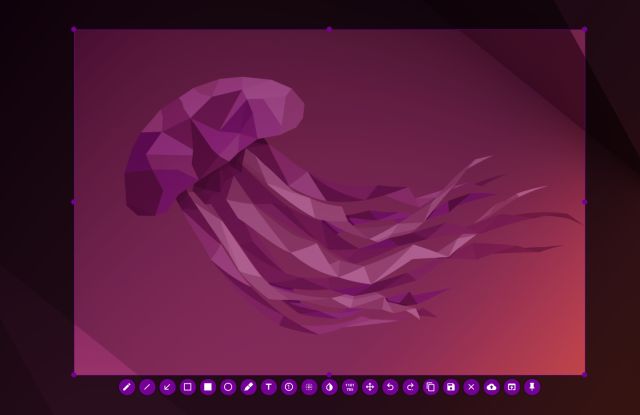
3. Now, use your mouse to select a window, choose a partial region, or select the full-screen.

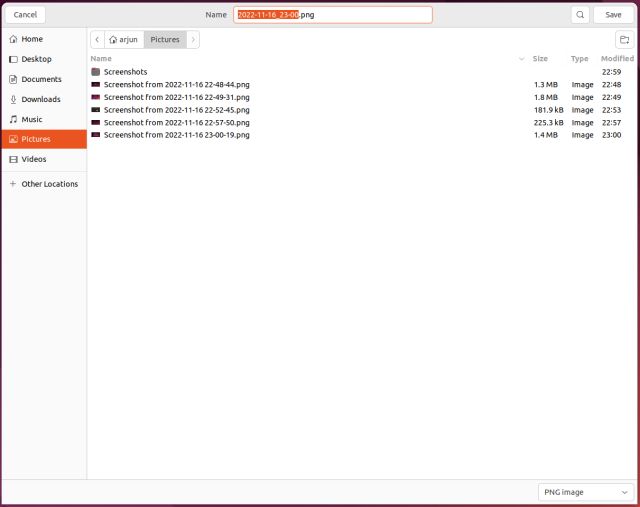
4. You can then press “Ctrl + S” to save the file to your preferred location. By default, it saves the screenshot under the “Pictures” folder.

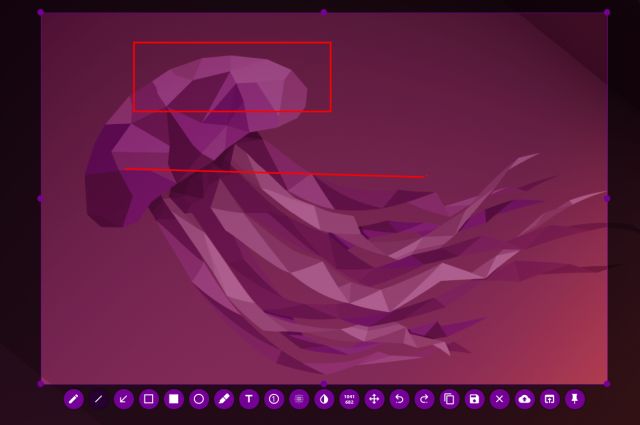
5. The best part about Flameshot is that you can edit and annotate the screenshot right away. You can add a box, highlight certain texts, and do a lot more.

Take a Screenshot in Ubuntu With Third-Party App Shutter
Shutter is another great tool to take a screenshot in Ubuntu. It looks a bit complex from the outset, but believe me, it’s easy to use. It comes with a basic image editor integrated into the app. And if you are an advanced user, well, you can quickly upload screenshots to Dropbox and Imgur too. Not to mention, there is an option to take delayed screenshots as well. With that said, here is how you can use it.
1. To install Shutter on Ubuntu, run the below commands one by one.
sudo add-apt-repository universe
sudo apt update
sudo apt install shutter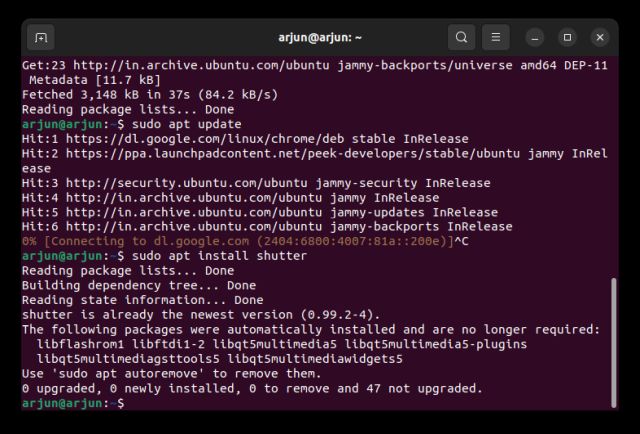
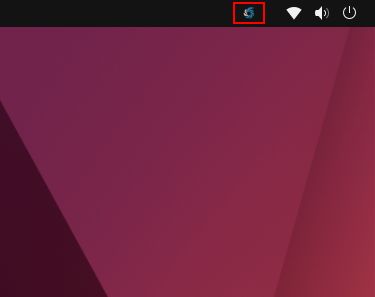
2. Once the app is installed, open it from the app launcher. Thereafter, it will sit under the system tray area in the top-right corner, which you click to access at any time.

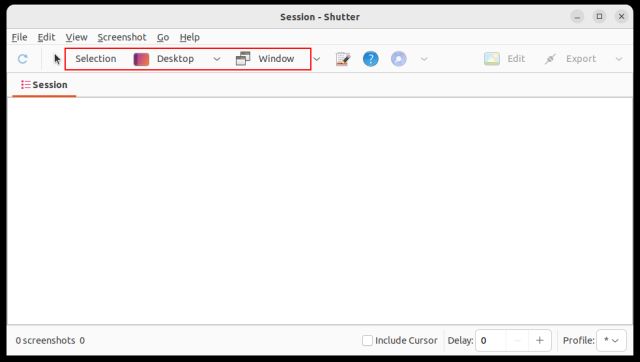
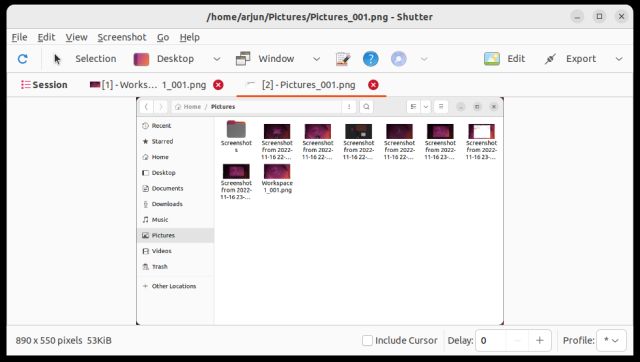
3. After opening the app, click “Selection” to take a partial screenshot, click on “Desktop” to take a full-screen screenshot, and finally, click on “Window” to grab the screenshot of a specific app window. After that, hit “Enter”.

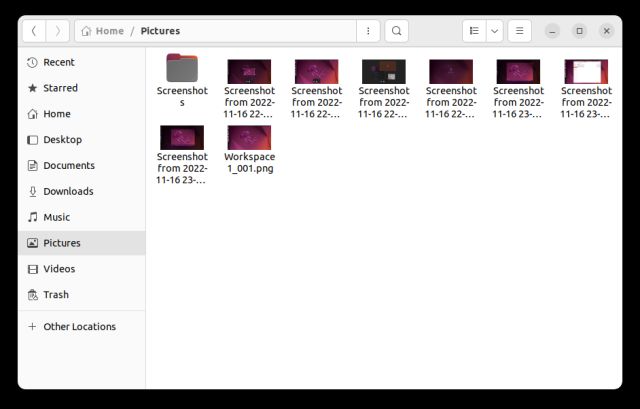
4. The screenshot will be automatically saved in the “Pictures” folder. No need to save it manually.
5. The screenshots will also appear under the Shutter window in a tabbed interface (if you have taken multiple screenshots). You can further edit and export the screenshots wherever you want.
Take Screenshots in Ubuntu Using the Terminal
If you don’t want to leave your Terminal for taking a screenshot, you can capture the entire screen, a partial area, or even take a window screenshot with a simple command. Here is how it works.
1. Make sure you have installed the Gnome screenshot tool. If you have not, run the below command in Terminal to get it.
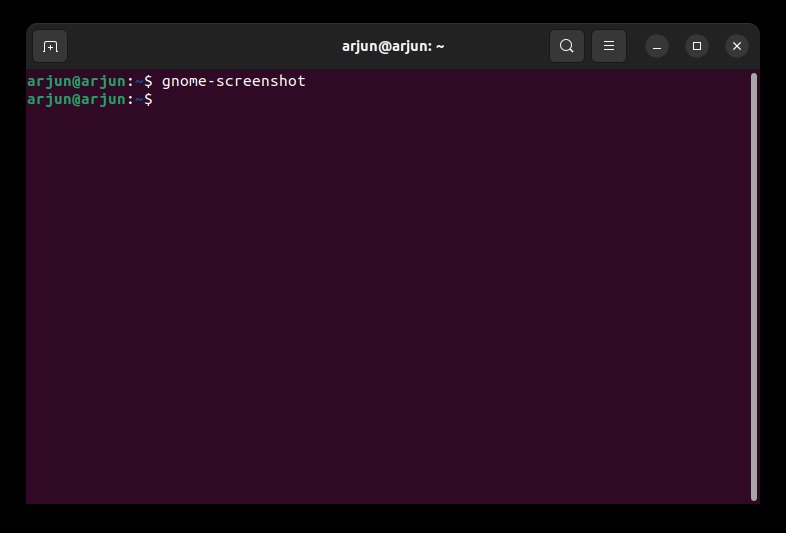
sudo apt install gnome-screenshot2. After the installation, if you want to take a screenshot of the entire screen, run the below command.
gnome-screenshot
3. To take a screenshot of the current window, run the below command.
gnome-screenshot -w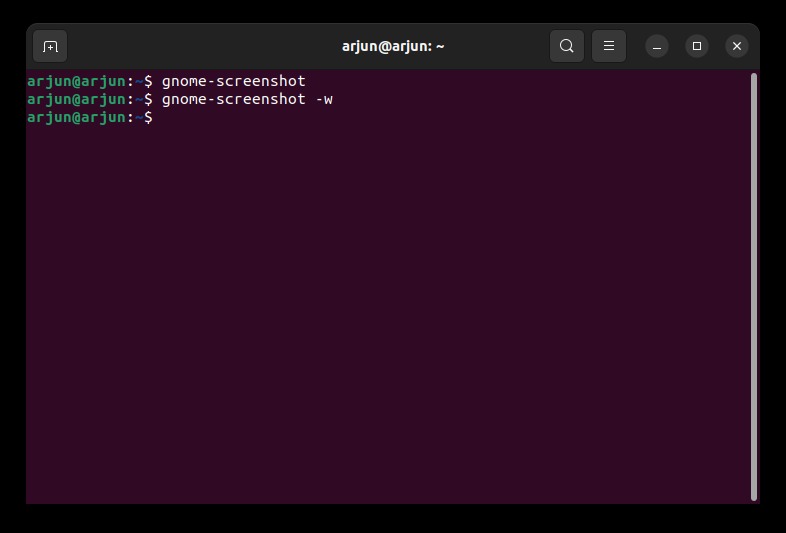
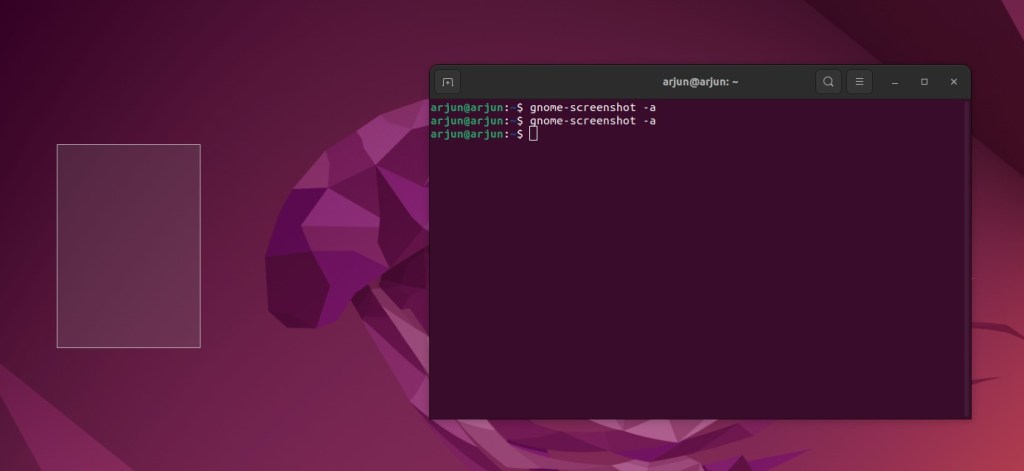
4. To capture a screenshot of a particular area, run the below command.
gnome-screenshot -a
5. And to take delayed screenshots, run the below command. Here, the “10” denotes 10 seconds delay, but you can set your own value.
gnome-screenshot -d -10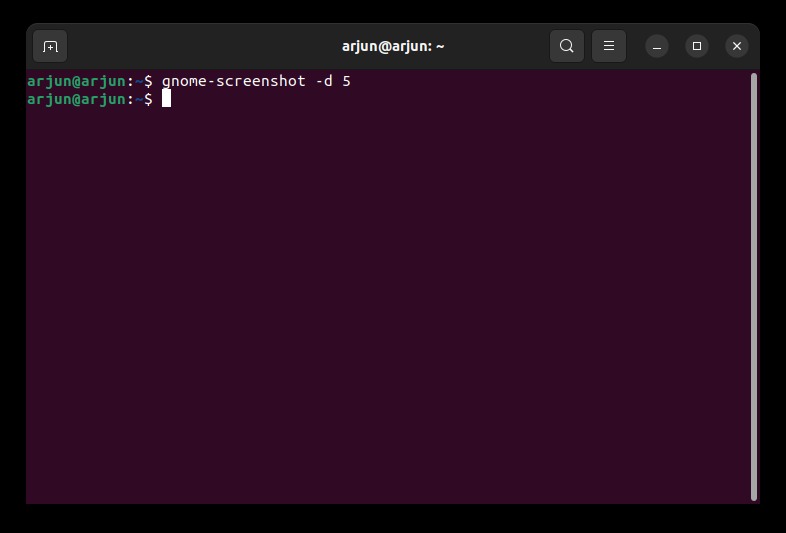
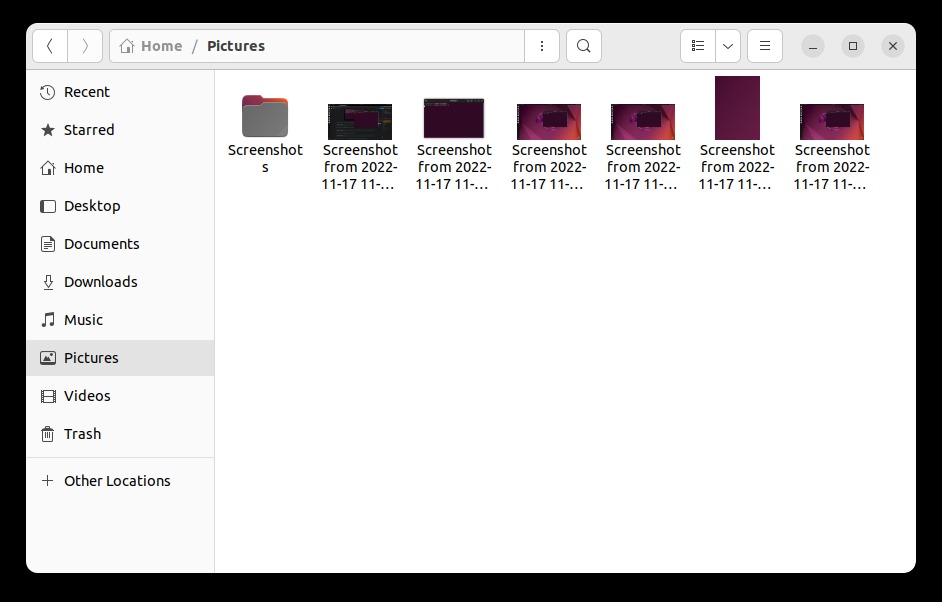
6. All the screenshots will be saved in the Pictures folder.

So these are the five methods that allow you to take screenshots in Ubuntu. I tried to find a suitable alternative to ShareX and Lightshot for Ubuntu, but couldn’t find one. Flameshot and Shutter are feature-rich and worthy ones, though. If you want, you can try Sharenix (GitHub link), which is a clone of ShareX for Linux. But it is a command-line tool and didn’t work well in my testing. Apart from this, if you want to switch between Wayland and Xorg display servers in Ubuntu, follow our linked tutorial. And if you’re having any issues, let us know in the comment section below.

