- Scaffolding does not naturally generate in Minecraft, and you need six bamboo blocks and one piece of string to craft it.
- To make scaffolding in Minecraft, fill the left and right columns with bamboo and place string in the upper slot of the central column.
- You can easily place scaffolding in all directions, including up and down. You can get inside it and ascend and descend quickly.
Do you build tall structures regularly in Minecraft? If so, then what do you use to scale them and get around easily? Dirt, maybe? Well, have you ever heard of the scaffolding block? It’s a block that lets you access tricky locations relatively easily. Today, we’ll teach you how to make and use scaffolding in Minecraft. So, let’s get started!
Resources You Need to Make a Scaffolding
Before we proceed, I want to clarify that scaffolding does not generate naturally in Minecraft in any biome. You can only get scaffolding by crafting it yourself. For that, you’ll need the following items:
- 1 String
- 6 Bamboo
As you can see, these are pretty simple items you can get in Minecraft. String is a drop from spider mobs but is also available in some structures. Check out the best ways to get string in Minecraft.
Bamboo is a plant block that naturally generates in jungle biomes. You may also make a bamboo farm, so you have unlimited bamboo for all the crafting and smelting needs.
How to Craft Scaffolding in Minecraft
Now that you’ve acquired the needed resources, let’s make some scaffolding:
- Place the crafting table in your world and open its UI by right-clicking it or using the secondary action button.
- Then, place one bamboo in each slot of the left and right columns, leaving the central column empty.

- Now, add one piece of string in the first slot of the middle column, and that’s it.

You get six scaffolding blocks using this crafting recipe. It’s also possible to use a crafter to make this block, but you’ll need to power it with a redstone signal to craft the items.
How to Place, Climb, and Use Scaffolding
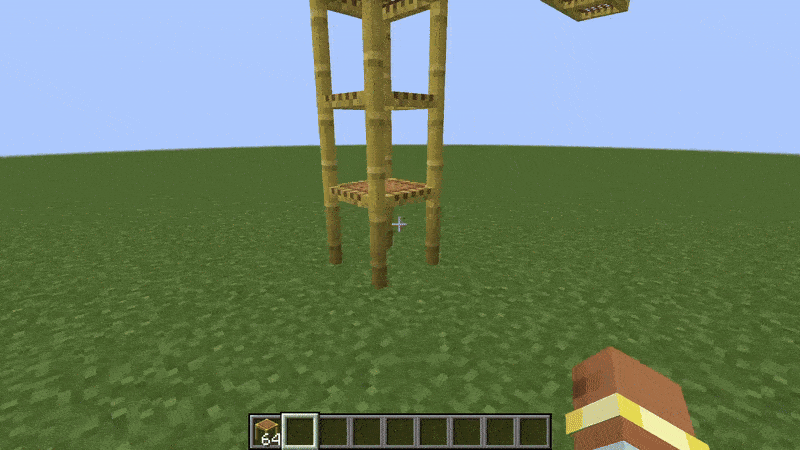
Scaffolding is one of the most unique blocks in all of Minecraft. It is designed to be used to easily create tall structures and move up, down, or to the side. Because of that, this block functions very differently from other blocks.
Primarily, scaffolding is both a solid and a non-solid block. This is the case due to the player easily being able to go through scaffolding but also stand on top of it.
Placing Scaffolding
You can right-click the top face of a solid block to place a scaffolding, or the side of a block, as long as the placed scaffolding is supported by the block below. Then, you can right-click the side of the scaffolding block without holding the sneak button to place the scaffolding on top of the first block. Yup, by right-clicking the side of a scaffolding block with another scaffolding block, you can easily place the block above the first one.
That’s not all, though. You can right-click the side of the scaffolding that’s not the highest block and the new scaffolding block will be added to the top of the scaffolding pillar. So, just by right-clicking a side of a scaffolding block on the ground, you can make a pillar going all the way to build height.
Moreover, if you right-click a scaffolding block’s top face with another scaffolding, again without holding the sneak button, the new block will be added to the side of the first one in the direction you’re facing. This block can simply be floating, as no support is necessary.
So, you don’t need to sneak and go to the edge of a block to place the block to the side. Also, if you continue right-clicking the top face of the first scaffolding, the new scaffolding blocks will just be added to the side of the newly placed block.

You can place up to six scaffolding blocks this way before the support matters again. If the 7th block has no block directly below it, it’ll fall until it does reach a solid block. The fallen scaffolding is still in a block form, similar to sand and gravel. When you continue right-clicking the first scaffolding, new scaffolding blocks will fall and end up stacking on top of the first fallen block.
So, the maximum range of placing scaffolding to the side is 6 blocks. Once there are six scaffolding blocks placed to the side of the initial scaffolding block, you cannot add any more blocks. This is also the case if you’re interacting with the sixth block. You cannot place six blocks and then interact with the last block to add six more. You are free to add scaffolding going towards any of the four cardinal directions.
On the other hand, if you hold the sneak button and right-click a side of a scaffolding block with another scaffolding block, then you will place it right there, not on top. This is a similar mechanic to placing blocks adjacent to blocks with UI like a chest. The same goes for placing scaffolding on top of the block.
However, an interesting feature is that you can stand inside a scaffolding, sneak and right-click the top face of the block. This will place a new scaffolding on top of the first one, with you still in it. So, you can hold jump, sneak and right-click to start creating a scaffolding pillar and also climbing it at the same time.
The final point about placing scaffolding we’d like to make is breaking scaffolding. In case you break the bottommost scaffolding supporting other scaffolding blocks vertically or horizontally, all blocks will break. If other solid blocks support the scaffolding blocks, they won’t break.
Climbing Scaffolding
The way you climb scaffolding is also unique, just like its placement. You can go to the center of this block and hold the jump button. You’ll rise to the top, where you can stand on top of this block as if it has a hitbox. To get down, you can hold the sneak button to descend slowly. However, these apply if you’re in the center of the block.
If you’re on the edge of the scaffolding and trying to get up, you’ll ascend every block at a time, not in one smooth motion. This can help you choose the height you want to reach. If you’re on the edge of a scaffolding pillar and want to go down, you’ll start descending significantly more quickly than if you were in the center of the pillar. However, keep in mind that you’ll take fall damage in Minecraft if you descend like this from a four-block height or higher.
When it comes to the floating scaffolding blocks that don’t have a support block below them, you can also stand on top of them. Not only that, but you can stand in them while pressing the sneak button.
The special mechanic here is that you cannot fall through the floating scaffolding block, which makes it pretty safe. But, you can always fall off the side if you’re not careful.
Scaffolding Uses
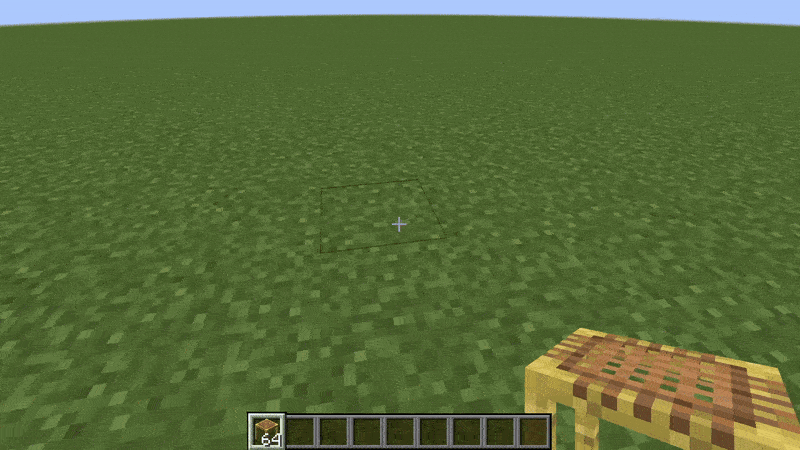
As you can assume, scaffolding is super useful while building. It can help you reach a certain spot quickly. It’s easy to place and break, so there is no wasting time with that. Apart from that though, scaffolding is used as a decorative block. Most of the time it represents a table of some sort. But, it can be whatever your imagination wants.
Making and using the scaffolding block is really not as complicated as it may seem. You should play with it for a bit, and you will have it figured out in no time. Some players love scaffolding and others just tend to stick to dirt as a pillar material. Which side are you on? Tell us in the comments below!
You can place redstone on top of scaffolding and the signal can travel upwards without any problem. However, just like with glass and slabs, redstone signal cannot travel downwards.
Yes, scaffolding can catch on fire and get completely destroyed by it.
No, you have to use bamboo to craft scaffolding.


