


After Windows Subsystem for Android (WSA) and the new Paint app, Microsoft has released another update replacing Groove Music with a brand new Media Player in Windows 11. It looks beautiful, has a UI consistent with the rest of the Windows 11 aesthetics, and brings a ton of features that were largely missing earlier. That said, the new Media Player is currently rolling out only to users in the Dev channel. But if you want to try out the new Media Player, we have found a nifty way to get it running on stable and beta builds of Windows 11. So without any delay, let’s go ahead and learn how to install the new Media Player on Windows 11 stable and beta builds.
Install the New Media Player on Windows 11 Stable Build (2021)
In this article, we have discussed the steps to install the new Media Player on Windows 11. Even if you are a beginner, you can get it running in no time, granted you know a bit of how Windows works.
Download the Required Windows 11 Media Player Files
1. First, open this website to download the MSIXBUNDLE of the new Media Player in Windows 11. After opening the website, set the drop-down menu to the left of the textbox to “PackageFamilyName“. After that, paste the below content into the text field. Next, choose “Fast” from the drop-down menu to the right of the textbox, and hit the “OK” (checkmark) button.
Microsoft.ZuneMusic_8wekyb3d8bbwe
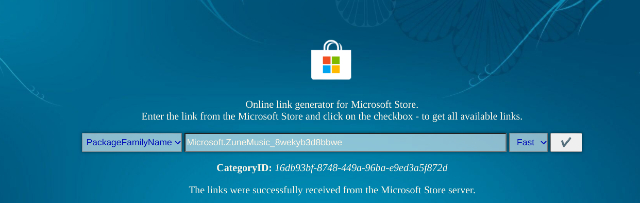
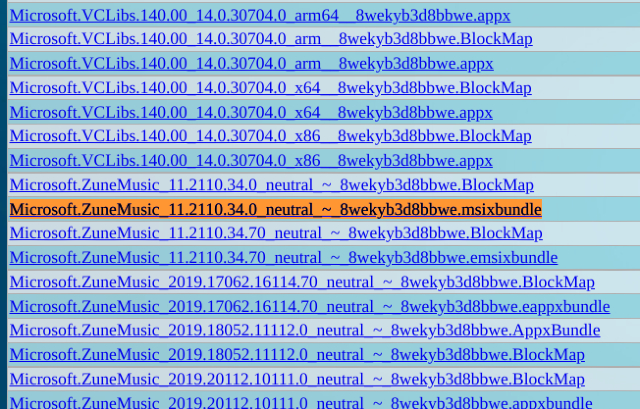
2. Now, you will find a long list of results. You only need to download the MSIXBUNDLE file. Search for the file name written below and download it. On Chrome, you need to right-click on the link and choose “Save link as…”. The file size is roughly around 34MB.
Microsoft.ZuneMusic_11.2110.34.0_neutral_~_8wekyb3d8bbwe.msixbundle
Modify the Windows 11 Media Player File
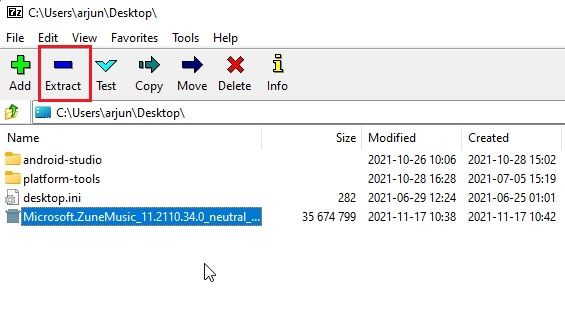
1. Once you have downloaded the MSIX package of the Windows 11 Media Player, go ahead and download 7-Zip (Free). It will enable you to access and extract the MSIXBUNDLE file.
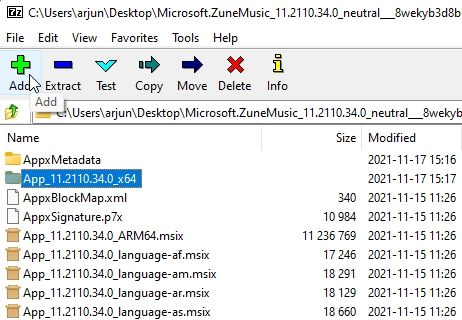
2. After installation, open 7-Zip and locate the MSIXBUNDLE you downloaded in the section above. Select the file and click on “Extract” at the top. The files will be instantly extracted in the same folder/ drive. Click “OK” on the pop-up window that appears.
3. Next, open the extracted folder.
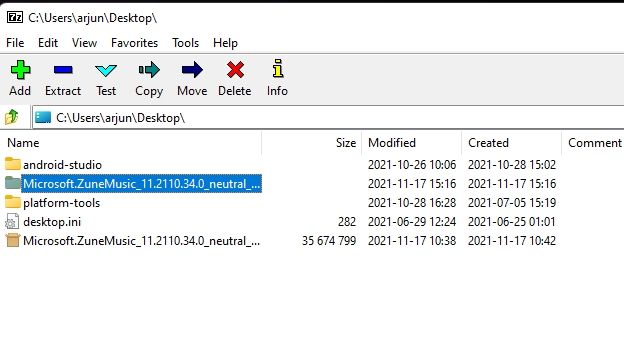
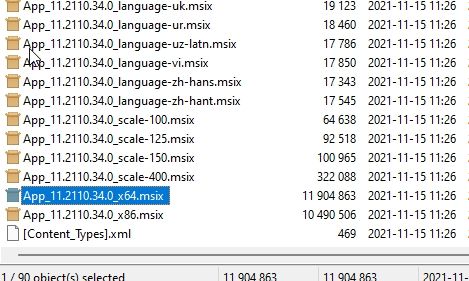
4. After that, scroll to the bottom and look for the x64 MSIX package, as highlighted in the screenshot below. Select it and click “Extract” on the top once again. These files will be extracted in the same folder.
5. Scroll to the top and open the extracted x64 folder.
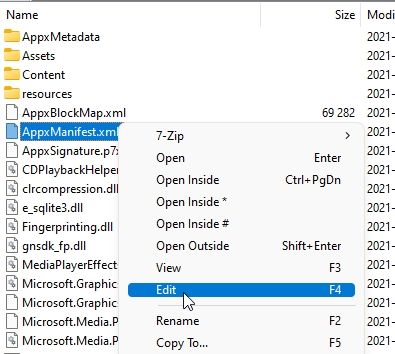
6. Here, right-click on the “AppxManifest.xml” file and choose “Edit”.
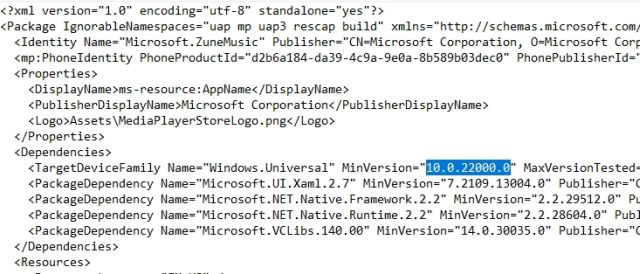
7. Open the file in Notepad and move to the 11th line. Here, under MinVersion, change the OS build to 10.0.22000.0. That’s it. Now, save the Notepad file and close it.
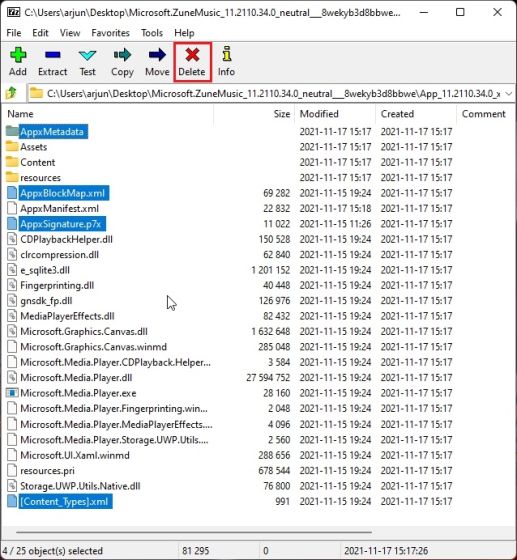
8. In the same x64 folder, delete the following files and folder (create a backup before deleting if you want). You can click “Delete” on top. Now, you can close 7-Zip.
AppxBlockMap.xml
AppxSignature.p7x
[Content_Types].xml
AppxMetadata folder
Install the New Media Player on Windows 11 Stable Build
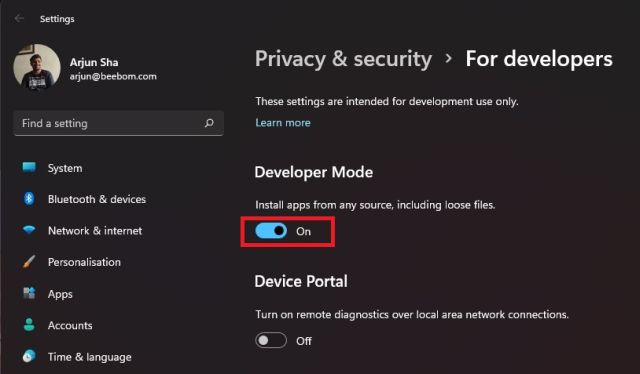
1. Now that you have modified the MSIXBUNDLE, let’s install the new Media Player on Windows 11 stable build. First, press the Windows key once and search for “developer” without quotes. Then, select “Developer settings” from the search results.

2. Here, turn on Developer Mode using the “Install apps from any source, including loose files” toggle. On the next prompt, choose “Yes”.
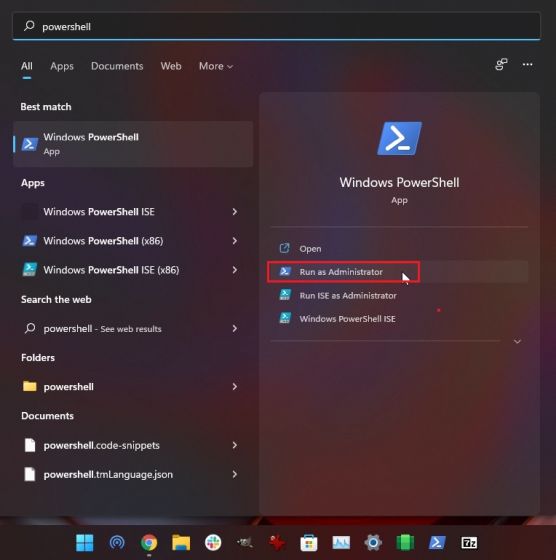
3. After that, press the Windows key again and search for PowerShell. On the search results screen, click “Run as administrator” on the right pane.
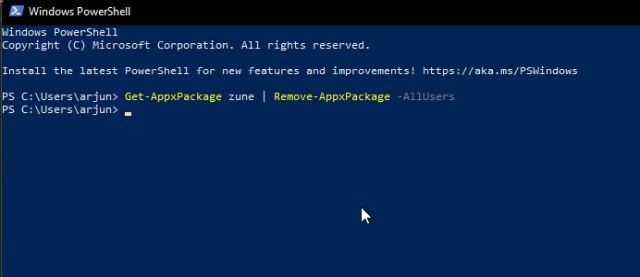
4. In the PowerShell window, paste the below command to remove the existing Groove Music package.
Get-AppxPackage *zune* | Remove-AppxPackage -AllUsers
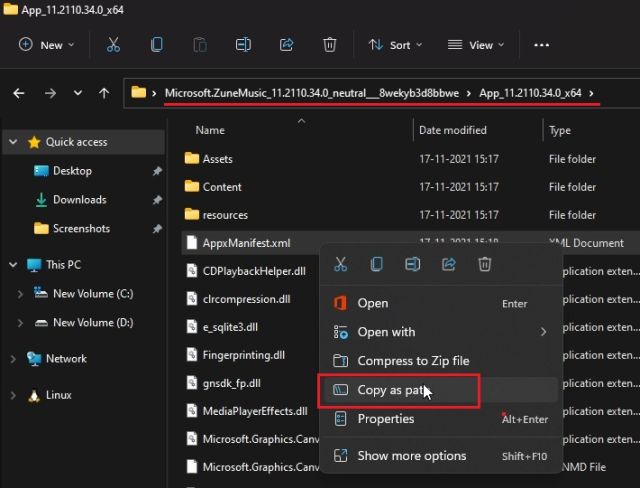
5. After that, navigate to the extracted MSIXBUNDLE folder and open the x64 folder. Here, look for the “AppxManifest.xml” file that we modified in the section above. Right-click on it and choose “Copy as Path“.
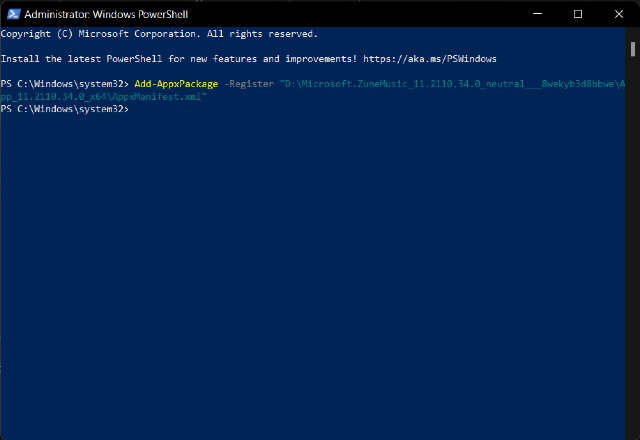
6. Move back to the PowerShell window and enter the below command. Make sure to replace filepath with the path you copied in the step above. Right-click on the PowerShell window and the path will be included at the end. Finally, hit Enter.
Add-AppxPackage -Register filepath
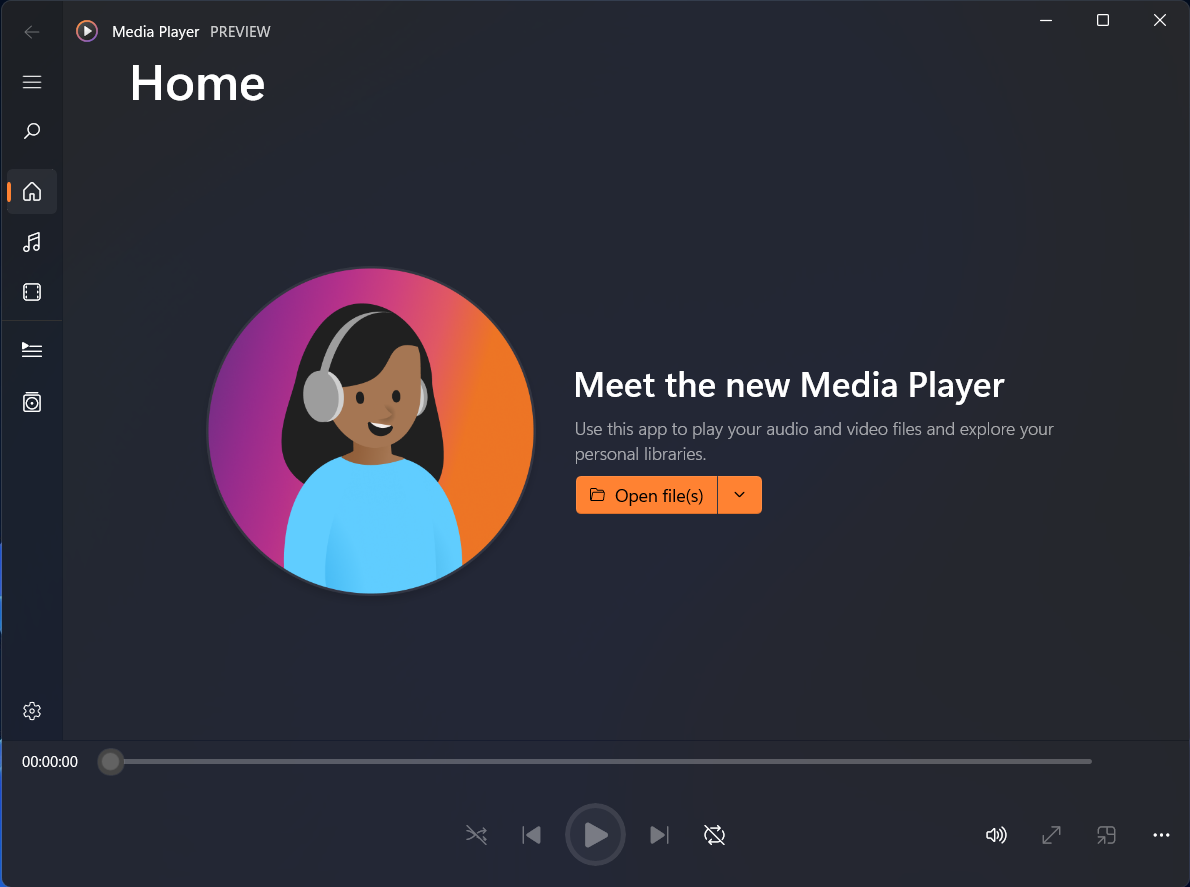
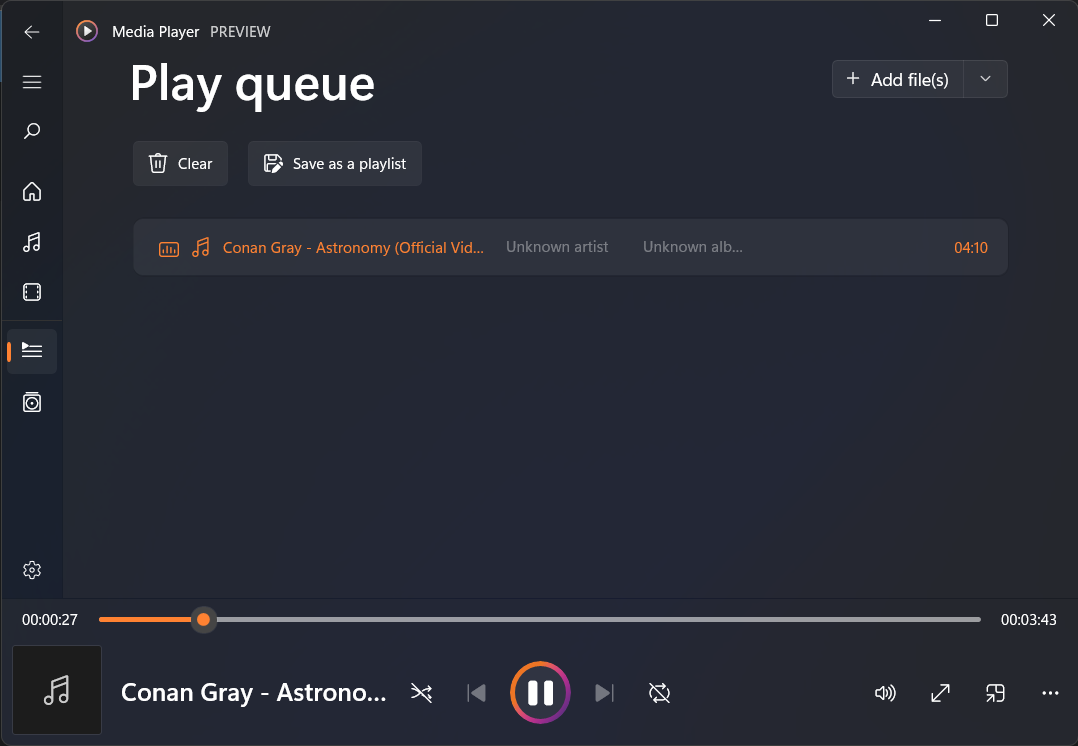
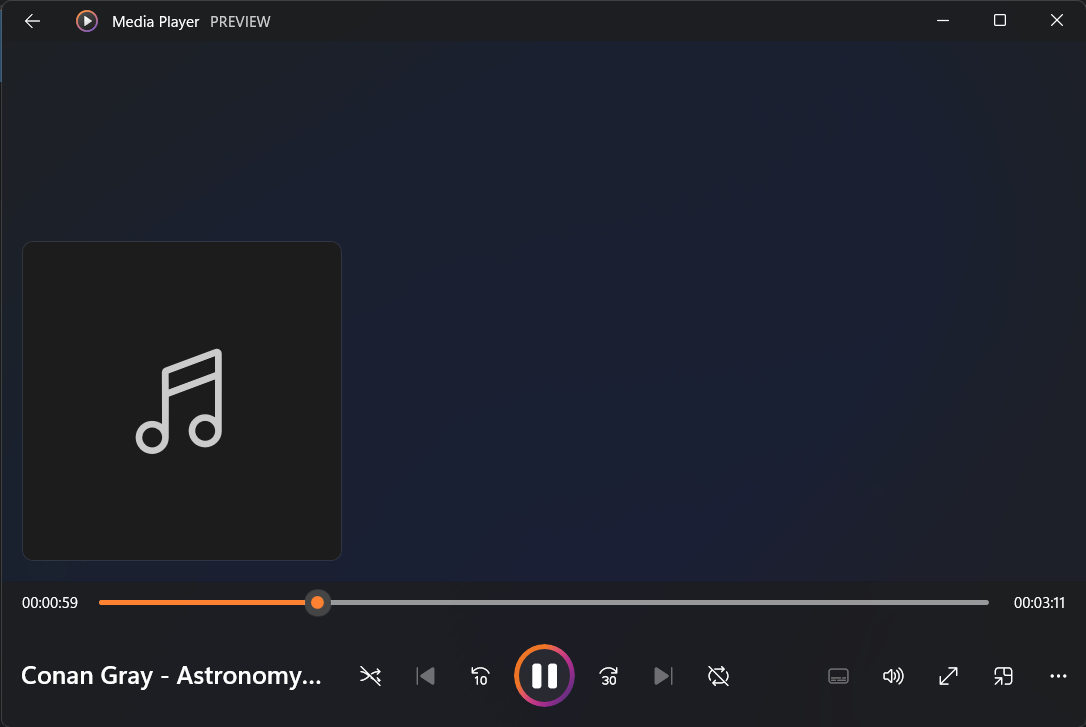
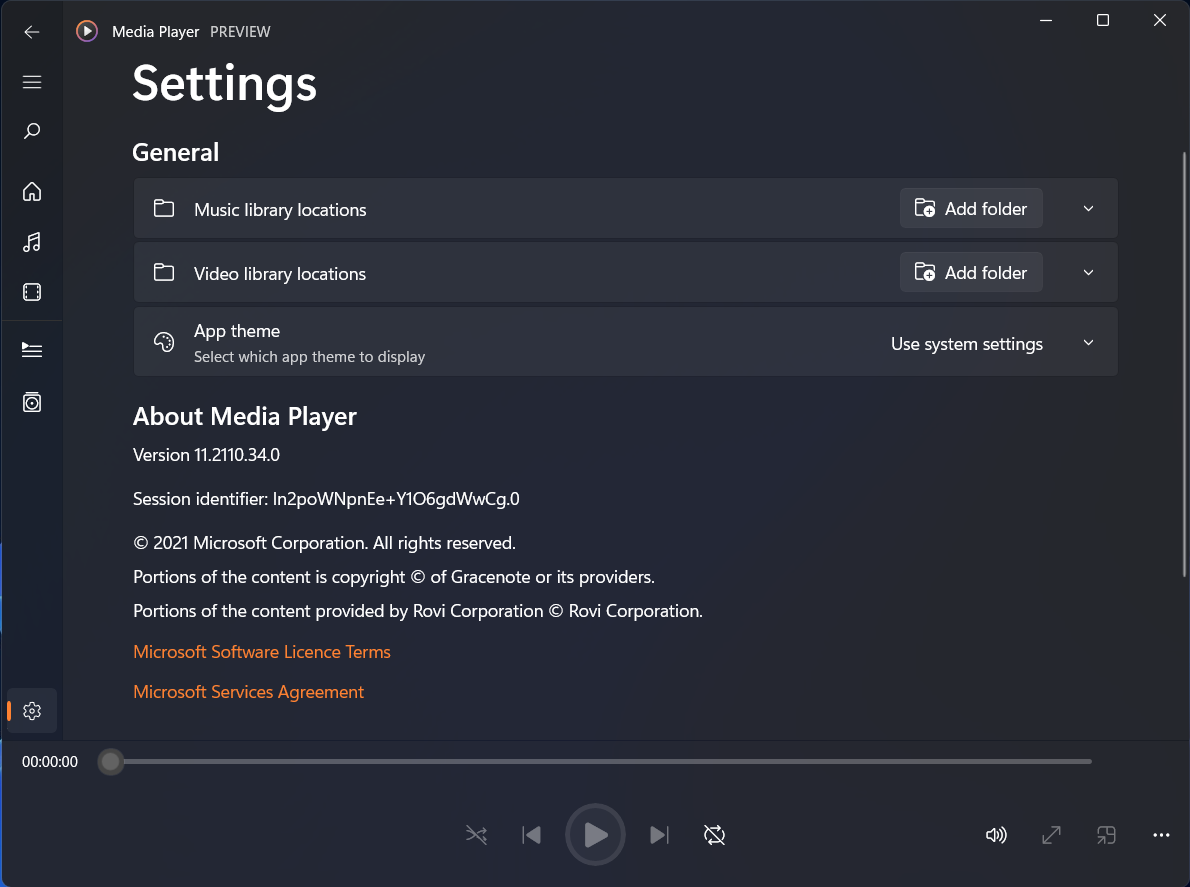
7. Now, open the Start Menu, and you will find the new Windows 11 Media Player installed on your PC. Click to open it, and you can use it without any issue. You can also search for “Media Player” in the Start Menu, and it will show up. Here are a few screenshots to showcase the UI of the new Media Player:
Don’t Wait! Install the New Media Player on Windows 11 Right Now
So that is how you can install the new Media Player on Windows 11 without having to wait for the release on the stable build. The steps may seem lengthy, but once you understand the basics, it gets pretty easy. Not to mention, this method may also come in handy for sideloading other Windows apps on Windows 10 and 11. Anyway, that is all from us. If you want to learn how to install Google Play Store on Windows 11, go through our linked guide. And yeah, you can also install the new Microsoft Store on Windows 10 with ease. Finally, if you have any questions, let us know in the comments section below.


 Abubakar Mohammed
 Beebom Staff

 Subin B
 Satyam Kumar
 Arjun Sha
 Vikhyat Rishi

I got the app but I want to remove the PREVIEW MARKING near the app name in the title bar
Can I do that ??
Does anyone has problem in edit with 7zip
Why do you delete my posts ? I do not swear, I do not offence anybody.
There is one more thing that must be done in order the installation to keep working. You must not delete the folder whith the files you use to install it, if you do so it will not work anymore.
Does not work for me.
WHEN I TRY TO SAVE THE FILE AFTER EDITING IT 7ZIP SAYS “FAILED TO SAVE THE FILE”
HOW DO I FIX IT?
yes we can install on windows 10 by 1 method- when you are renaming your build in appmanifest.xml , rename your build 19043
I followed your directions exactly and it does not work. Period.
it shows an error.
Please tell how can i get the new windows notepad (the new icon) in windows 10 stable build
why do you remove my commebts ?
Unable to install fr language resources.pri locked as development version
Can you just link the direct link to the edited files please 🙏(Google Drive or Mega)
Thanks!
How to bring it back to Groove?
Simply uninstall the new media player by right clicking on it in the start menu. Then just open the MS Store and download Groove again.
Uninstall fails, unable to revert to Groove.
It uninstalls, but if I try to install Groove from MS store, it goes back to Media Player Preview.
I want to uninstall because the app, after the second use, stopped recognizing my library.
If I can’t uninstall, how can I fix the above problem?
It’s working properly thank you bro.
music library not showing up after selecting folder?
Just clean by deleting your library musical DB
0x80073CFB
Is it possible to install it in french ?
Il est possible de l’installer en français uniquement sur une version DEV car le fichier resources.pri intégré dans msix du module fr est compilé en mode developpeur et qu’il n’est pas éditable
Thanks bro, It was easy.
It works with Windows 10 (21H2, 19044.1348), just use 19044.0 instead 22000.0. I think it need “Microsoft.UI.Xaml.2.7” framework to make it work on Windows 10 (you get the framework when the store updates to the new design)
Hi there, Windows 10 user here. I just want to ask about how you got past the remove package thing because that didn’t work out for me.
What’s the way to install the New Media Player on Windows 10??
I want old beebom app. New one is just crap.
I got this :
Add-AppxPackage : Deployment failed with HRESULT: 0x80073CFB, The provided package is already installed, and
reinstallation of the package was blocked. Check the AppXDeployment-Server event log for details.
Another user has already installed a packaged version of this app. An unpackaged version cannot replace this. The
conflicting package is Microsoft.ZuneMusic and it was published by CN=Microsoft Corporation, O=Microsoft Corporation,
L=Redmond, S=Washington, C=US.
NOTE: For additional information, look for [ActivityId] 78003f83-dc1f-0000-7451-0a781fdcd701 in the Event Log or use
the command line Get-AppPackageLog -ActivityID 78003f83-dc1f-0000-7451-0a781fdcd701
At line:1 char:1
+ Add-AppxPackage -Register .\AppxManifest.xml
+ ~~~~~~~~~~~~~~~~~~~~~~~~~~~~~~~~~~~~~~~~~~~~
+ CategoryInfo : ResourceExists: (C:\App_11.2110.34.0_x64\AppxManifest.xml:String) [Add-AppxPackage], PSI
nvalidOperationException
+ FullyQualifiedErrorId : DeploymentError,Microsoft.Windows.Appx.PackageManager.Commands.AddAppxPackageCommand
It happened to me too..
I try this command, it worked for me.
——————————————-
Get-AppxPackage -PackageTypeFilter Main, Bundle, Resource | Where-Object {$_.PackageFullName -like “*zunemusic*”} | Remove-AppxPackage -Allusers
——————————————-
Thanks, but it made no difference
It works! Thank you so much.
It worked! Even on windows 10! Tysm!
me too
happened to me too, have u found a work-around yet?
So I used:
get-appxpackage -name NameFromErrorMessage -AllUsers
to get the PackageFullName and then
remove-appxpackage -package PackageFullName -AllUsers
Found package full name with your code and removed like you said and installed now thanks
Code: remove-appxpackage -package Microsoft.ZuneMusic_10.21102.11411.0_x64__8wekyb3d8bbwe -Allusers
“Microsoft.ZuneMusic_10.21102.11411.0_x64__8wekyb3d8bbwe” is package full name
Hey! Everyone getting this error when attempting this process, I found a solution.
The problem is that this won’t work if you had already uninstalled Groove Music previously. Some part of it stays in the system after it’s uninstalled, which makes the system think it’s already installed.
So, just go to the Microsoft Store and reinstall Groove Music. Then, go through the powershell steps again and it should work just fine.
Bill had the solution. I had the same problem like everybody and didi what Bill say and it worked.
Thanks Bill it works!!
Don’t Edit the AppManifest.xml file. Just delete the four files he mentioned and copy the folder to a secure place then continue from there
Works like a charm provided you do as Dan instructs in these comments.
Use *zune* instead of zune for the Get-AppxPackage command and the rest will work.
Get-AppxPackage *zune* | Remove-AppxPackage -AllUsers
doesnt work. fails at removing the old/installing the new one
Is there a trick to get this on Windows 10, many apps on windows 10 are updating with the new windows 11 design language. Please try to find a trick to do so