For most project members, it is probably not feasible to download a ZIP file of all the project files every time a new feature gets updated or added. To solve this, Linus Torvalds created Git in 2005. It is a free and open-source version control software that makes collaborating on projects effortless. In this article, we will walk you through the process of installing Git on Ubuntu 22.04 LTS (Jammy Jellyfish) and earlier releases.
Install Git on Ubuntu using APT Package Manager
You can install git on Ubuntu using the APT package manager by following the below-given steps:
Step 1: Update the Ubuntu System
First, update the Ubuntu repositories of all dependencies before you can install git:
sudo apt update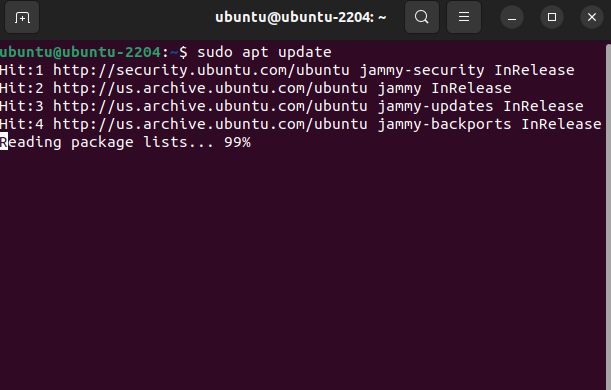
Then, upgrade the system for any pending upgrades:
sudo apt upgrade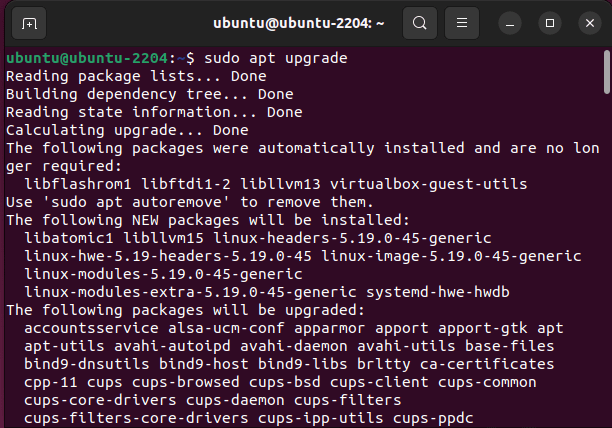
Step 2: Install Git from Official Repository
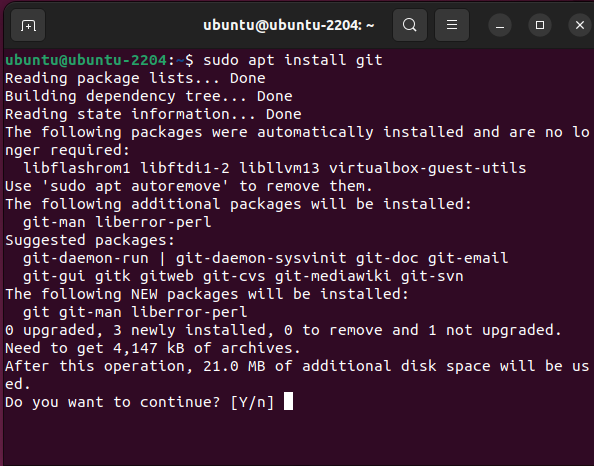
Next, use this command to install the latest stable version of git from the official Ubuntu repositories:
sudo apt install gitPress the ‘y’ key on the keyboard when prompted for confirmation.
Step 3: Verify the Installation
Once git is installed on your Linux machine, use this command to verify the installation with its version number. If you get the version number as the output, your installation is successful.
git --version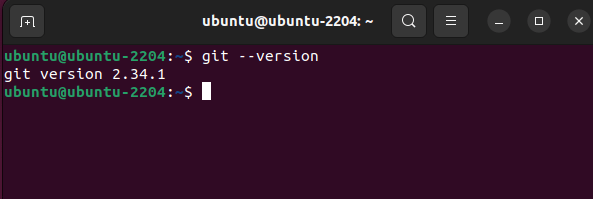
Install Git on Ubuntu from the Source Code
With Git being completely free and open source, you can directly compile from its source or even modify its contents to your preferences and then install it on your Ubuntu system.
Step 1: Download the Required Dependencies
Use this command to install all the dependencies required to build Git from its source code:
sudo apt install libz-dev libssl-dev libcurl4-gnutls-dev libexpat1-dev gettext cmake gcc -y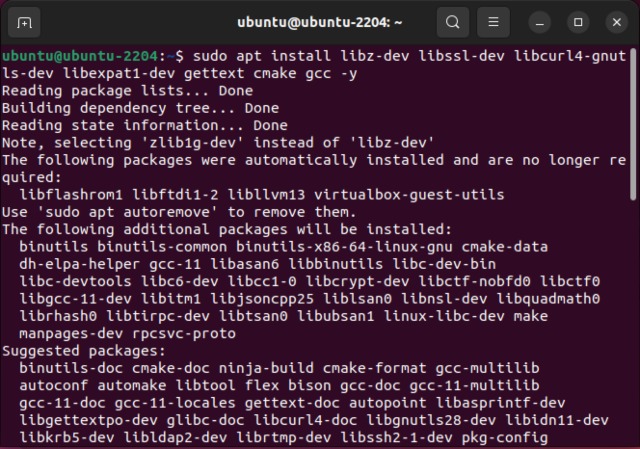
Step 2: Download the Source Code
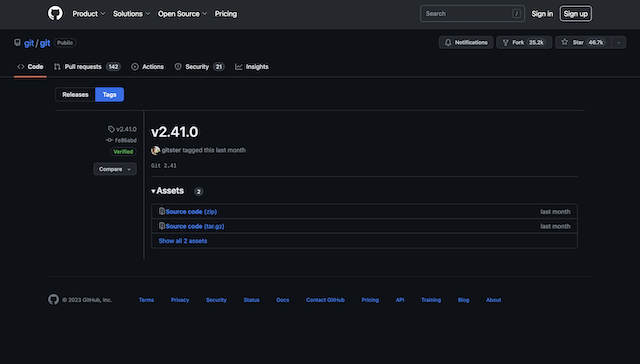
Head over to the official Git release page on GitHub and click on the version number you want to download.

Then, right-click on “Source code (tar.gz)” and copy the link.
Next, use this syntax to download and save the Git file to the /usr/src:
wget -c <copied_link> -O - | sudo tar -xz -C /usr/srcFor example, if you have selected the v2.41.0, use this command:
wget -c https://github.com/git/git/archive/refs/tags/v2.41.0.tar.gz -O - | sudo tar -xz -C /usr/src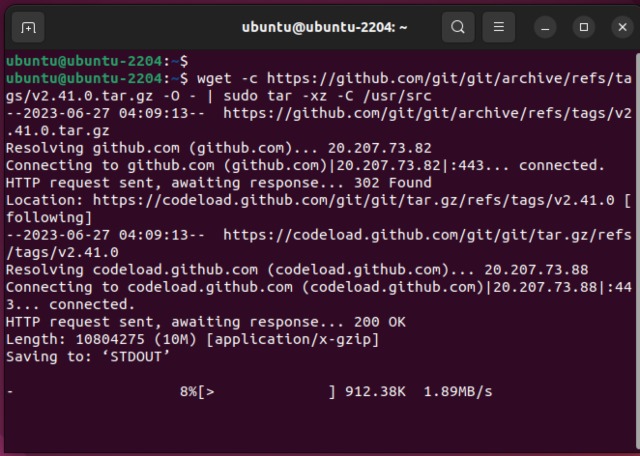
Step 3: Compile and Install Git
Now, all that’s left for you to do is compile and install git on your Ubuntu system using this command:
cd /usr/src/git-*
sudo make prefix=/usr/local all
sudo make prefix=/usr/local install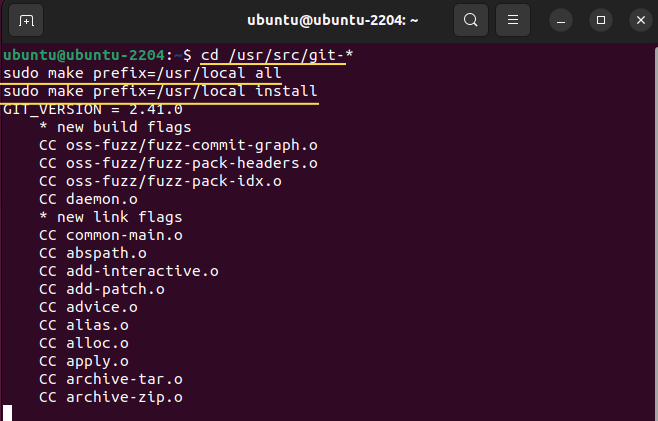
Step 4: Verify Installation
Once the installation finishes, verify the Git installation using the following command:
git --version