
ChatGPT is one of only AI chatbots that remains extremely popular and useful at once. The new GPT-4 LLM all but empowers the chatbot even further. However, what really changed the game was when we found out that ChatGPT can access the Internet in the form of plugins. However, you need to jump through some hoops to enable and use these ChatGPT plugins. We have created a dedicated guide to help you install ChatGPT plugins and expand the use of the AI bot. So follow the steps below.
Step 1: Get ChatGPT Plus Subscription
- The first and only thing you should know is that ChatGPT plugins are only available through a ChatGPT Plus subscription. The service costs $20 per month and is available worldwide.
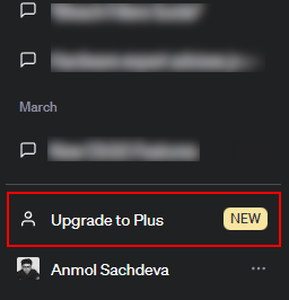
- To get ChatGPT Plus, simply log into your normal ChatGPT account and click on “Upgrade to Plus” to begin.

- Once done, click on “Upgrade plan” and complete the payment to subscribe to ChatGPT Plus.


Step 2: Enable Plugins in Beta Features
- Once you get the ChatGPT Plus subscription, click the ellipsis icon (three dots) at the bottom left to open up a pop-up menu. Then, click on “Settings.”


- In the settings menu, move to the “Beta Features” tab in the left sidebar.


- Finally, toggle on the “Plugins” feature to enable it.


Step 3: Access ChatGPT Plugins with GPT-4
With the setting now enabled, let’s begin using plugins with the AI chatbot. Follow the steps below to do so:
- On the main chat screen, click on or hover over the GPT-4 model option.


- From the list that appears, click on “Plugins” to switch away from the default setting.


Step 4: Install ChatGPT Plugins from the Store
- You will now see an option called “No plugins enabled” here. Click it to expand the menu. On that, click on “Plugin Store” to see a collection of plugins.


- OpenAI will then show a disclaimer about ChatGPT plugins. Simply click “OK” to proceed.


- You will see an entire store with different plugins to choose from. Once sure of which ChatGPT Plugin you want, click on the “Install” button next to it.


- The plugin should install within just a few seconds, and you will see the same in the dropdown menu we mentioned above.


Step 5: How to Use ChatGPT Plugins
- Once done with the above steps, simply type out your request depending on the plugin in ChatGPT. In my case, I will ask a language-related question to speak. Once typed, press Enter.


- ChatGPT will begin interfacing with the plugin and render a response in no time. As you can see, the seamless interaction allowed both tools to provide an accurate answer.


Congratulations, you now have access to ChatGPT plugins! You can install a variety of plugins available to you using the steps above.
We are still awaiting access to the two most impressive plugins in OpenAI’s arsenal, i.e. the web browsing and code interpreter plugins. Do you have access to these plugins? How has your experience been so far? Let us know in the comments below.


