Capturing a screenshot on a Mac is a breeze, as all you need to use is a simple keystroke. However, often, what you need to share is present within a specific portion of the screenshot you captured. That’s exactly where the need to trim a screenshot on Mac comes into play. If that seems like a daunting task to you, we have explained how to crop a screenshot on Mac or MacBook in this guide.
1. Crop Screenshots using a Keyboard Shortcut
While you can use your Mac’s built-in screenshot tool to capture a screenshot, at times, the need to focus on a particular section can arrive later. In that case, you can make use of the Preview tool to crop screenshots on your Mac or MacBook. Not only do you can use the Preview tool to crop screenshots, but you can also resize or annotate them. With that said, here’s how you crop screenshots on Mac using keyboard shortcuts:
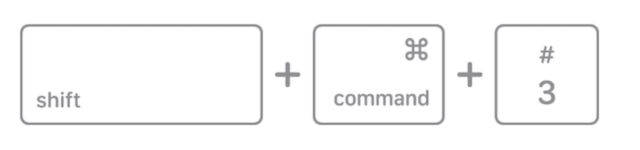
- On the preferred Mac window, press the “Shift + Command + 3″ keys to capture a screenshot of the entire screen.
- Now, directly open the screenshot by clicking the thumbnail at the bottom right corner, or wait for it to appear on your desktop and then open it.
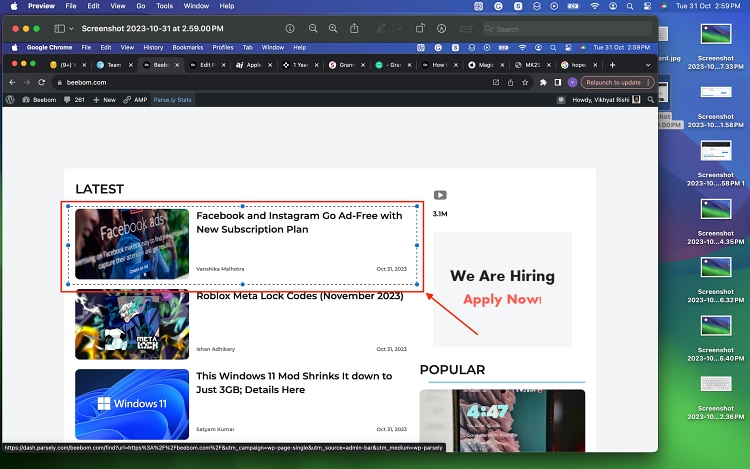
- In the screenshot preview window, use your MacBook’s mouse pad to make a rectangular selection of the area you want to crop from your screenshot.
- Once done, press the “Command + K” keys together on your Mac’s keyboard to crop the selected area from your screenshot.
2. Crop a Screenshot on Mac using Menu Bar
- Follow the first three steps of the previous method to grab a screenshot and select a portion of the same.
- Once done, click on Tools in the top menu bar, then select “Crop” from the drop-down menu.
- And with that, the area you selected in the previous step will get cropped from your screenshot.

3. Crop a Screenshot on Mac using Touch Bar
While cropping a screenshot on Mac using the keyboard shortcut is straightforward, the older MacBook Pro models make the process even simpler. You can use the Touch Bar to crop screenshots with a single tap, and here’s how that works:
- As we’ve already mentioned, capture a screenshot and make a rectangular selection like we did above.
- Now, locate and tap the Crop icon (a square icon with extended corners) on your MacBook Pro’s TouchBar to crop the area that you selected earlier.

- Here’s how the cropped screenshot will look like in all the methods explained above:

Note: Your Mac automatically saves the cropped screenshot, so always remember to create a copy of your original screenshot in advance to protect yourself against any data loss.
4. Crop a Screenshot using the Photos App
Along with the Preview tool, you can also use Mac’s Photos app to edit and crop screenshots. Not only cropping, the Photos app also allows for advanced editing, allowing you to adjust the color, resize the image, apply filters, and much more. Here’s how you can edit screenshots on Mac with the Photos app:
- On a preferred Mac app, press the “Shift + Command + 3″ keys to capture a screenshot of the entire screen.
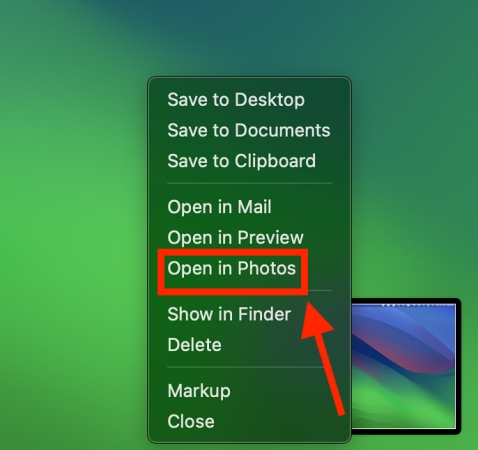
- Now, right-click on the preview thumbnail of the screenshot that appears at the bottom right corner, then select the Open in Photos option in the pop-up menu.
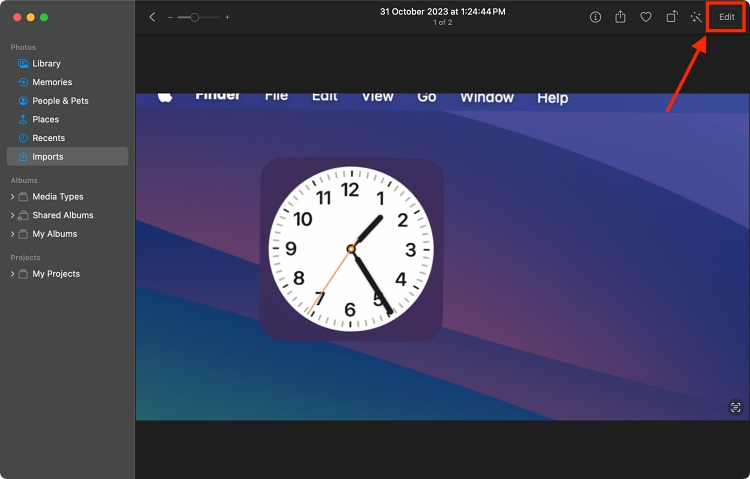
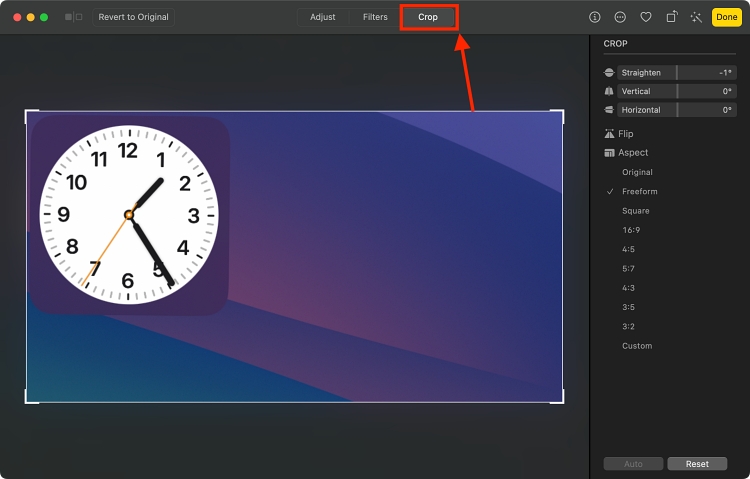
- Now, click the Edit button at the top right corner of the Photos app.
- Here, click the Crop button in the editing toolbar that appears at the top.
- Now, cropping handles will appear around your screenshot, allowing you to adjust the cropping area.
- Click and drag the handles to resize the crop box on your screenshot. You can also move it entire crop box around your screenshot by clicking inside it and dragging.
- When satisfied with the cropping selection, hit Enter or click the Done button in the upper right corner of the window.
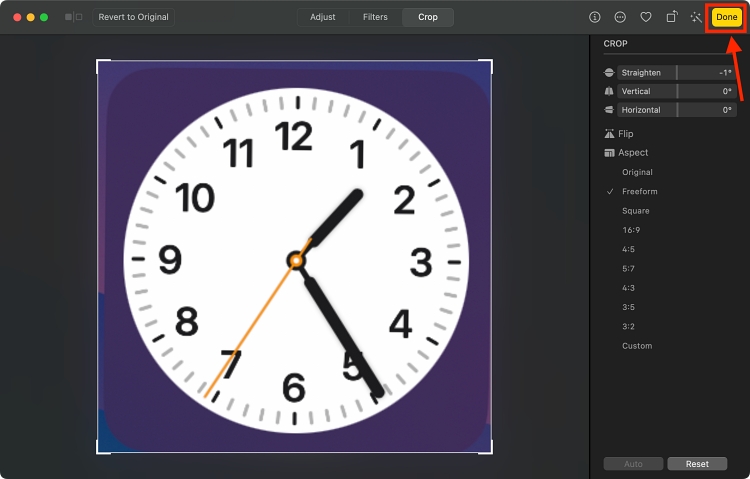
After clicking the Done button, the Photos app will save your cropped screenshot automatically. Your perfectly cropped screenshot is now ready on Mac, so you can share or print it with others right away. And if you’re using your iPhone to edit screenshots, you can use “quick crop” in the Photos app on your iPhone.


