
If you are an Apple user committed to the whole ecosystem concept, you would know how easy it is to access your photos and videos across devices using iCloud. Any photo or video you capture on your iPhone or iPad will automatically be uploaded to iCloud if you have turned on iCloud photos sync and will be available to view on all your other Apple devices, including your iPad, Mac, or the iCloud website in seconds. So, keep reading to learn how to access iCloud photos on different devices, including Windows PC.
How to Enable iCloud Photos Sync on iPhone & iPad
The first and foremost thing for accessing iCloud Photos on your iPhone is to ensure that iCloud Photos is enabled on your iOS device. Here’s how you can –
1. Open the “Settings” app on your iPhone.

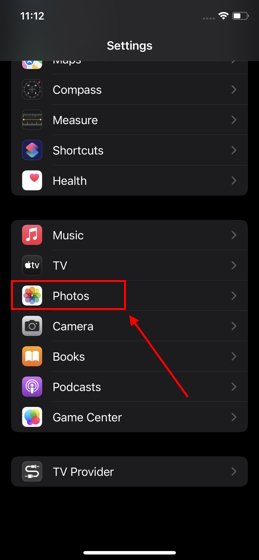
2. Locate and tap the “Photos” option.
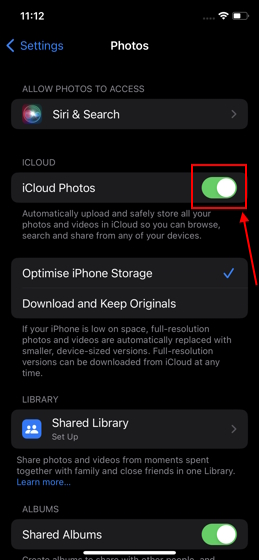
3. Tap the “iCloud Photos” toggle to turn it “On” if not already.
How to Access iCloud Photos on iPhone & iPad
Accessing iCloud photos on iPhone is simple if you have already turned on automatic uploading to iCloud photos in the settings. Here is how it works:
1. Open the “Photos” app on your iPhone.
2. Move to the “Library” tab to access all your iCloud photos.
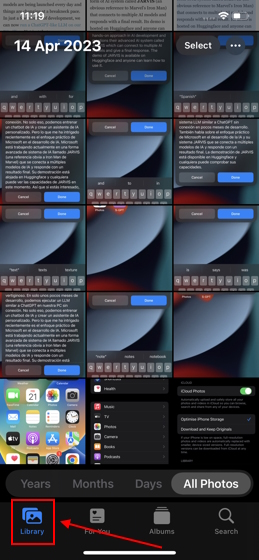
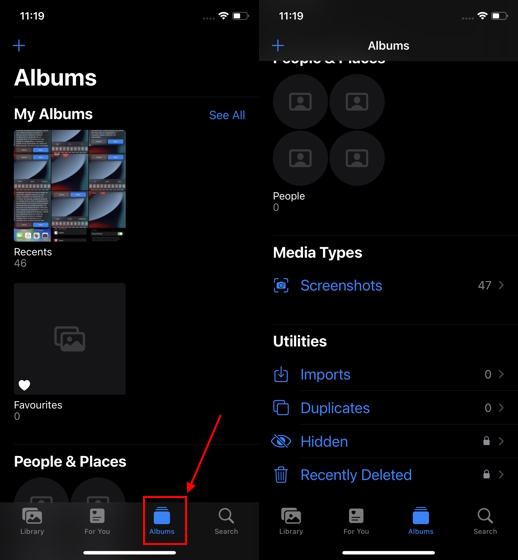
3. Alternatively, move to the “Album” tab to see a list of all Photo Albums, People & Places, Media Types, and Utilities.

Note: Apple offers only 5 GB of iCloud space for free, and once you turn on iCloud photos on any of your Apple devices, all the existing photos on the devices will automatically start backing up to iCloud, which will fill the iCloud storage. So you need to manage your iCloud storage effectively. While we’re talking about iCloud storage, do check out our guide to get free temporary iCloud storage on iPhone and iPad.
How to Access iCloud Photos on Mac
Like iPhone or iPad, you need to enable iCloud Photos to access iCloud Photos on your Mac device. While you need to access the Settings on your iPhone to enable iCloud Photos, you can enable it from the Photos app on Mac. We have detailed the process below:
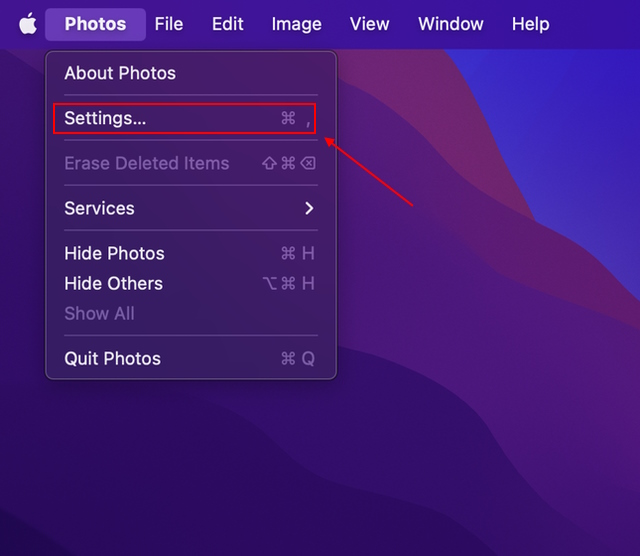
1. Open the “Photos” app on your Mac.
2. Now, click on “Photos” in the menu bar at the top left corner and choose the “Settings” option from the drop-down menu.

4. Then, move to the “iCloud” tab on the next screen.

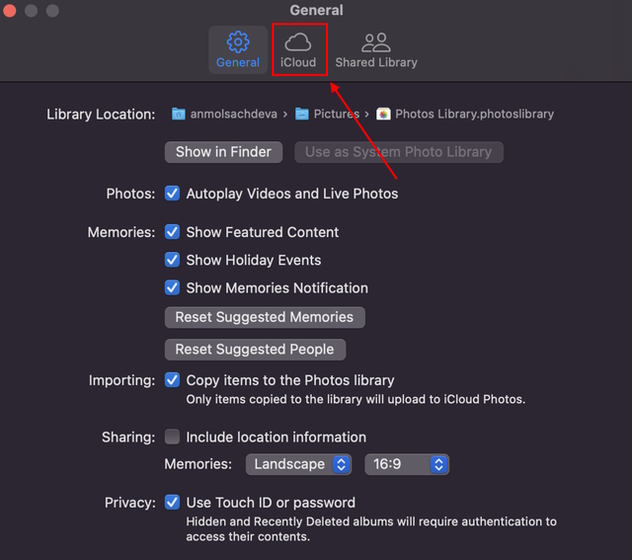
5. In the next window, click the “Checkmark” against “iCloud Photos” to enable it.

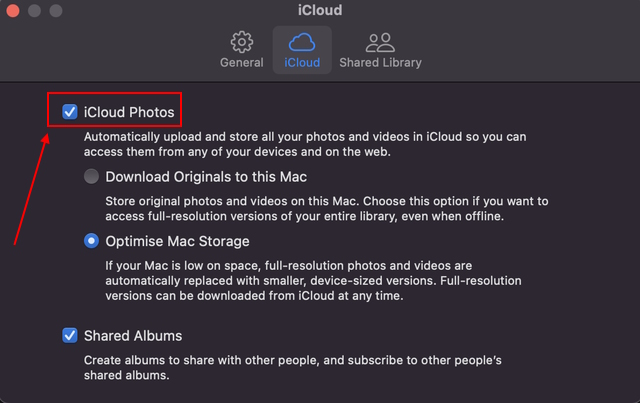
6. Now, wait till all your iCloud Photos appear in your Mac’s Photos app, as photos may take some time to load depending on your internet speed. Once they are done syncing, you can view your iCloud photos on your Mac with ease.
How to Access iCloud Photos on Windows PC
While you don’t need to install any additional apps to access iCloud Photos on Apple devices, it is not the same case on Windows PCs. On Windows, you first need to install the iCloud app from the Microsoft Store to access iCloud Photos. Below, we have detailed how to use the iCloud app to sync and access iCloud photos on your Windows PC.
Set up iCloud Photos App on Windows PC
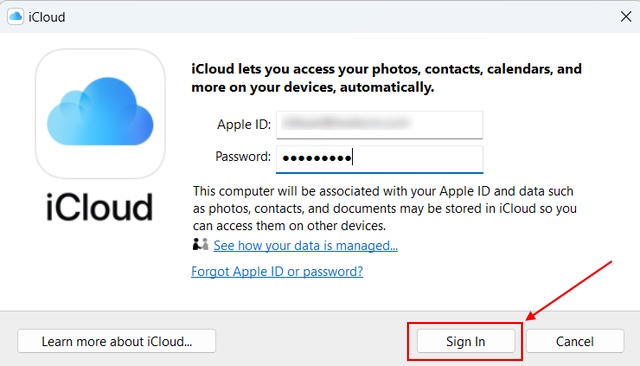
1. First, install the “iCloud” app (Free, Download) on your Windows PC.


2. Once installed, sign in with your Apple ID.

2. Next, click the “Options” button next to Photos.


3. Select “iCloud Photos” on the next pop-up window, and click “Done.”

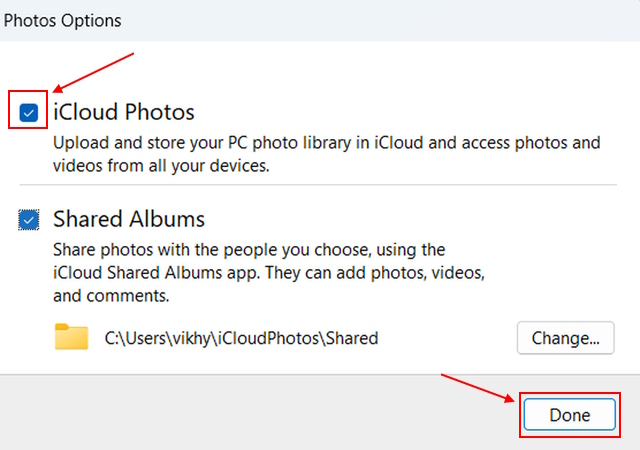
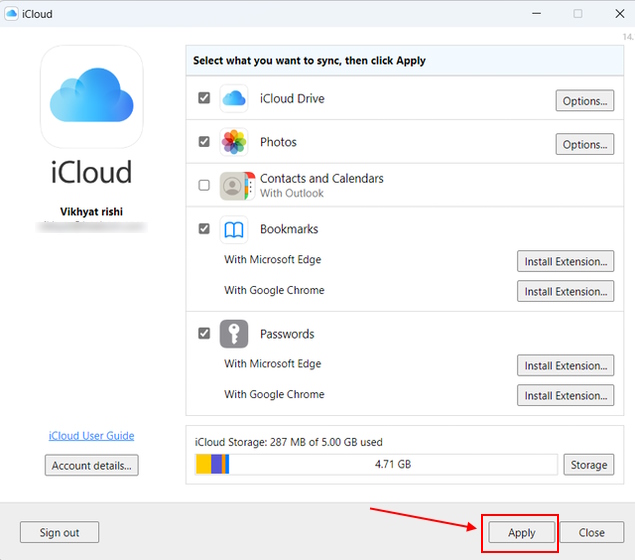
4. After that, click the “Apply” button.
View iCloud Photos on Windows PC
1. Open the Microsoft Photos app on your Windows PC.
2. Click the “iCloud Photos” tab in the left sidebar.

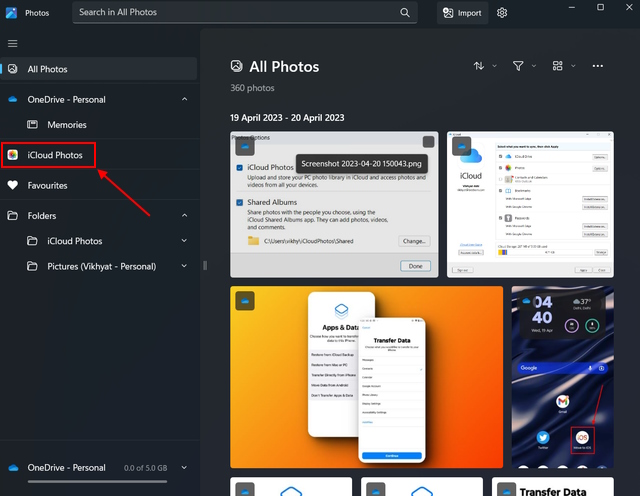
3. You can now access all your iCloud Photos on your Windows 11 PC here.
Note: The above method is applicable to Windows 11 users. If you’re using Windows 10, open File Explorer and click on iCloud Photos from the navigation pane on the left.


How to Access iCloud Photos Using a Web Browser
Are you among the users who switched to Android from iPhone and don’t know how to access your iCloud Photos which you took on your iPhone on Android? Worry not, as we are here to help. While there is no dedicated iCloud app for Android users, you can use iCloud.com to access iCloud Photos online. Let me show you how:
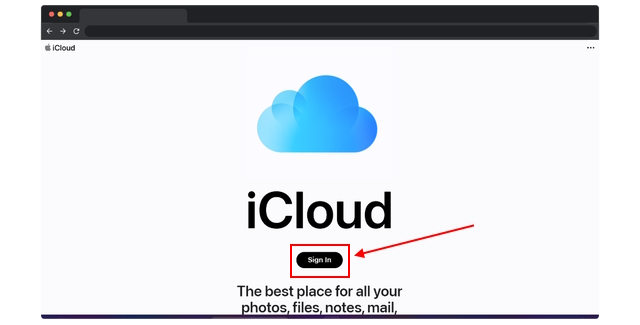
1. Open the iCloud website (visit) in your preferred browser.

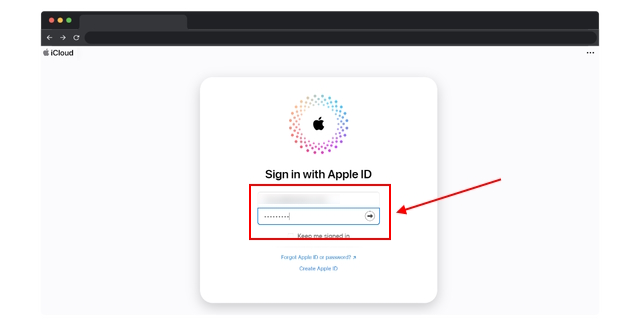
2. Sign in with your “Apple ID” on the next page.

3. Once logged in, click the “Photos” app icon.

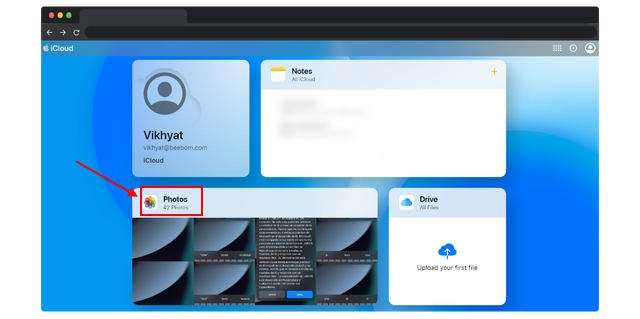
4. In your desktop or mobile browser, you can now view and download all your iCloud photos taken on your iPhone or iPad.

How to Download Photos from iCloud
Now that you know how to access your iCloud photos on different platforms, let me teach you how to download photos on your device. We have explained two methods for the same here, so have a look:
Using Windows PC
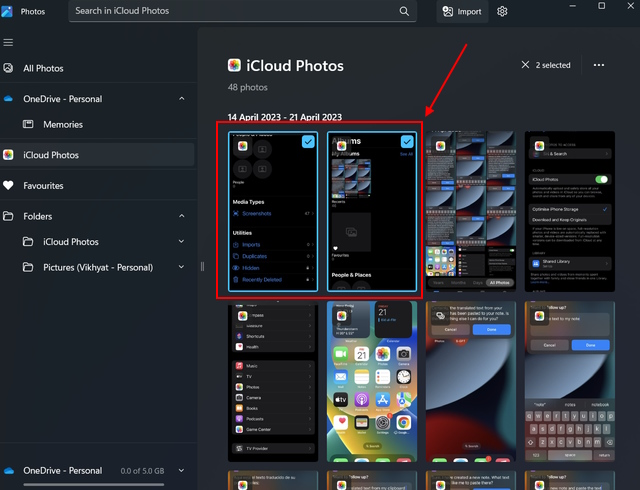
1. In the Microsoft Photos app, move to the “iCloud Photos” tab on your Windows PC.
2. Then, select the photos you want to download.

3. Now, right-click on the selection and select “Copy” in the context menu.

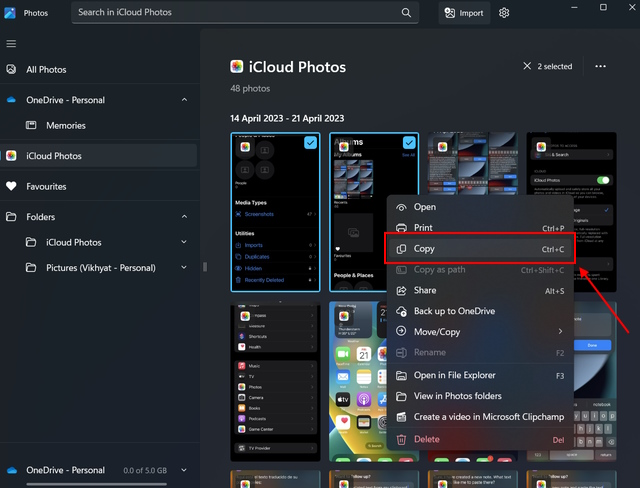
4. Paste the copied file in any folder you want. In our case, we copied the photos to the desktop. Once you click on the created shortcut, the photos will be downloaded.


From iCloud Website
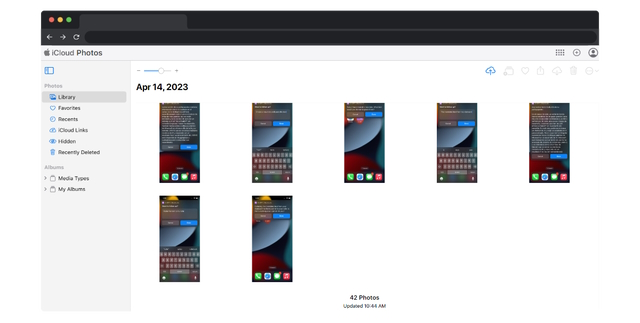
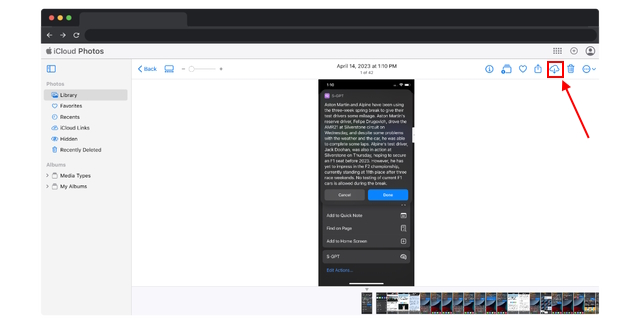
1. Open the iCloud.com website (visit) in your preferred browser.
2. Sign in with your “Apple ID” and click the “Photos” app icon to access your iCloud photos.
3. Now, select the “Photos” you wish to download.

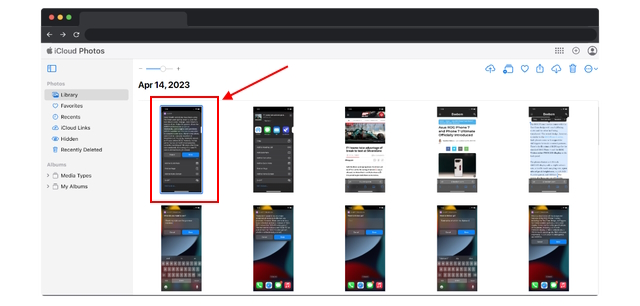
4. Click the “Download” button at the top right corner.

And if you are unable to download photos from iCloud, check out our guide on how to fix the iCloud files not downloading on iPhone and iPad problem.
Frequently Asked Questions
There is a high chance that the iCloud Photos setting is not “enabled” on your iPhone. Also, sometimes you may get logged out of your iCloud account after an iOS update, so try signing in again.
Go to iCloud.com, select the photos you want to retrieve, and tap the download button. The selected photos will then start downloading.

