
Windows 11 has several built-in utilities that helps you maintain, service, test, and fix your PC in case any problem occurs. For example, you can use system restore in Windows 11 to move your PC back in time to a functional state. Windows 11 PCs also include a troubleshooter that fixes sound issues on Windows 11 automatically, among many other problems. However, if you are also facing issues with your microphone and want to test it in Windows 11, you can do so easily from the Settings and Control Panel. In addition, you can also boost the microphone sound without downloading any third-party app. On that note, let’s go ahead and find out how to test your microphone in Windows 11.
Test Your Microphone in Windows 11 (2022)
In this guide, we have explained how to set up both wired and wireless microphones in Windows 11, along with the two methods to test the microphone in Windows 11. Apart from that, we have added instructions on how to boost the microphone volume in Windows 11. With that said, let’s dive in.
Set Up a Wired Microphone in Windows 11
Before we set up the wired microphone, we first need to learn which port you need to connect the microphone to. So let’s go ahead and find out how to set up a wired microphone in Windows 11.
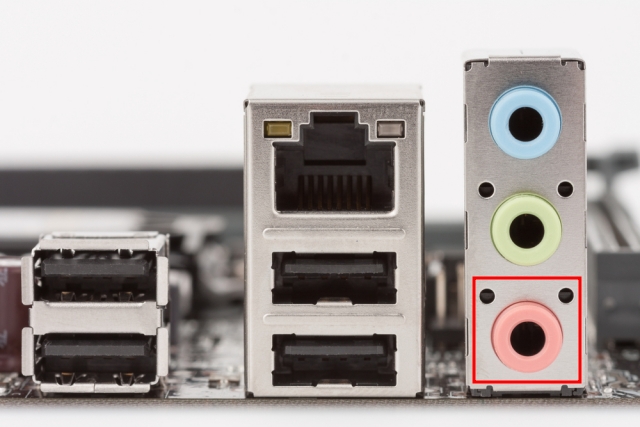
1. If you are using a Windows laptop, generally the 3.5mm audio jack works for both sound output and microphone input. So you should connect the wired microphone to the headphone jack on your laptop. And if you are using a custom-built Windows PC, the mic port will be the pink color one. You should also look for the “mic” icon around the ports.

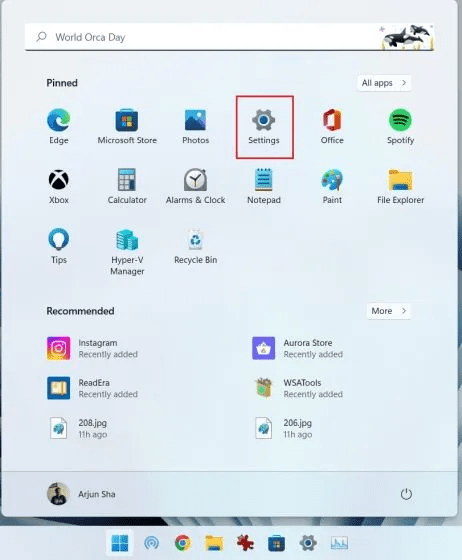
2. Once you have connected the microphone to the right port, open Settings by pressing “Windows +I” and move to System -> Sound.

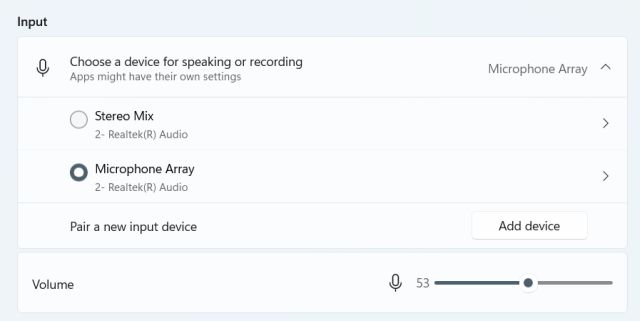
3. Here, under the “Input” section, choose the wired microphone you want to use, and that’s it. You have successfully set up a wired microphone in Windows 11.

Set Up a Wireless Microphone in Windows 11
To set up a wireless mic that works over Bluetooth, you need to just open Settings and pair the mic with your Windows 11 computer. Here is how to go about it.
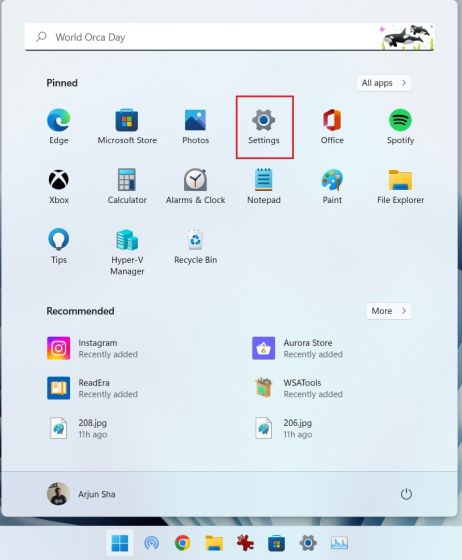
1. Make sure your Bluetooth microphone is in pairing mode. After that, open the Settings app from the Start menu or by using the keyboard shortcut “Windows + I“.

2. In the Settings app on Windows 11, move to System -> Sound.
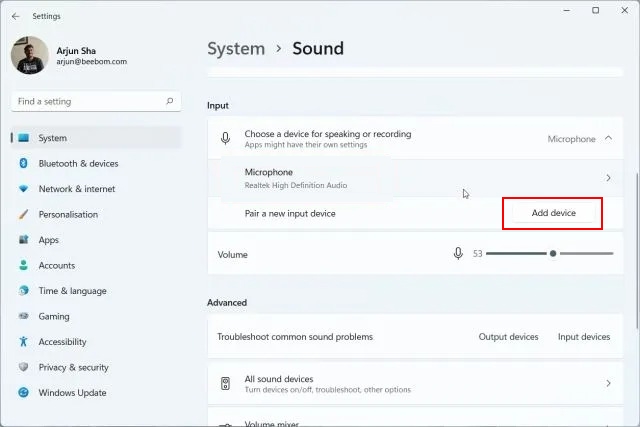
3. Scroll down and move to the “Input” section. Here, click on “Add device” next to “Pair a new input device”. This will open the Bluetooth pairing window on your PC.
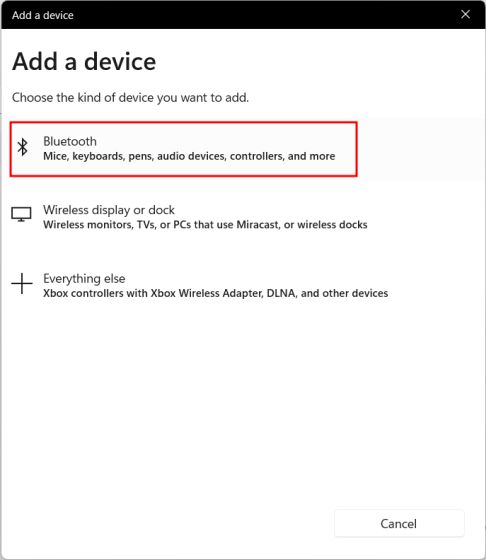
4. Here, choose “Bluetooth” in the pop-up window.

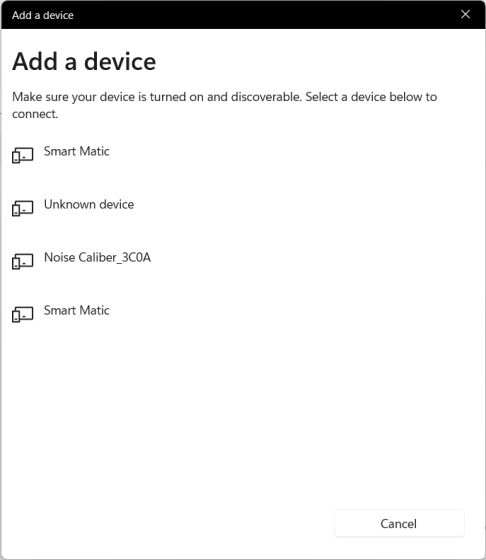
5. If your wireless microphone is in pairing mode, it will show up here. Once it appears on the screen, click on it and follow the on-screen instructions to pair the microphone.
6. That’s all. Under the “Input” section, make sure the wireless microphone is selected as your default mic.
Test Your Microphone in Windows 11 From Settings
1. To test your microphone in Windows 11, press the Windows 11 keyboard shortcut “Windows + I” and open the Settings. You can also manually open Settings from the Start menu.
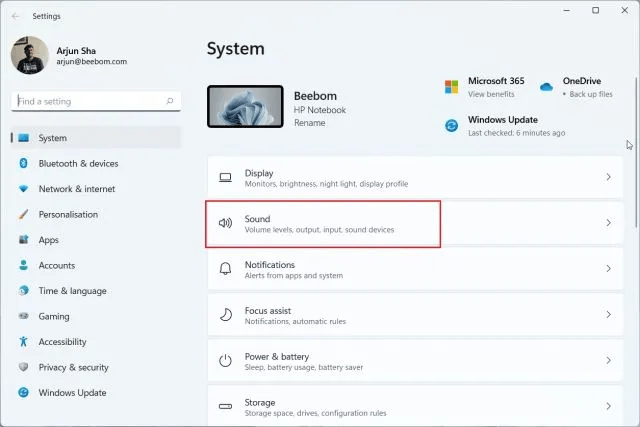
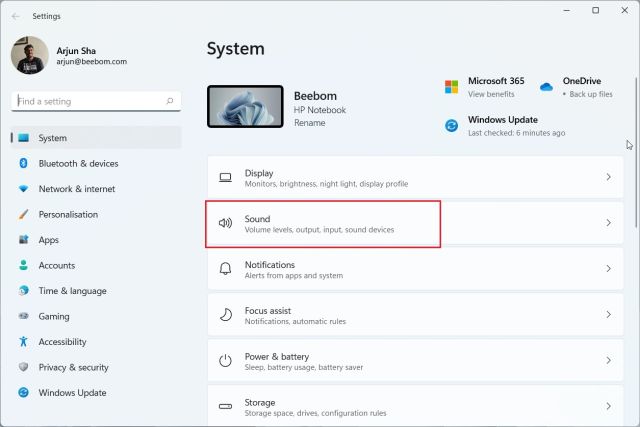
2. Under the “System” menu, open “Sound” from the right pane.
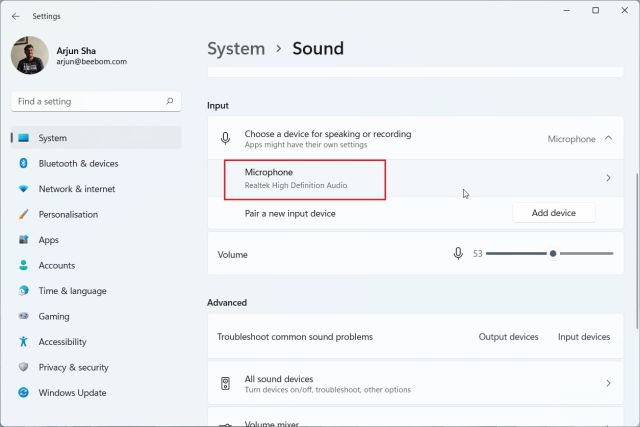
3. Here, scroll down and click on “Microphone” under the “Input” section.
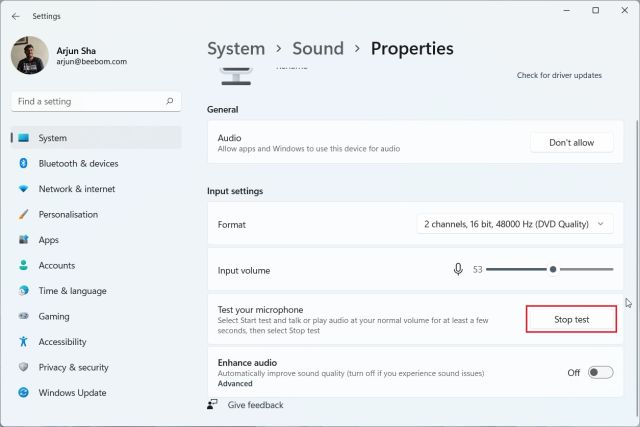
4. After that, under “Input settings”, click on the “Start test” button next to “Test your microphone”.

5. Start speaking, and you should see an indicator showing the voice response. After you are done, click on “Stop test“.
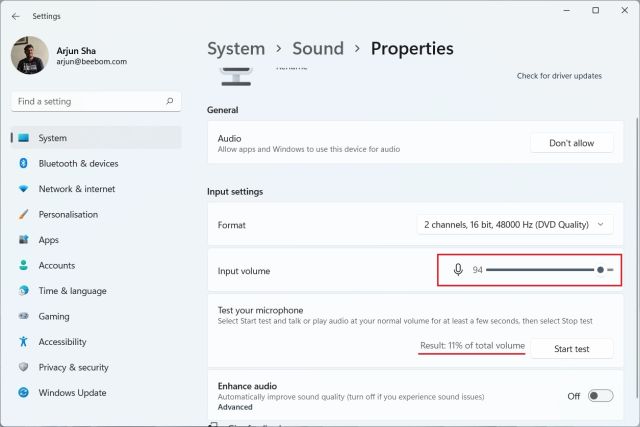
6. Windows 11 will show the microphone test result right below. If the test result is above 50%, your microphone is working fine. If not, increase the “Input volume” slider to the maximum. That’s it.
Now go ahead and test the microphone again on your Windows 11 PC, and it should be able to catch your voice without any issues.
Test Your Microphone in Windows 11 From Control Panel
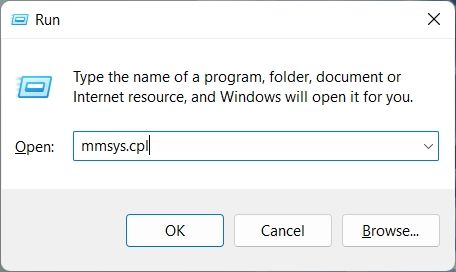
1. You can also test the microphone in Windows 11 from the Control Panel. Simply press “Windows + R” to open the Run prompt. Here, type mmsys.cpl and hit Enter. This will open the Sound settings in Control Panel directly.

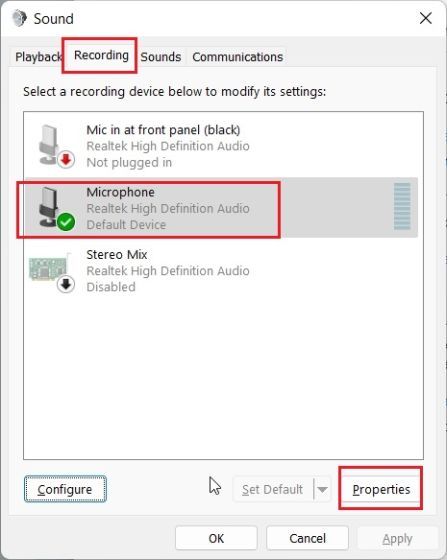
2. Next, move to the “Recording” tab and choose your microphone. After that, click on “Configure” in the bottom-left corner.


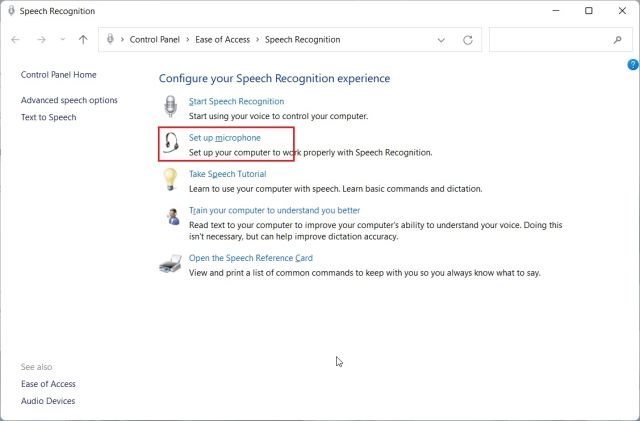
3. It will open the Speech Recognition window. Here, click on “Set up microphone“.

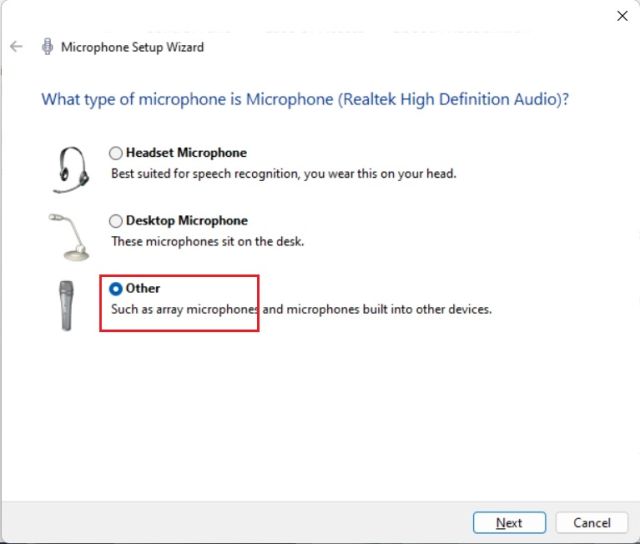
4. In the next window, select “Other” and click on “Next”. If you have connected a headset or a dedicated mic, choose the appropriate option. For built-in mics, “Other” is a suitable option.

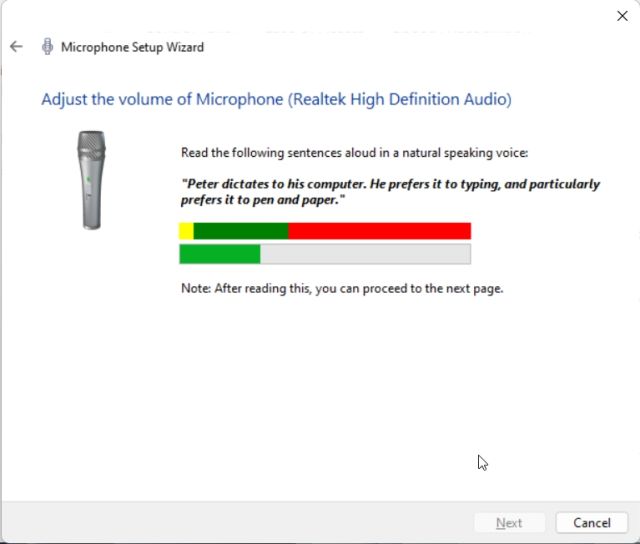
5. After that, click on “Next” and then read the sentence displayed on the screen. If the indicator is within the “green” region, it means your microphone is working well. After reading the sentence, click on “Next”.
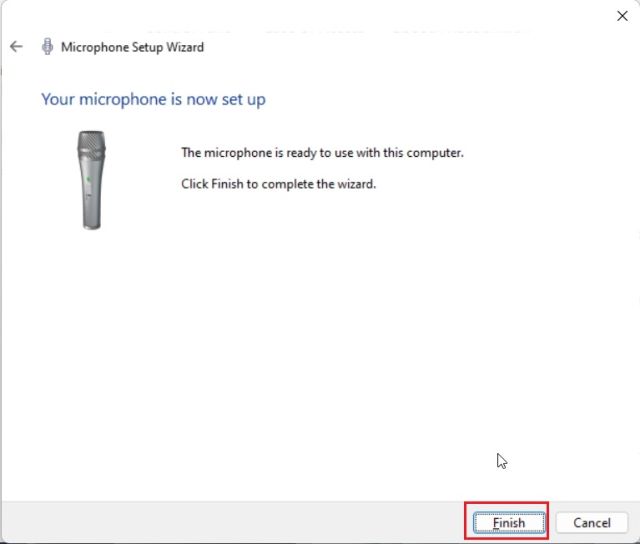
6. If everything went fine, it will show that your mic is ready to use. Now, you can close the window. In case the mic was getting low or high voice pickup, move to the next method to amplify the microphone volume in Windows 11.
Boost Microphone Volume in Windows 11
1. Use the “Windows + R” shortcut to open the Run prompt. Here, type mmsys.cpl and hit Enter.
2. In the “Sound” window, switch to the “Recording” tab, choose your microphone, and open “Properties“.
3. Here, move to the “Levels” tab and increase the “Microphone Boost” level. You can also reduce it if the mic is picking too much sound.


Microphone Not Working in Windows 11? Fix Here!
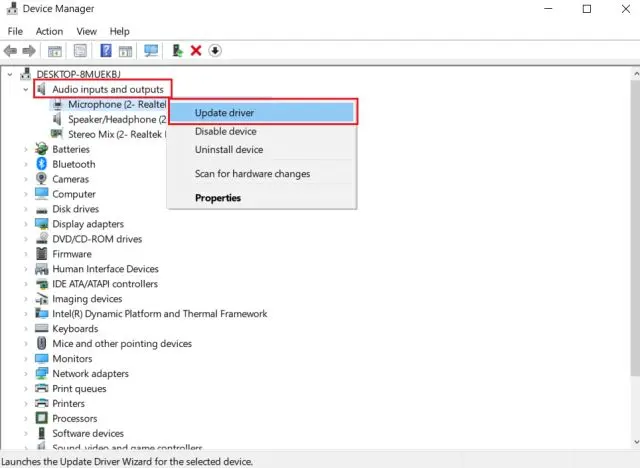
No matter what you try, if the microphone is not working on your Windows 11 PC, do not worry. We have explained multiple steps in a dedicated article on how to fix microphone issues on Windows 10 and 11. Just follow our guide and the mic will start working again without any issues. You may have to reinstall the mic drivers or make some changes to system settings.

Test and Optimize the Microphone Sound in Windows 11
We have explained two native ways to set up and test the microphone in Windows 11. As per my testing, Microsoft has done an amazing job at bringing the microphone test utility inside the Settings app on Windows 11. Apart from that, you can also open the Control Panel window to test and amplify the mic sound. That’s not all, though. One of the upcoming new Windows 11 features lets you see which software or app is using the mic in real-time. It would be a useful addition to Windows 11. And if you want to get a universal mute switch in Windows 11/10, you can follow our linked guide. Finally, if you have any questions, let us know in the comment section below.


