Some users are facing weird issues with Microsoft’s new desktop OS, including no sound output on Windows 11 and consistent 100% disk usage after upgrading to Windows 11. And now, we are also seeing reports that the WiFi is not showing up for some users in Windows 11, even though Ethernet works fine and drivers are up-to-date. So what could be the reason behind this issue, and how can you fix the WiFi problem on Windows 11? Well, we have put together a cohesive guide to fix the network issue, especially if the WiFi icon is missing from your Windows 11 installation. So without any delay, let’s go through this tutorial.
Best Tips to Fix WiFi Not Showing Up in Windows 11 (2022)
In this guide, we have offered ten different ways to fix your WiFi woes on Windows 11. If WiFi is not showing up in Windows 11, fret not, as you can get it working in no time with some software tweaks. You can expand the table below and check out the solutions at your own pace.
1. Enable the WiFi Adapter
If the WiFi is not showing up in Windows 11, it’s most likely because the WiFi adapter has been disabled for some reason. To bring back the WiFi icon, follow the steps below.
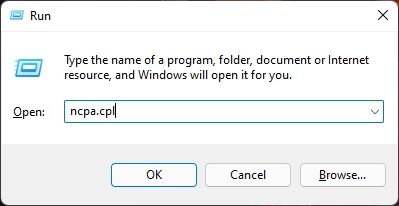
1. First, press the nifty Windows 11 keyboard shortcut “Windows + R” to open a Run window. Here, type ncpa.cpl and hit Enter. This will open the Network Connections window.
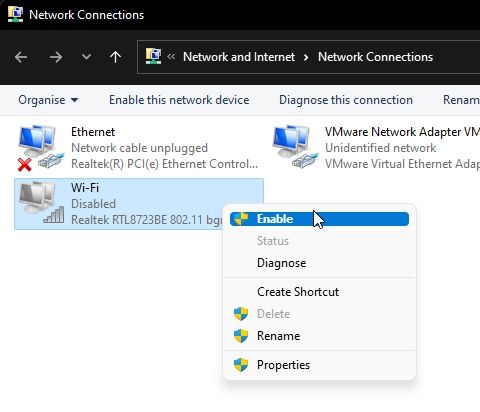
2. Here, look for the WiFi adapter and right-click on it. Now, enable the WiFi adapter from the context menu. This will most certainly fix your WiFi if it’s not showing up in Windows 11. If it was already enabled, I suggest disabling it first and then enabling it again.
2. Ensure Airplane Mode is Disabled
Windows 11 has an Airplane mode that lets you disable all the radio services, including WiFi, Bluetooth, Cellular mode, etc., with just one click. If you have it enabled, WiFi will not work on your Windows 11 PC. So to disable the Airplane mode in Windows 11, follow the steps below.
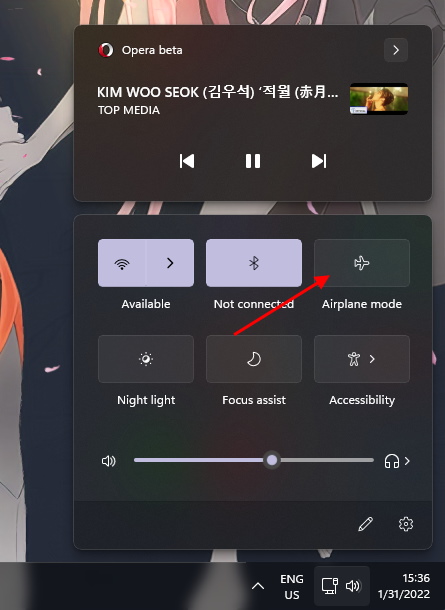
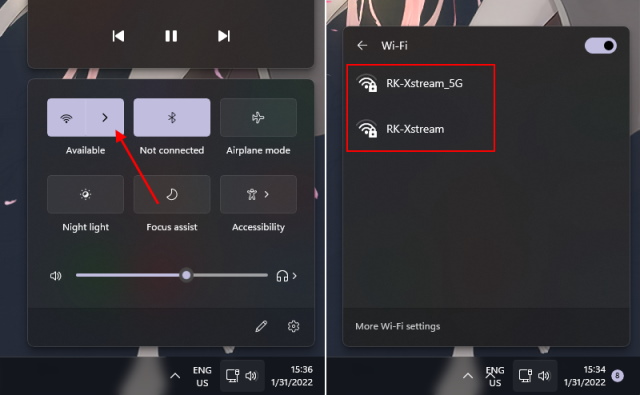
1. Use the Windows 11 keyboard shortcut “Windows + A” to open the Action Center. Here, click on the “Airplane mode” toggle. It will disable the Airplane mode right away. A grayed-out icon means the Airplane mode is turned off.
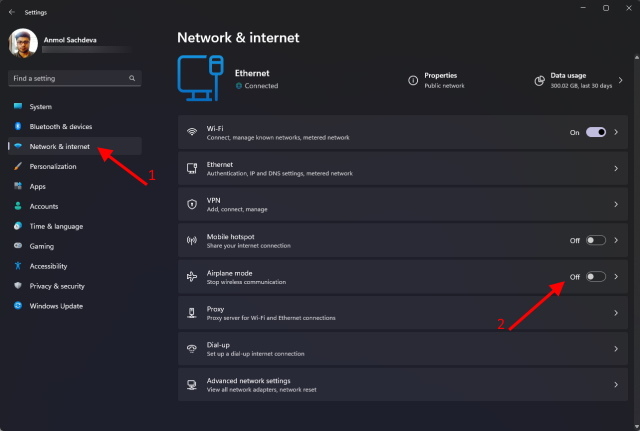
2. You can also use “Windows + I” to open Windows Settings and move to the “Network and Internet” settings from the left sidebar to disable the “Airplane mode” toggle if it’s on.
3. Apart from that, there might be a dedicated key on your keyboard to enable/ disable Airplane mode. It’s generally available above the 2, 3 number keys. Hit that dedicated button once, and the Airplane mode will be disabled.
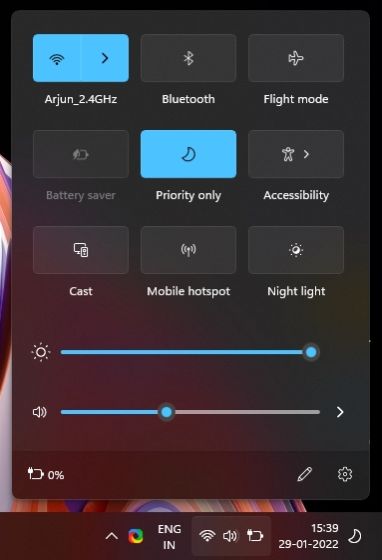
4. Now, open the Action Center using the “Windows + A” shortcut again, and you will be able to access all the WiFi networks. Click the arrow button next to the WiFi icon to see the list of available WiFi connections.
3. Modify the WLAN AutoConfig Service
When you boot up your Windows 11 PC, it also starts a ton of services in the background, including the WLAN AutoConfig service, which is responsible for the WiFi service. In case it’s disabled, the WiFi service won’t kick in, and the WiFi icon will not show up in Windows 11. So to fix this, we need to change some key settings in the WLAN AutoConfig service. Here is how to do it.
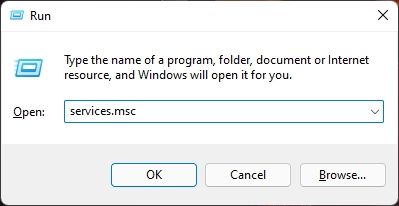
1. Open the Run window by pressing the “Windows + R” shortcut. Type in services.msc and hit Enter. It will open the Services window.
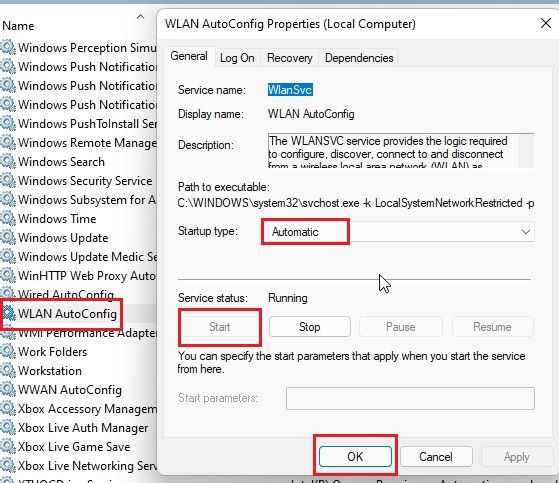
2. Next, scroll down and look for the “WLAN AutoConfig” service. Double-click to open it. Then, change the Startup type to “Automatic” and click on “Start” below to kick off the service right away. Finally, click on Apply -> OK, and you are done. You can restart the computer and see if WiFi has been fixed or not on Windows 11.
4. Update the WiFi Driver
If the wireless connection is still now showing up on your Windows 11 PC after following the above methods, the issue likely stems from the WiFi driver. We already have a dedicated guide on how to update the WiFi driver in Windows, but let’s see how it works on Windows 11.
1. Press “Windows + X” to access the Quick Links menu. Here, select and open the “Device Manager“.

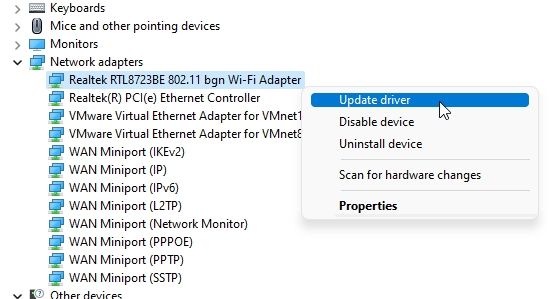
2. Next, expand the “Network adapters” section, and you will find your WiFi adapter. Right-click on it and select “Update driver“.
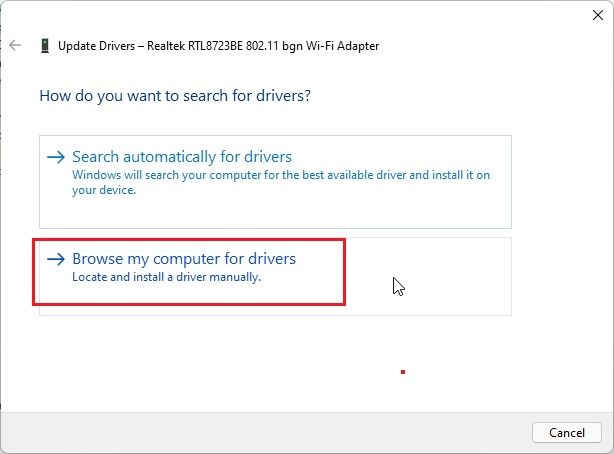
3. From the pop-up prompt that appears, you need to click on “Browse my computer for drivers“.
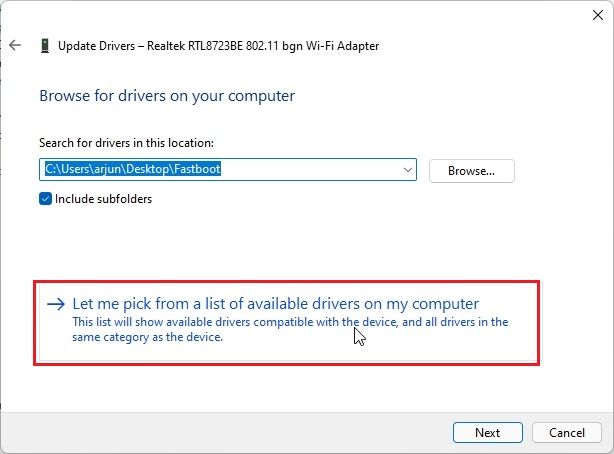
4. After that, click on “Let me pick from a list of available drivers on my computer“.
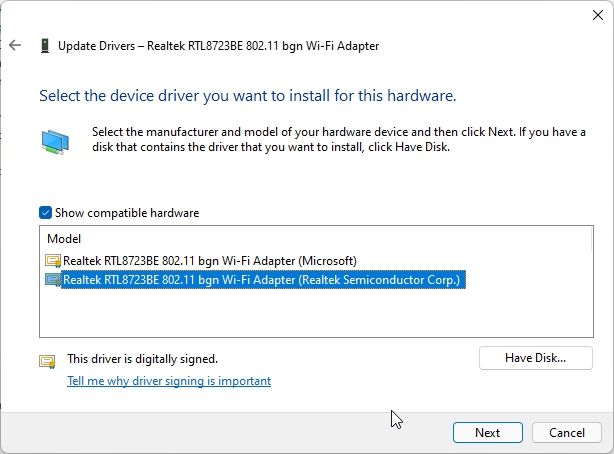
5. Finally, select one of the drivers that are suitable for your WiFi adapter. For example, my WiFi adapter is from Realtek, so I have chosen the Realtek one. In case this trick doesn’t work for you, try other drivers available on the list as well. Finally, click on “Next” to apply the change.
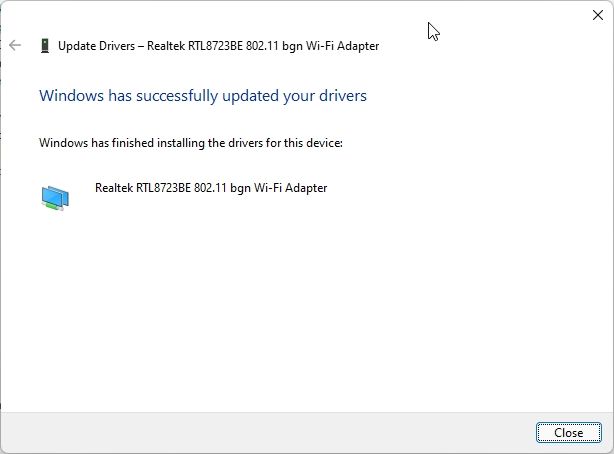
6. Windows 11 will install the WiFi driver again. And voila, it will most probably fix the WiFi issues in Windows 11. I will also recommend restarting the PC after applying the driver.
5. Uninstall and Reinstall WiFi Driver
In case the above method didn’t work for you, the next best solution is to uninstall and reinstall the WiFi driver. Let’s look at how you can do that:
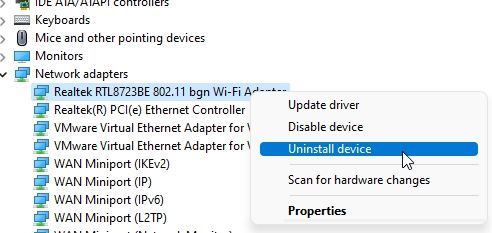
1. Navigate to Device Manager as explained above. Right-click on the WiFi adapter under “Network adapters” and select the “Uninstall device” option from the context menu.
2. Then, click on “Uninstall” in the pop-up prompt that appears. This will temporarily remove the WiFi driver from your PC.

3. Finally, restart your computer. After booting up, Windows 11 will automatically install the WiFi driver, and the issue should be fixed.
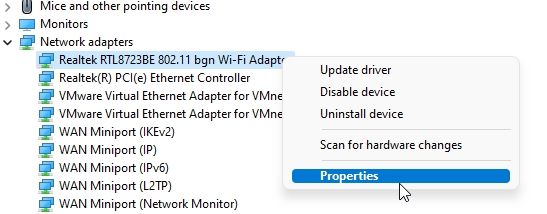
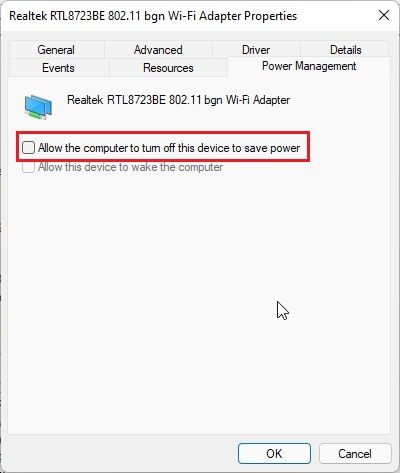
4. You can also try one more step while you are in the Device Manager window. Right-click on the WiFi adapter and open “Properties“.
5. After that, move to the “Power Management” tab and untick the “Allow the computer to turn off this device to save power” checkbox. Doing this will prevent Windows 11 from turning off the WiFi adapter. Click on “OK” and restart your PC. Now, check if the WiFi network is showing up in Windows 11 or not.
6. Network Reset
Now, if your WiFi connection in Windows 11 is not working, even after updating the network drivers, you can reset the network settings and see whether it fixes the issue. Follow the steps below to learn how it works.
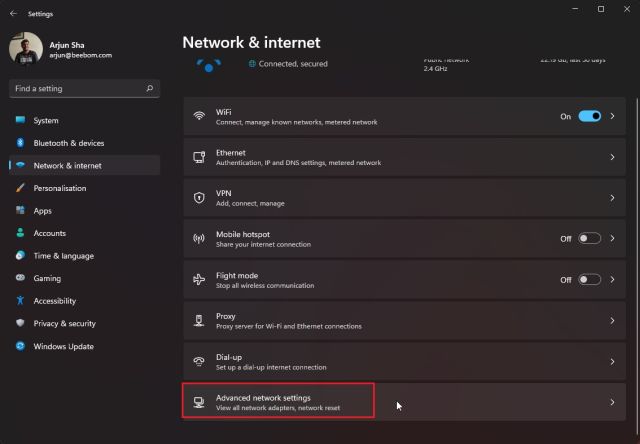
1. Press “Windows + I” simultaneously to open Windows Settings. After that, move to the “Network & internet” section from the left sidebar and scroll down to the bottom. Here, click on “Advanced network settings“.
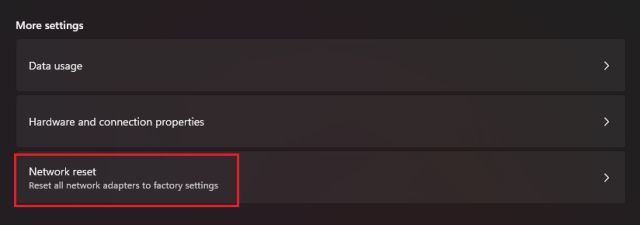
2. Next, click on “Network reset“.
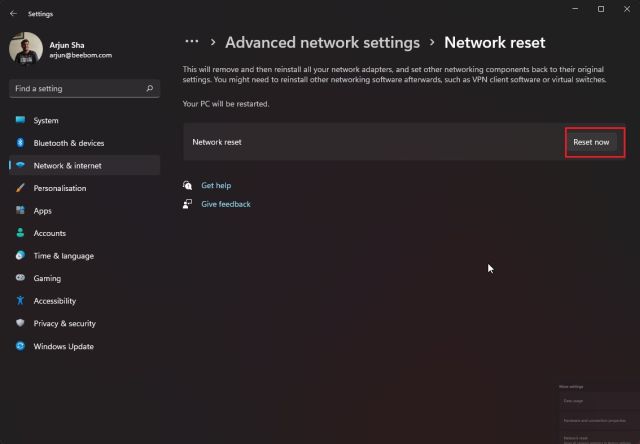
3. Finally, click on “Reset now“. This will reinstall your network drivers and reconfigure internet settings to the factory version. After that, restart the PC and check if WiFi has been fixed on your Windows 11 computer.
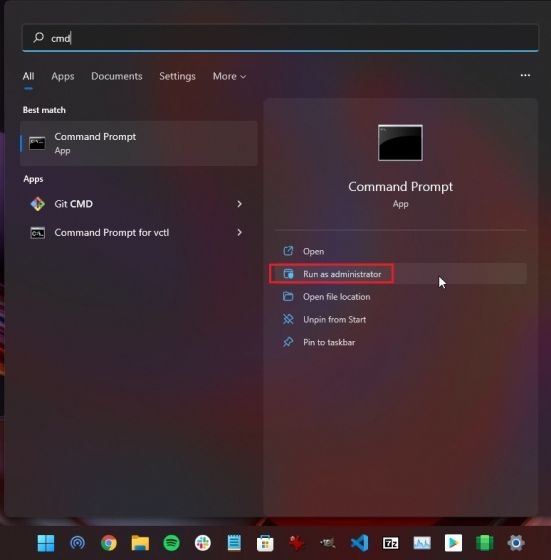
4. If the WiFi network is still not making an appearance on Windows 11, press the Windows key once and type “cmd“. Now, click on “Run as administrator” on the right pane to open the Command Prompt with elevated privileges.
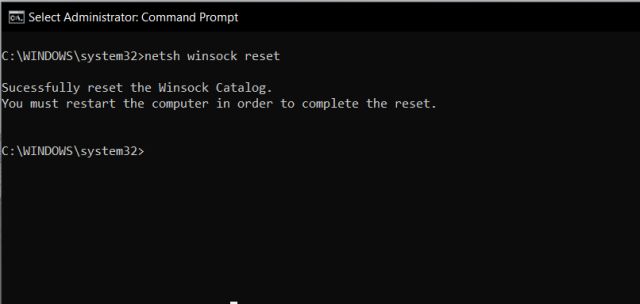
5. In the Command Prompt window, execute the below commands one by one. After that, reboot your Windows 11 PC and see if WiFi has been turned on.
netsh winsock reset
ipconfig /release
ipconfig /renew
ipconfig /flushdns
7. Broadcast SSID
If WiFi is showing up on your Windows 11 PC, but a particular WiFi network (access point) is not appearing, perhaps it’s something to do with your router rather than your PC. In such cases, you could check the router configuration page and enable the SSID broadcasting feature.
1. First, I would recommend restarting the router once to see if the WiFi network appears on your Windows 11 PC. If that does not work, switch to a device connected to the WiFi network. Or, you can connect your PC to the router using an Ethernet cable.
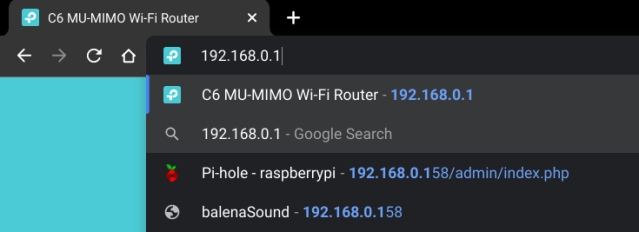
2. Now, open a browser window, and type 192.168.0.1 in the address bar, and hit Enter. This is the standard local IP address to access a router’s configuration page. The address works on my TP-Link router, but if that does not work for you, try looking for the address for your specific router on the internet.
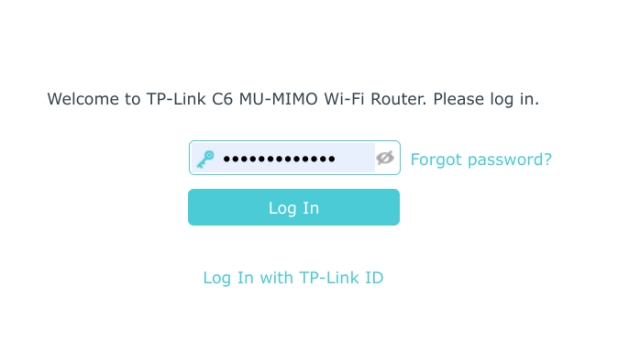
4. Now, log in to the router with the default credentials. You can take a look at the backside of the router to find the default credentials.
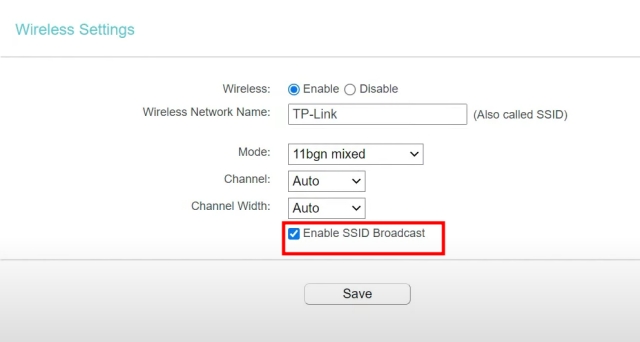
5. Once you are logged in, move to Wireless -> Basic Settings. Note that the settings page might be available under a different location depending on the router, but look for the SSID Broadcast option under the Wireless settings page. Here, enable “SSID Broadcast” and save it. Now, the router will restart, and the WiFi network will be discoverable on your Windows 11 PC. That’s it.
8. Run Network Troubleshooter
Windows 11 has a built-in troubleshooter to fix the various internet connection issues, and it works well. If none of the above methods helped you fix the problem, try running the network troubleshooter.
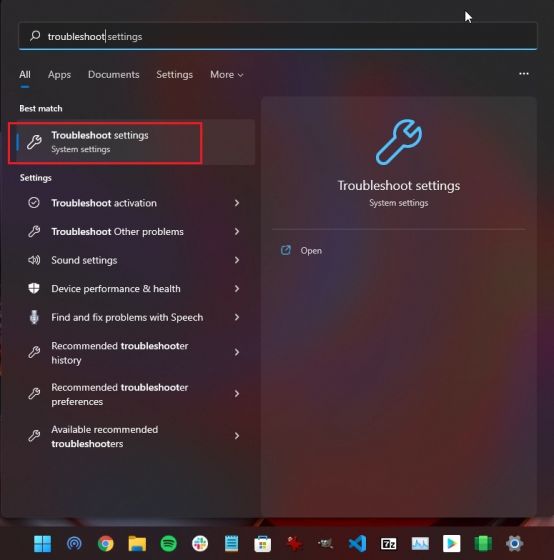
1. First, press the Windows key once and type “troubleshoot“. After that, open “Troubleshoot settings”.
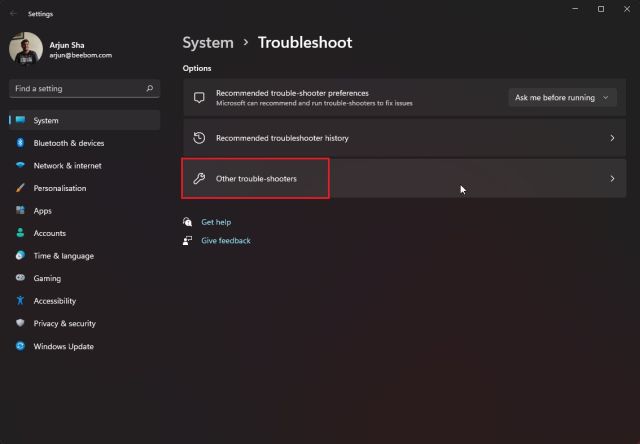
2. Next, click on “Other trouble-shooters” in the settings window.
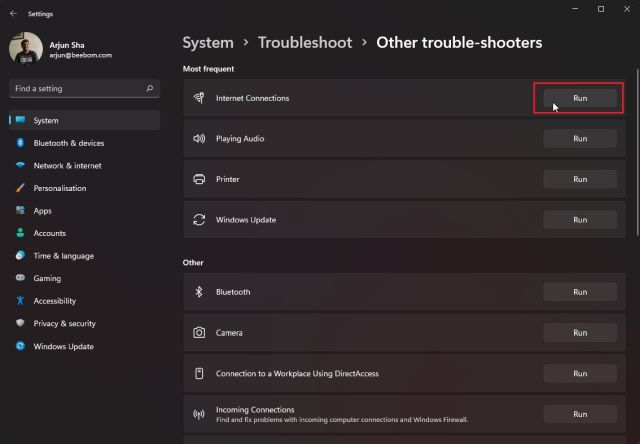
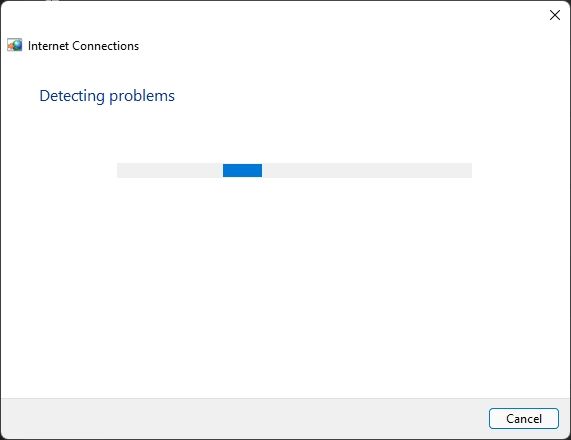
3. Then, click on “Run” next to “Internet Connections“. It will run the network troubleshooter on your Windows 11 PC.
4. Follow the on-screen instructions and answer a few queries, and Windows 11 will try to fix the WiFi issue on its own.
9. Ensure WiFi Icon Is Enabled via Group Policy
If the WiFi icon has disappeared from the Action Center or the Taskbar on Windows 11, it might be because of an erroneous modification in the Group Policy. Group Policy lets you configure key policies as to how your PC will run. While Windows 11 Pro users can easily access the Group Policy Editor, Windows 11 Home users need to enable Group Policy Editor manually. Follow our linked guide, written for Windows 10 Home users, but it will work for Windows 11 too. Having enabled it, follow the steps below.
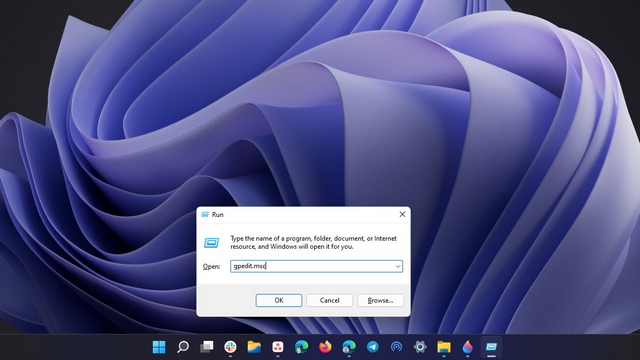
1. Press “Windows + R” to open the Run window. Here, type gpedit.msc and hit Enter. It will open the Group Policy Editor.
2. After that, move to “User Configuration” in the left pane and navigate to “Administrative Templates -> Start Menu and Taskbar”. Here, look for “Remove the networking icon” and open it.
3. Now, select “Disabled” on the top-left corner and press “OK”. Finally, restart your PC, and the WiFi icon will appear in the Windows 11 Action Center.
10. Update or Clean Install Windows 11
In case none of the above methods worked for you, I would suggest updating Windows 11 to the latest version. Microsoft regularly pushes new updates to fix numerous bugs, and if your PC is running a buggy build, it will perhaps fix WiFi not showing up on Windows 11. Press “Windows + I” to open Windows Settings and move to “Windows Update” from the left sidebar. Click on “Check for Updates” in the right pane and install all the available updates.

If WiFi is still not working for you, then, at last, you need to clean install Windows 11. As it will be a clean install with no incompatible drivers, chances are it will resolve the issue for you. You can head over to our detailed guide linked above to fix the issue instantly.
[SOLVED] Fix WiFi Icon Disappeared in Windows 11
So these are the 10 nifty ways you can use to fix the network issue if the WiFi option is not showing in Windows 11. For most users, enabling the WiFi adapter or updating the WiFi driver fixes the issue. That said, if it does not work, you can try other methods as well. Anyway, that is all from us. If the Start menu is not working in Windows 11 or you are looking for the best malware removal tool for Windows 11, you can head over to our linked articles. And if you have any questions, let us know in the comments section below.