The Steam Deck gets a ton of things right for a handheld gaming console. It’s portable, affordable, and more importantly, hackable, which makes it the perfect device for all the tinkerers out there. However, like any piece of technology, owning a Steam Deck does have a few pain points. For starters, the list of supported Steam games is still growing, and according to ProtonDB, over 50% of the games in the library are unplayable. This is because Steam Deck comes with SteamOS, which is based on a fork of Arch Linux. Hence, chances are that your favorite game probably refuses to start on the Deck due to anti-cheat software. However, there is a solution to the same – installing Windows. Yes, it is possible to install Windows on your Steam Deck and even play Xbox Games Pass titles on the handheld console. So, in this guide, we will show you how to do exactly that.
Install Windows on Steam Deck
Valve offers users the flexibility to install Windows or any operating system on their Steam Deck handheld console. Windows drivers for Steam Deck are readily available. However, the console doesn’t support dual-booting at the time of writing this article. Valve says they are working on a tool that would allow users to easily dual-boot SteamOS and another OS.
Now, there are a couple of ways to go about installing Windows on a Steam Deck – setting up a dual-boot configuration in the internal SSD or installing Windows on a microSD card to use it anytime, anywhere. The former is great if you have the 512GB variant but requires prior knowledge of repartitioning drives. The latter, on the other hand, is the go-to method if you have the Steam Deck 64GB variant. Below, we have shown you how you can install Windows 10 on Steam Deck using a microSD card. You can refer to the table below to navigate to the desired section.
Prerequisites to Install Windows on Steam Deck
- Your Steam Deck (of course)
- A 256GB or above microSD card for Steam Deck – we will install Windows on this storage device.
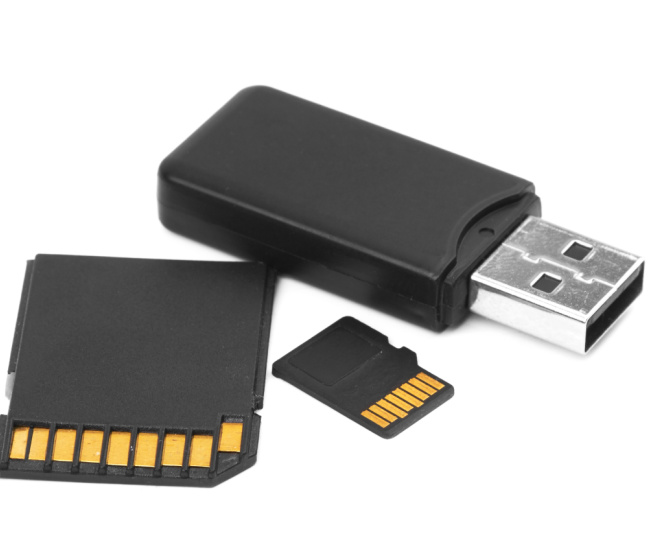
- USB microSD card adapter – required to connect the SD card to your Windows machine and create a bootable drive.
- Windows 10/11 Media Creation tool
- Windows PC with Rufus installed to create a bootable Windows 10 SD card. We used this tool to create a Windows 11 bootable USB and bypass TPM, online account requirements, and other restrictions.
- Windows drivers for Steam Deck, which we have linked below.
How to Create a Windows 10 Bootable SD Card
To get started, you will need to download the Windows 10 Media Creation tool from Microsoft’s website and use Rufus to create a bootable SD card to use with your Steam Deck. We recommend installing Windows 10 over Windows 11 on your Steam Deck because it’s lighter and more stable, and hence, should help launch games faster. That said, let’s get started:
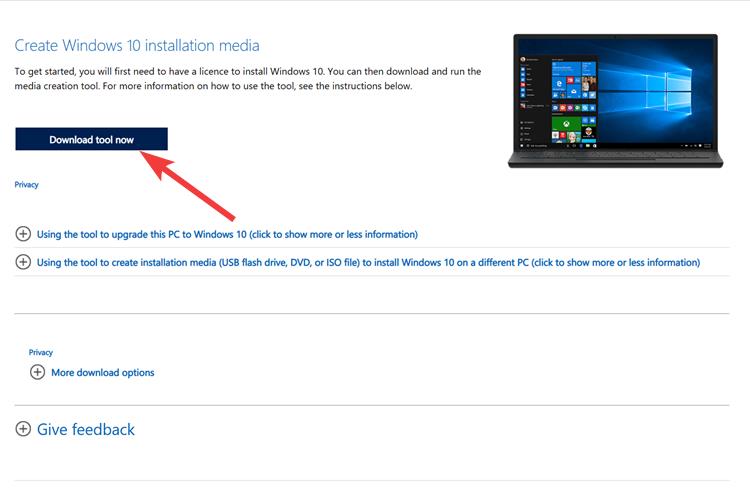
1. Download the Windows 10 Media Creation tool (visit) and launch it. If you wish to install Windows 11 on your Steam Deck, download the Windows 11 Media Creation tool (visit) instead. Most of the steps below remain the same for Windows 10 and 11.

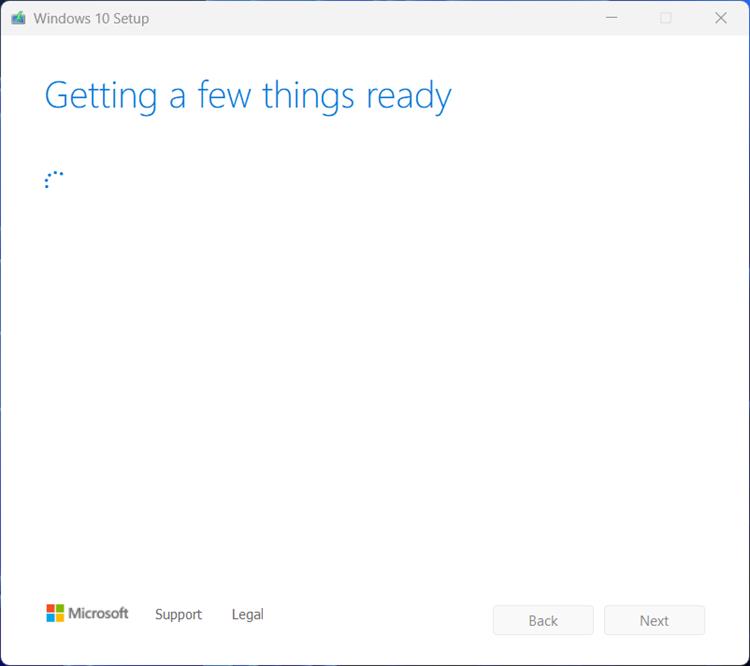
2. Once launched, give it some time to set up things and click “Next.”
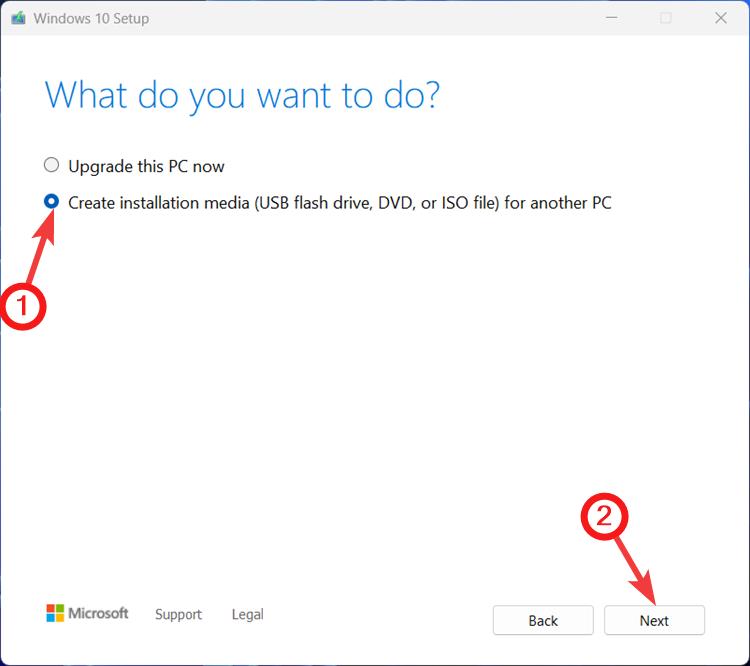
3. Here, select the “Create installation media” option and click “Next.”
4. On the next page, leave everything as default and click “Next.”

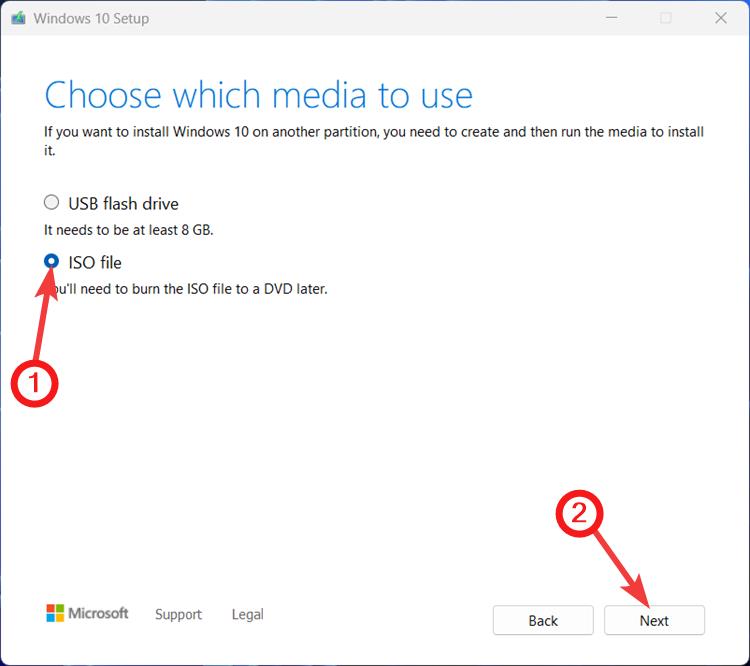
5. In the “Choose which media to use” page, select the ISO file option and click “Next” at the bottom right.
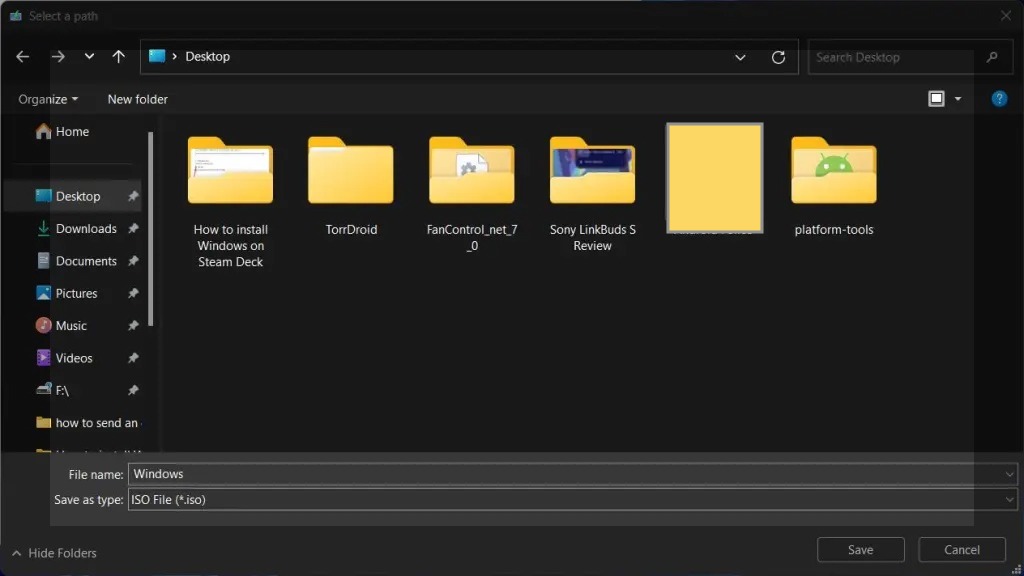
6. Next, browse the location where you would like to download the Windows 10/ 11 ISO file and click Save.
7. The ISO file will then start downloading. Meanwhile, install and set up Rufus to create a bootable SD card. Download and install Rufus from its official website and launch it.
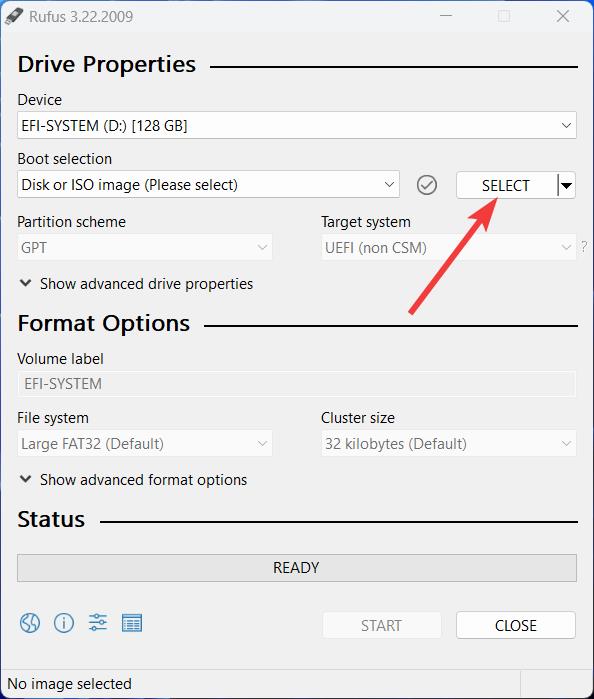
8. Insert your SD card into the USB stick and plug it into your computer. Rufus will automatically detect and display its name. Ensure the name of your drive matches what’s being shown in the tool.
9. If it does, click the “Select” button to choose an ISO file.
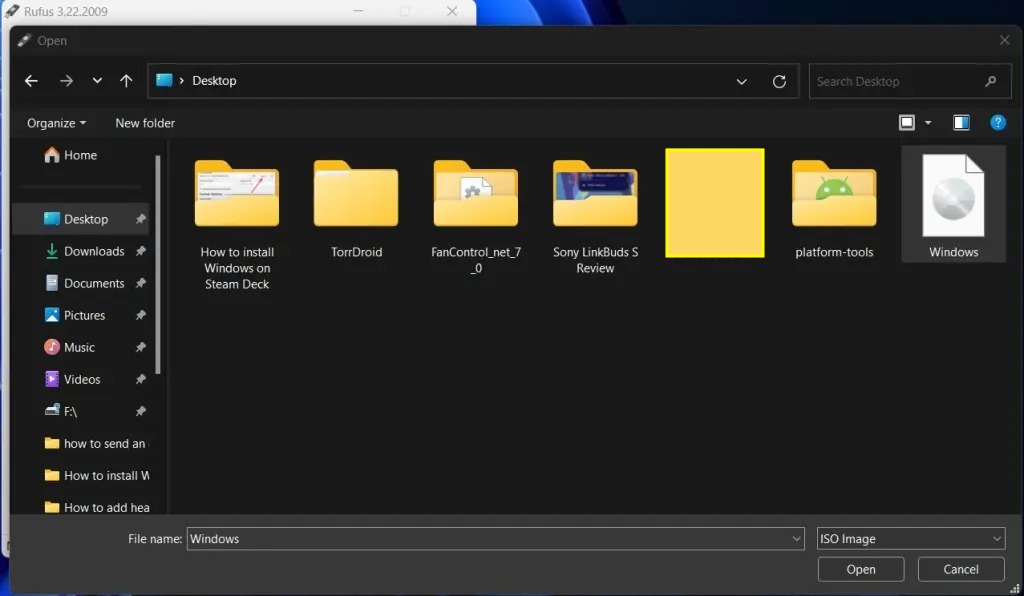
10. Select the Windows 10 ISO downloaded in the above steps and click “Open.”
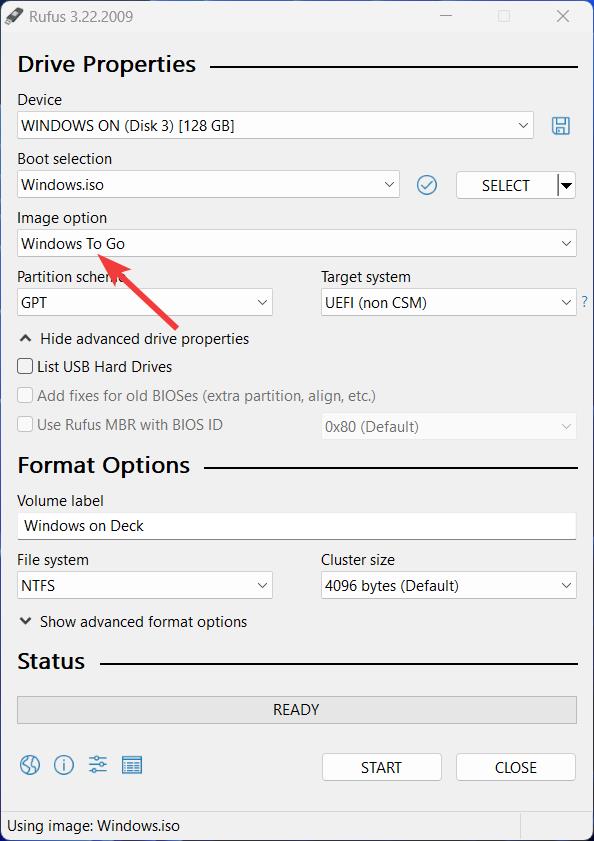
11. Ensure you select the “Windows To Go” option from the “Image option” drop-down. This creates a Windows image that boots right into the OS setup (on Steam Deck, in this case) and retains whatever changes you make in the operating system. Once done, click “Start” at the bottom right.
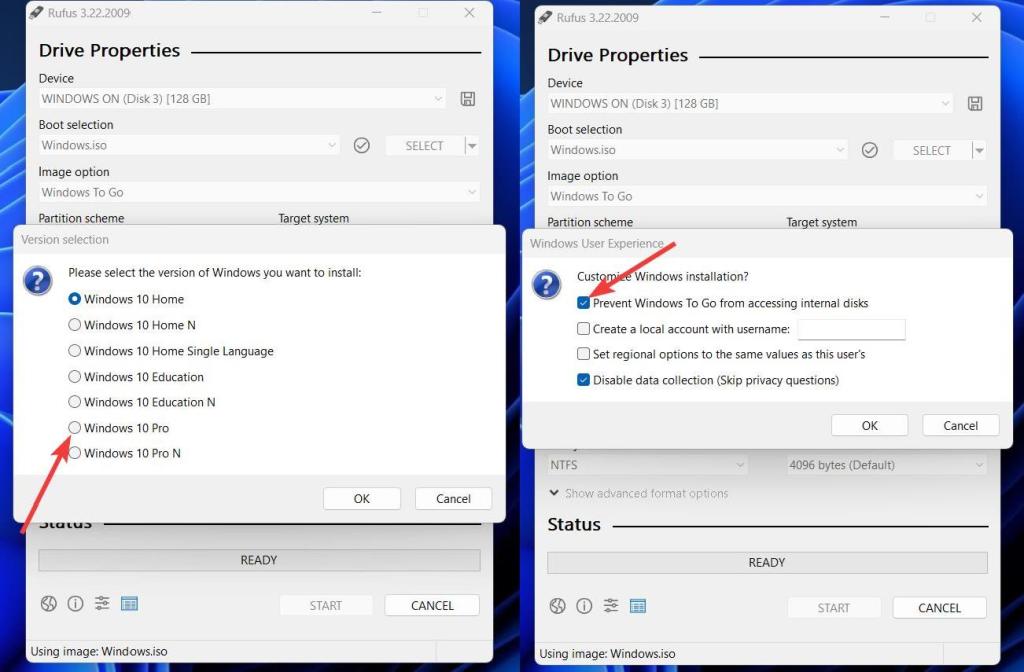
12. On the next step, select Windows 10 Pro and check the “Prevent Windows To Go from accessing internal disks” and “Disable data collection” options. That’s all. Once the process is complete, you will have Windows 10 installed on your SD card.
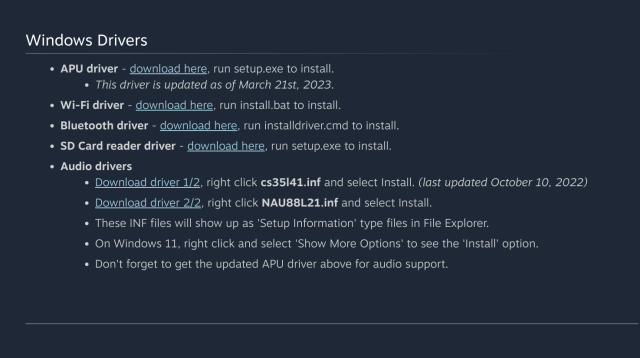
14. Now, all you need to do is head to this Steam Deck support page and download all the Windows drivers. Then, make a new folder called “Drivers” in the SD card and extract all ZIP files in this folder.
How to Install Windows on Your Steam Deck
Now that we are done preparing a bootable SD card with Windows 10 on it, it’s time to boot into the installed image on Steam Deck. Here is how that works:
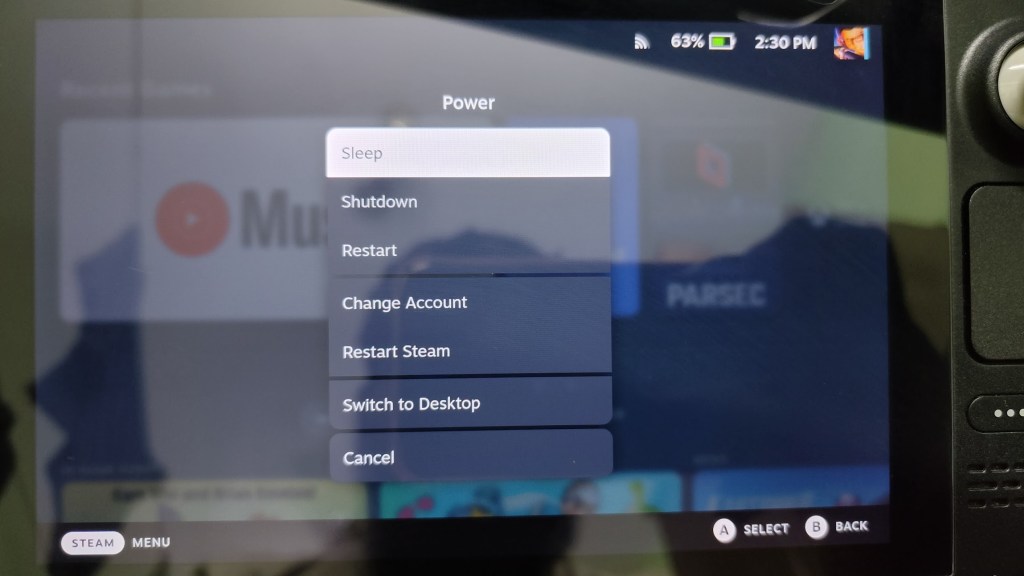
1. Insert the SD card into your Steam Deck. Then, press the Steam button, navigate to the “Power” option, and press the “A” button.
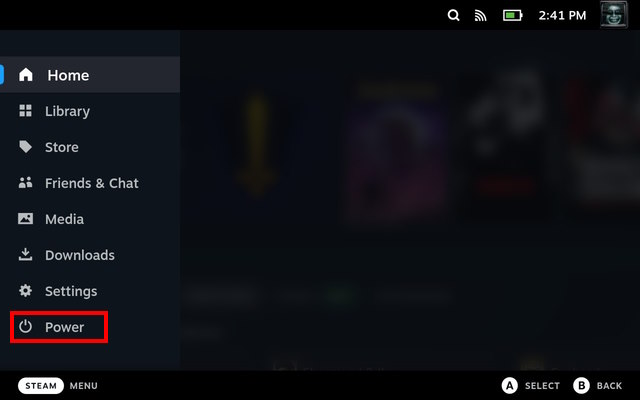
2. In the “Power” menu, select the “Shutdown” option to power off the console.
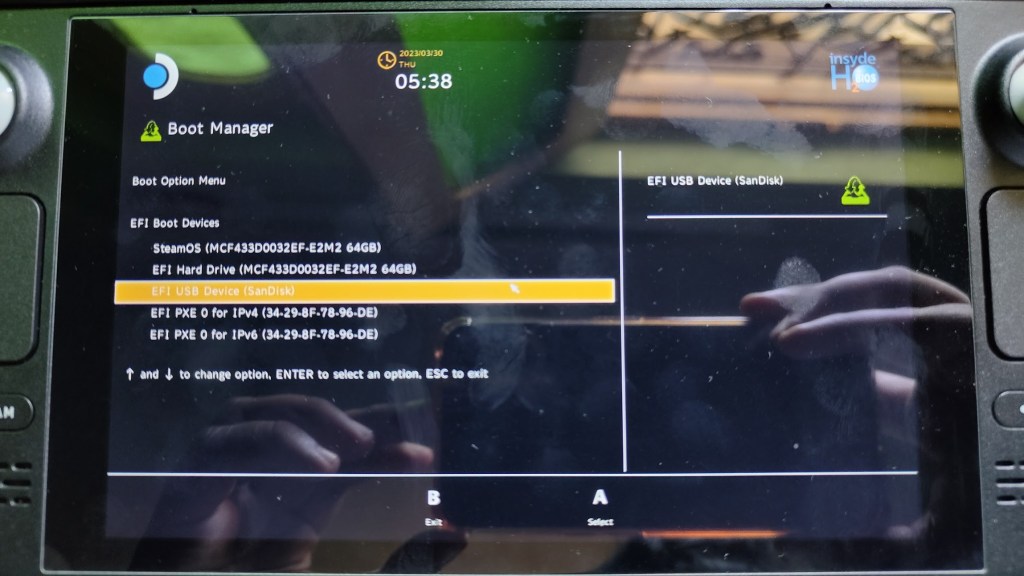
3. Once turned off, hold the volume down button and press the power button until you hear a beep. You will then boot into SteamOS recovery.
4. Here, search for the SD card under “EFI Boot Devices” in the recovery and boot into it by pressing the “A” button.
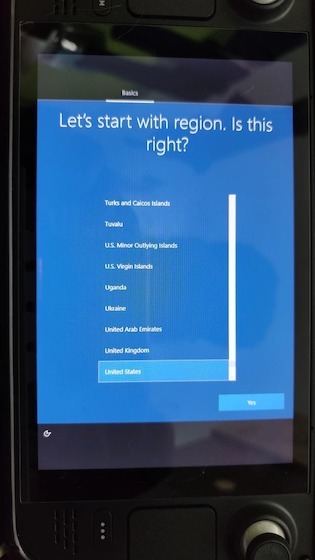
5. You should now boot directly into the Windows setup. This might take a while depending on how fast your SD card or USB stick is. Also, as you can see in the image, the Windows 10 setup runs in a vertical orientation on the Steam Deck.
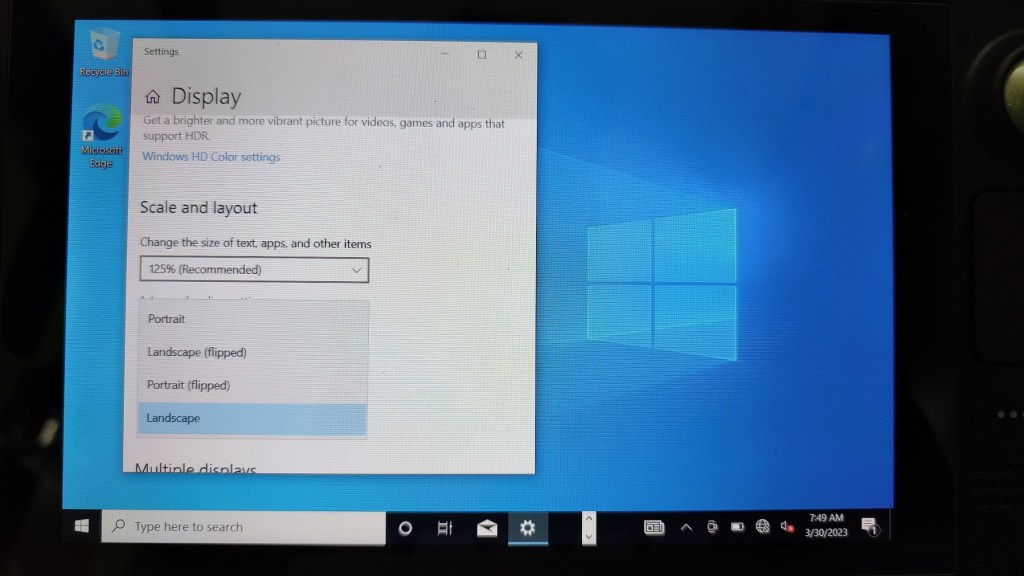
6. Go through the usual Windows setup, and once done, change the orientation from the “Display” settings. Go to Settings -> Display and select “Landscape” orientation here.
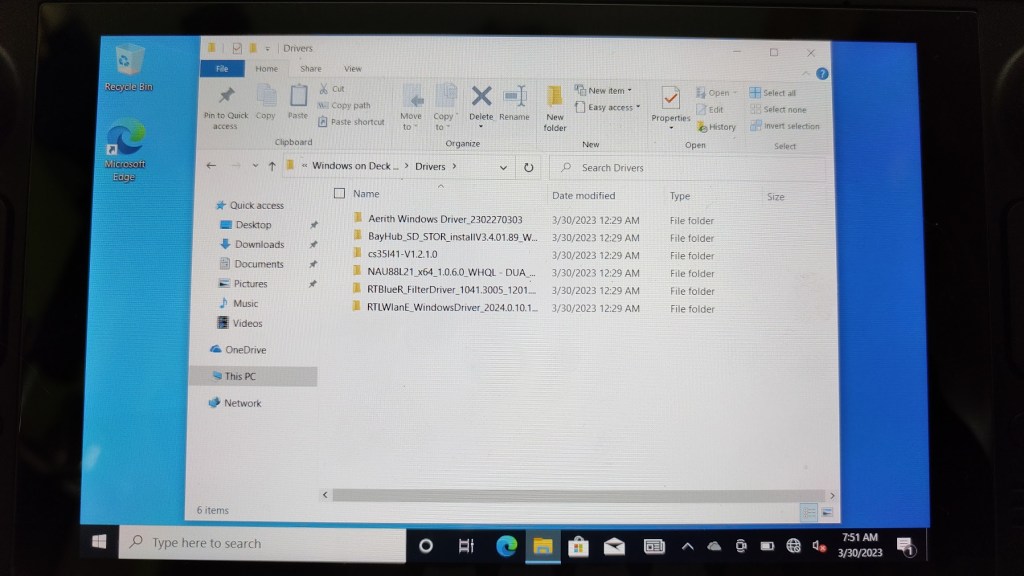
7. Then, open the File Explorer and go to “SD card -> Drivers folder” and install every Windows driver. Some of them can be installed by double-clicking while a few require you to right-click and select Install.
8. Once installed, restart your console, and voila! You have successfully installed Windows 10 on your Steam Deck! You can now insert the USB or SD Card or an external SSD and boot into Windows directly to play your favorite games that aren’t available on SteamOS.
Windows on Steam Deck makes it easier for folks to play games that are unavailable on SteamOS, such as Fortnite, PUBG, Destiny 2, and Genshin Impact. That said, Windows 10 might not be quite as optimized as SteamOS, and the battery life might take a hit. Not to mention, downloading multiple games from an SD card or USB is quite slow, hence, we recommend using an external SSD instead. For an optimal experience, we recommend a USB 3.0 stick or a Class A2 UHS-1 SD Card that can reach at least 120MB/s read and write speeds. If you’ve tried running Windows on a Steam Deck using an SD card, do share your experience in the comments section below.
Although Valve says dual-booting isn’t possible right now, there is a way to dual-boot Windows alongside SteamOS on a Steam Deck. However, we wouldn’t suggest doing the same, as it requires fiddling with the SteamOS partitions.
For the most part, Windows performs pretty well on the Steam Deck. The games perform as you would expect them to perform on a usual PC.


