One of the many ways AI is transforming the world is through intelligent code completion and translating natural language to code. In this domain, OpenAI has been at the forefront with its GPT-3 series Codex model and the latest GPT-4 model. So if you want to use ChatGPT in Visual Studio Code itself, follow this tutorial to learn about CodeGPT. It is an AI assistant that lives inside VS Code and you can chat with it, use it to find errors in code, debug code, and more. Not just that, but with a simple comment, you can ask CodeGPT to generate code in any language you want. Apart from that, you can ask it to explain a snippet of code, refactor it, write documentation, and more. With all of that out of the way, let’s learn how to install and use CodeGPT in VS Code.
In this article, we have included steps to install and use CodeGPT in VS Code. Apart from that, we have also explained how to use the latest ChatGPT alternative for coding – GitHub Copilot X – in your IDE like VS Code. You can expand the table below and move to the section you desire.
How to Set up CodeGPT in VS Code
Several extensions in VS Code aim to deliver the best integration with ChatGPT, but CodeGPT by Daniel San (visit) is possibly the best one out there. It’s deeply integrated with VS Code and supports a multitude of features. You can chat with CodeGPT, generate code with a comment, explain and ask questions about a selected code, search for queries on StackOverflow, refactor the code, and do much more.
The best part is that you don’t need to pay anything extra for the extension. However, you need to have enough credits to use the OpenAI API. You can also use the latest GPT-4 model, but you must have access to the GPT-4 API. Having said that, let’s begin.
1. Open Visual Studio Code and move to the “Extensions” menu in the left panel. Here, search for “codegpt” and select “Code GPT” from the search results. You can also click here to directly open the CodeGPT extension in VS Code.
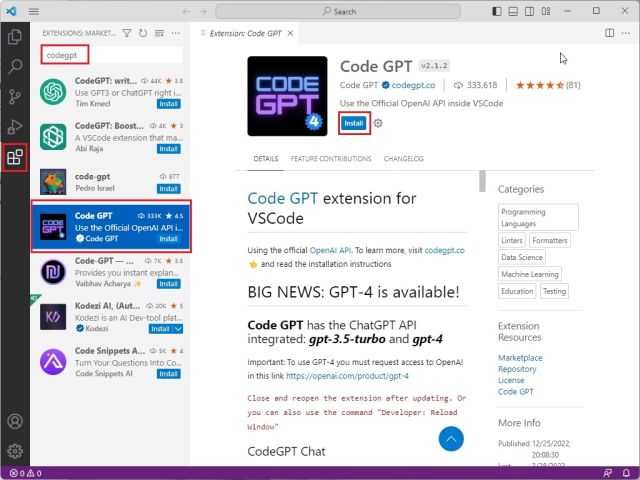
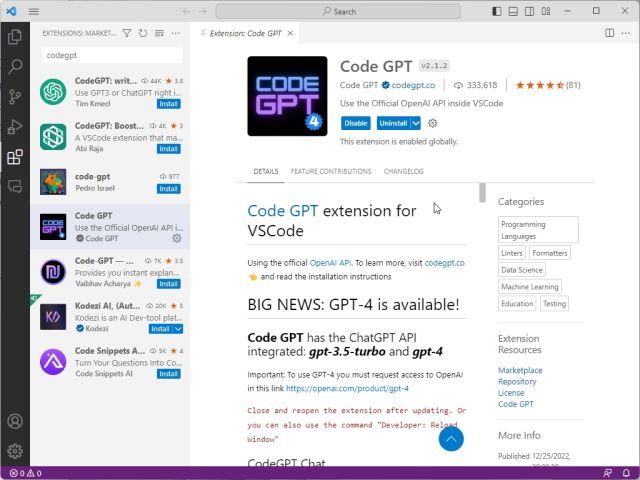
2. Next, click on “Install,” and Code GPT will be added to VS Code in a few seconds.
3. After the installation, simply use the “Ctrl + Shift + P” shortcut, and it will open the command bar. Here, type “codegpt” and then open “Set API KEY”.
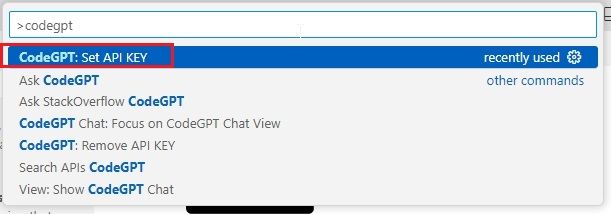
4. It will now ask for your OpenAI API key.

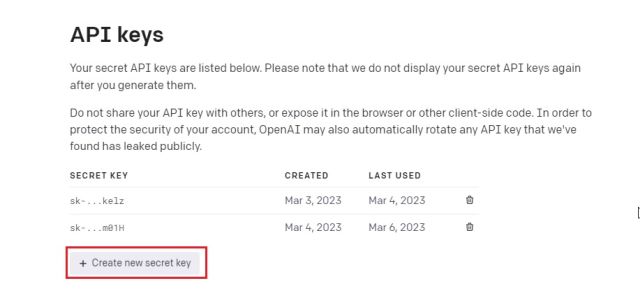
5. To get the API key from OpenAI, head to platform.openai.com/account/api-keys and click on “Create new secret key”. Now, copy the API key.
Note: You can only see the API key when you generate it, and you cannot view or copy it later on. So we strongly recommend you copy and paste the API key right away.
6. Now, paste the API key in Visual Studio Code and hit Enter. You are almost done.

How to Use CodeGPT in VS Code
Once you successfully supply the API key to the CodeGPT extension in VS Code, you are ready to use it. Here are the different use cases in which this ChatGPT extension for coding will come in handy:
1. To generate code, simply add a comment for the task you wish to accomplish and press the “Ctrl + Shift + I” keys together.

2. This will generate the code on the right side. You can then copy and paste the code to your main block.

3. Apart from that, you can select a code, right-click on it, and ask CodeGPT to explain the code, refactor it, find problems, debug, and more.
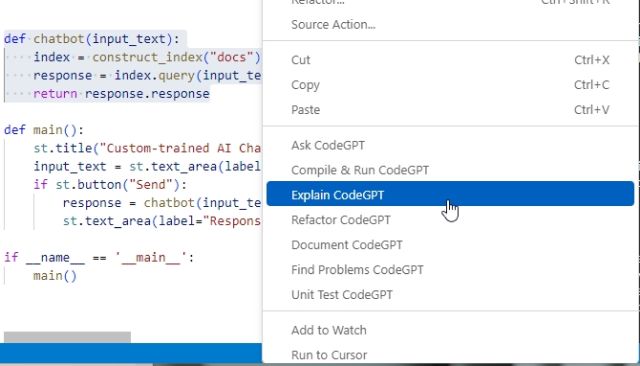
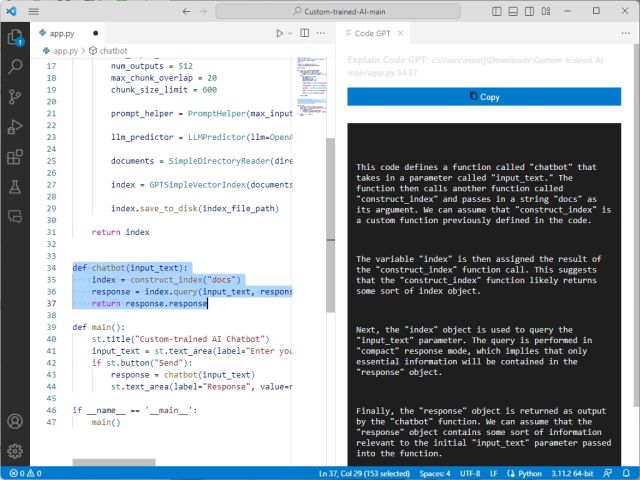
4. Opening the code for the custom ChatGPT-powered AI bot we taught you how to create in a recent guide, we highlighted a portion of the text. Here is an explanation of our code by CodeGPT.
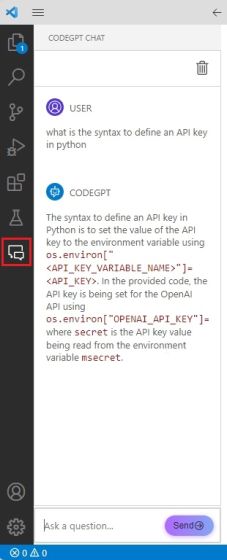
5. You can also open the extension directly from the left sidebar and chat with CodeGPT if you have any additional queries.
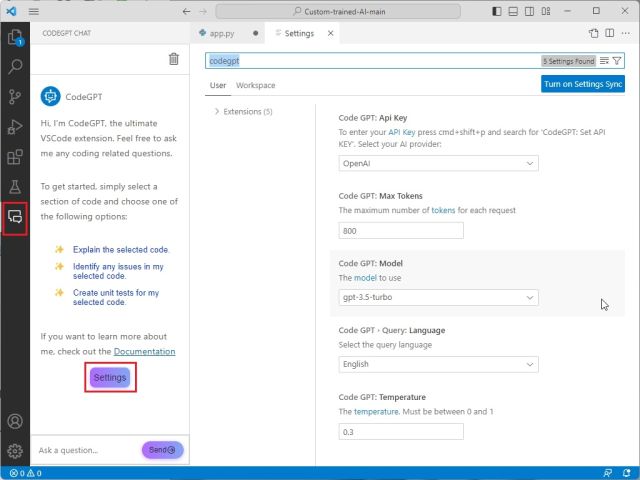
6. Finally, to customize CodeGPT, click on its icon in the left side panel and open “Settings.” Then, you can choose your OpenAI model, maximum tokens for each request, temperature, language, and more.
How to Install GitHub Copilot in VS Code
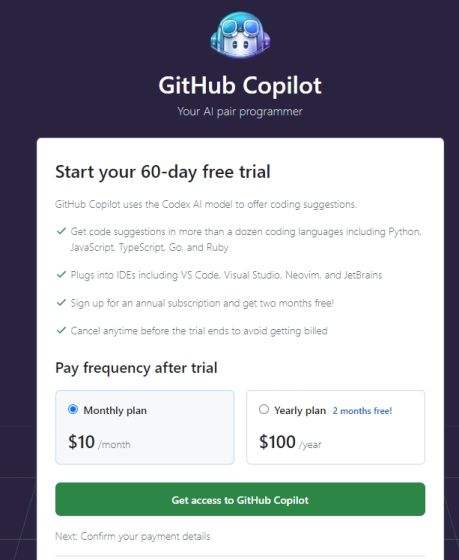
GitHub recently announced its Copilot X initiative, which brings the tremendous power of OpenAI models, including Codex and GPT-4. If you are looking for something more streamlined, GitHub Copilot offers you all of that for $10 a month or $100 per year. You also get a 2-month free trial if you choose the yearly plan.
With GitHub Copilot X, you can chat with the AI, ask it to write code, debug the code, explain snippets, get answers from documentation, and much more. Moreover, the best part is that GitHub Copilot is not just limited to Visual Studio Code, but also supports other IDEs such as JetBrains, Neovim, and Visual Studio. Not to forget, it supports over a dozen programming languages, including Python, JavaScript, Go, TypeScript, Ruby, and more. To use GitHub Copilot in VS Code, which uses the GPT-4 model for code completion and suggestions, follow the instructions below.
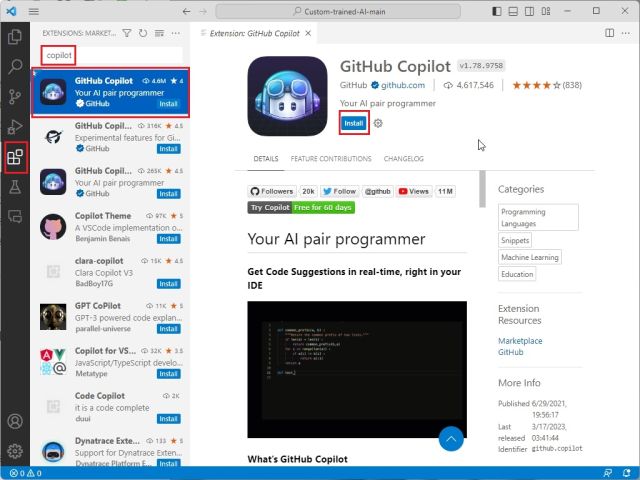
1. Open VS Code and move to the “Extensions” menu in the left sidebar. Here, search for “copilot” and install “GitHub Copilot“.
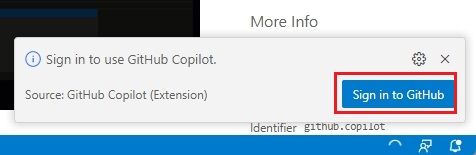
2. Next, click on “Sign in to GitHub” in the bottom-right corner.
3. Now, sign into your GitHub account and choose your plan. As shown in the screenshot, you can trial this extension for 60 days before deciding to pay for the service.
4. After that, you can access GitHub Copilot in your IDE with context-aware suggestions, support for pull requests, PR description, CLI assistance, and more.
So that is how you can install and use the CodeGPT extension in VS Code and enhance your productivity by leaps and bounds. According to a recent study, AI assistance in coding can help developers maximize their productivity by asking the AI to do repetitive tasks. It also allows the developer to focus on more meaningful work. That said, if you are fascinated by the new OpenAI model and want to use ChatGPT-4 for free, follow our article for some amazing resources. And if you want to run a ChatGPT-like LLM on your PC completely offline, head to our detailed tutorial. Finally, if you have any questions, let us know in the comment section below.


