All the Time in the World is one of the earlier 007 First Light chapters where the story starts to pick up. This is when the stakes become high, and even small mistakes can lead to losing one’s life. The mission itself is quite complicated, and many players have trouble completing it quickly, or some are simply looking for the best route. So, here is a complete 007 First Light All The Time in The World mission walkthrough to help you get through it quickly.
Spoiler Warning: The following content contains spoilers from 007 First Light’s story. So, if you don’t want to get spoiled, avoid reading past this.
How to Complete 007 First Light All The Time in The World Chapter
All the Time in the World is one of the biggest and most challenging missions in 007 First Light. Here is a complete walkthrough of the chapter:
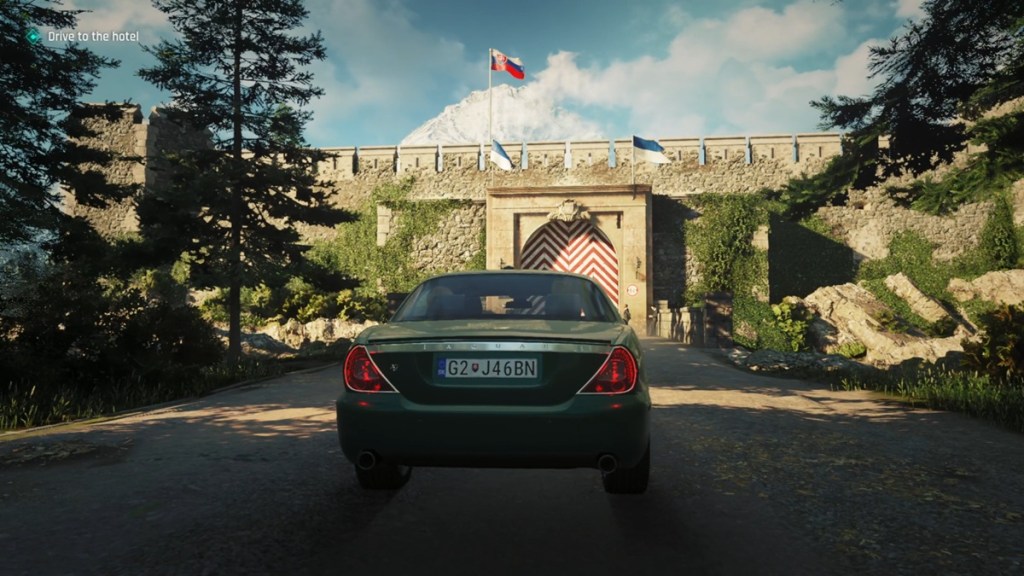
Part 1: Drive to the Hotel
At the very beginning, you will have to drive to the hotel. Follow the road and avoid damaging your car. Once you enter the hotel, you will be asked to park. Continue on the path until you reach the parking location. Park the car to progress the All The Time in The World chapter.

Part 2: Infiltrate the Hotel
Now the real mission will begin. Move up the stairs and reach the entryway. Here, you will have to find a way to infiltrate the hotel. This can be done in various ways, by either finding a Press Pass, sneaking your way in, or using the staff way.
Sneak Your Way In
The easiest way I found was to simply sneak inside the hotel. On the left of the entryway, you can ignite leaves to draw attention from nearby guards. Right next to it is a vaulting option over the railings. So, ignite the leaves, and when the guard is distracted, vault over the railing and climb your way to the second-floor window.


Part 3: Search the Hotel for the Blonde Man
After you have made your way into the hotel, you will have to locate the blonde man. Use the stairs on the left to go downstairs. On your way there, you can pickpocket the Staff Key from one of the employees. This will be useful later in the game, so use your dart to disorient the staff and steal the key from them.
Now, on your way downstairs, you can eavesdrop on a conversation between two maids. They will tell you about Mr Prendergast, who has complained about his briefcase missing. Continue your way to the ground floor and look for the reception. Here you can eavesdrop on the conversation between Mr. Prendergast and the manager.
After their conversation ends, speak with Mr. Prendergast and ask him about the blonde man. He will tell you that the man has gone into the laundry.


Part 4: Get to the Laundry
To get to the laundry, you will need to have the Cellar key. This can be obtained by heading into the Study room, which is at the opposite end of the reception. Make sure to take the roundabout path instead of crossing the reception area to avoid meeting Ronson.
Inside the Study, you can eavesdrop on a conversation between the hotel staff near a window. Here, you will learn that the man has the Cellar key on him. Wait for him to move away to use the Dart gadget on him and steal the key.
Now, head back to the path behind the main reception area and go through the door on the far end using the Cellar key. Inside the room, take the door on the left and go downstairs to reach the Laundry.


Part 5: Get Through the Laundry
This part is fairly simple. The laundry is filled with guards, so you have to make your way to the other end. You can do so by sneaking your way through and using gadgets, or by taking down all of them with pure close combat skills. But make sure the guards don’t call for reinforcements; otherwise, you will be in big trouble.
After going through the laundry, you will find the Bellhop Outfit with a note mentioning room 206. Kick the door open to reach the window and climb your way to the second floor again. This will take you to the study, but this time it will be crawling with guards. So sneak past them and go past the main door. You can use darts on the main guard near the door, or simply bluff your way out.


Part 6: Investigate Room 206
Head to the second floor and eavesdrop on a conversation between a guard and a staff member to learn about room 206 once again. Make your way to the top floor again and take a left to find the room area. A guard will be staying vigilant here, so use the Dart once again to go past him.
Speak with the maid at the far end to learn about all the rooms. Go back, only to find a maid speaking on the phone. Eavesdrop on the conversation to learn about the room 205 key. Now, pickpocket the room 205 keycard from the maid by using your Dart gadget once again.
Enter room 205 and head into the bathroom to find an open window. Go out the window and cross over to room 206.


Part 7: Search Room 206
Inside the room, you will need to look for clues. Here is everything you can investigate inside the room, along with their locations:
- Keycard Holder: Found near the foot of the bed.
- Security Protocol: Found on the desk on the right side of the bed.
- Newspaper: Found on the left side of the bed.
- Room Service receipt: Found on the trolley.
- Wallet: Found in the fireplace.
- Discarded Suit: Break open the bathroom door to find it inside.
Someone will now knock on the door, so you will have to go and answer it. You will find the maid you spoke to earlier at the door. Outside, you will get another glimpse at the blonde man downstairs.


Part 8: Pursue the Blond Man
Head downstairs to the reception area to chase the blonde man. Head into the open room and eavesdrop on the conversation in the electricity room. You will learn that someone had short-circuited the building. Vault over the open window to make your way outside.
You will find the blond man once again below. Chase him into the building and go into the back rooms of the kitchen. Open the next door to find the same maid from earlier, lockpicking a door. Now you will realize that she is definitely not a maid. A small cutscene will happen, and you will eventually see the blond man carry the crates to an elevator. Vault over the crates on the left to go around the locked gate.
Continue up the stairs to chase the blond man. Head into the next room to enter the reception area again. You will get a glimpse of the man past the chess area. Continue following him until you reach the dining room.


Part 9: Investigate the Dining Room
In the dining room, you will find the same trolley the man was pushing, but without any trace of him. There will be a note on the trolley, with a drawing of a Chimera. The Chimera has a lion’s body, a Goat’s head on its back, and a snake for a tail. This is a hint for the puzzle that is in the fireplace area.
In the fireplace area, you will have to press the following images, based on the note, to open a secret passage:
- Lion
- Goat
- Snake
And enter the secret passage to continue pursuing the blonde man. Continue vaulting your way to and pushing the rack to reach the winery. Inside, you will find a lever on the wall. Pull it to raise the wall and open another hidden room.


Part 10: Neutralize the Blond Man and Defuse the Bomb
Now, you will have to defeat the blond man, but interestingly, there are not one but two of them. Fight your way to victory, and rely heavily on parrying in 007 First Light to win the fight. After you defeat them, you will have to defuse the bomb on the wall. Here is the order of options you have to choose from:
- Battery
- Motherboard
- Wires
- Green
This will defuse the bomb, but another device will explode behind you, sending everything into chaos.


Part 11: Pursue 009
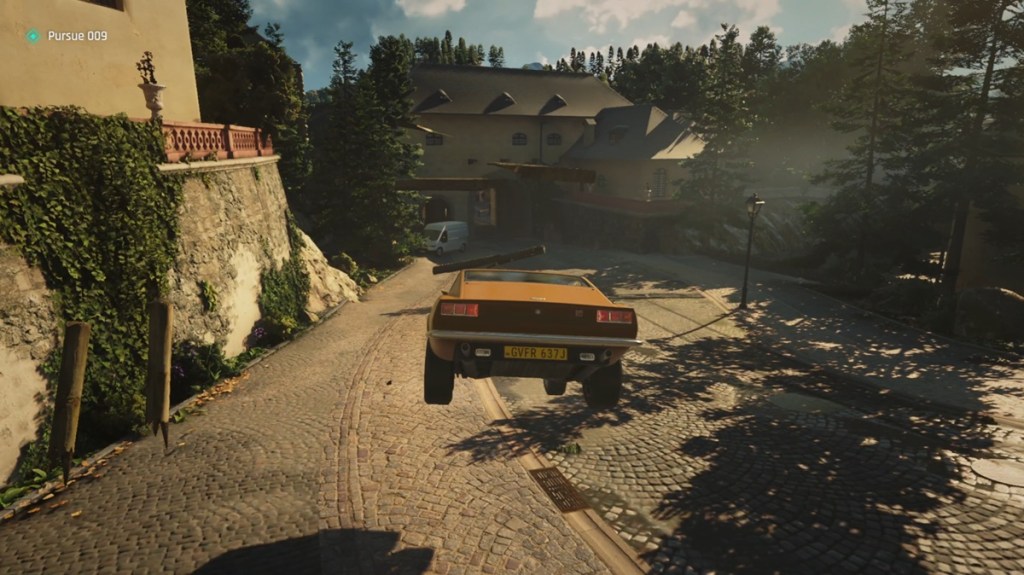
Make your way up to the main area, and eventually, you will be told to pursue 009. Run after him, and the same maid will bring a car to chase 009. Get in the car with her and continue chasing 009 on the road.

Part 12: Catch the Plane
At the very end, you will get a gun from the mystery woman. Now, you will finally get to use guns in 007 First Light. Use it to fight your way through all the guards. Target the red barrels near the enemies to quickly defeat them.
Make your way to the plane, and you will find it leaving you. Chase after it, and eventually you will drive a car and get near the plane. Get it close, and James Bond will automatically jump on the plane using the electric cables. Defeat the enemies on top of the plane and make your way inside.
Inside the plane, you can hack the flight control system. Now, bank the plane left and right to create havoc in front of you, defeating the enemies and clearing your way forward. Finally, you will fall from the plane in a free dive. Avoid the debris by moving around.
Eventually, two guards with parachutes will appear next to you. Move around and catch them to use their parachute to safety. This will end the All The Time in The World chapter in 007 First Light.


So, have more questions about the chapter? Ask us in the comments section below, and we will try to help you out.