007 First Light has many outstanding story missions, but none of them quite come close to The Past Never Dies. This mission has everything, from forcing Bond to make money in a small time, reconnaissance, and having fight club battles, to full-blown gun-shooting action. To experience all the possible routes of this mission, follow our complete 007 First Light The Past Never Dies mission walkthrough.
How to Complete 007 First Light The Past Never Dies Full Chapter Walkthrough
The Past Never Dies is one of the most fun but complicated chapters in 007 First Light. So, here is a quick guide on how to complete the quest with all possible routes.
Part 1: Drive to Aleph
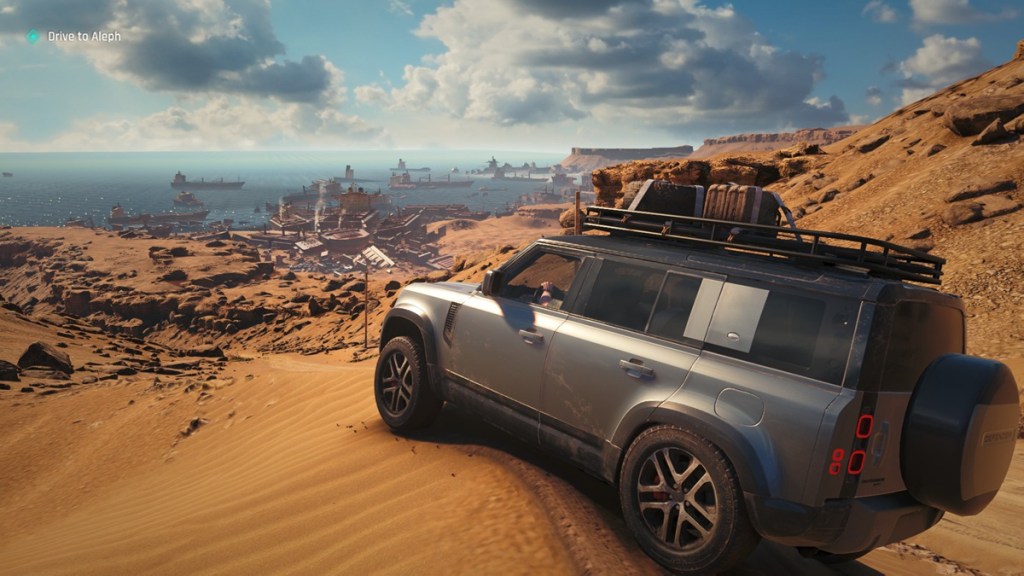
The mission will begin with Bond and Greenway driving to Aleph in a Defender. Make your way to the city of Aleph and try not to damage the vehicle too much on the way. Keep to the road and drive smoothly to the destination.
Part 2: Follow Greenway
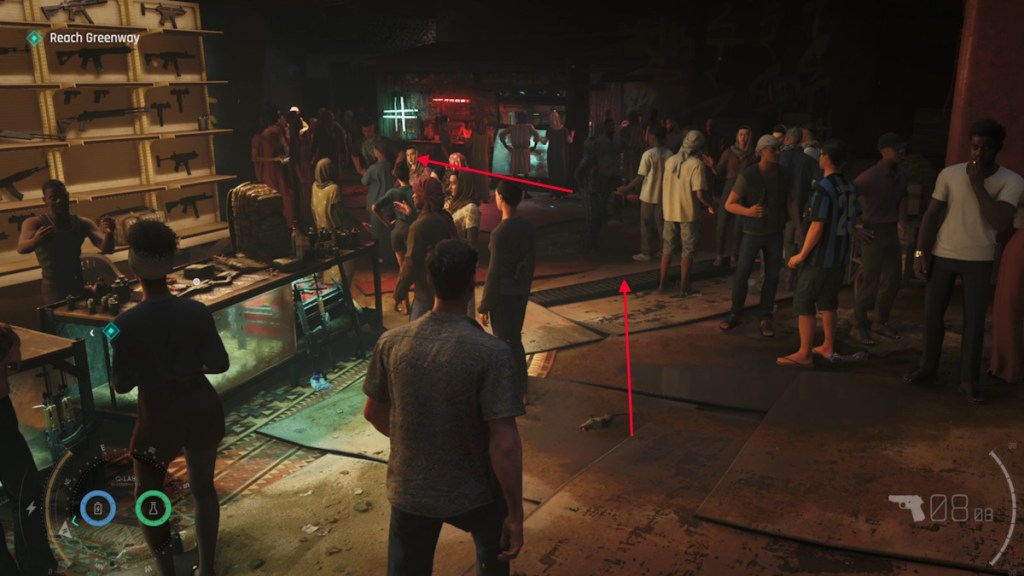
After reaching Aleph, you will have to follow Greenway into the city. Keep following him until he disappears. Now, go right and continue on the path until you reach an area with a large TV. Cross the TV, and the thugs there will get agitated. Defeat them in a close combat fight to progress. On the other side, you will find Greenway waiting for you. Continue following him until you reach the Auction entrance. There, you will be asked to obtain $100,000 for the Auction Fee.
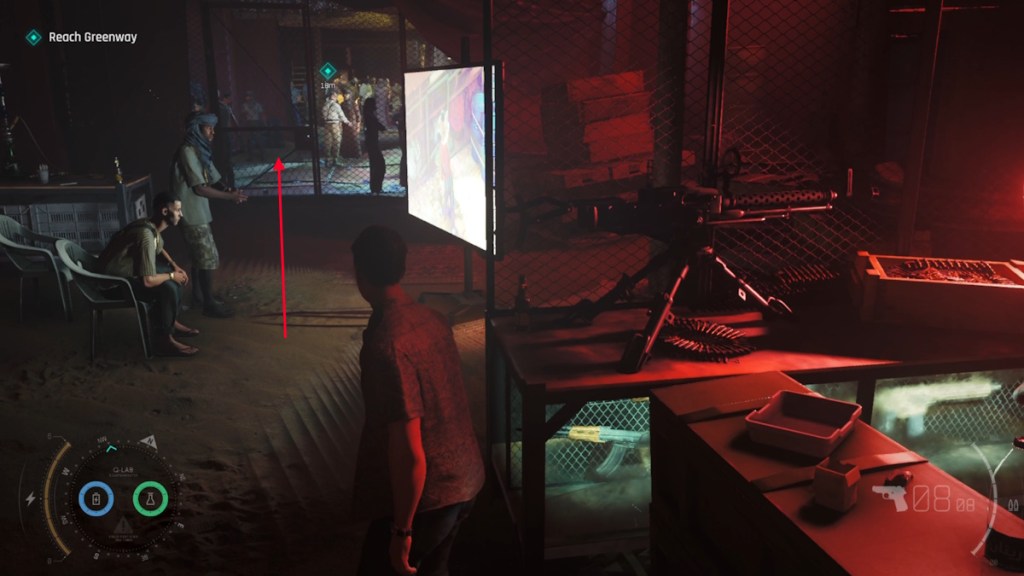
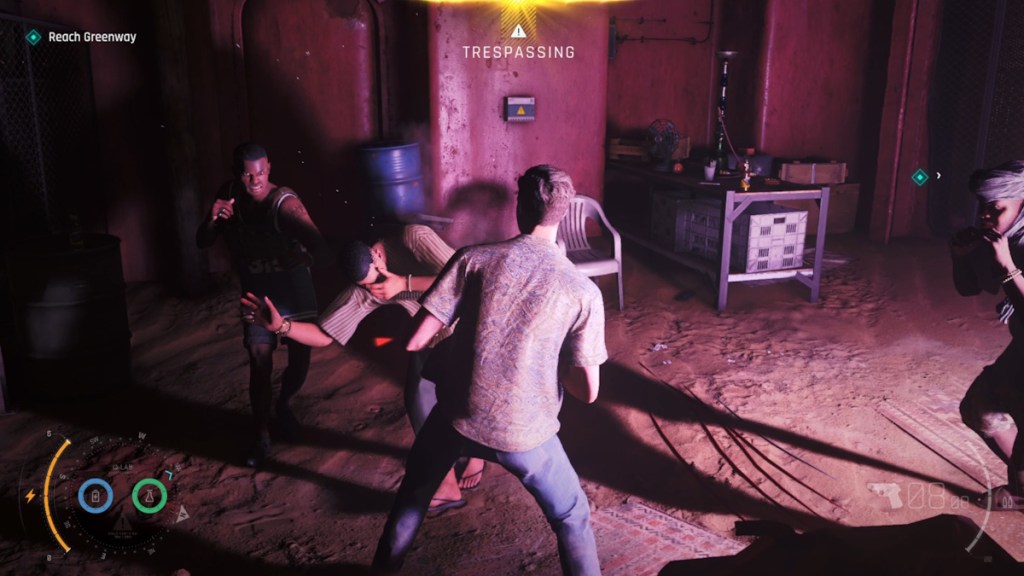
Part 3: Obtain Auction Fee
007 First Light gives multiple ways to obtain the Auction Fee. You will need to obtain a total of $100,000, and that can be done in five major ways. They are given below, along with how much money you will obtain for completing each of them.
The Crypto Wallet
- Reward: $50,000
This is a mission you can obtain by speaking with Nirmala and choosing the ‘Opportunities in the Market?’ dialogue. Go through the metal pipe tunnel as mentioned by Nirmala to find the distressed man. Eavesdrop on his conversation to learn about the Crypto Wallet. Now, hack into his phone using the Q-watch Gadget in 007 First Light. Keep following him for the hack to complete. When he enters a shop with a watcher outside, simply use your Dart gadget to disorient him. The Dart is easily one of the best gadgets in 007 First Light, so don’t forget to pick the Chemicals along the way to keep it active.
After hacking the phone, locate the caller and use the dart on her as well. Now, pickpocket the Crypto Wallet from her. Next, you will have to infiltrate a base to reach the antenna at the top. This is fairly straightforward, as you use the environment and gadgets to take down enemies on the way. At the top, plug in the Crypto Wallet to the antenna to get your money.
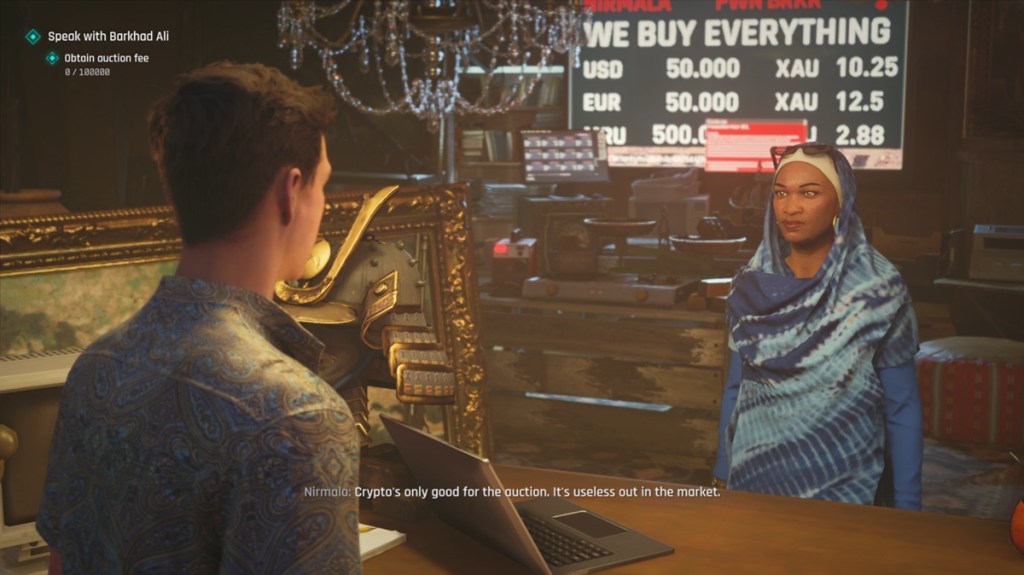
Image Credit: IO Interactive A/S (screenshot by Sanmay/ Beebom) 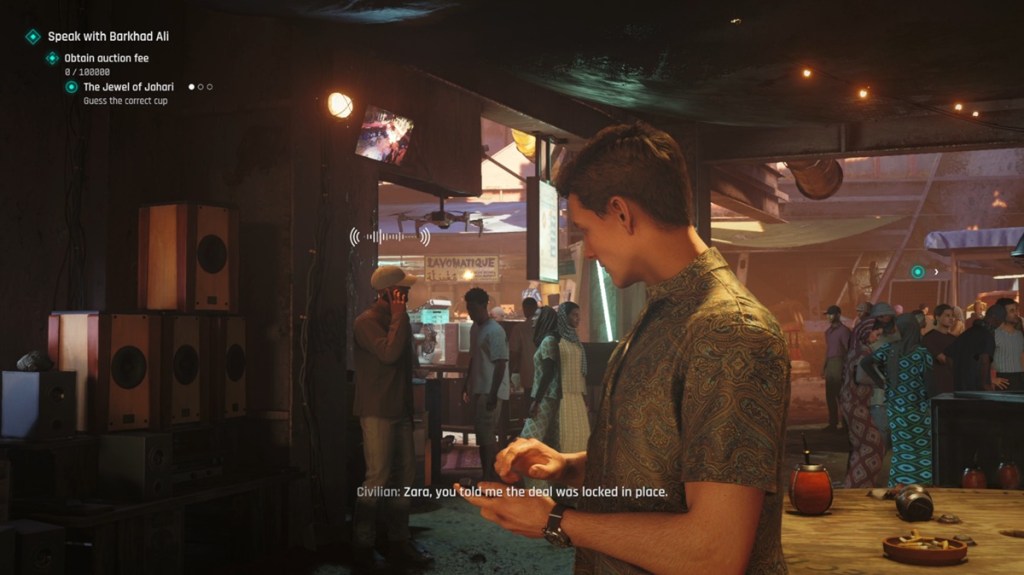
Image Credit: IO Interactive A/S (screenshot by Sanmay/ Beebom) 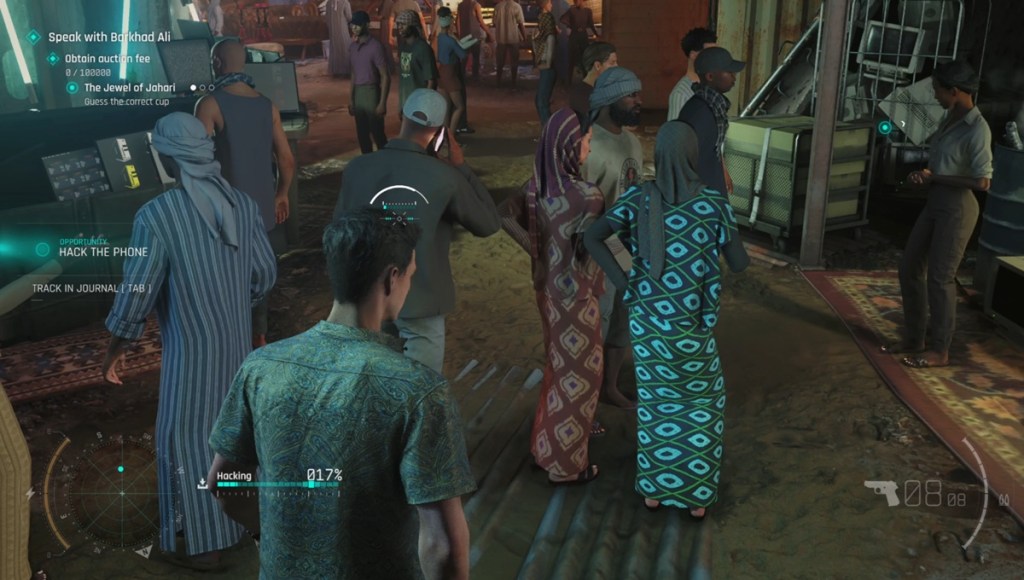
Image Credit: IO Interactive A/S (screenshot by Sanmay/ Beebom) 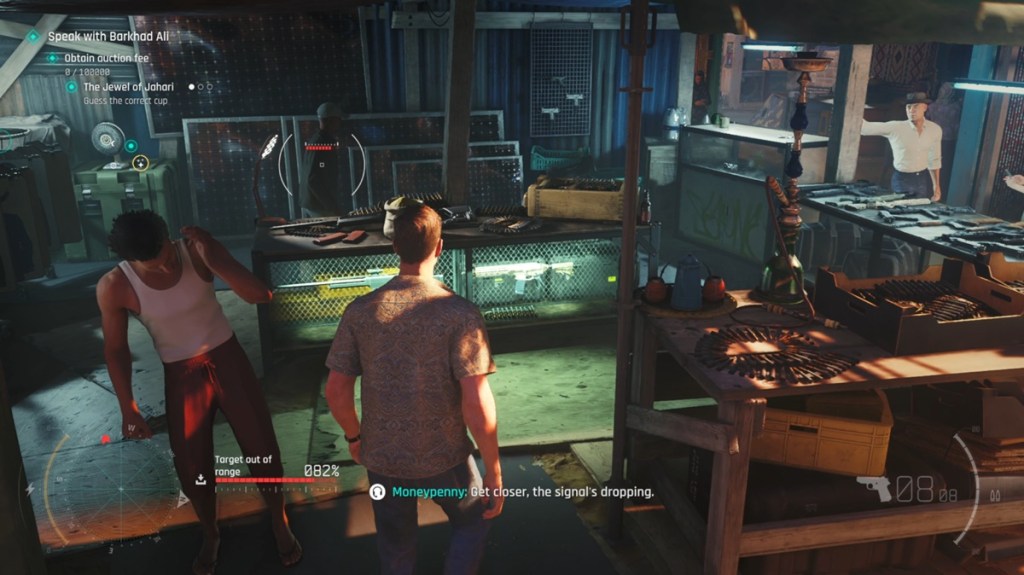
Image Credit: IO Interactive A/S (screenshot by Sanmay/ Beebom) 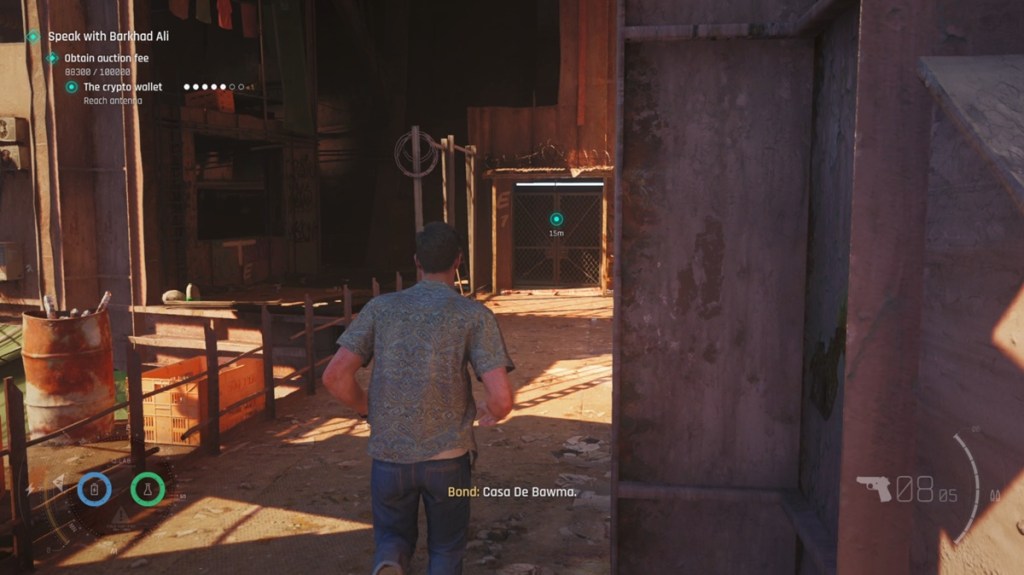
Image Credit: IO Interactive A/S (screenshot by Sanmay/ Beebom) 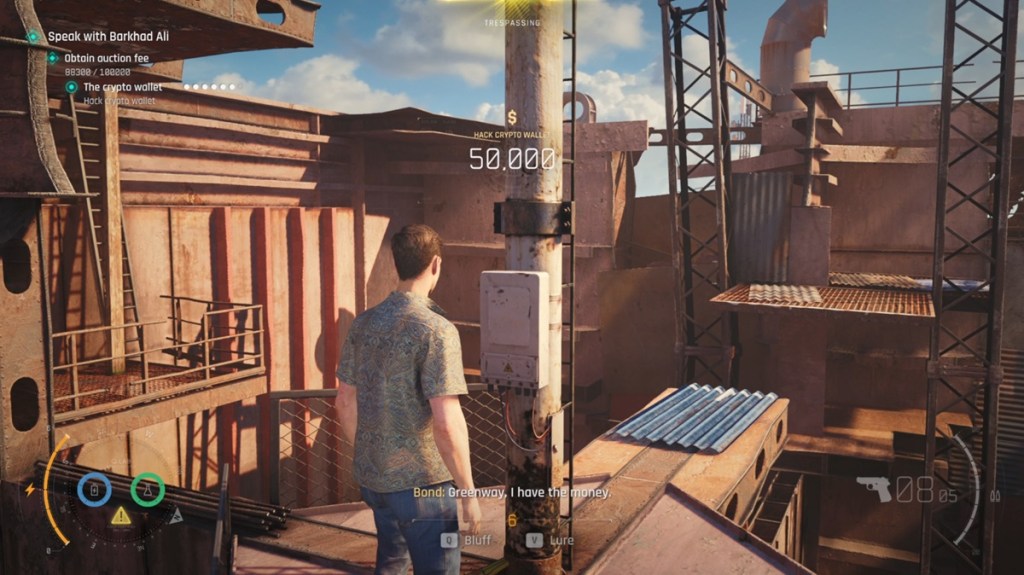
Image Credit: IO Interactive A/S (screenshot by Sanmay/ Beebom)
The Jewel of Jahari
- Reward: $30,000
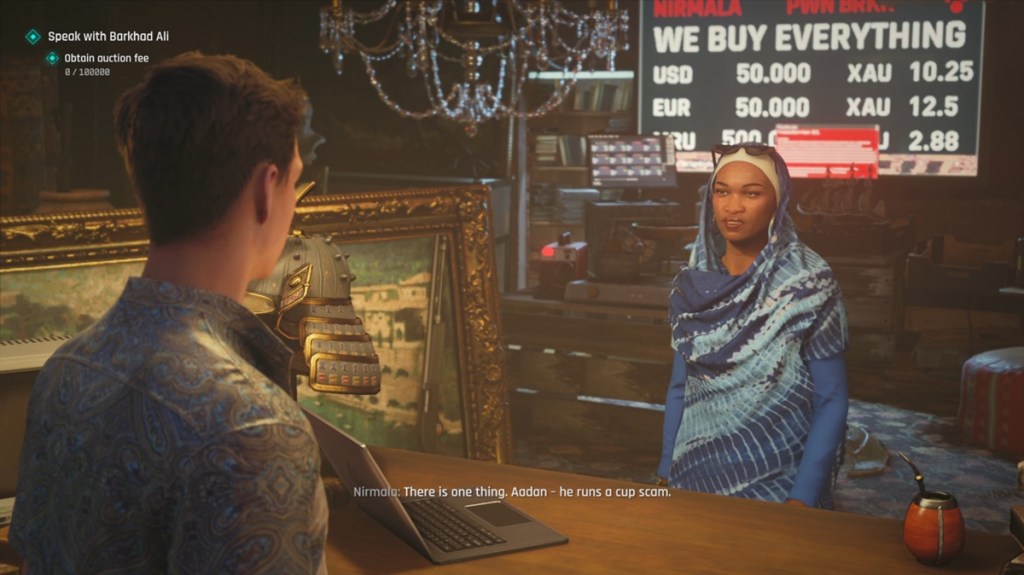
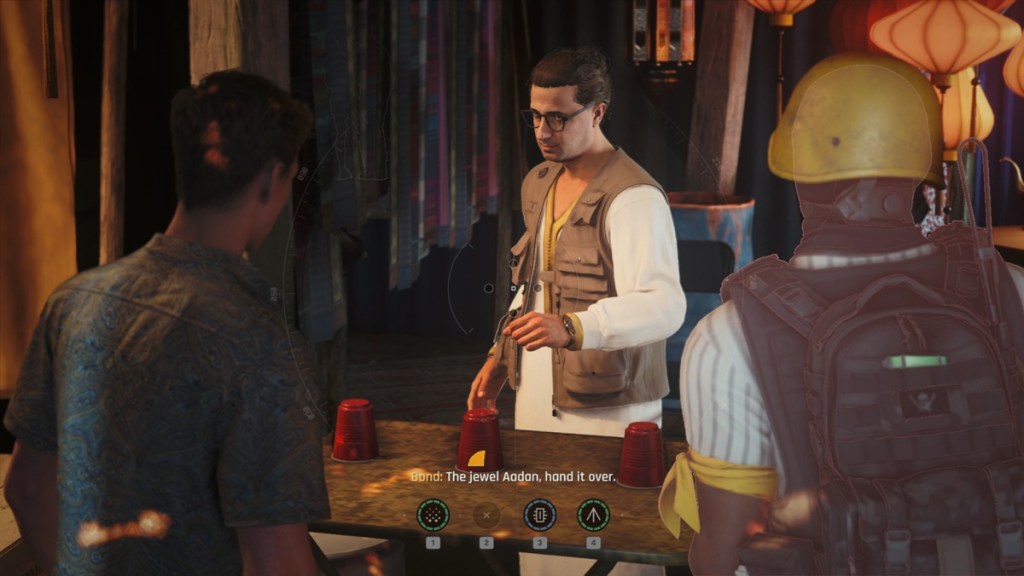
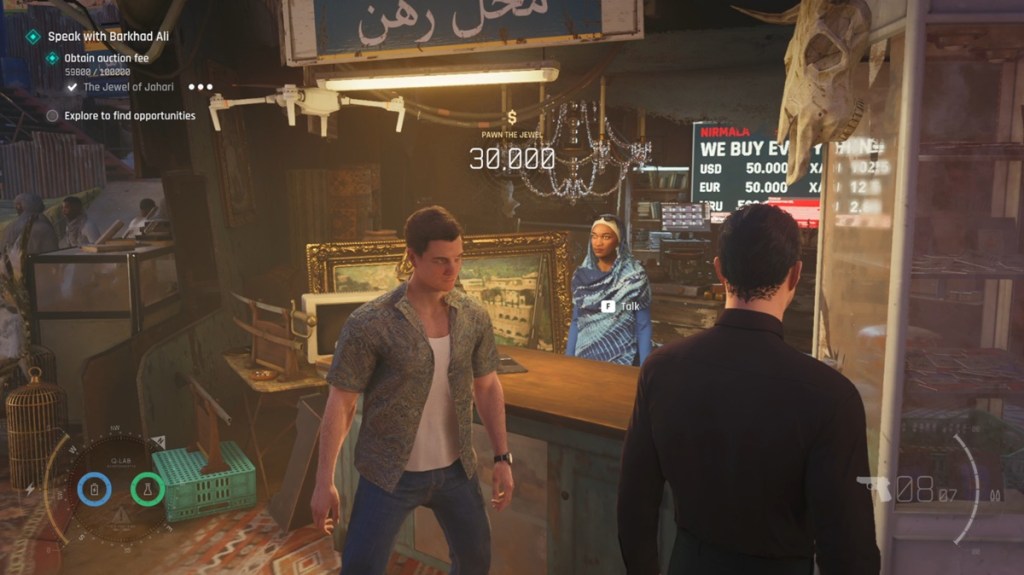
Another mission you can obtain by speaking with Nirmala is the Jewel of Jahari. She will ask you to win back the jewel by playing the cup game. You will need to have $3500 with you to play the game, so do the other missions first to get the capital. Head to the cup game and use your Q-Lens to track the gem under the cups. Pick the correct cup to win the jewel. Take it back to Nirmala and get $30,000 as a reward.
Shoot Targets
- Reward: $30,000
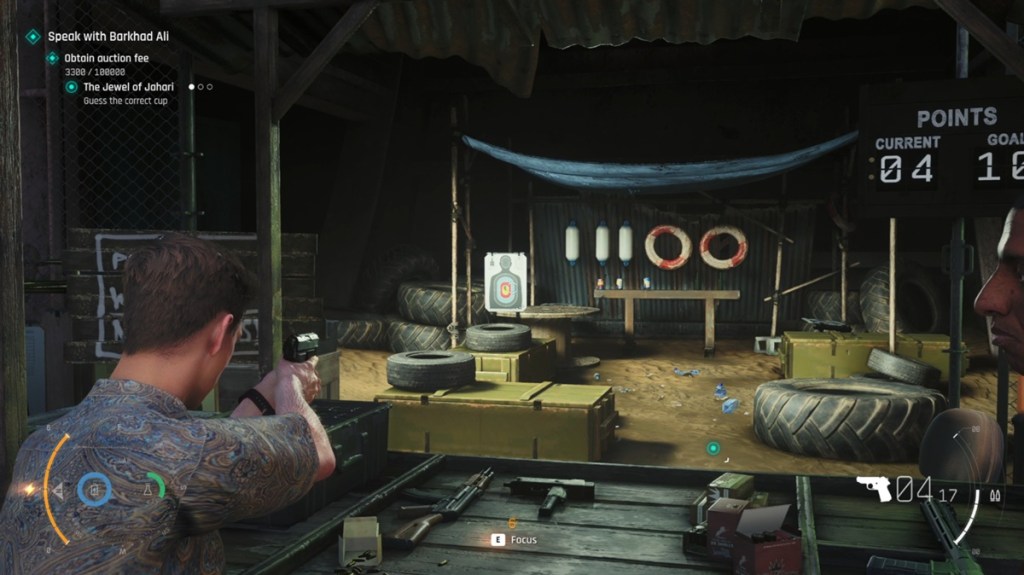
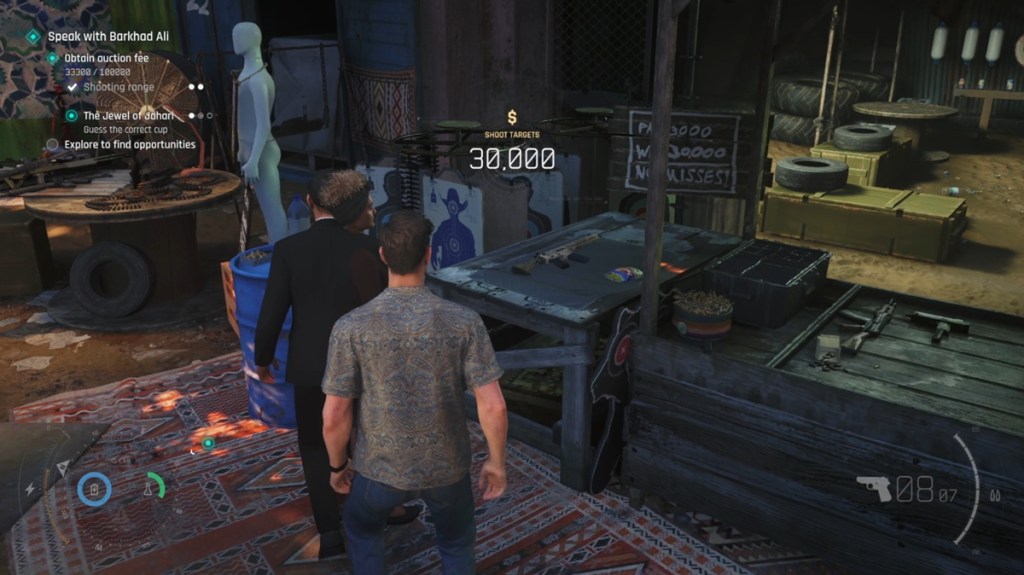
Another good way to earn some good money is playing the Shoot Targets challenge. In this challenge, you will have to shoot all 10 targets without missing. Use the bullet slow skill to not miss your shots, and you can win $30,000 easily at the end. However, you will need to pay $3000 at first to play the game, so make sure to obtain that amount first.
Scorpius Deal
- Reward: $52,000
While roaming the market, you will eventually find three guards smoking and talking in a corner near some containers. Here you can eavesdrop on them to start the Scorpius mission. After their conversation ends, one of the guards will start moving. Follow him to the end to progress the mission. Eavesdrop on his conversation again at the end, and then he will stand guard at the door. Distract them and enter the restricted area behind them to progress the quest.
Now, infiltrate the building and get your hands on the Burner Phone. This portion is straightforward, so pick any path you want and use the environment to distract or defeat the enemies. Exit the building and make your way to container 76, located in the first area where the three guards were talking. You can either use the dart on him to go past or speak with the Stall Owner on the left to use his shop’s hidden path.
Open the container, and you will finally contact the buyer. Before the buyer comes, security will try to kill you. Use guns to shoot them down and clear the path for the buyer. Sell the art and get $52,000.
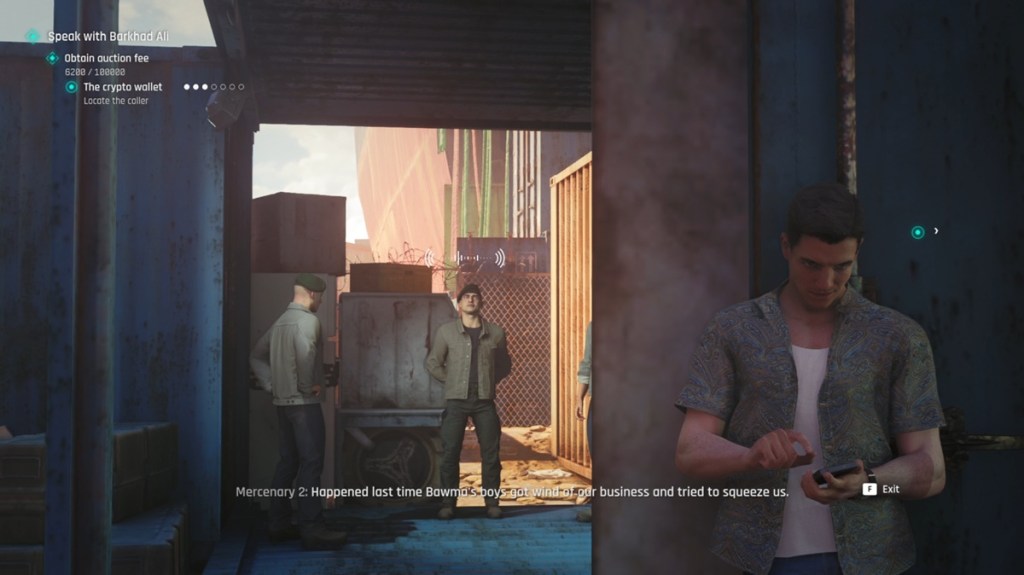
Image Credit: IO Interactive A/S (screenshot by Sanmay/ Beebom) 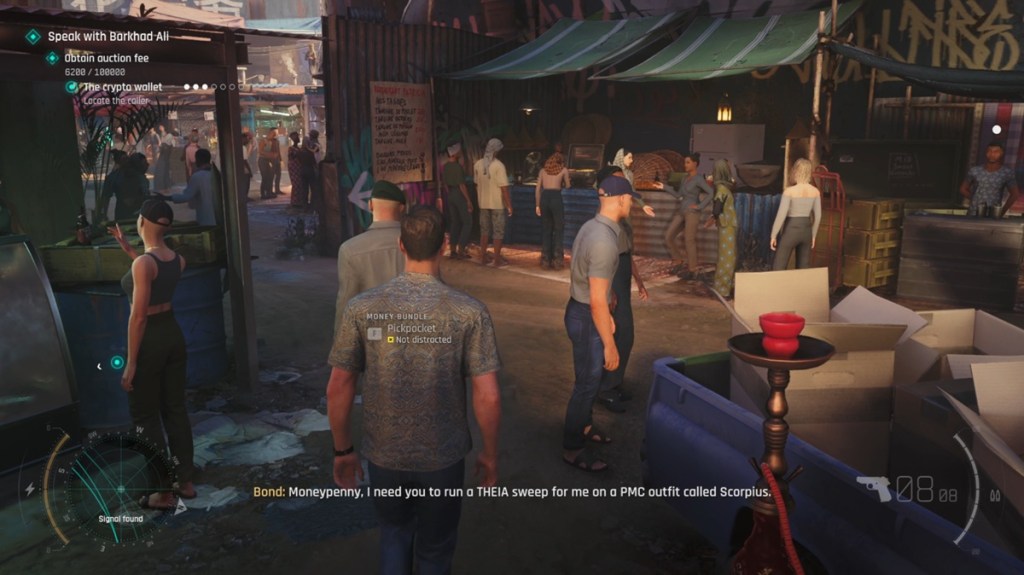
Image Credit: IO Interactive A/S (screenshot by Sanmay/ Beebom) 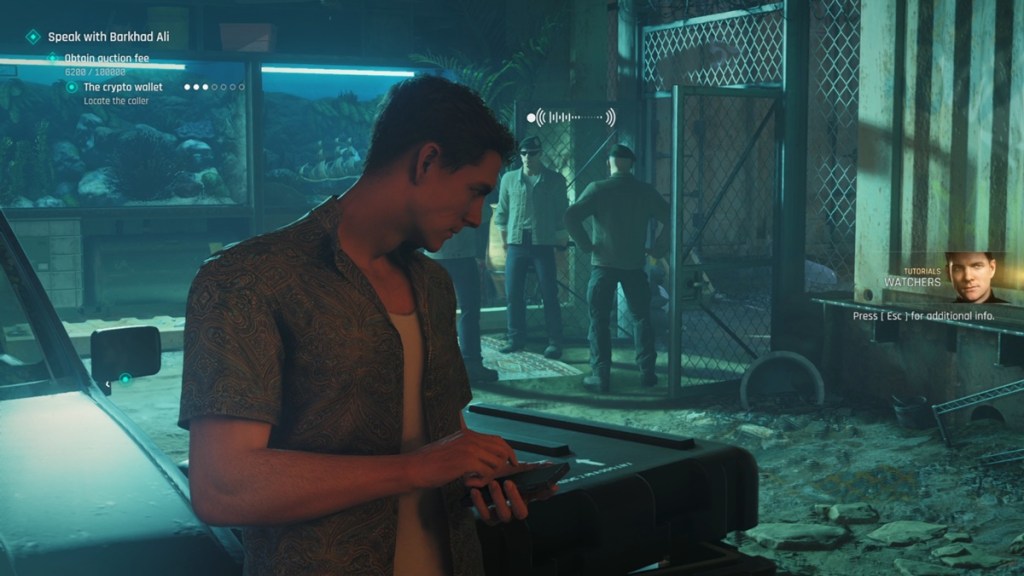
Image Credit: IO Interactive A/S (screenshot by Sanmay/ Beebom) 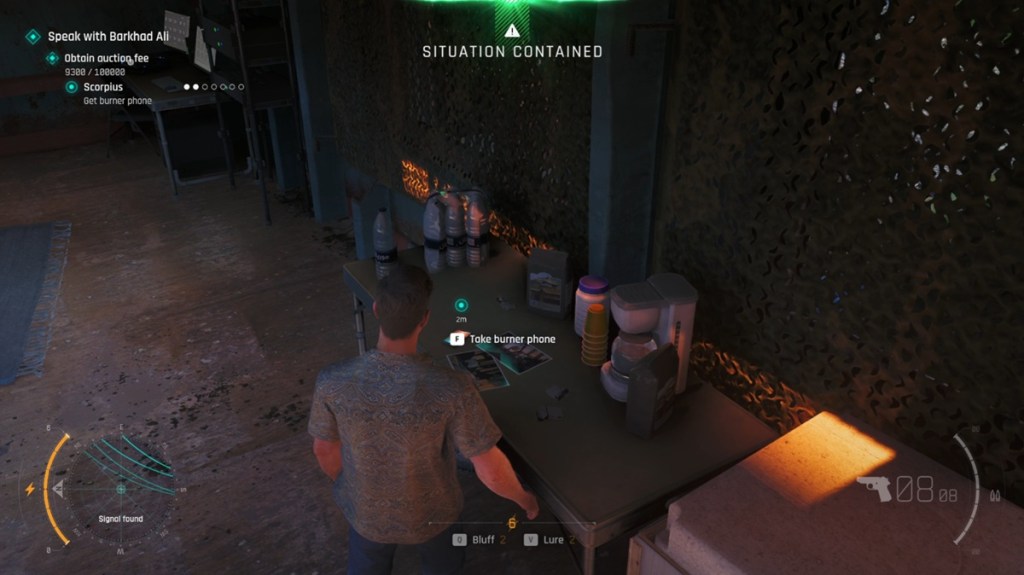
Image Credit: IO Interactive A/S (screenshot by Sanmay/ Beebom) 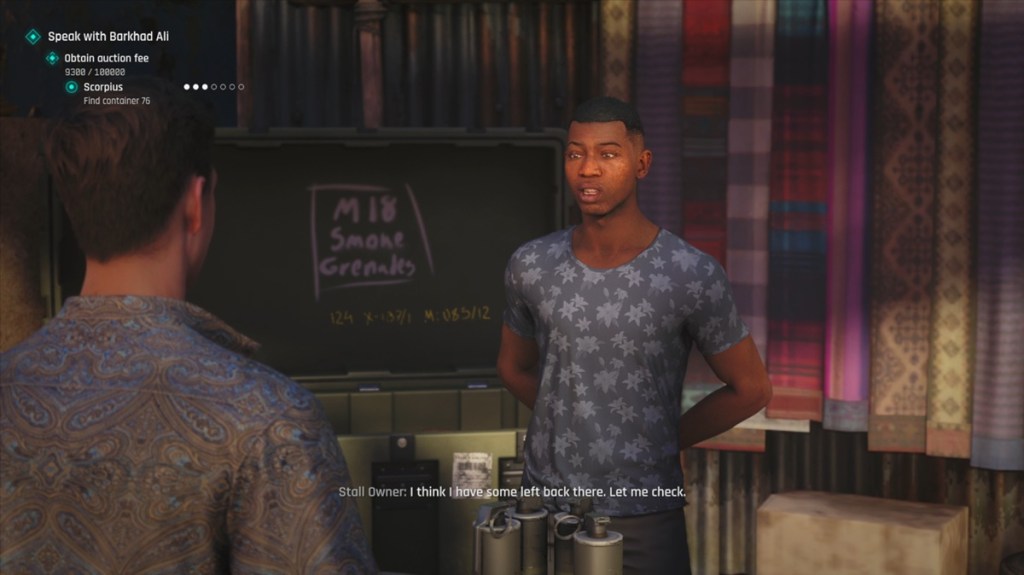
Image Credit: IO Interactive A/S (screenshot by Sanmay/ Beebom) 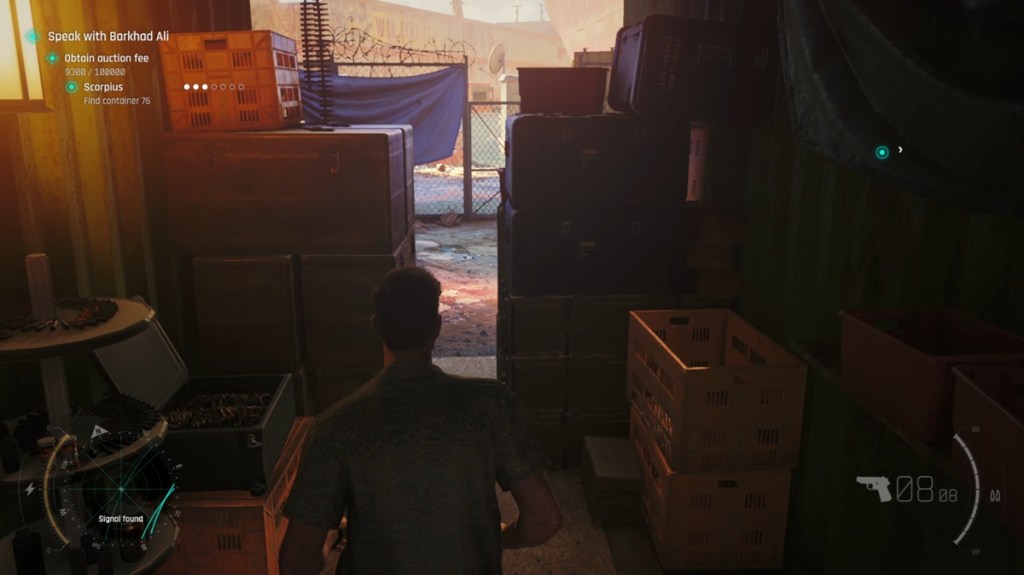
Image Credit: IO Interactive A/S (screenshot by Sanmay/ Beebom) 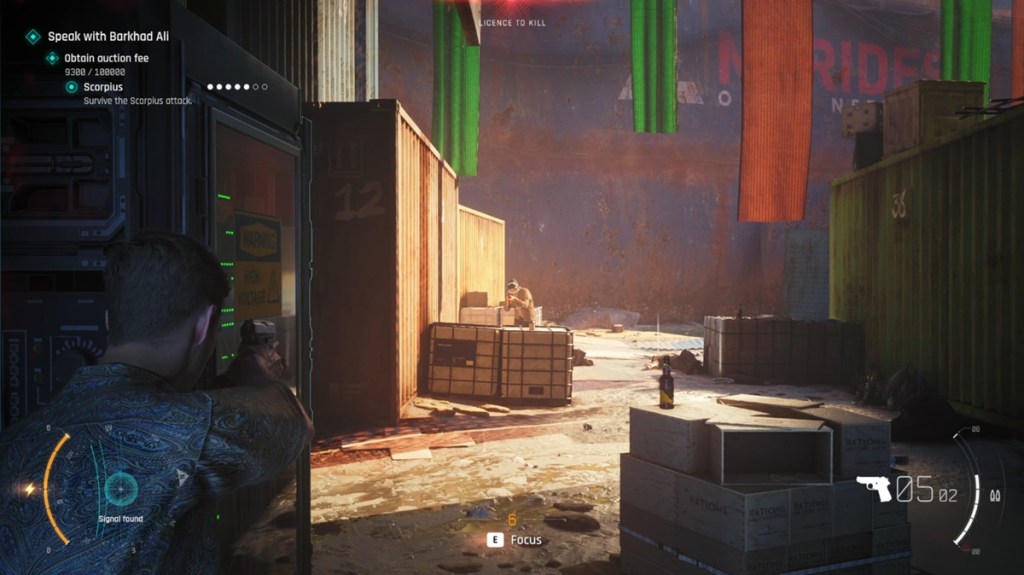
Image Credit: IO Interactive A/S (screenshot by Sanmay/ Beebom) 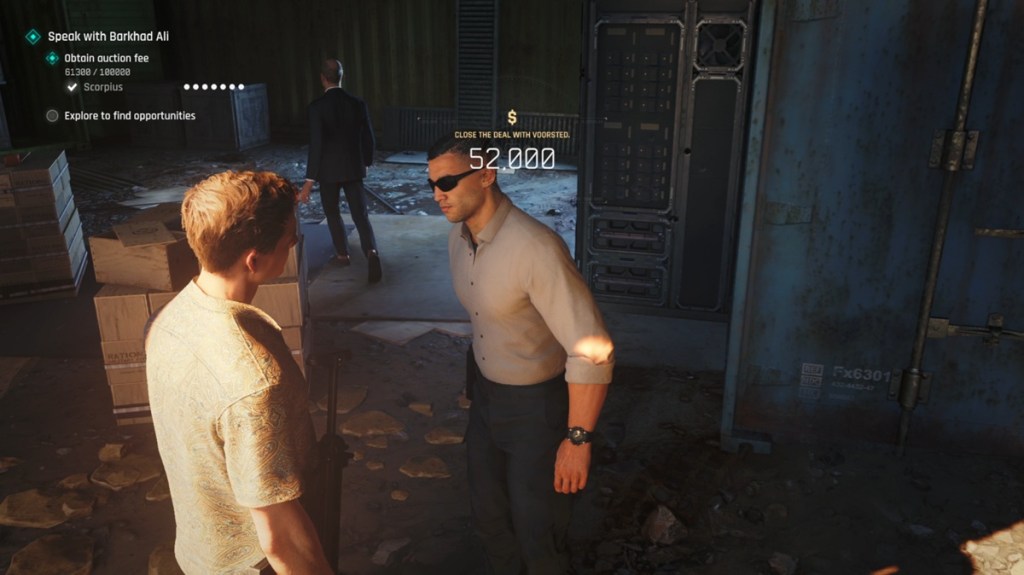
Image Credit: IO Interactive A/S (screenshot by Sanmay/ Beebom)
Fight Pit
- Reward: $60,000
Next, you can look for the Fight Pit and join to earn money. This mission gives the most money for the auction fee, and it is also the coolest one. Head inside the fight pit and eavesdrop on the ringmaster. Speak with him next, and then go and talk with Yasin. He will ask you to fight Omar, so defeat him to progress the mission. Now head back to the pit, and you will have to defeat three enemies in a row to win the arena and collect the winnings.
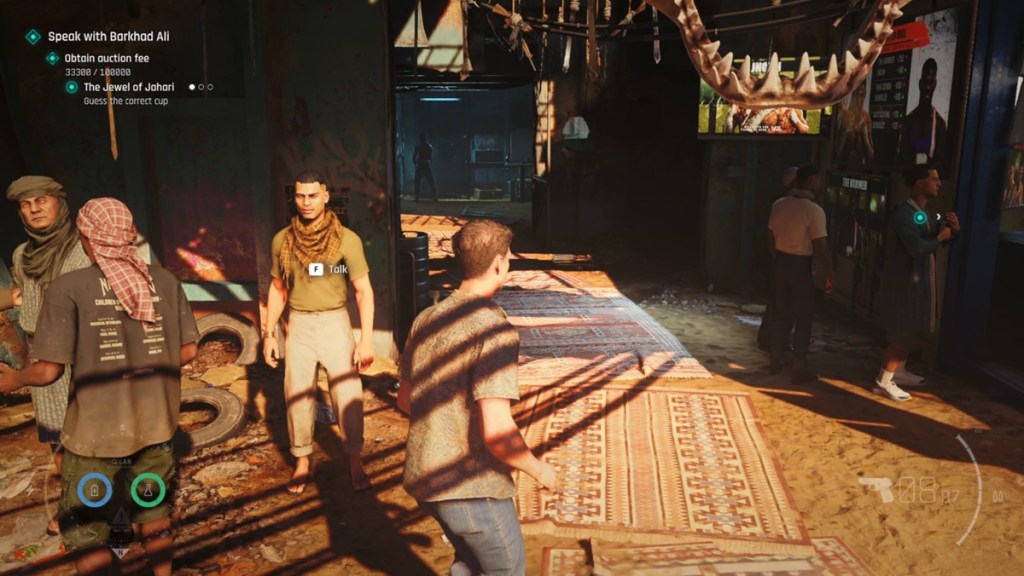
Image Credit: IO Interactive A/S (screenshot by Sanmay/ Beebom) 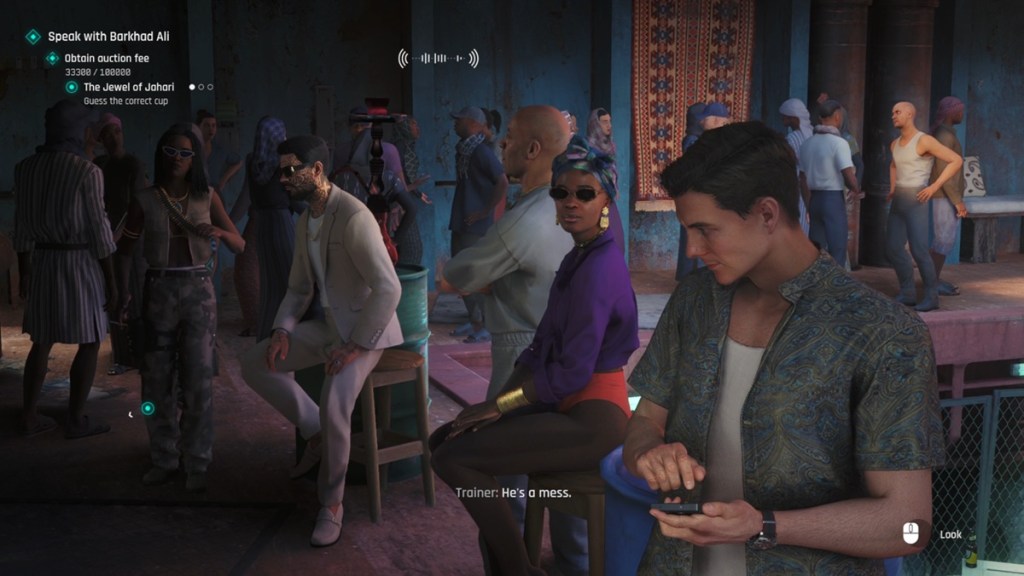
Image Credit: IO Interactive A/S (screenshot by Sanmay/ Beebom) 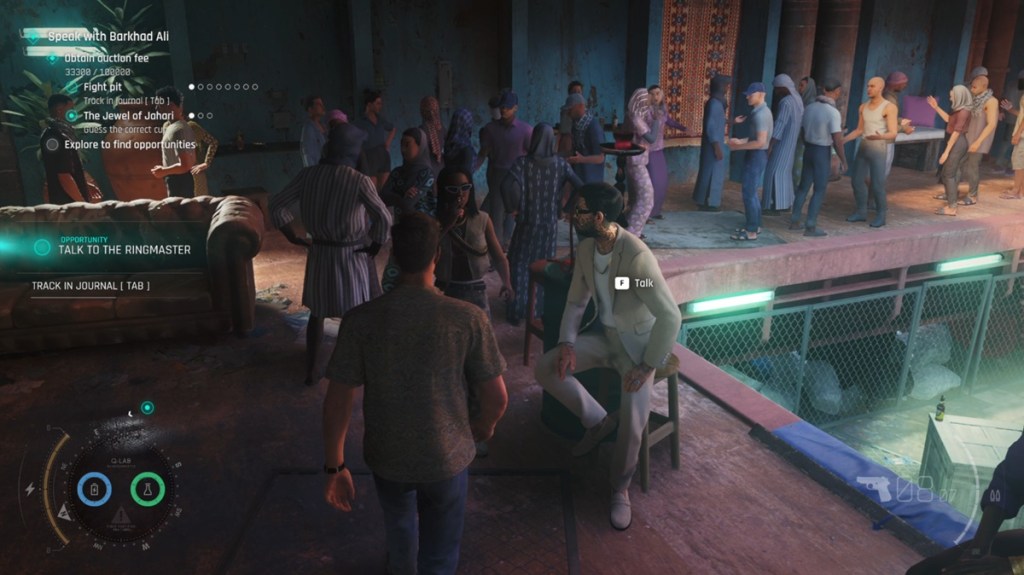
Image Credit: IO Interactive A/S (screenshot by Sanmay/ Beebom) 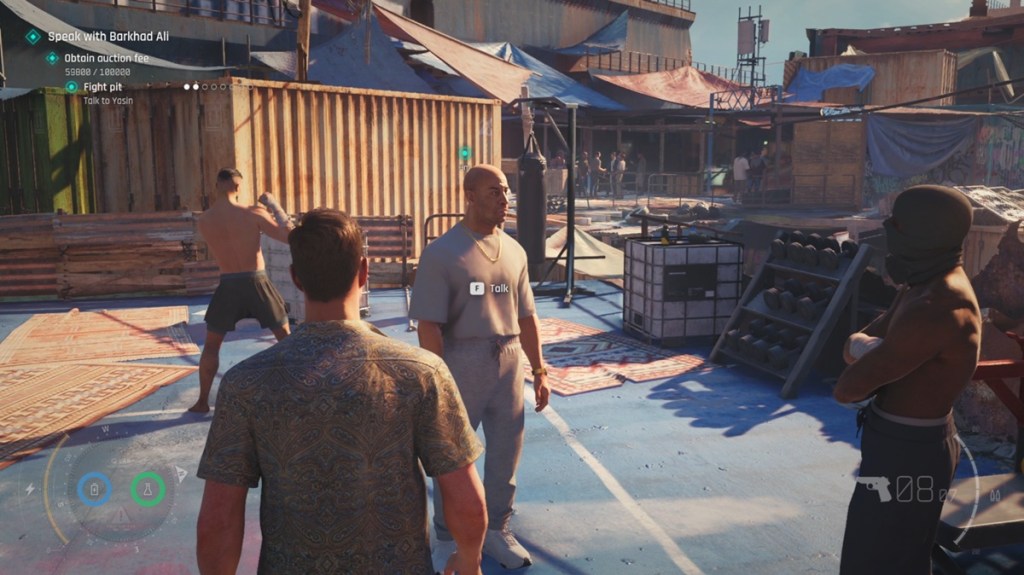
Image Credit: IO Interactive A/S (screenshot by Sanmay/ Beebom) 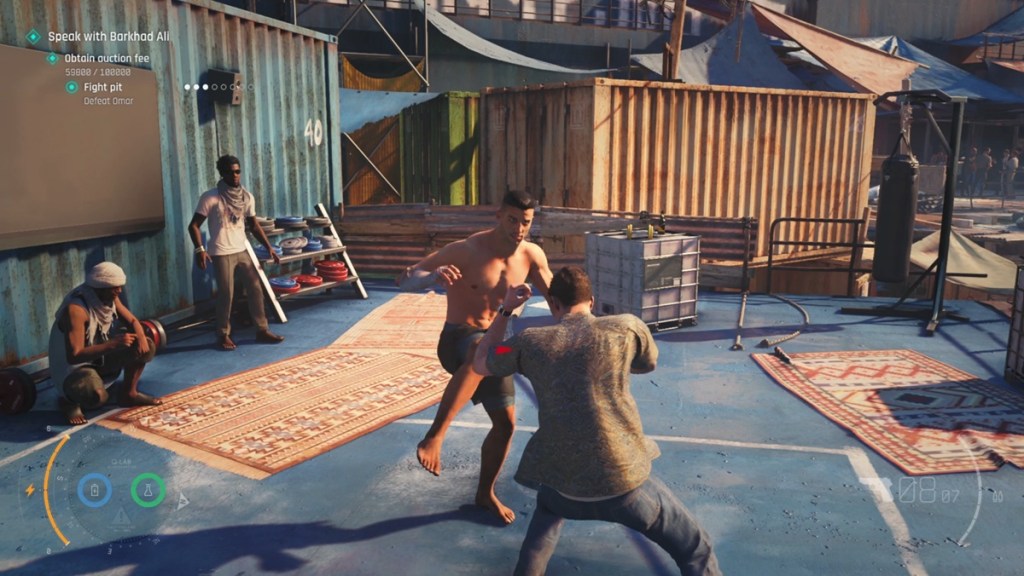
Image Credit: IO Interactive A/S (screenshot by Sanmay/ Beebom) 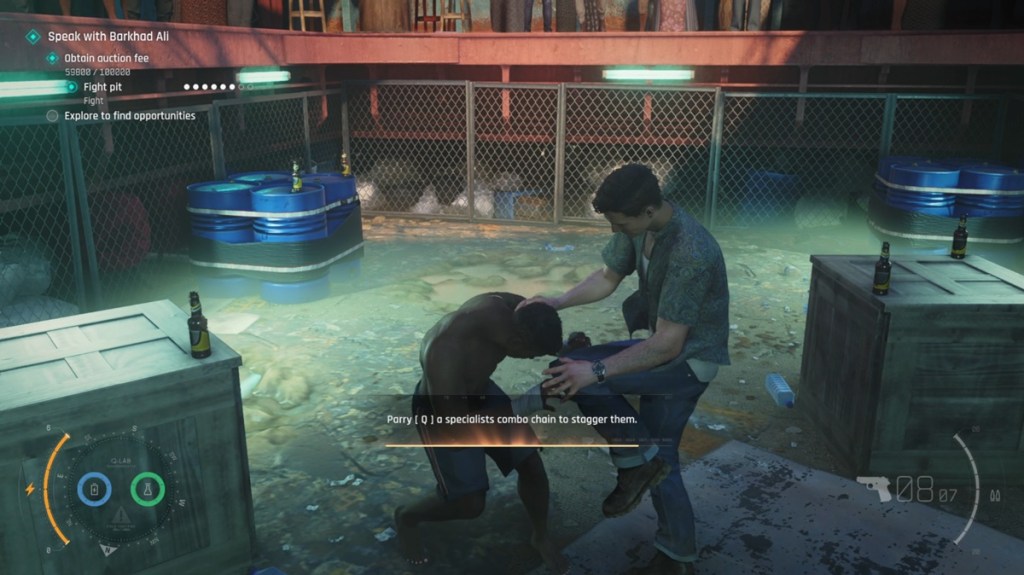
Image Credit: IO Interactive A/S (screenshot by Sanmay/ Beebom) 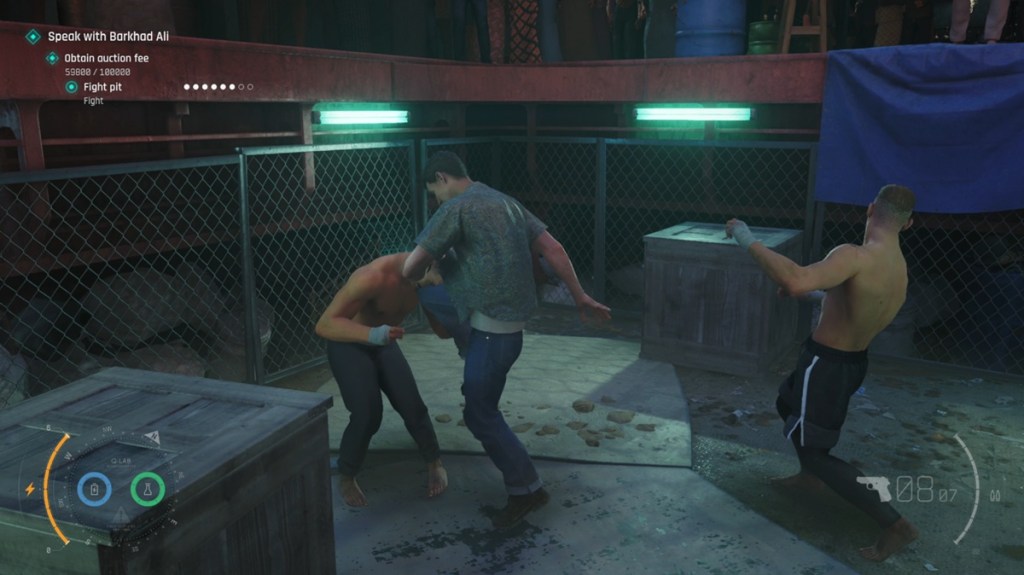
Image Credit: IO Interactive A/S (screenshot by Sanmay/ Beebom) 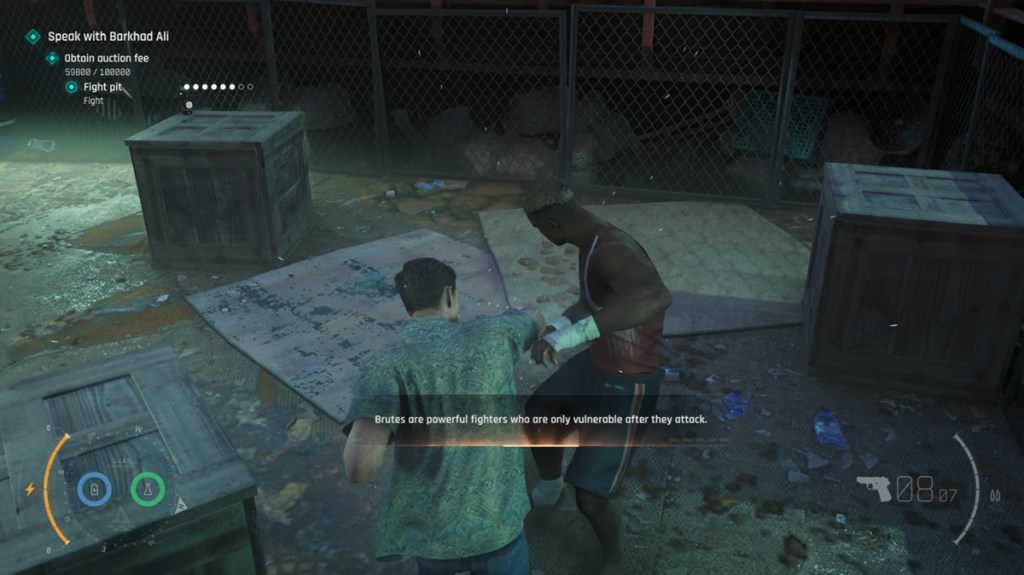
Image Credit: IO Interactive A/S (screenshot by Sanmay/ Beebom) 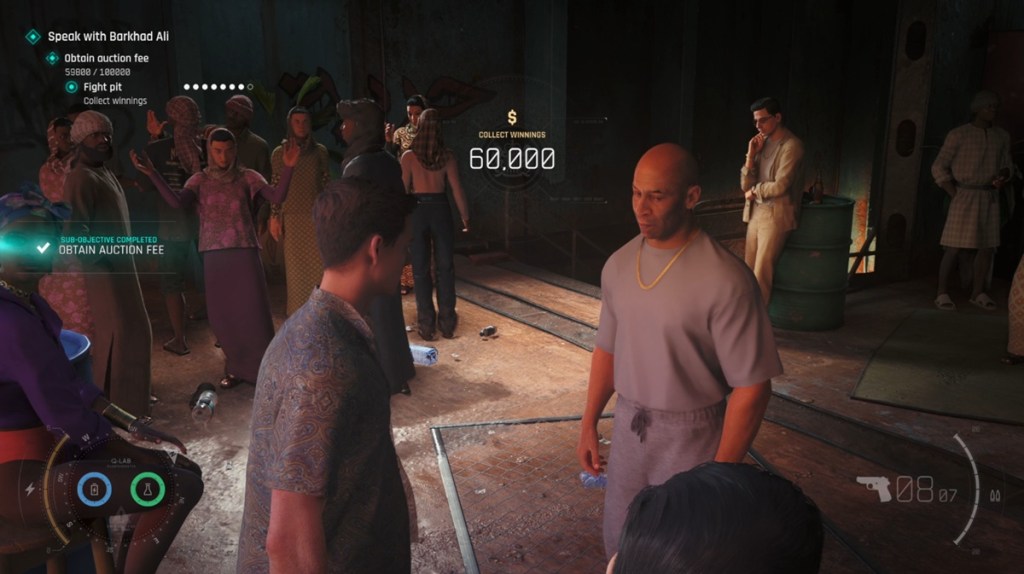
Image Credit: IO Interactive A/S (screenshot by Sanmay/ Beebom)
Pickpocket Wallets
- Reward: $3200-$4000 (each)
Another way to make a small income in Aleph is pickpocketing. You can pickpocket in 007 First Light by distracting NPCs. Many of the guards in Aleph carry cash bundles on them. You can collect all of them to make a lot of money.
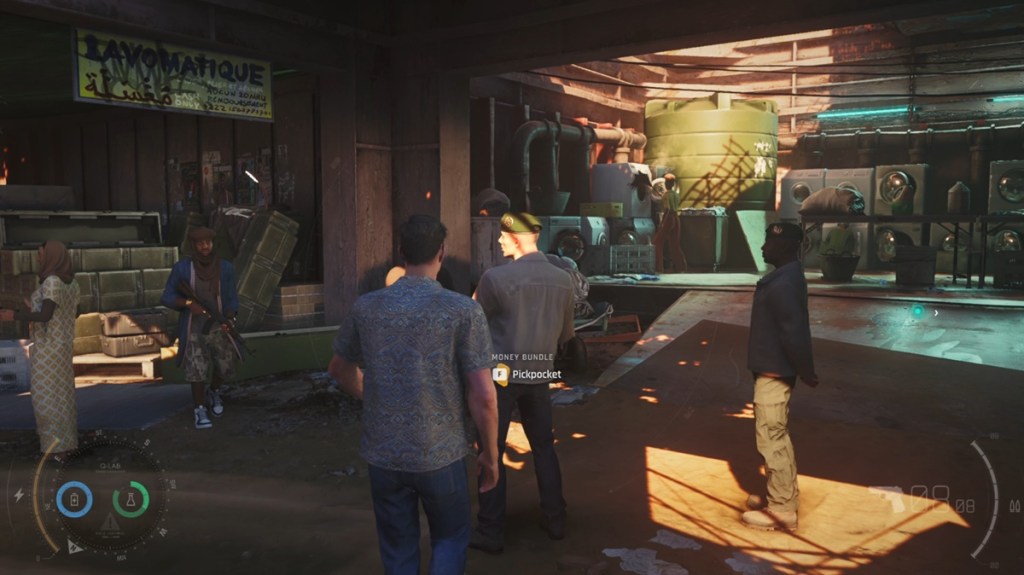
Part 4: Speak with Barkhad Ali and Win the Auction
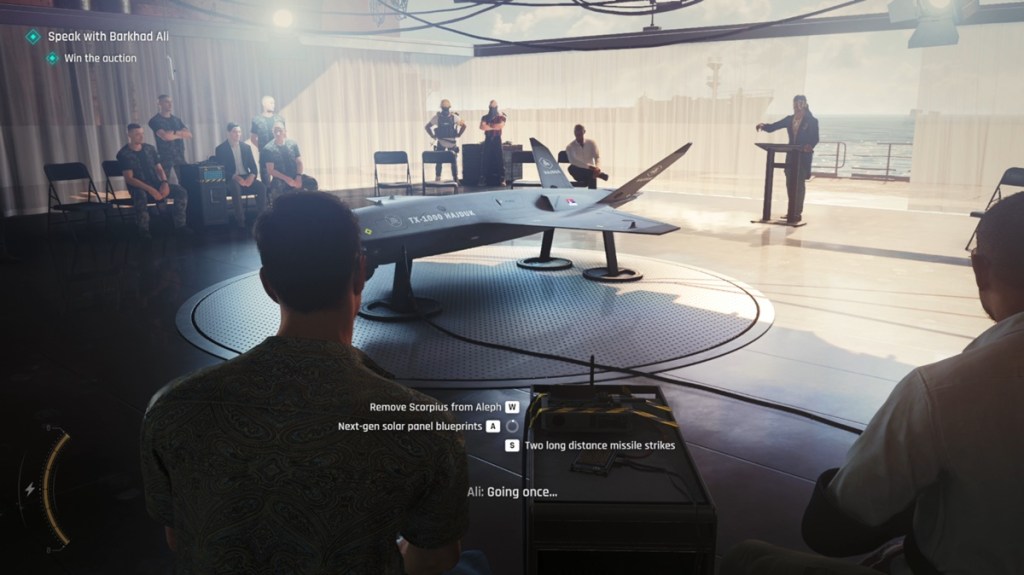
After you have obtained all the auction fees, head back to the guard and enter the auction. Now, you will have to influence the auction to win it. First, you will be asked to make the first bid. Whichever option you pick here doesn’t matter, so we will move to the next part. After that, you will have to hack into one of the Polygraph machines. Use the Q-watch to sabotage the machine.
Next, you will have to make a higher bid. To get options here, you needed to investigate the city of Aleph. There were multiple investigation reports spread around the city, so if you had found them, you would get some of these options. Pick any of them to progress.
Finally, promise to give MI6 intel by improvising to win the auction. Now, speak with Barkhad Ali and make him take you to the 009’s location.
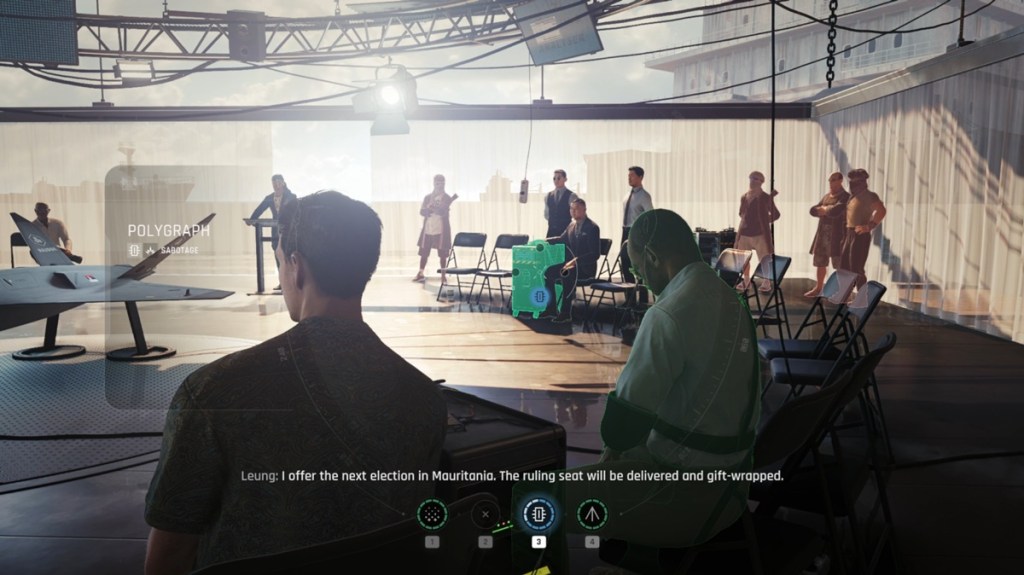
Part 5: Reach 009’s Boat
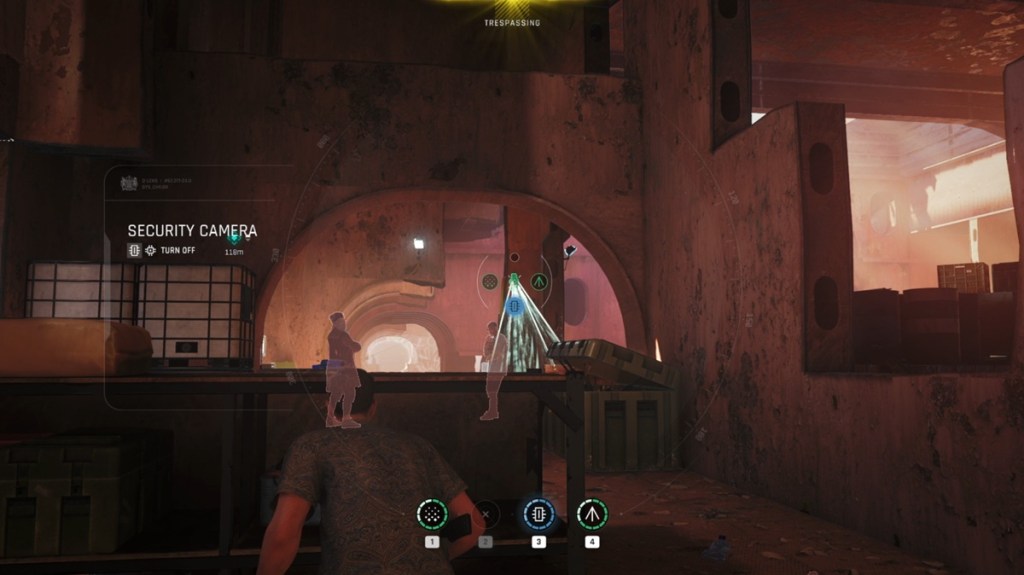
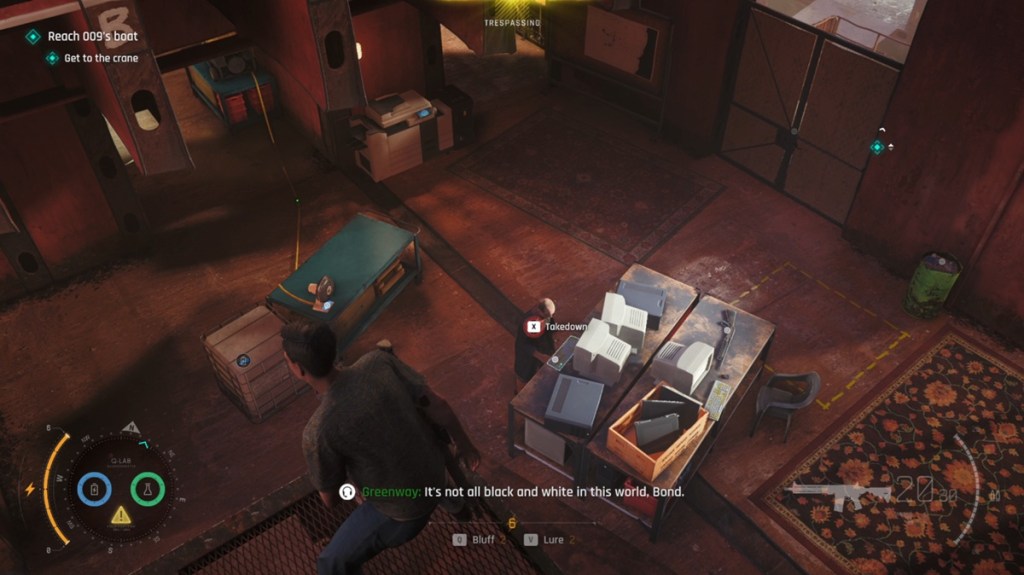
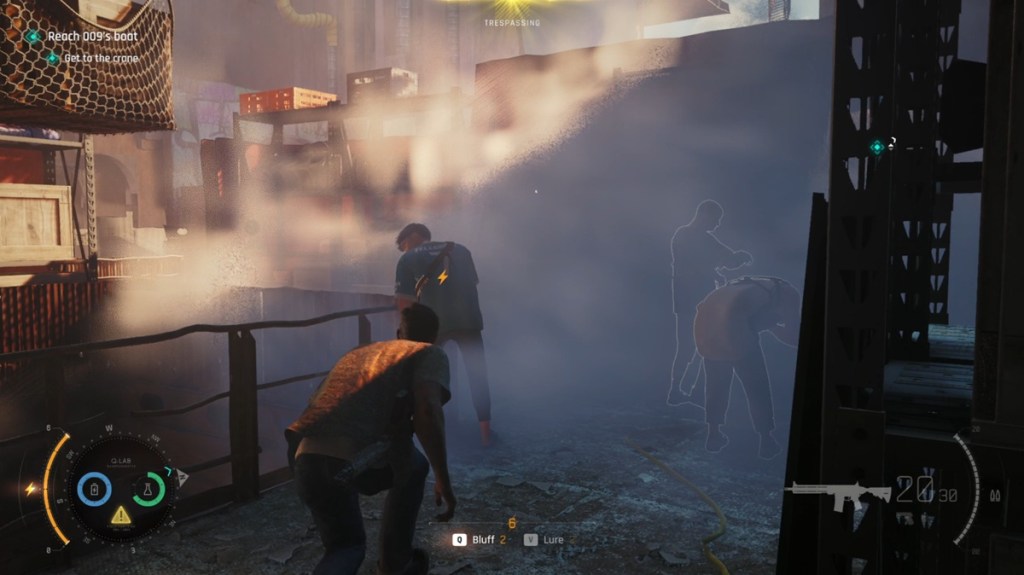
Greenway will go with Barkhad Ali using the boat, while you have to take a separate path. Here, you just have to continue going forward while taking care of enemies on the way to reach the final boat area. Try to avoid confrontation and use your gadget properly to get an advantage over enemies. The Flash gadget is arguably the best option here when multiple enemies are crowded together. Use it, and you can do chain takedowns.
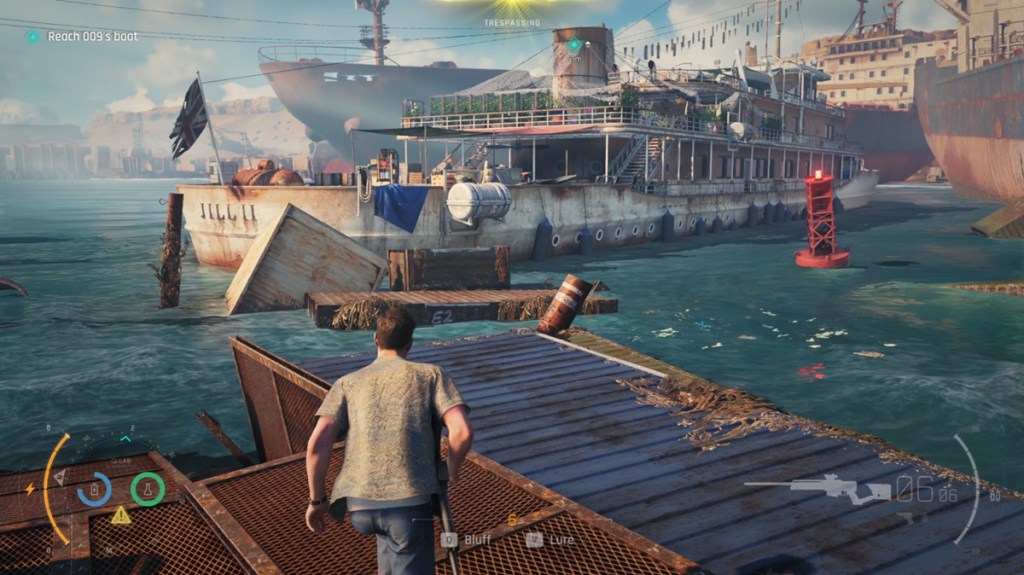
Part 6: Find 009
Once you reach the boat, you will find the entire place booby-trapped. Stepping on any of the traps will instantly kill you. So, follow carefully to go through this area. Check out our 007 First Light traps guide to help disarm and detect traps.
- Disarm the first grenade, which is easier to spot.
- Go to the second red wire, and this time vault over the left side of the railing to cross the area.
- The third trap will be placed on the stairs. Disarm it, but take a right instead of going up the stairs.
- Carefully disarm the next two crisscrossing booby traps and cross the space to vault over the crates to the other side.
- Continue up the stairs to reach the next section. However, this area will have invisible traps, so you will need to start the water sprays nearby to view them.
- Turn on the spray on the left side and duck under the laser to cross.
- Next, jump over the flower beds to avoid the laser on both sides.
- Go right, and jump over the railings on the left to hang on the sides and cross the laser present there.
- Turn on the spray on the other side to find a moving laser. Wait for the laser to move away to go past it.
- Now, jump over the flower bed on the left.
- Turn on the next spray to find a criss-crossing laser. Jump over the right railing to cross the area.
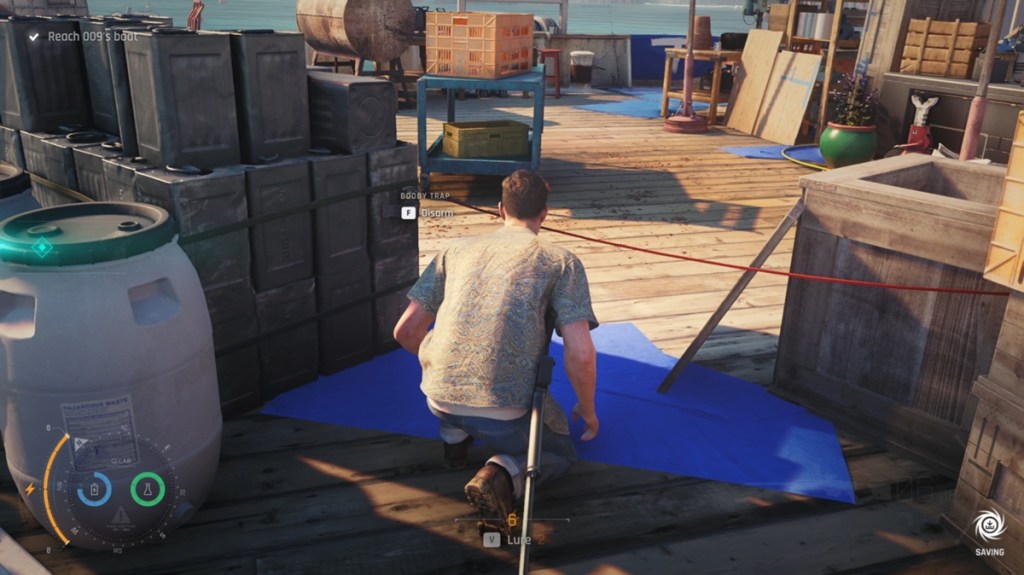
Image Credit: IO Interactive A/S (screenshot by Sanmay/ Beebom) 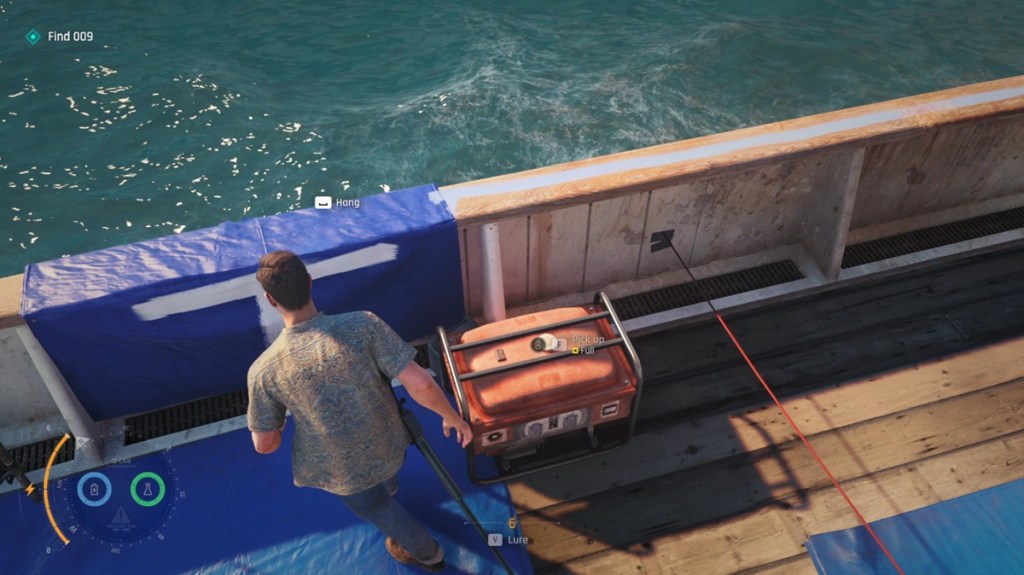
Image Credit: IO Interactive A/S (screenshot by Sanmay/ Beebom) 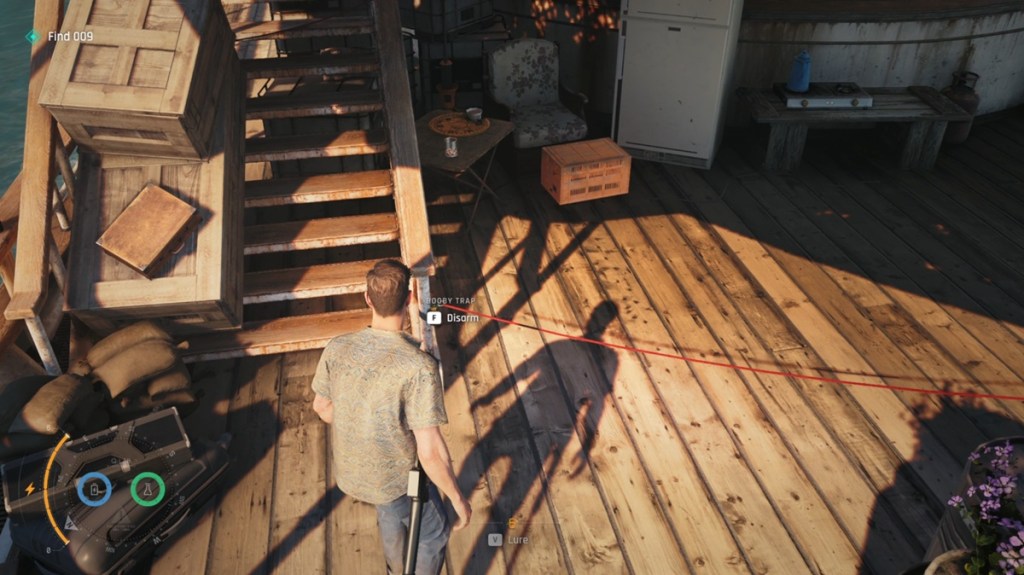
Image Credit: IO Interactive A/S (screenshot by Sanmay/ Beebom) 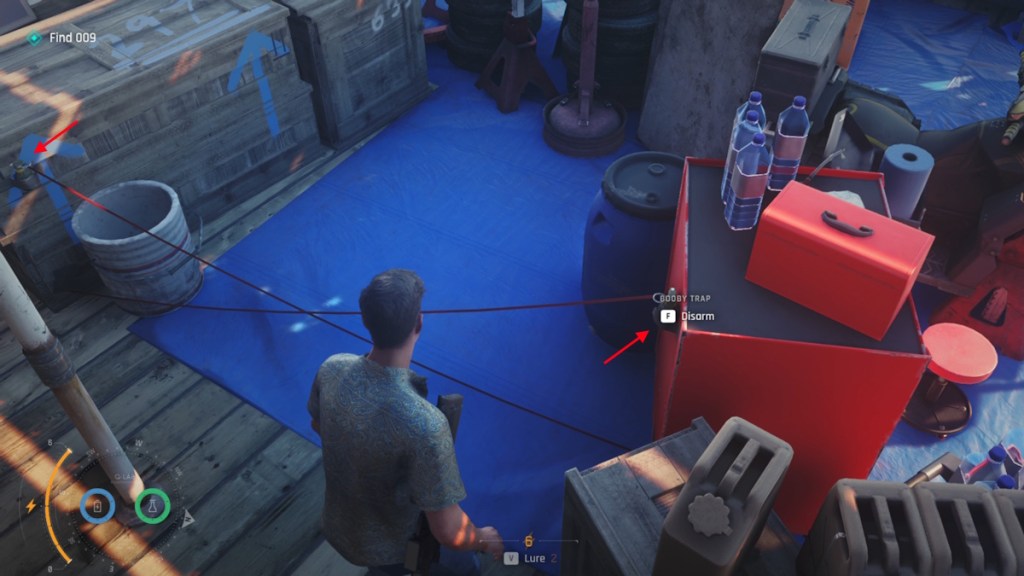
Image Credit: IO Interactive A/S (screenshot by Sanmay/ Beebom) 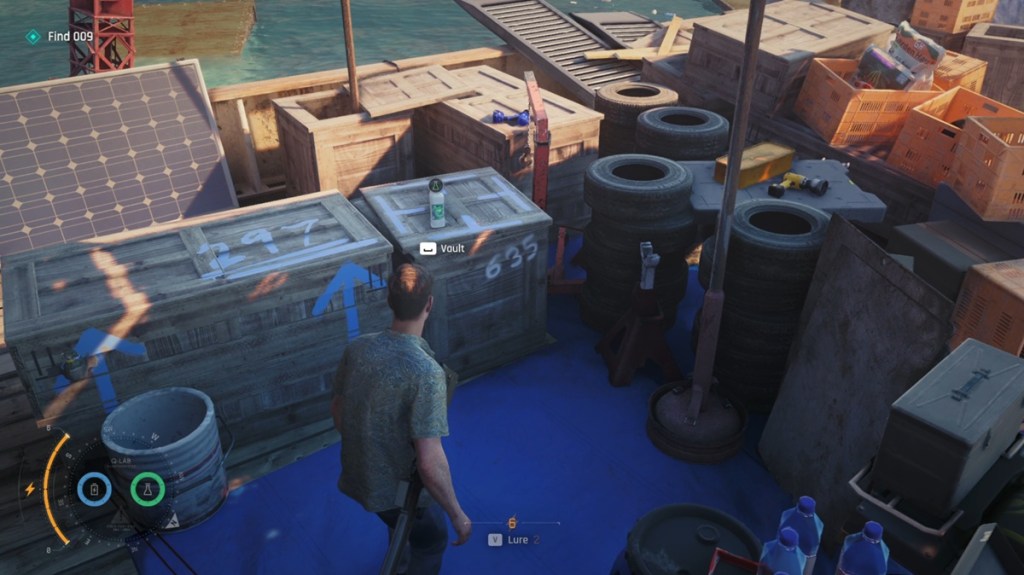
Image Credit: IO Interactive A/S (screenshot by Sanmay/ Beebom) 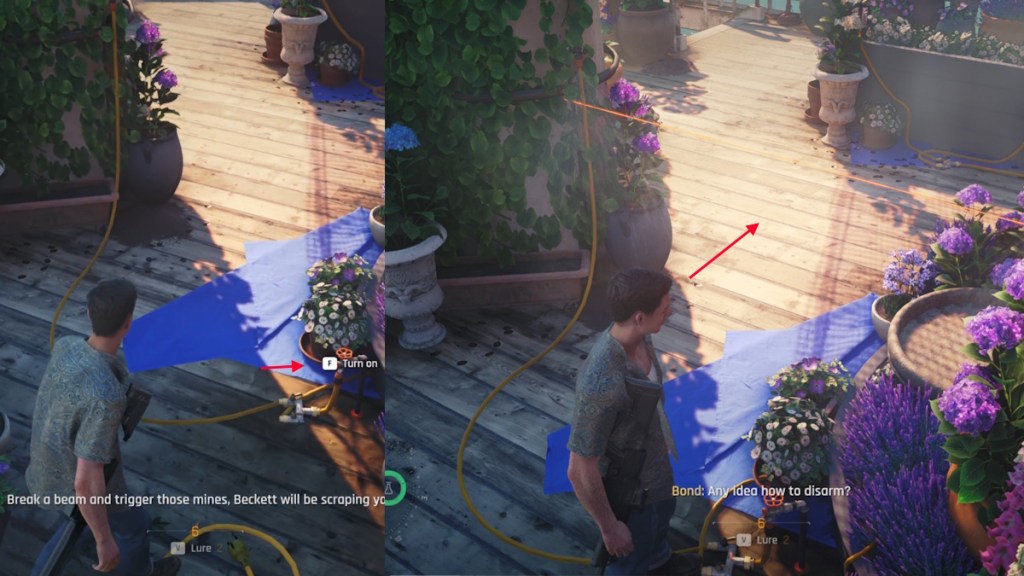
Image Credit: IO Interactive A/S (screenshot by Sanmay/ Beebom) 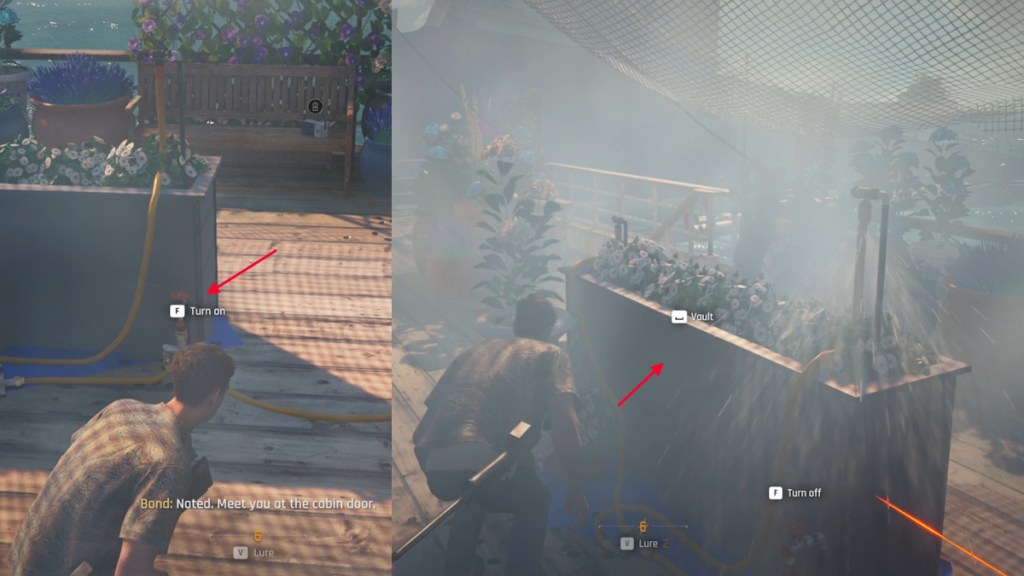
Image Credit: IO Interactive A/S (screenshot by Sanmay/ Beebom) 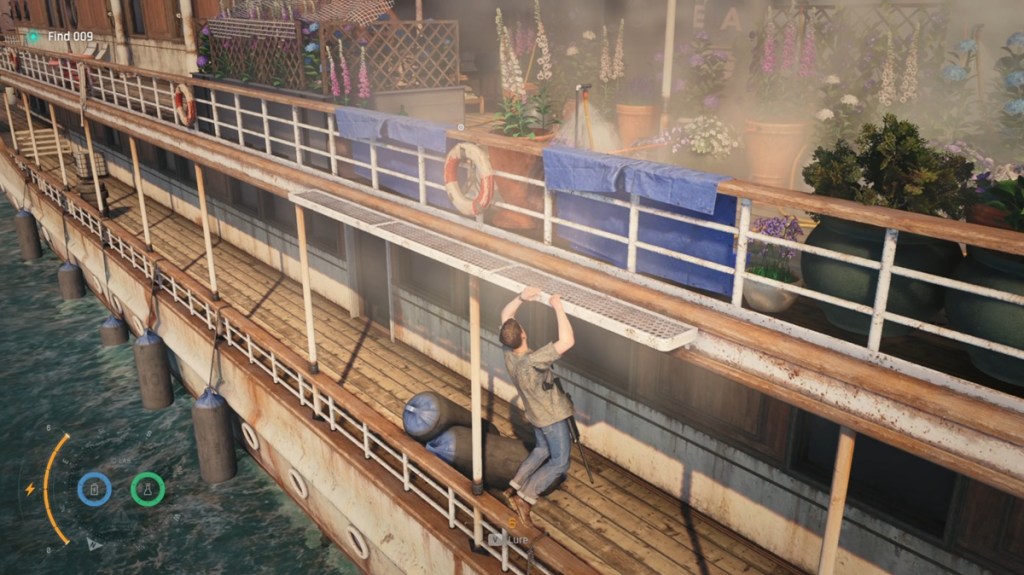
Image Credit: IO Interactive A/S (screenshot by Sanmay/ Beebom) 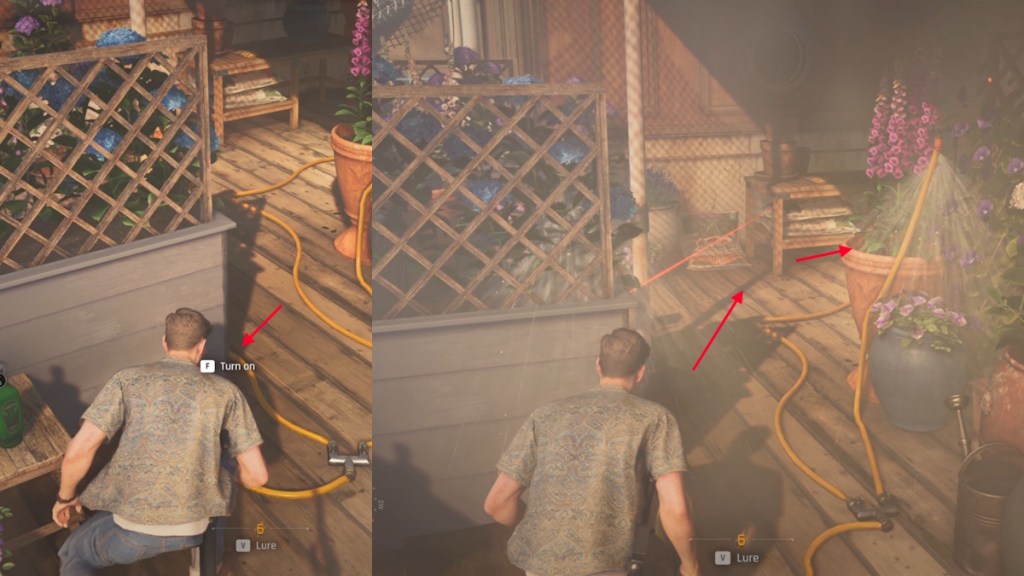
Image Credit: IO Interactive A/S (screenshot by Sanmay/ Beebom) 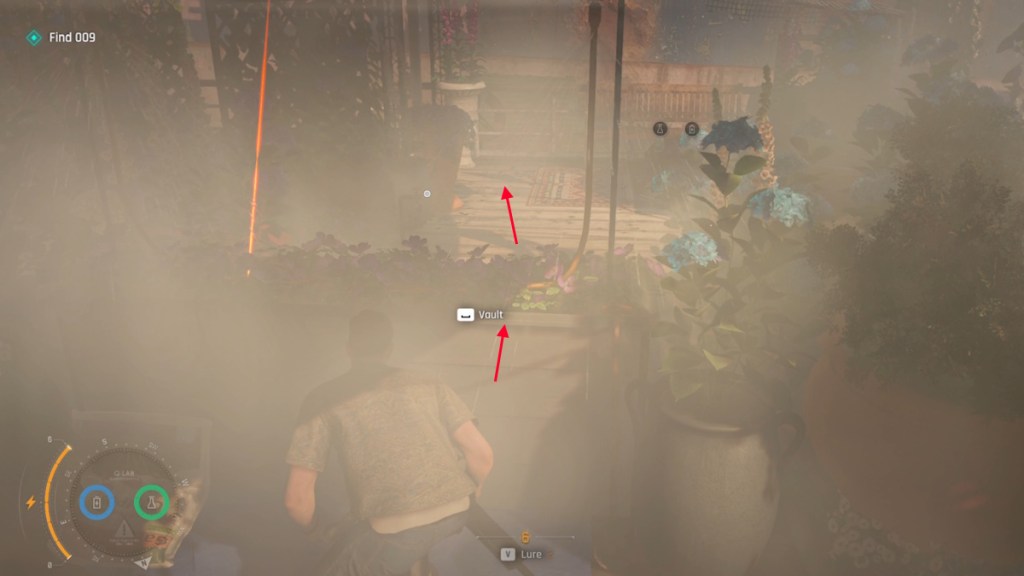
Image Credit: IO Interactive A/S (screenshot by Sanmay/ Beebom) 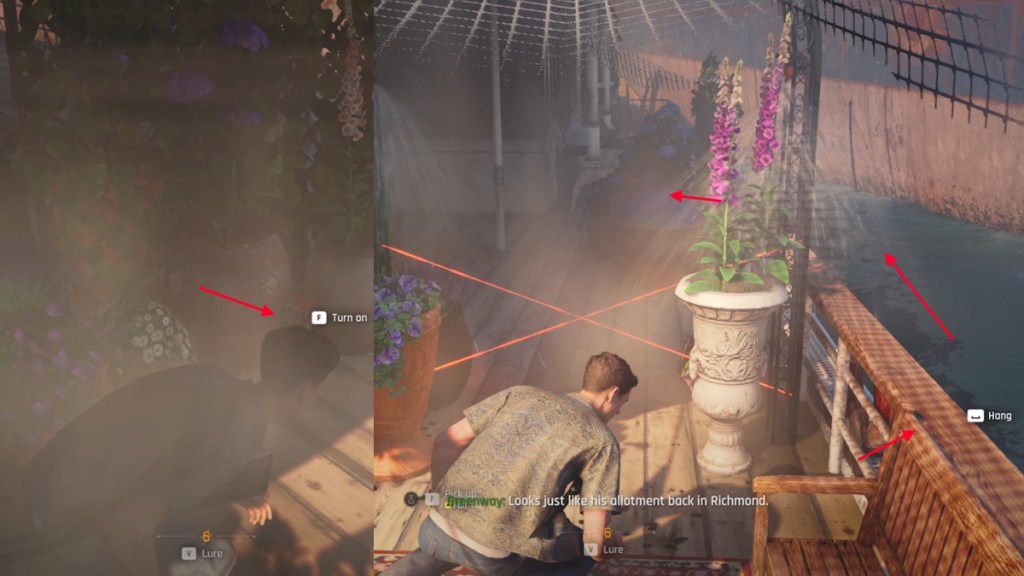
Image Credit: IO Interactive A/S (screenshot by Sanmay/ Beebom)
Part 7: Examine the Crime Scene
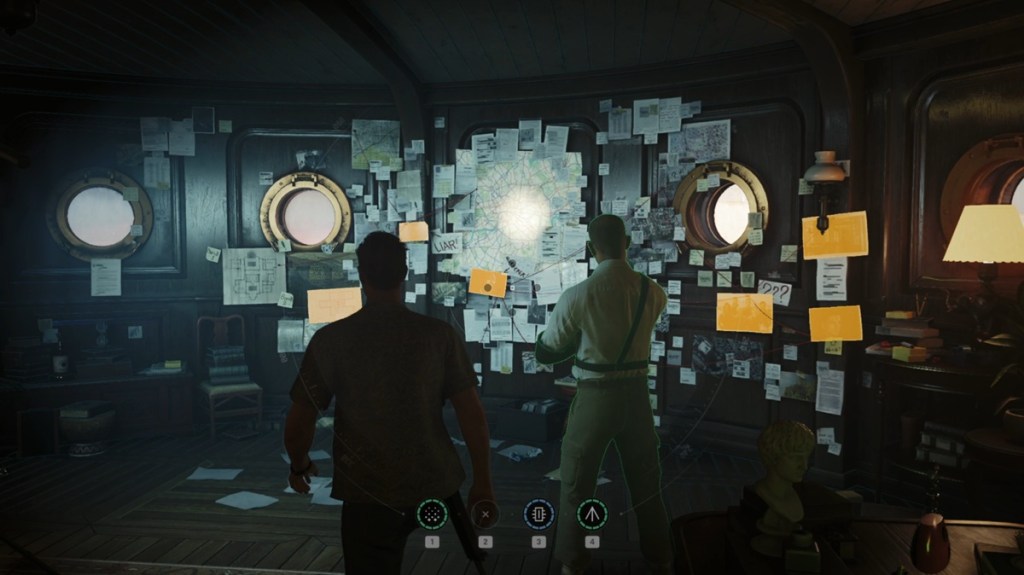
Now, enter 009’s room to find him dead inside. Greenway will ask you to investigate the room. Here is everything you can find:
- Diamonds: Placed on the table next to the body.
- 009: Check the body.
- Bomb materials: Found next to the telescope.
- Newspapers: Found on the kitchen table.
- Photo of Greenway: Found on the left desk in the last room.
- Eyes gouged out photo of Greenway: On the wall.
- M’s Photo: On the wall.
- MI6 Blueprints: On the wall.
- Photo of Recruits: On the wall.
- Frame marks: On the wall.
- Photo of Bond: On the wall.
- MI6 Apartment photo: On the wall.
- Greenway and 009’s Photo: Near Greenway’s feet.
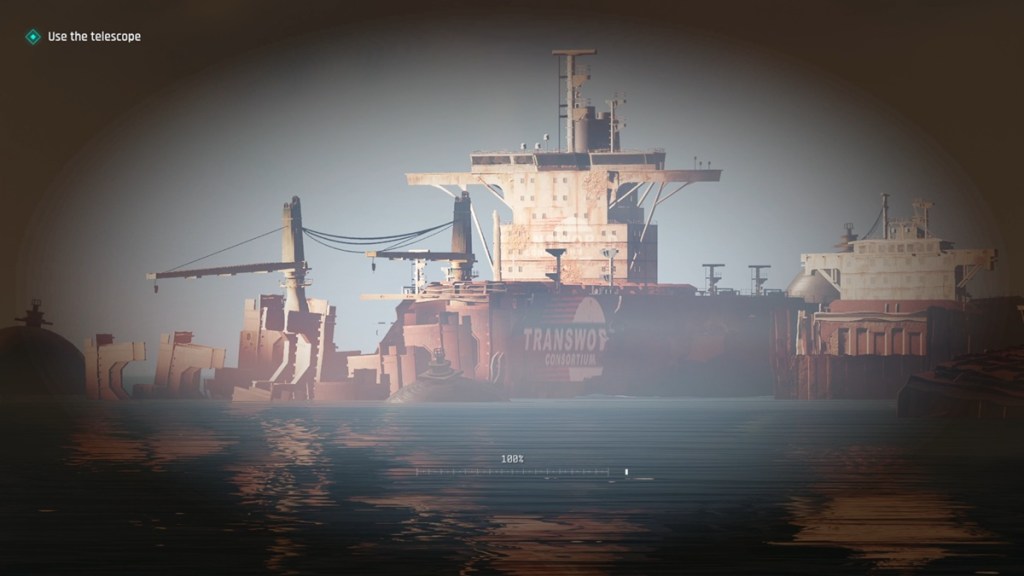
Flip the final photo to see the Transworld logo behind it. Now use the Telescope in the other room to find the Transworld Ship in the ocean. While trying to leave the ship, Bond and Greenway will be captured.
Part 8: Wake Greenway
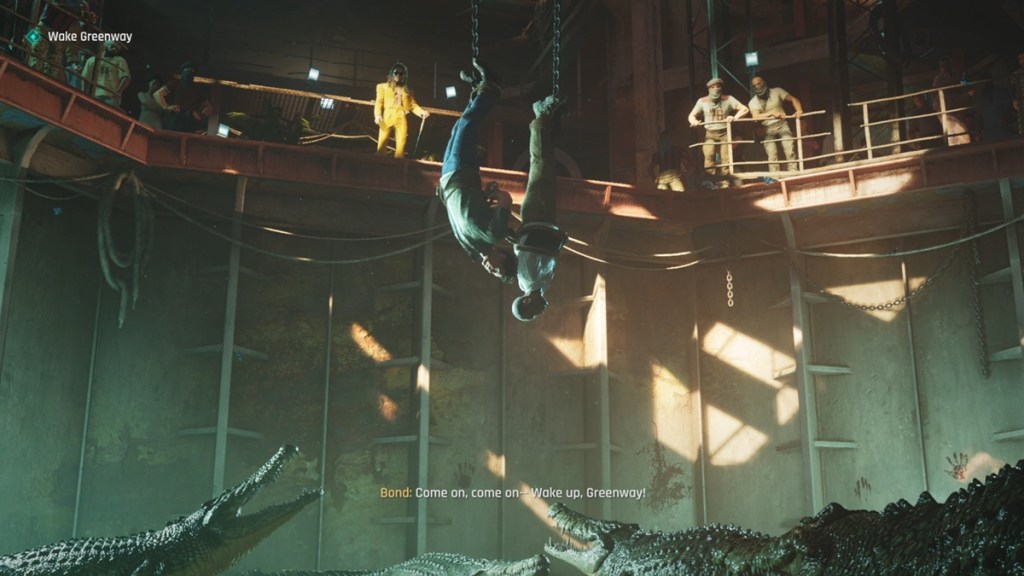
Now, both Bond and Greenway will be held captive by Bawma. Here, you will have to wake Greenway, because whatever you try to negotiate won’t be listened to by Bawma. So, keep trying to wake Greenway, and at the end swing left and right to hit Greenway’s body to wake him up.
Part 9: Lower the Bridge
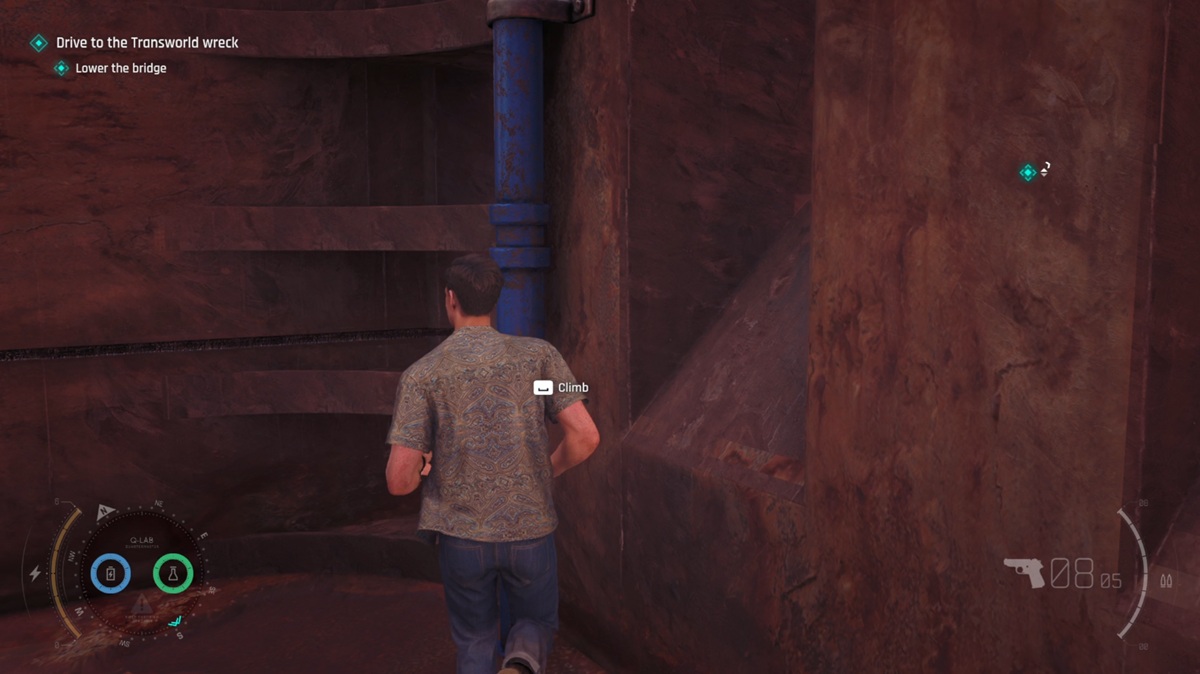
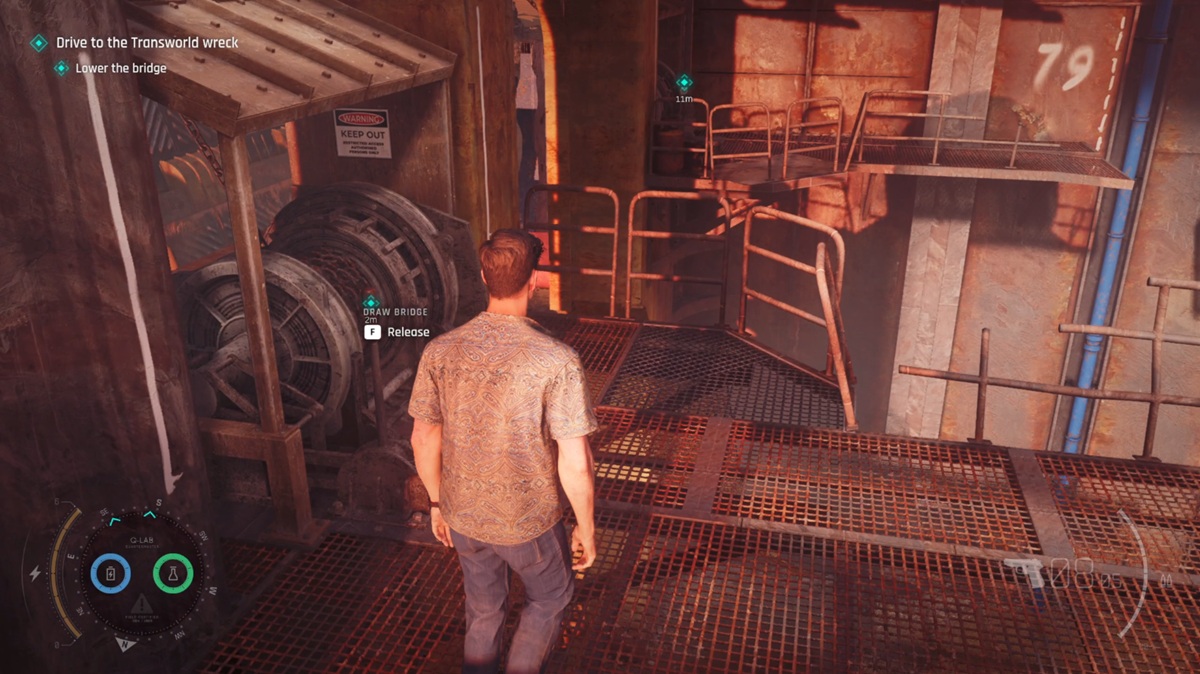
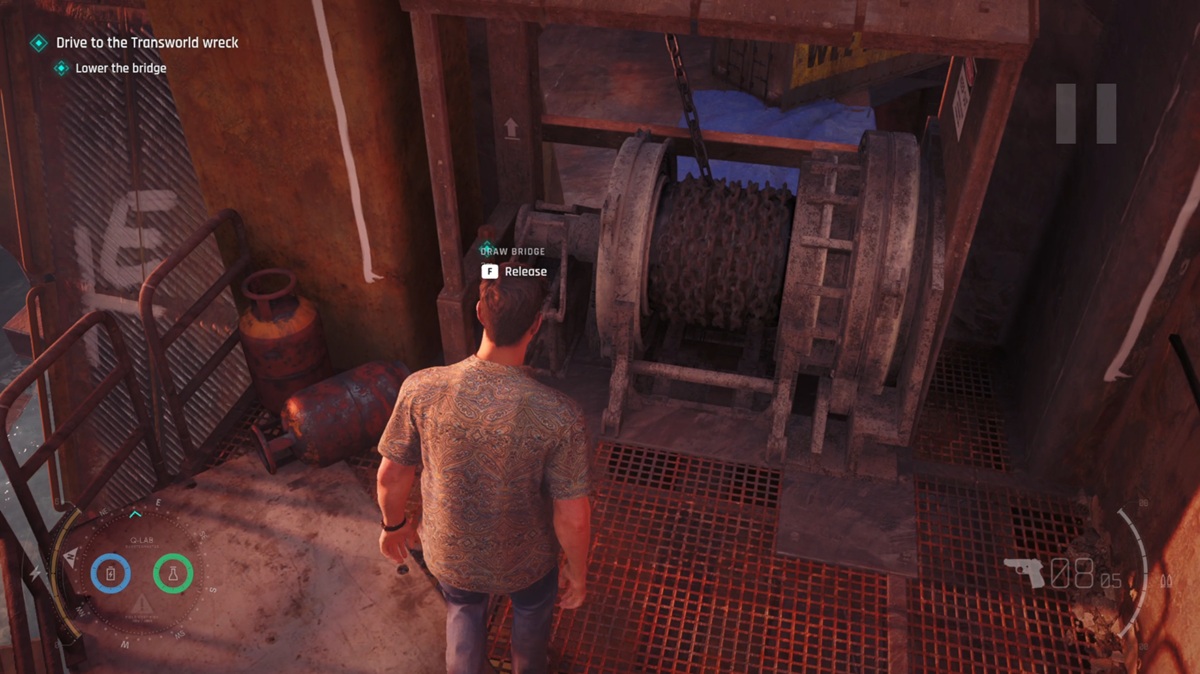
After Greenway is awake, he will negotiate with Bawma, and both of you will be freed. Take the car and head to the ship you saw earlier. After you reach the location, you will find the bridge pulled up. Use the metal pipes to climb up and lower the bridge.
Part 10: Explore the Shipwreck
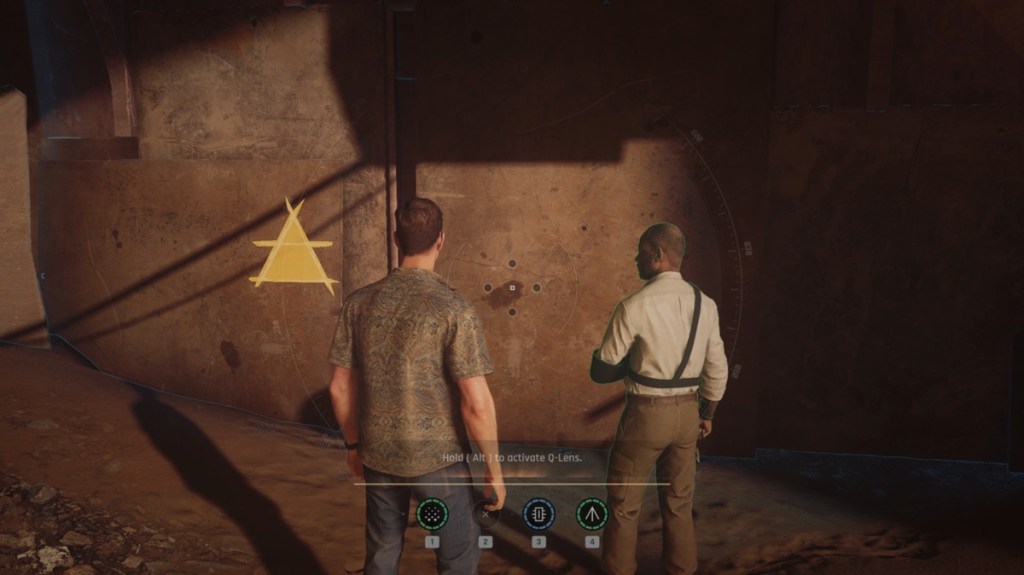
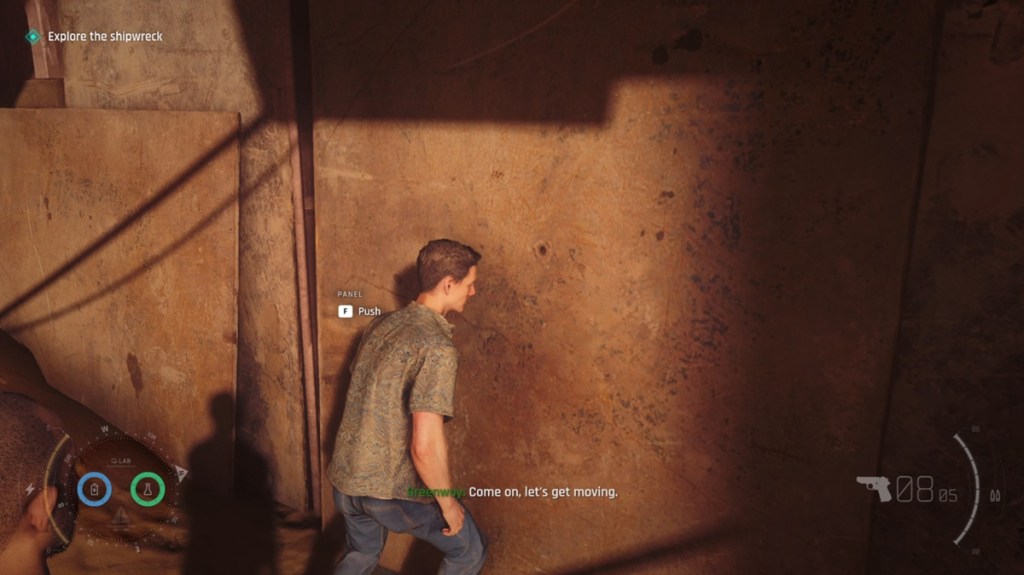
In the next area, you will find a blocked wall. Use your Q-Lens to find a symbol on the wall. This means that the wall is actually false, and you can push through it. Get close to the left side of the wall, and push it.
Part 11: Follow the Clues
Continue inside and jump to the other side of the bridge. Open the door on the other side and go through it. Inside, kick the left wall to break it and make a new path. Hang on the walls and make your way up to the next platform. At the top, a path will suddenly break before you. Jump to the lower platform from there. Jump to the lower floor on the other side and use the Improvised Lift to go up. Now, use the zipline to go to the other side.
Open the door again and go to the next room. Hang on the right side and go past the traps blocking your way. Now, use the blue pipe before the bridge to get to the top, and lower the bridge for Greenway to cross. With Greenway’s help, force open the door with the large beam blocking it.
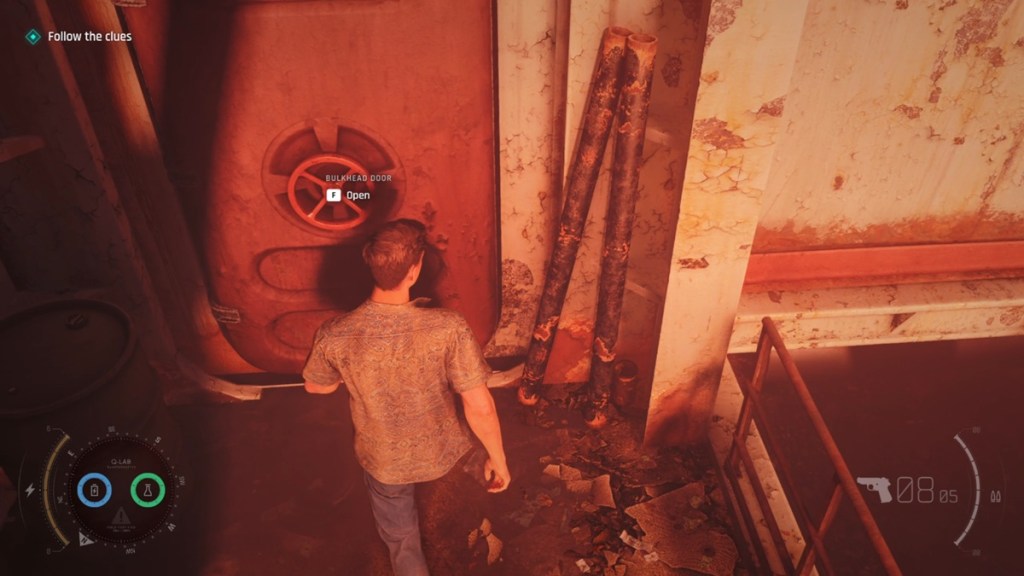
Image Credit: IO Interactive A/S (screenshot by Sanmay/ Beebom) 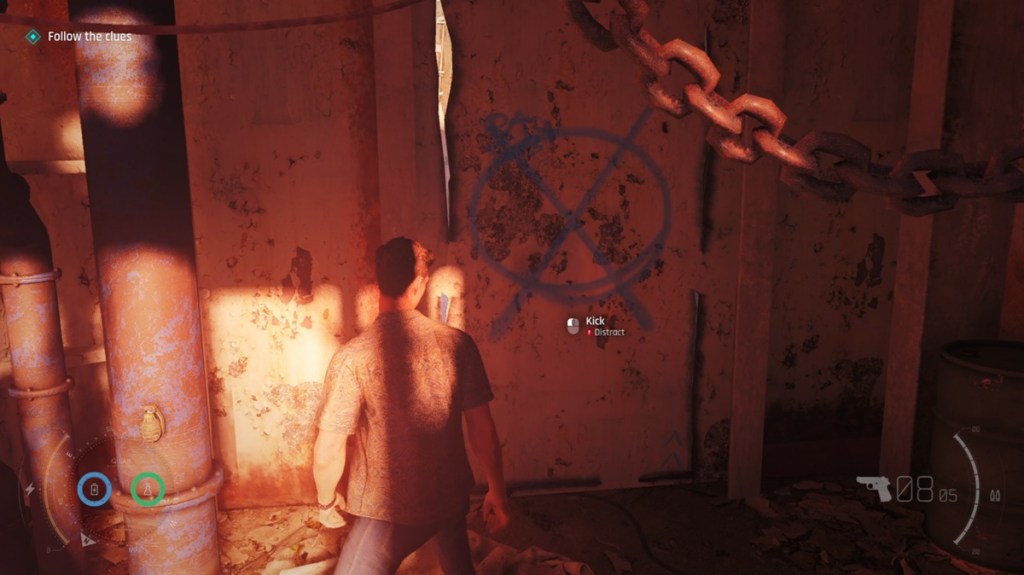
Image Credit: IO Interactive A/S (screenshot by Sanmay/ Beebom) 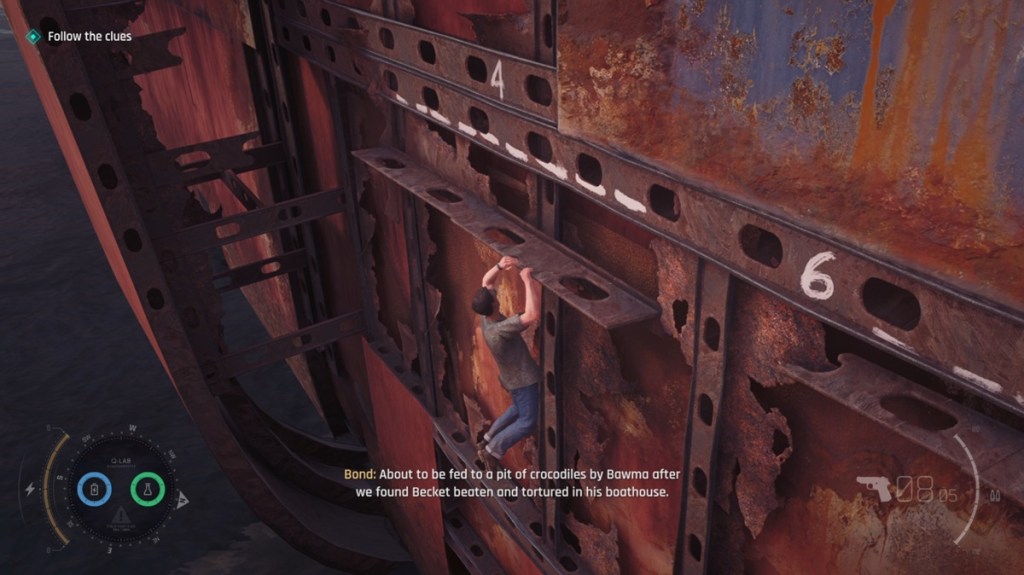
Image Credit: IO Interactive A/S (screenshot by Sanmay/ Beebom) 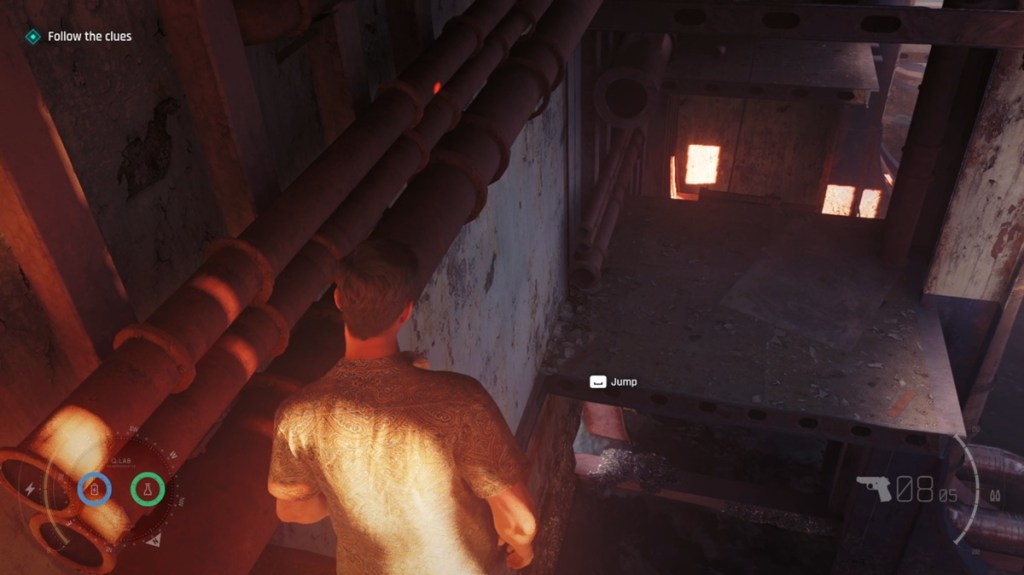
Image Credit: IO Interactive A/S (screenshot by Sanmay/ Beebom) 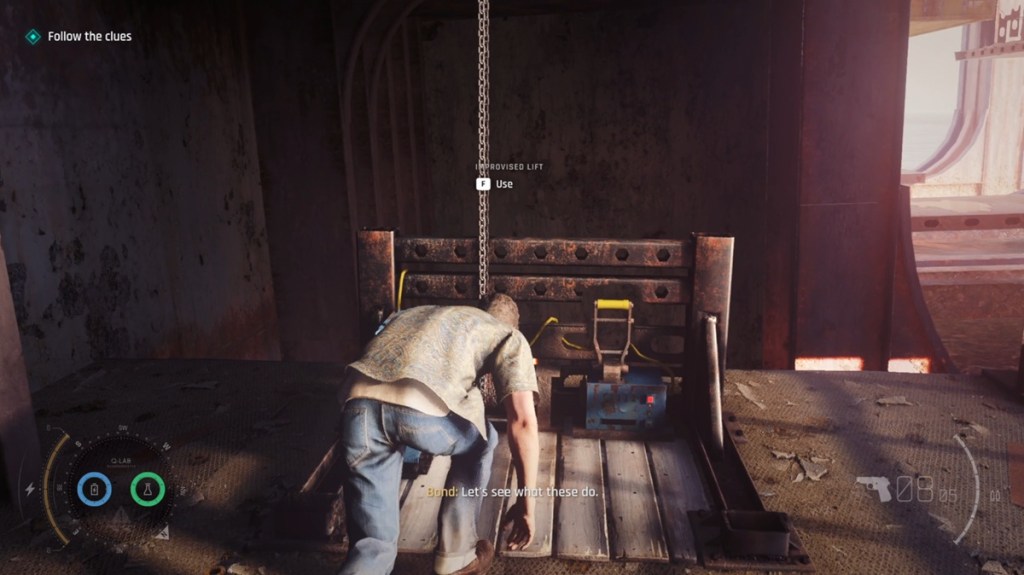
Image Credit: IO Interactive A/S (screenshot by Sanmay/ Beebom) 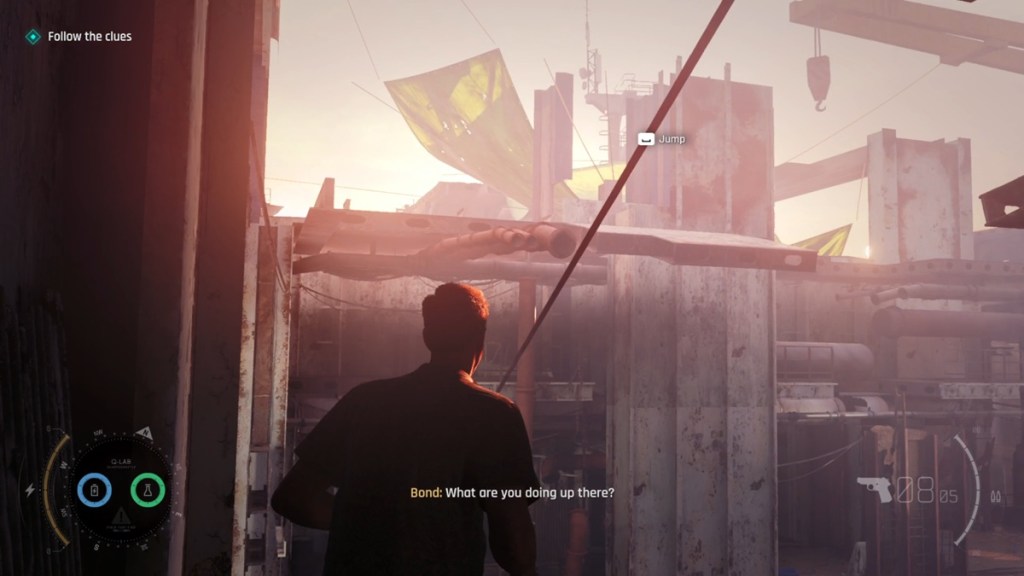
Image Credit: IO Interactive A/S (screenshot by Sanmay/ Beebom) 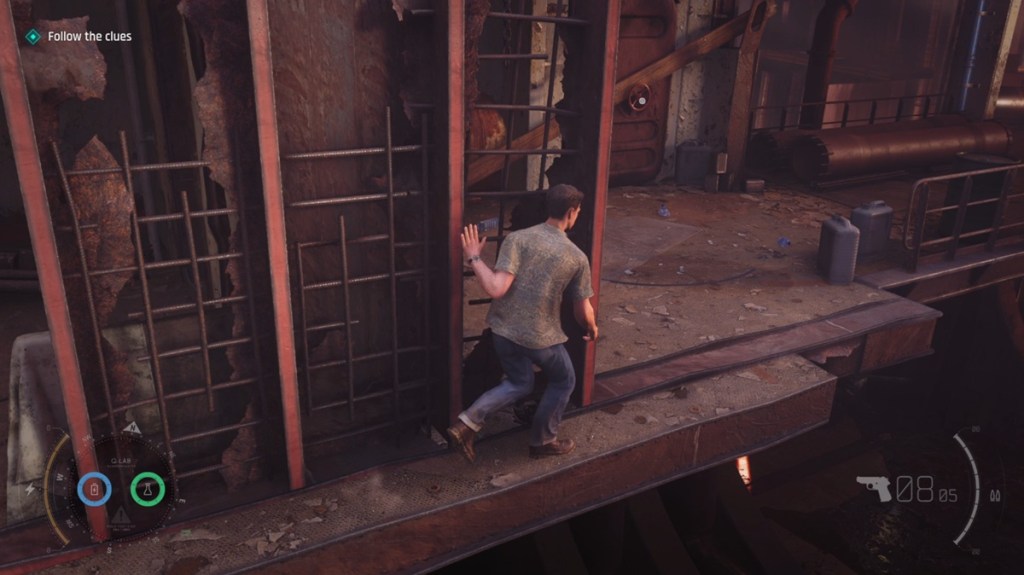
Image Credit: IO Interactive A/S (screenshot by Sanmay/ Beebom) 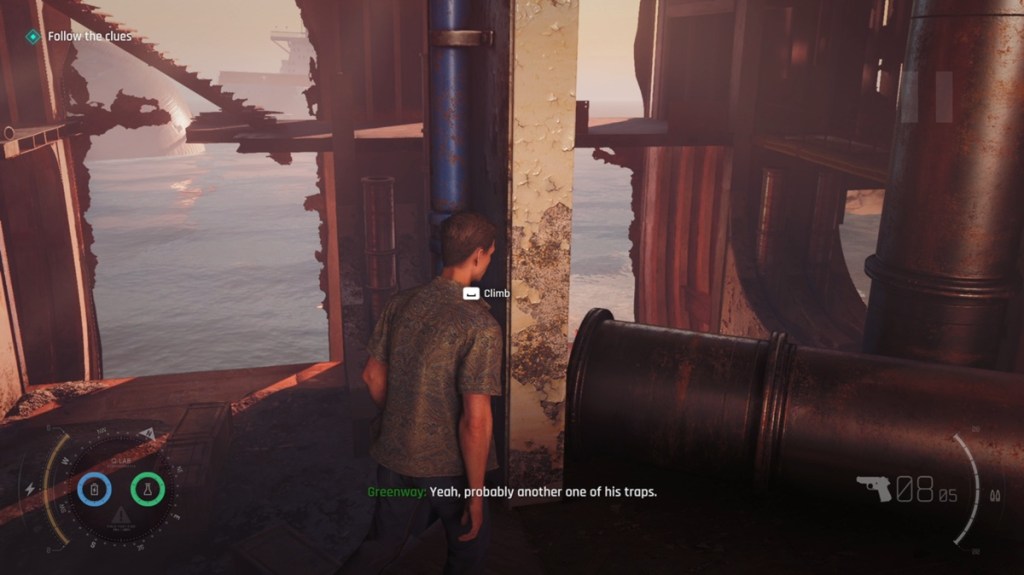
Image Credit: IO Interactive A/S (screenshot by Sanmay/ Beebom) 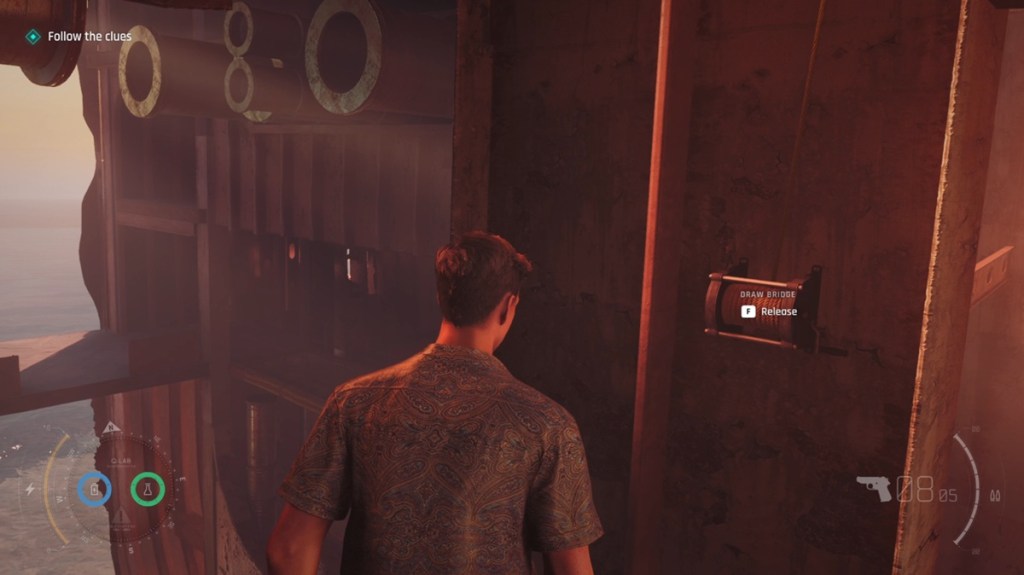
Image Credit: IO Interactive A/S (screenshot by Sanmay/ Beebom) 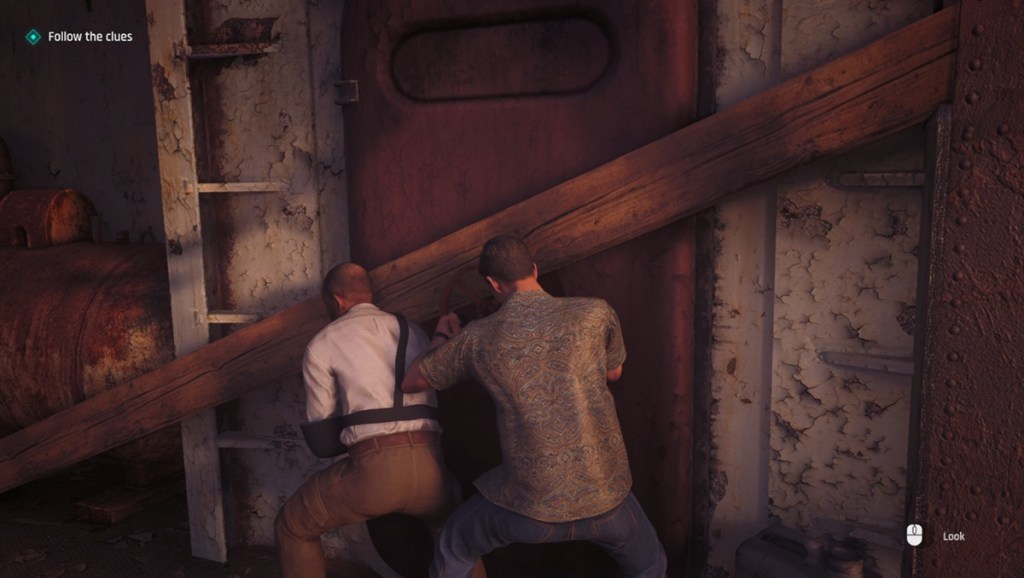
Image Credit: IO Interactive A/S (screenshot by Sanmay/ Beebom)
Part 12: Search 009’s Stash
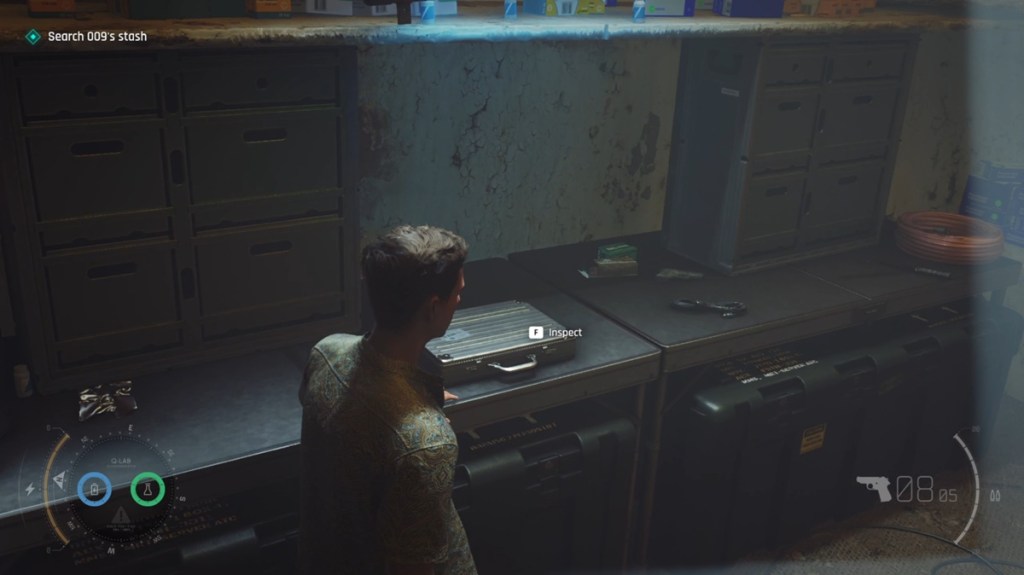
Here you will find 009’s stash, and you will have to investigate for the following items:
- Body Armor: On the cupboard on the left side.
- Equipment: Go past the Body Armor to find it on the left.
- Ammo and Explosives: Opposite to the Equipment.
- Supplies: On the cupboard at the end of the room.
- Weapons: At the right of the Supplies.
- Night Vision Goggles: On the left of the Weapon location.
- Briefcase: Next to the Goggles and the final item in the stash.
Part 13: Escape
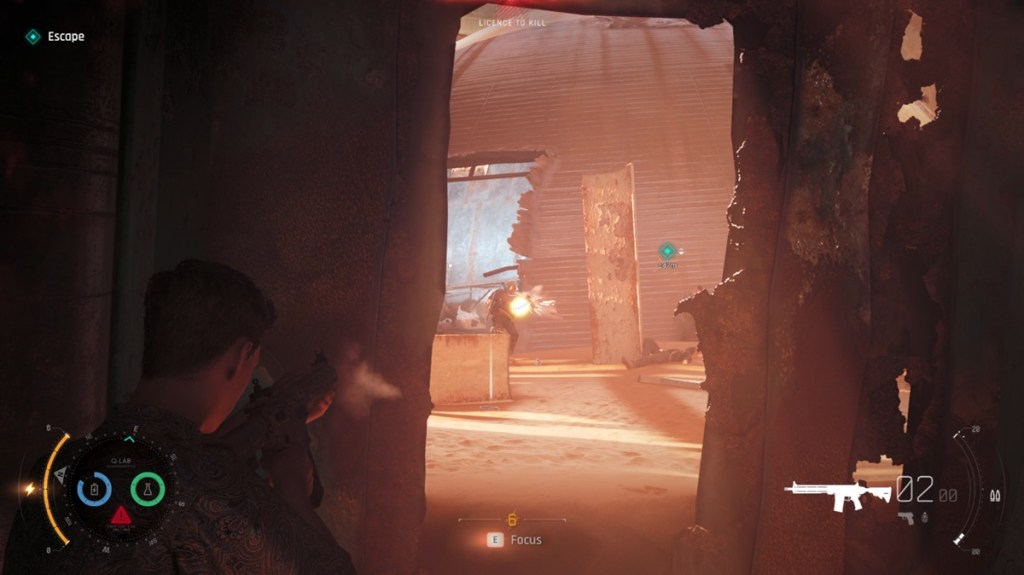
Enemies will appear in front of you, and you will have to use guns to go past them. Shoot all the enemies and make your way forward to the end. There will be a lot of enemies, so use proper cover to defeat them all. Use the Q-Watch to hack into any grenades they throw at you.
Part 14: Protect Greenway
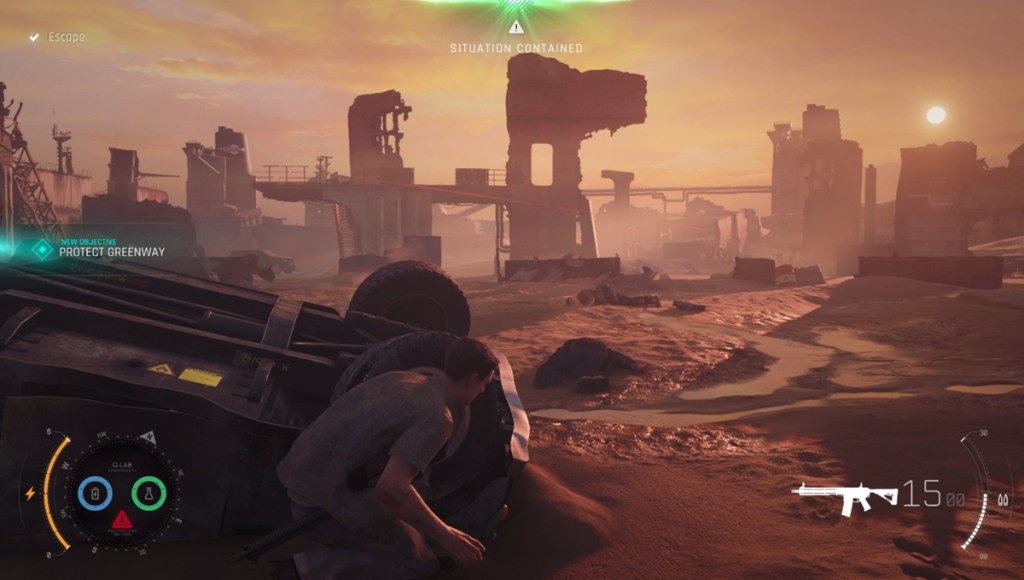
Finally, you and Greenway will be stranded with very little cover and ammo, while enemies push at you. Use the limited ammo you have to kill as many enemies as you can. Once your ammo ends, a cutscene will start, and the mission will be finished.
So, that’s the full 007 First Light ‘The Past Never Dies’ mission walkthrough. Have any questions? Ask us in the comments section below.






 Bipradeep Biswas