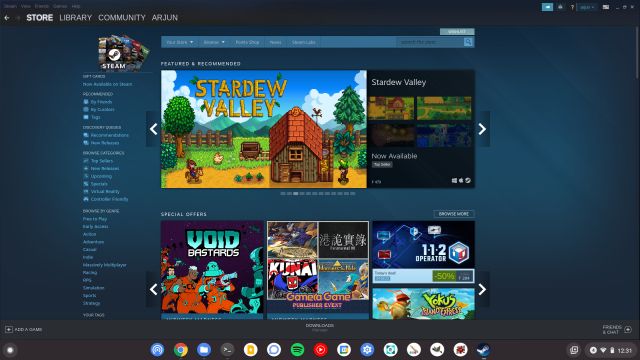
Of late, software giants are incorporating Linux into their main operating system in one way or the other. Microsoft added WSLg on Windows 10 with GUI app support whereas Google introduced Linux on Chromebooks in 2018 and nicknamed it Project Crostini. So far, Chrome OS has received support for GPU acceleration and microphone in Linux on Chromebook, USB devices, and sound. And now Linux is out of beta on ChromeOS. On that note, let’s go ahead and learn how to run Linux on a Chromebook in 2023.
Which Chromebooks Can Run Linux?
To make it clear, all Chromebooks launched in 2019 and going forward will have support for Linux. And yes, it includes school-issued Chromebooks too. That said, school administrators can still disable Linux support from their end. If such is the case with your Chromebook then contact your school administrator to remove the restriction.
Other than that, you don’t have to move your Chromebook to Developer mode or any other channel. Linux support is already present in the stable channel. Also, you can install Linux on ARM-based Chromebooks too so no worries on this front.
Set Up Linux on a Chromebook
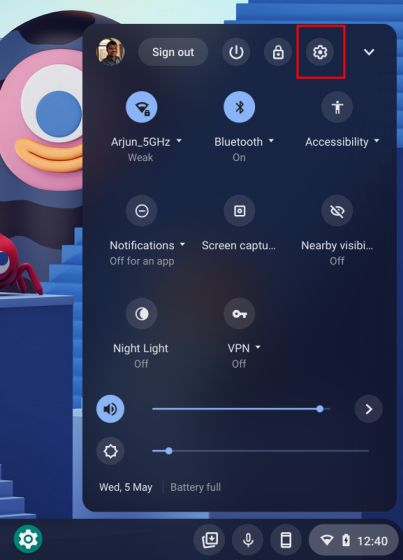
1. First off, open the Settings page by clicking on the cogwheel icon in the Quick Settings panel.
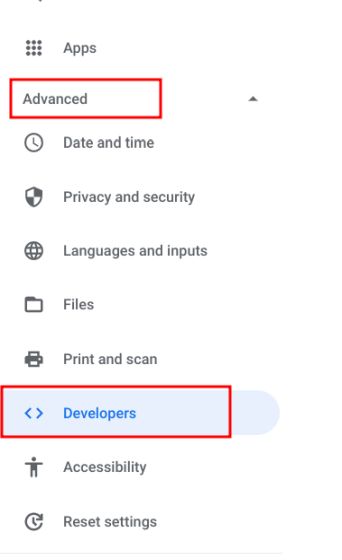
2. Next, click on “Advanced” in the left pane and expand the menu. After that, click on “Developers”. If you have a school-issued Chromebook and the “Developers” menu is not available then contact your school administrator.
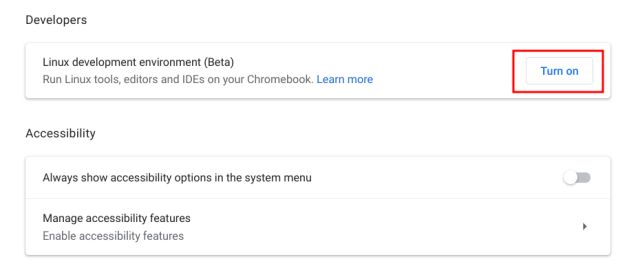
3. Once you are in the Developers menu, click on “Turn on” next to the “Linux development environment (Beta)” section.
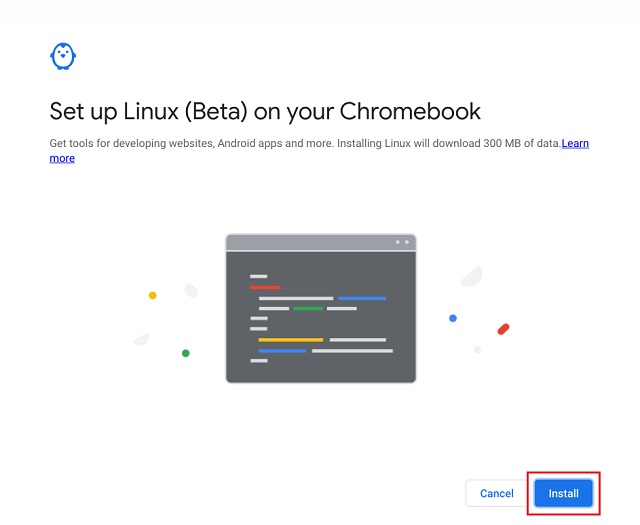
4. A setup dialog will open up. Now, click on the “Install” button and proceed ahead to run Linux on your Chromebook.
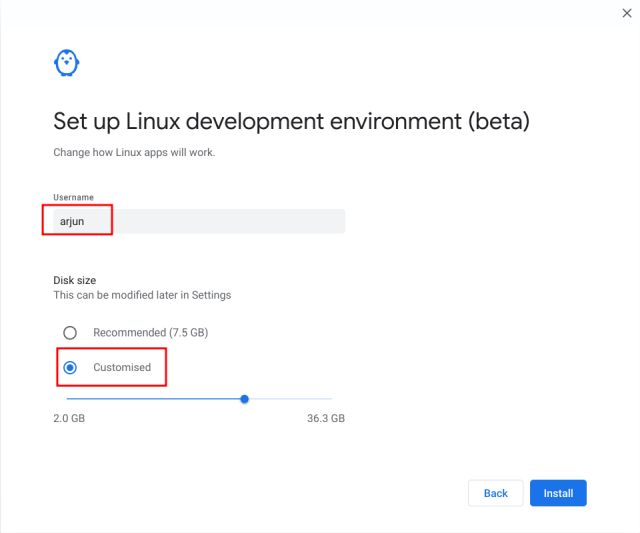
5. On the next page, enter your desired username for Linux and select “Customised” to choose how much disk space you want for Linux. I have total internal storage of 64GB so I have allotted 25GB. If you have a larger storage capacity and want to play games or develop programs on Linux, you should extend the storage even further.
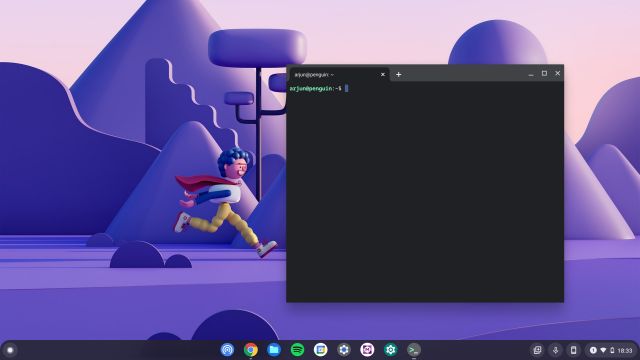
6. It will take a few minutes to install Linux on your Chromebook. After the installation is done, you can run Linux and start using the Linux Terminal on your Chromebook. You will find the Terminal app inside the launcher.
How to Install Linux Apps on a Chromebook
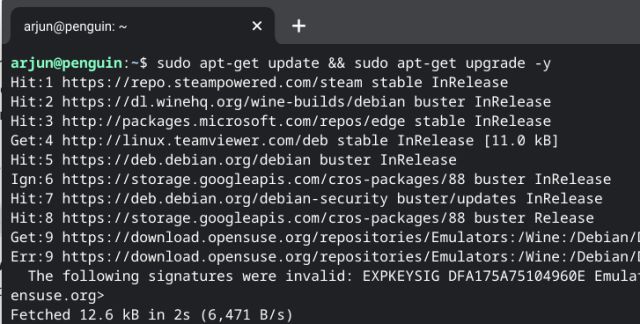
1. Before using Linux apps on a Chromebook, you should first update the Linux build to the latest version. As a good Linux practice, you should execute the below command in the Terminal as it will update all packages and dependencies. Just copy and paste the command in the Terminal window.
sudo apt update && sudo apt upgrade -y
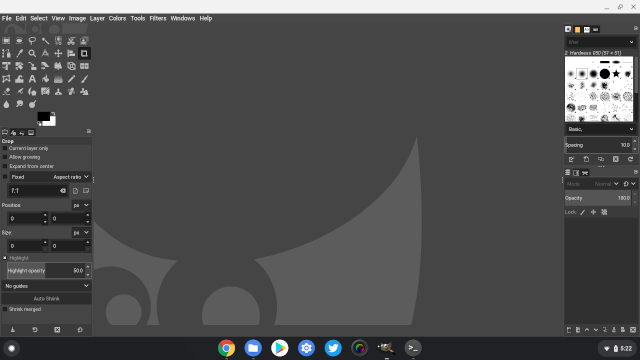
2. Once Linux is updated on your Chromebook, you can go ahead and install an app. For example, we installed the GIMP image editor on our Chromebook and the installation went through without a hitch. To find more such apps, you can follow our list of the best Linux apps for Chromebooks. We have included detailed instructions for installation. Post-installation, you will find Linux apps inside the launcher.
Share Files Between Chrome OS and Linux
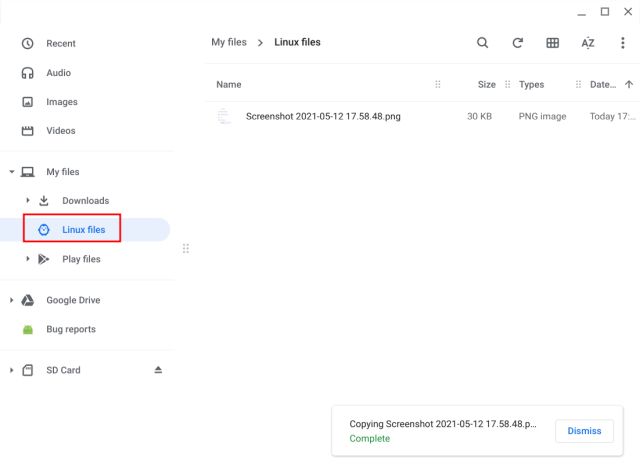
1. Now that you have successfully run Linux on your Chromebook, you must know that Chrome OS and Linux have different file systems. So to access the local folders and files on Linux apps, you will have to move the files from Downloads to the “Linux files” section.
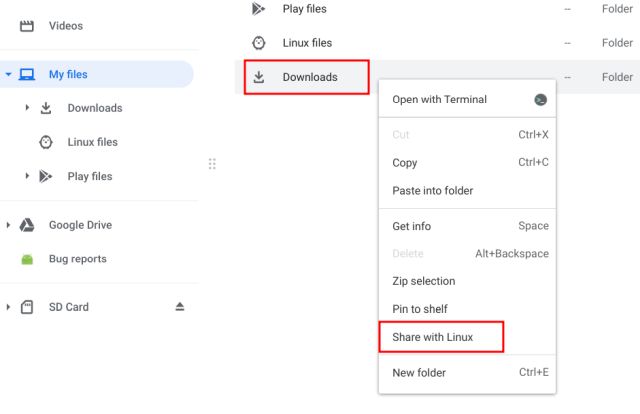
2. In case, you don’t want to move the files to the Linux section all the time then right-click on “Downloads” and click on “Share with Linux”. Now, all files and folders under “Downloads” will be available to Linux apps.
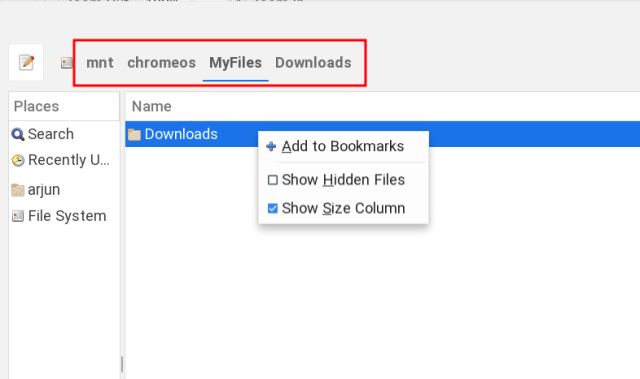
3. You can access Downloads from the below path directory. You can right-click on “Downloads” to add to the bookmark section. From now onwards, within Linux apps, you don’t have to manually navigate to the Downloads folder.
mnt/chromeos/MyFiles/Downloads
4. You can also set up Wine to run Windows 10 apps on your Chromebook.
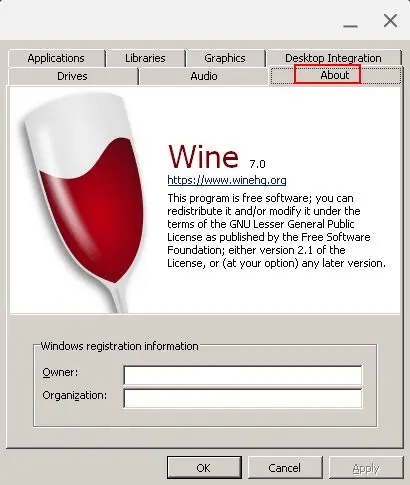
5. In addition, you can install Steam on your Chromebook, play Minecraft in Chrome OS, and do a lot more, all thanks to Linux support on Chrome OS.
