In case you are unaware, OpenAI has finally opened access to Code Interpreter for all ChatGPT Plus users. It is one of the most powerful feature additions to ChatGPT, and it allows you to perform a multitude of tasks. Similar to ChatGPT Plugins, Code Interpreter expands the utility of ChatGPT and allows it to interact with local files in various file formats. So if you are interested, follow our tutorial and learn how to enable and use Code Interpreter in ChatGPT.
How to Enable Code Interpreter in ChatGPT
1. First of all, open ChatGPT (visit) and log in to your account. Now, click on “Upgrade to Plus” in the bottom-left corner if you have not subscribed to the paid plan.

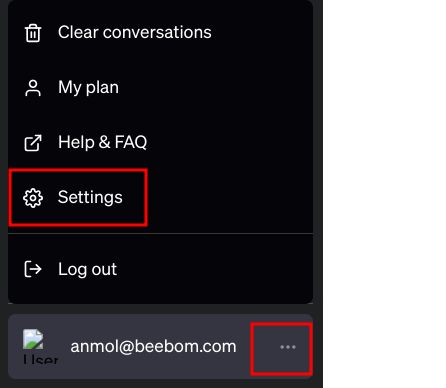
2. After moving to ChatGPT Plus, open “Settings” from the bottom-left corner again.

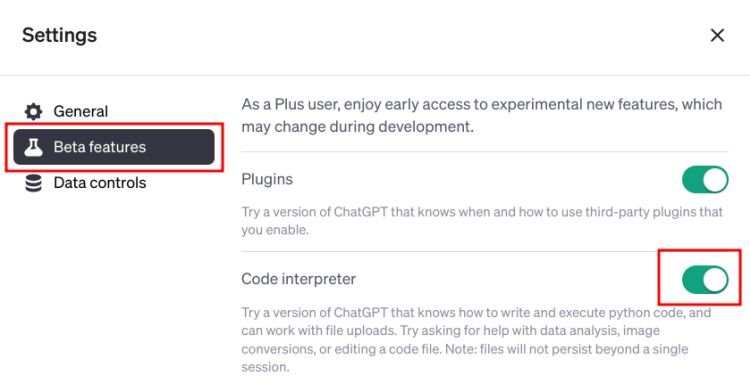
3. Move to “Beta features” and enable the “Code interpreter” toggle.
Note: If Code interpreter does not appear here, you need to wait for the feature to go live for your account. It is a phased rollout and the feature should be live for you soon.

How to Use Code Interpreter in ChatGPT
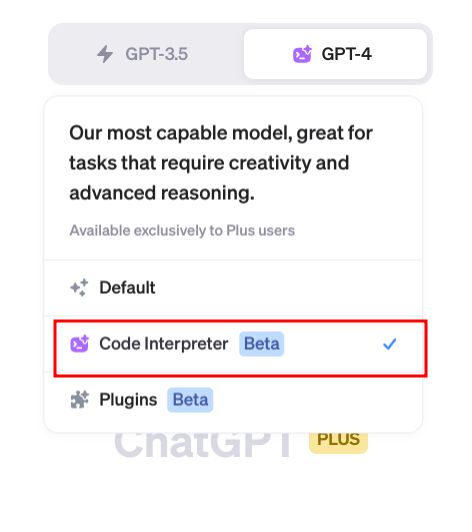
1. Once you have enabled Code Interpreter in ChatGPT, choose the “GPT-4” model.

2. Next, from the drop-down menu, choose “Code Interpreter“.

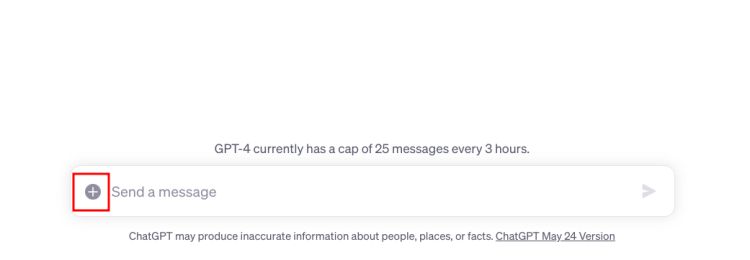
3. And there you have it! The upload button (“+” icon) will appear in the text box.

4. You can now upload a file and perform data analysis, visualization, or any other task you want using Code Interpreter in ChatGPT. To demonstrate its ability, I used it to create a searchable PDF from an image-based PDF. As you can see, it used the Tesseract library from Python.
5. In another example, I asked Code Interpreter to convert an audio file to AAC and it worked. It first used the “pydub” library and then moved to “ffmpeg” after getting an error.
6. Finally, I uploaded a CSV file containing the employment record of a company and asked Code Interpreter to visualize the data with key insights. And it worked pretty well.


