
There are plenty of reasons why you’d want to set up a Minecraft server on your Linux machine. Perhaps you want to play local multiplayer later in the day because your friends are coming over, or maybe you like to have full control of the game. Either way, setting up a Minecraft server on Linux is a piece of cake, and we’ll show you how to do the same.
Prerequisites to Set up a Minecraft Server on Linux
Here are the prerequisites for setting up a Minecraft server on Linux:
- A Linux system, of course
- Java 17 and above
- Minecraft Server Java file (JAR)
Note: We’re running the Minecraft server locally in this guide, and it might impact the performance of your machine. Closing the terminal will kill the server, hence we recommend minimizing it as soon as you run it or open another instance if you want to do something else.
Set up a Minecraft Server on Your Linux System
Step 1: Install Java in Your Linux Distro
Minecraft is made in Java and so is the server file. Hence, you will first need to install the latest Java version to actually be able to run the server. Minecraft currently only supports Java 17 or above. Hence, we’ll be installing the latest version of the same. For starters, Java is an extremely popular programming language that’s used to develop applications. Installing Java on Linux using a terminal is straightforward.
You can install the latest Java version from its official website. Then all you need to do is enter a few commands and Java will be usable on your Linux system. The DEB and RPM installers are available for the most popular Linux distros, including Ubuntu/Debian-based distros and Fedora/CentOS. However, if you’re running Arch, Java can still be installed using Pacman.
With all of that out of the way, let’s learn how to install Java to power our Minecraft server on Linux:
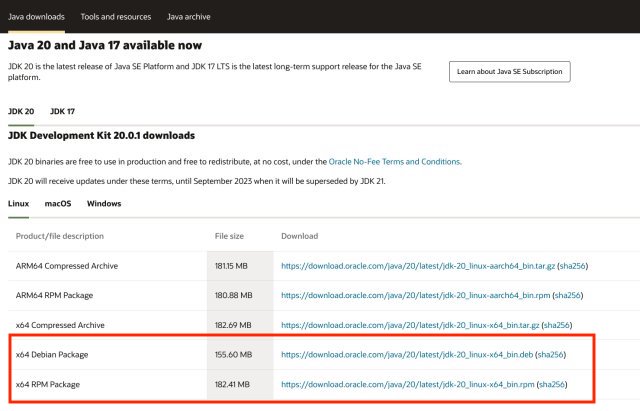
1. Head over to the official Oracle website and download the Java Development Kit (JDK) available in .deb or .rpm packages.

2. Once downloaded, double-click on the package and install it using your distro’s default package installer.


3. Once installed, open the terminal and type the following command to ensure JDK is packaged and ready to be installed.
ls /usr/lib/jvm

4. Next, type the following command to install Java on your Linux system.
sudo update-alternatives --install /usr/bin/java java /usr/lib/jvm/jdk-20/bin/java 15. Once done, type the following command to check if Java has been successfully installed. You will get the Java version installed on your system in the output.
java -version

Step 2: Download Minecraft Server Jar File
Now that we have Java up and running, the next step involves downloading the Minecraft Server Java file and running it on your Linux PC. To do so, follow these instructions:
1. Head over the Minecraft’s official website and download the Minecraft Server.jar file (Download).


Step 3: Run the Minecraft Server File (First Time)
2. Once done, change the directory into the folder containing the jar file using the cd command. For example, if you have saved the jar file on the desktop, execute the following command:
cd Desktop

3. Next, copy and paste the following command and hit enter.
java -Xmx1024M -Xms1024M -jar server.jar noguiIf you’re confused about what this command means, we have explained it below:
- Xmx: Heap size. 1024M means one gigabyte. You can change this value depending on the number of players.
- Xms: Initial, minimum Java heap size. Again, this can be changed depending on the number of players.
- -jar: We’re letting Java know that a jar file needs to be executed.
- server.jar: Your Minecraft server file for Linux.
- nogui: Executing the command without this argument gives you a GUI to see the memory usage. This is optional.
4. Scroll all the way down to the output and you should see the command prompting you to accept the Eula (End user license agreement). For that, go to the location where your sever.jar file exists and find the eula.txt file.


5. Open it with any text editor and change “eula=false” to “eula=true,“ save it, and exit.


Step 4: Start and Use Your Minecraft Server
6. Once done, run the command mentioned in the third step again, and it should fire things up. Here’s the command you need to paste into the Linux Terminal to run the Minecraft server:
java -Xmx1024M -Xms1024M -jar server.jar nogui

4. That’s pretty much it. Now you can launch Minecraft and join your new server alongside your friends.


And that’s how you can set up your own Minecraft server on Linux and play with friends. Were you successful in creating a Minecraft server by following the instructions above? If you have any doubts, let us know in the comments section below.

