- To screenshot on a Chromebook, press Ctrl +
Show Windows key. This key is placed above the numerical '5' key.
- In order to take a partial screenshot on your Chromebook, press Ctrl + Shift +
- You can also open the Quick Settings panel and open Screen Capture to take a screenshot on ChromeOS.
If you recently bought a Chromebook and want to take a screenshot, there are many ways to do it. Like Windows, ChromeOS comes with a built-in screenshot tool that can both take screenshots and even record your screen. There are also keyboard shortcuts to screenshot on Acer, HP, and Lenovo Chromebook. So if you’re wondering how to screenshot on your Chromebook, follow our detailed tutorial below.
Method 1: How to Screenshot on Chromebooks Using Keyboard Shortcuts
The quickest way to take a screenshot on a Chromebook is by using ChromeOS keyboard shortcuts. There are multiple ways to do it, so let’s go through all of them.
| Chromebook Screenshots | Keyboard Shortcuts |
|---|---|
| Full-screen screenshot | Ctrl + |
| Partial screenshot | Ctrl + Shift + |
| Active window screenshot | Ctrl + Alt + |
- Full-screen Screenshot: Ctrl +
The easiest way to take a screenshot on Chromebook is by simultaneously pressing the Ctrl + Show Windows key. The Show Windows key is present above the numerical “5” key.
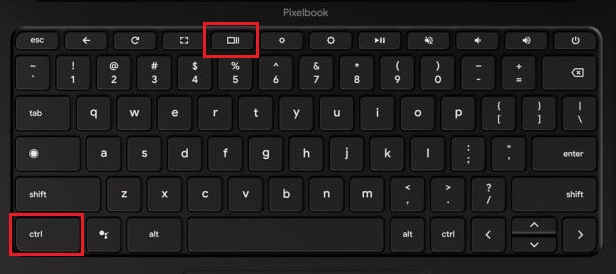
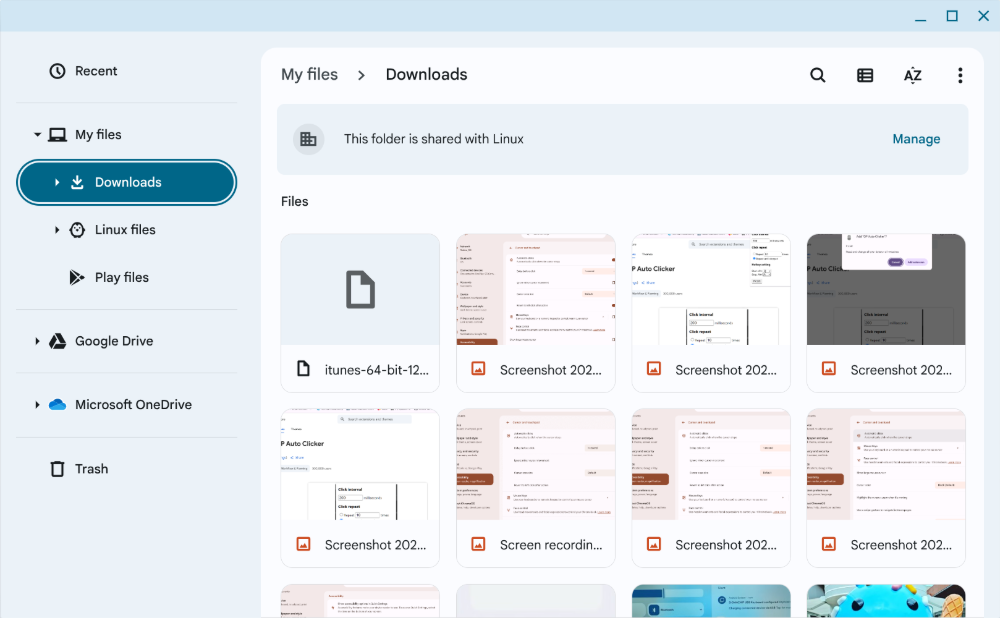
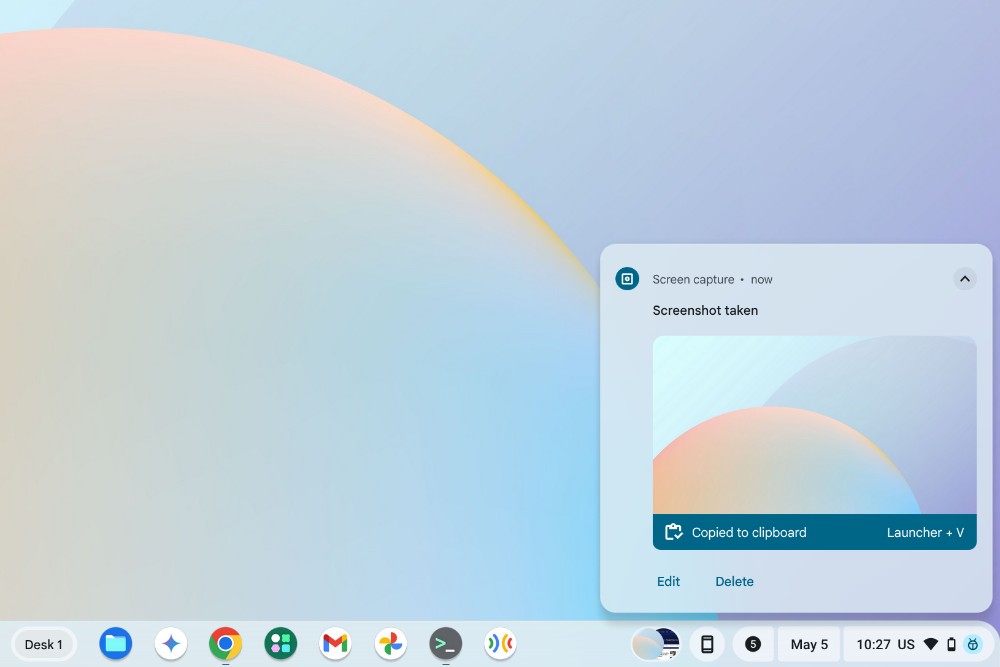
It will instantly take a full-screen screenshot, and the screenshot will be saved in the Files app inside the Downloads folder.
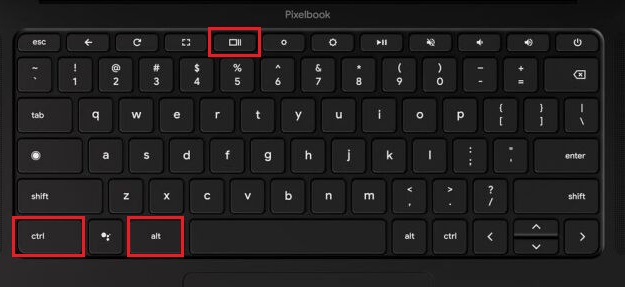
- Active Window Screenshot: Ctrl + Alt +
If you want to screenshot on Chromebook and capture the active window, press Ctrl + Alt + Show Windows key together. After that, select the window on your screen. You can either hit the Enter key to capture the active window or click on the window using your mouse. This will work on all HP, Lenovo, Acer Chromebooks.
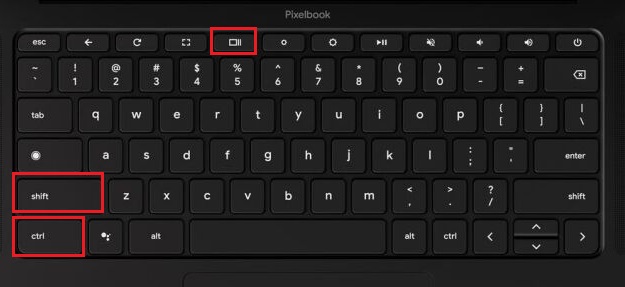
- Partial Screenshot: Ctrl + Shift +
If you want to screenshot a specific area on your Chromebook, press Ctrl + Shift + Show Windows key. The screen will dim, and you can select the perfect area to screenshot on your Chromebook. Personally, I love this shortcut and always use it to take screenshots on my Chromebook.
Method 2: How to Screenshot on Chromebooks with Screen Capture
While many love keyboard shortcuts to quickly take screenshots on Chromebooks, you can also use your mouse to open Quick Settings to take a screenshot via Screen Capture. The tool also lets you record the screen on a Chromebook with ease. Here is how to use it:
- Open the Quick Settings by clicking on the Time section in the taskbar and click on Screen Capture.

- Choose between full-screen, window, or partial screenshots and hit Capture.
- The screenshots are saved in Downloads, but you can change it by clicking on the cogwheel icon at the bottom.
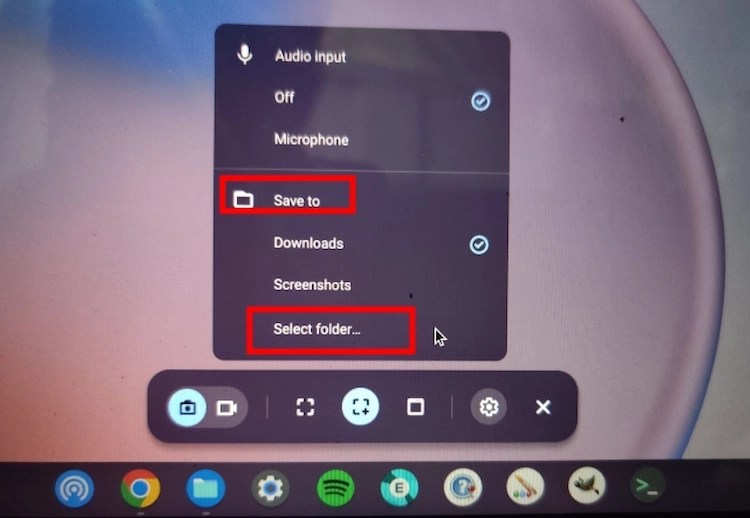
- Then click on Save to and select a folder. Just make a folder and select it to start saving.
Method 3: Take a Screenshot on Chromebook in Tablet Mode
If you own a convertible Chromebook, aka a 2-in-1, you could take a screenshot in Tablet mode. The process is similar to taking a screenshot on Android. All you need to do is press the Power + Volume Down buttons to take a screenshot.
Method 4: Take Screenshot on Chromebook Using Stylus
Some premium Chromebooks do come with a USI 2.0 stylus, and you can use the same to take a screenshot. When you pull it out, a stylus icon will appear. You need to click it and follow the below steps.
Full-screen Screenshot: If you have connected a stylus with your Chromebook, a “Stylus” menu will appear on the bottom-right shelf. Open it and select “Capture Screen” to take a full-page screenshot on ChromeOS.
Partial Screenshot: If you want to take a partial screenshot, click on the “Stylus” menu and select “Capture Region”. Now you can use your stylus or touch and hold anywhere on the screen and then drag to select an area. Once selected, release the stylus, and a screenshot will be taken and saved to your selected folder.
Method 5: Take Screenshots on Chromebook Using External Keyboard
If you’re using an external keyboard, the absence of the ‘Show Windows’ key might make things a bit confusing. In that case, here’s how to take a screenshot using an external keyboard on Chromebooks:
- Full-page Screenshot: Ctrl + F5
- Window Screenshot: Ctrl + Alt + F5
- Partial Screenshot: Ctrl + Shift + F5
If you have connected an external keyboard to your Chromebook, you can take a screenshot by pressing Ctrl + F5 at once. It works similarly to the native Chromebook shortcut, but you need to press F5 in place of the Show Windows key.
Similarly, for a window screenshot using an external keyboard, press Ctrl + Alt + F5. It will quickly take a screenshot of the current window on your Chromebook.
Lastly, press Ctrl + Shift + F5 to take a partial screenshot using an external keyboard. The screen will dim automatically, and you can select a region easily.
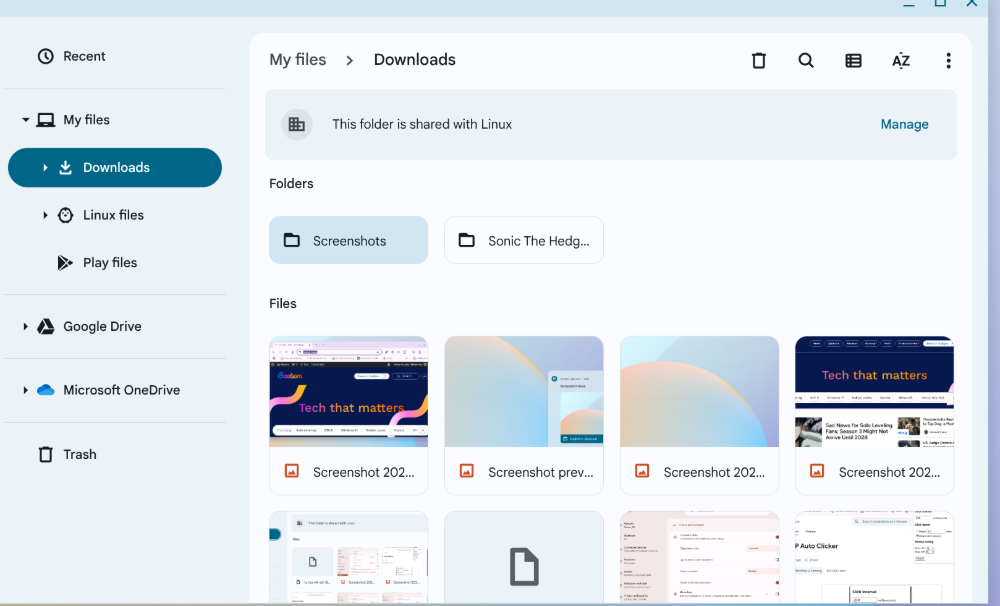
Chromebook Screenshot Location
Screenshots on Chromebook are stored in Files inside the Downloads folder. There’s no separate “Screenshots” folder. Although, you could create one yourself and change the destination where screenshots are saved, as mentioned before.
While the built-in shortcuts are adequate for us, most need annotation tools. ChromeOS has them, but they’re far from comprehensive. While there are many screenshot browser extensions, it’s hard to trust them on the privacy front. Therefore, we recommend some of our best handpicked ChromeOS apps that you should be using.
ChromeOS comes with a built-in screen recorder that supports a camera overlay. That way, you can record screen in screen on Chromebook.
To screenshot a page in Chrome, you can use the ChromeOS screenshot tool using Ctrl + Shift + Overview and select the region you want to capture.
To take a screenshot on Chromebook on an external keyboard without Windows key, all you need to do is press Ctrl + F5.
To take a screenshot on Chromebook on an external keyboard with Alt key, press Ctrl + Alt + F5.