Bing Search has been one of the constant annoyances on both Windows 11 and 10. With Windows 10, Microsoft decided to integrate Bing Search with the File Explorer search bar, and it made local search a terrible experience with an awfully slow response. We even published a tutorial on how to fix the slow File Explorer search on Windows 10. Similar is the situation with the Start Menu search on Windows 11, as it shows Bing search results alongside local ones. You make a search to find a program or a file, and you are offered “Search the Web” results, which take too much time to load and unnecessarily interfere with the local search. So if you want to remove Bing Search results from the Windows 11 Start Menu, follow the guide below.
Remove Bing Search From Windows 11 Start Menu (2022)
We have included tried-and-tested methods to remove Bing Search results from Windows 11 Start menu in this guide. We have mentioned two methods here, so if the Registry method does not work, you can fall back on the Group Policy Editor method. You can expand the table below and move to any section you want.
Disable Bing Search Results From Windows 11 with Registry Editor
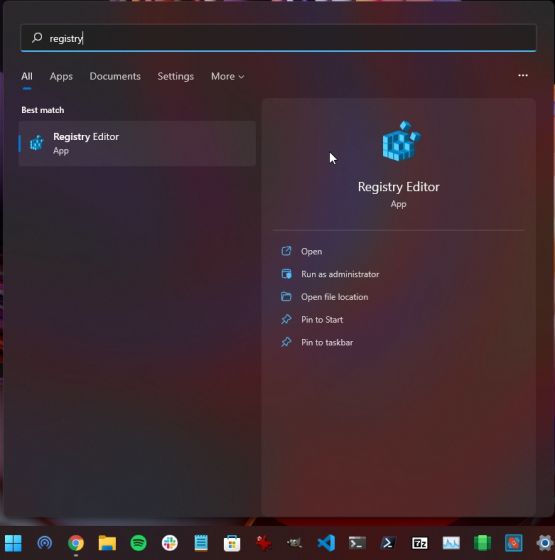
1. First, press the Windows key and type in “regedit“. Now, open the Registry Editor. Alternatively, you can use the “Win + R” Windows 11 keyboard shortcut to open the run dialog box and type in “regedit” to access the Registry Editor.

2. Next, copy the below path and paste it into Regedit’s address bar.
Computer\HKEY_CURRENT_USER\Software\Policies\Microsoft\Windows
3. Now, right-click on “Windows” in the life sidebar and create a new “Key“.
4. Rename the key to Explorer.
5. Next, move to the “Explorer” key and right-click on the empty space on the right pane. Here, choose New -> DWORD (32-bit) value. This DWORD value will help you remove Bing search from the Windows 11 Start Menu.
6. Rename the new entry to DisableSearchBoxSuggestions.
7. Now, open it and change the “Value data” to 1.
8. Finally, restart your PC, and you will find that Bing search results no longer appear in the Windows 11 Start menu.
Remove Bing Search Results From Windows 11 with Group Policy Editor
If the above method didn’t work for you, you can still disable Bing Search from the Start menu on Windows 11 via the Group Policy Editor. Here is how to do it.
1. Press the Windows key and search for “group policy “. Now, open “Edit group policy“. If you are using Windows 11 Home, you need to enable Group Policy Editor on the Home edition manually.
2. Next, open “Administrative templates” under “User Configuration” and move to Windows Components -> File Explorer on the left pane.
3. On the right pane, look for the setting that begins with “Turn off display of recent search entries in the File Explorer search box” to remove the Bing search from the Window 11 start menu.
4. Open it and select the “Enabled” radio button for this setting. Now, click on “OK” and restart your Windows 11 computer.
5. This time, you will not find any Bing web search results in the Windows 11 Start Menu.
Disable ‘Search the Web’ Results in Windows 11 Start Menu
So that is how you can completely remove Bing Search from Windows 11 Start menu and turn off web search results. Whenever I set up a new PC, I always perform this operation to keep Windows 11 snappy and responsive. I don’t want Microsoft to meddle with my local search, and this tutorial eliminates Bing search and prioritizes local search in the Windows 11 Start menu. Anyway, that is all from us. In case, you want to permanently disable Windows 10/11 updates, follow our linked guide. And if you have any questions, let us know in the comments section below.