There are many intense missions in 007 First Light, but Knightfall leaves a lasting impression due to its tricky doorways and important story reveal. Many players are having trouble completing this mission due to its tricky nature. So, follow our complete 007 First Light Knightfall mission walkthrough and learn all possible routes.
How to Complete 007 First Light Knightfall Full Chapter Walkthrough
Knightfall is filled with puzzles and is one of the trickier chapters in 007 First Light. So, here is a quick guide on how to complete the quest with all possible routes.
Part 1: Reach the Perch
Once you enter the building, you will need to find a way to the stairs. Now, the door will be locked, so you will need to find a way to access it. Go outside, and Greenway will boost you up to the structure. Run over to the other end and jump to the upper floor’s balcony.
Now, vault over the right side of the balcony and use the ledge to go to the other side. Vault over the other side’s balcony to land below. Look left through the glass to see the wire circuit on the other side of the door using Q-lens. Now, use the Q-watch to hack into the door and open it. Enter the room and use the terminal to call for a cleaning bot. Wait for the cleaning bot to open the door for Greenway.
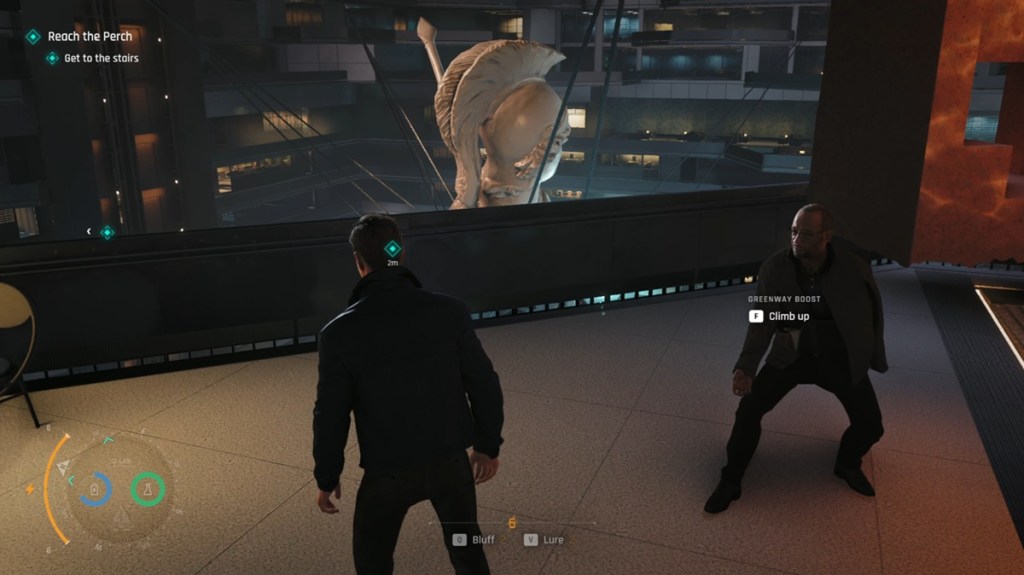
Image Credit: IO Interactive A/S (screenshot by Sanmay/ Beebom) 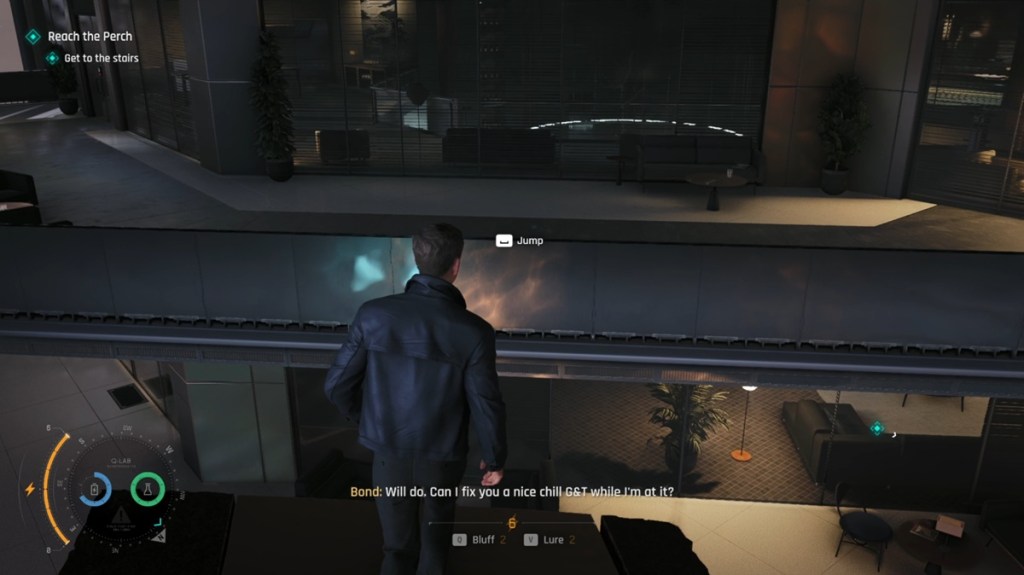
Image Credit: IO Interactive A/S (screenshot by Sanmay/ Beebom) 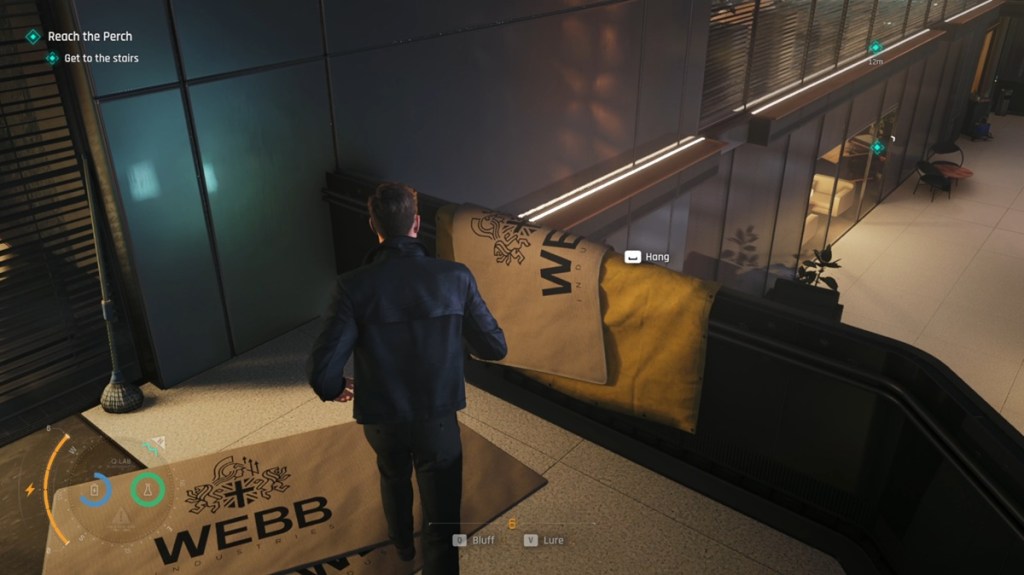
Image Credit: IO Interactive A/S (screenshot by Sanmay/ Beebom) 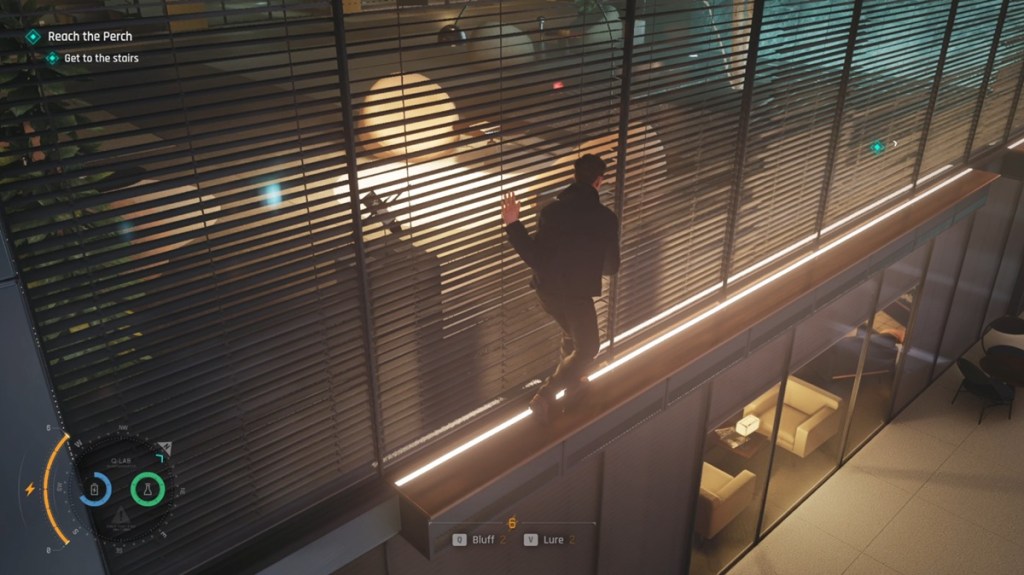
Image Credit: IO Interactive A/S (screenshot by Sanmay/ Beebom) 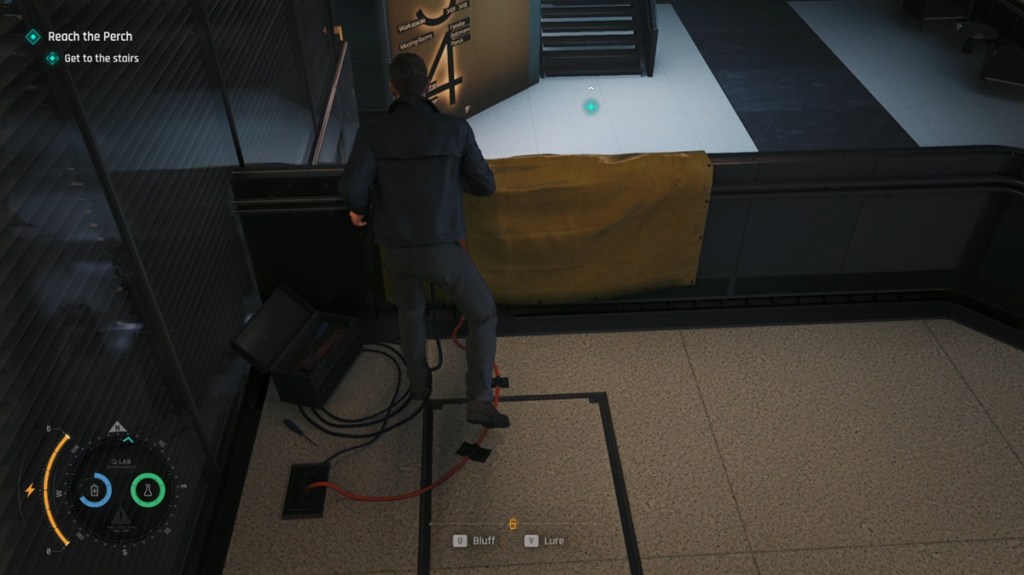
Image Credit: IO Interactive A/S (screenshot by Sanmay/ Beebom) 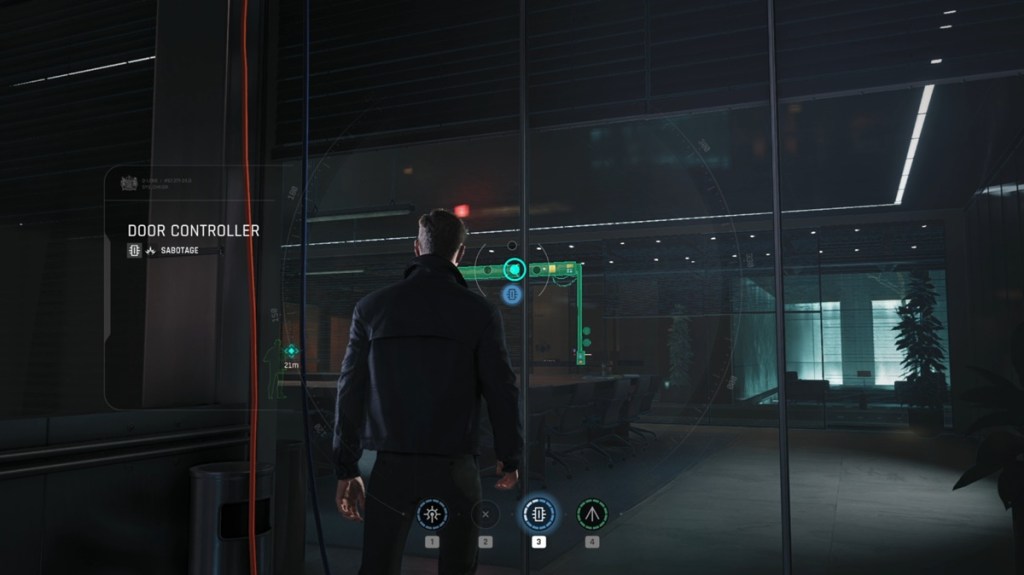
Image Credit: IO Interactive A/S (screenshot by Sanmay/ Beebom) 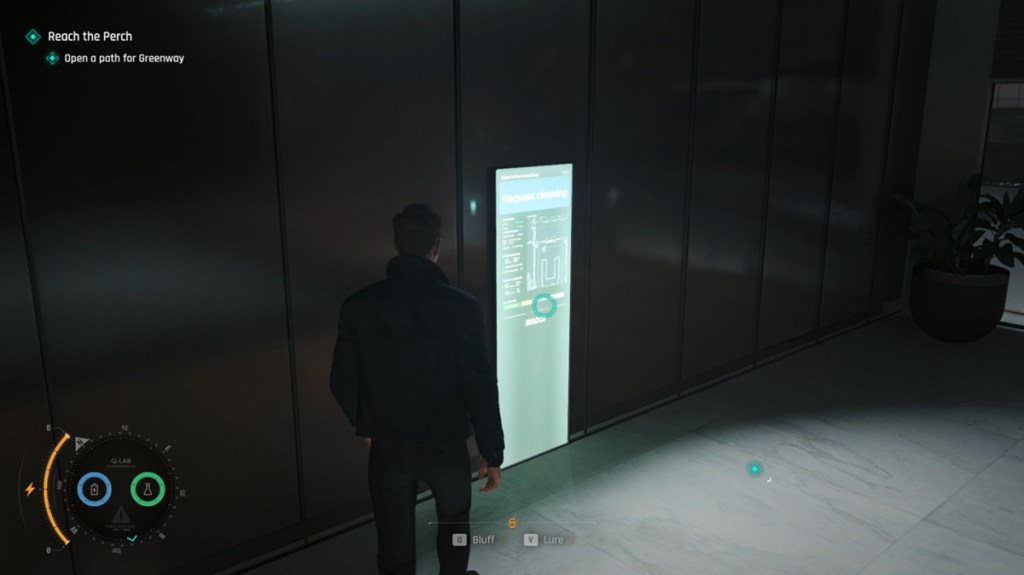
Image Credit: IO Interactive A/S (screenshot by Sanmay/ Beebom)
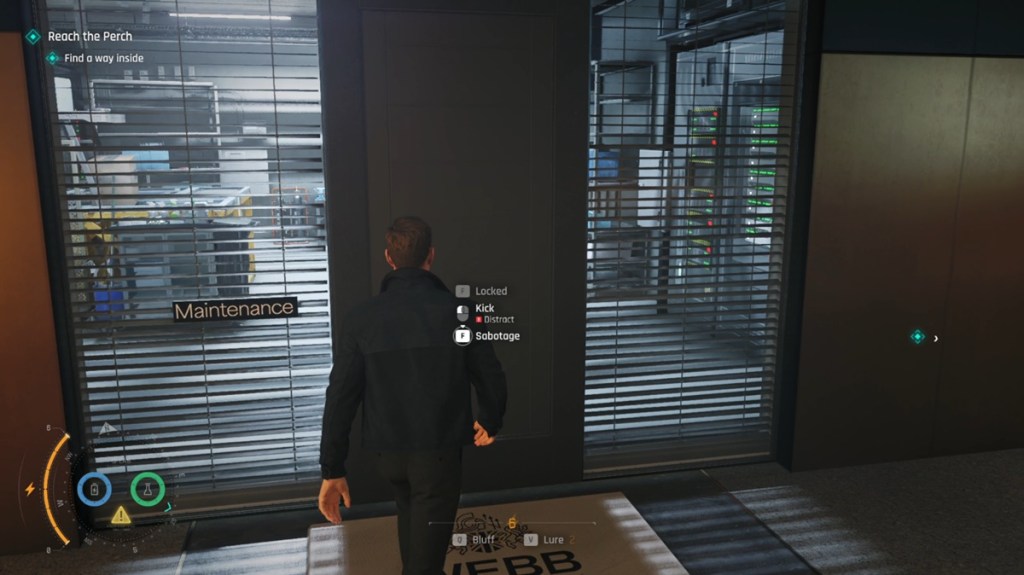
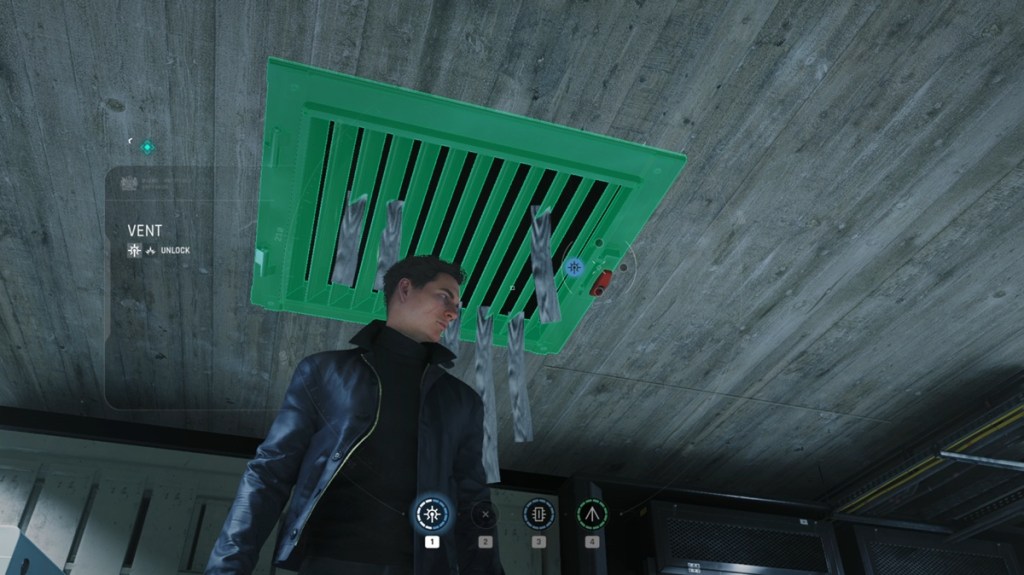
Continue following Greenway and go up the stairs into the next room. Here, you will have to open the next door for Greenway as well. This time, kick open the door of the Maintenance room. Inside, use the Laser Gadget of 007 First Light to open the vent at the top. Climb up the vent and jump to the other room where the guard is sleeping. Take down the guard quickly to continue.
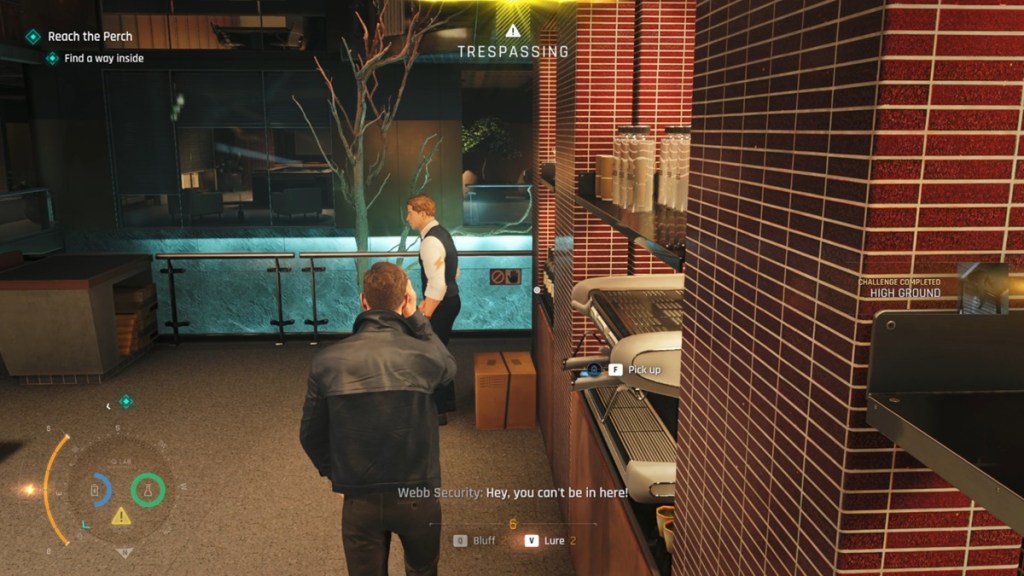
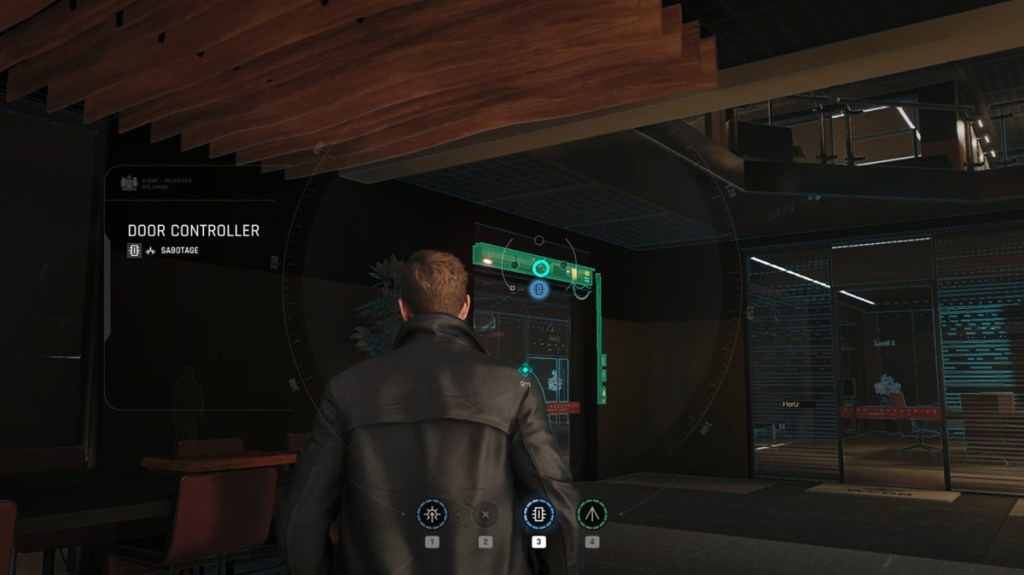
Now, use Q-Watch to hack into the doorway to open it for Greenway. Again, the next door will be closed, but first, have a discussion with Greenway to complete a challenge. After that, vault over the side railing near the fountain and use the ledges to go over to the other side. On the other side, jump over the conveniently placed boxes to get to the next room. You will find a guard waiting there, so take them down quickly to enter the next room.
The very next room will be crawling with guards. You can either pick them off one by one or sneak your way from the right room and use the vent to get to the next room. Finally, sneak your way out to the main entrance. Now, use the Q-watch to open the door for Greenway.
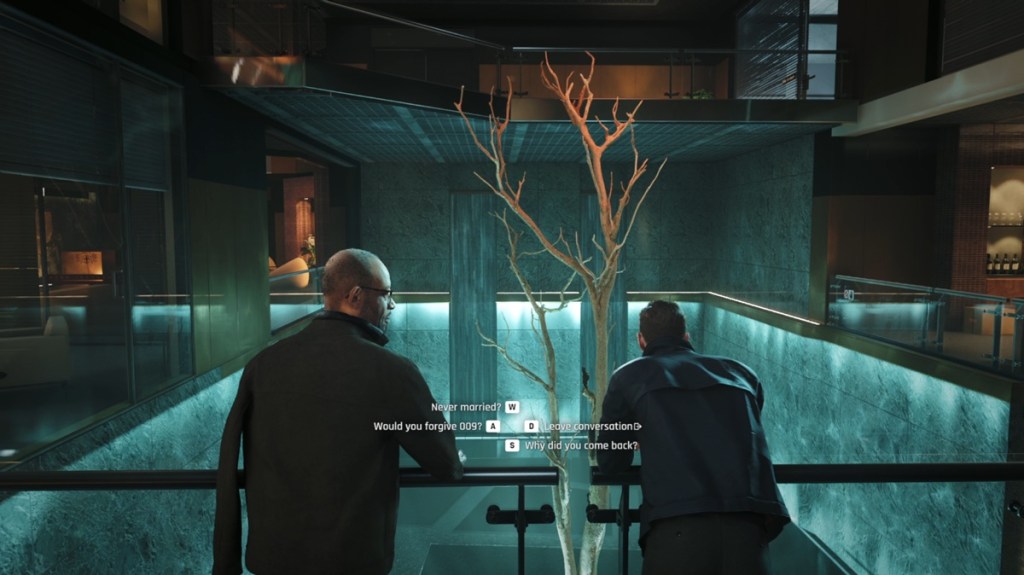
Image Credit: IO Interactive A/S (screenshot by Sanmay/ Beebom) 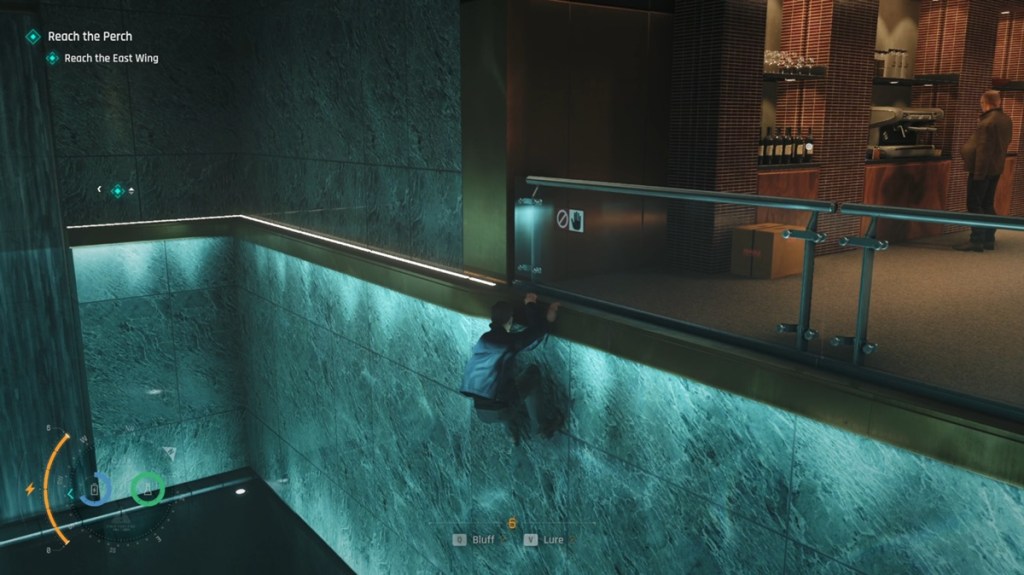
Image Credit: IO Interactive A/S (screenshot by Sanmay/ Beebom) 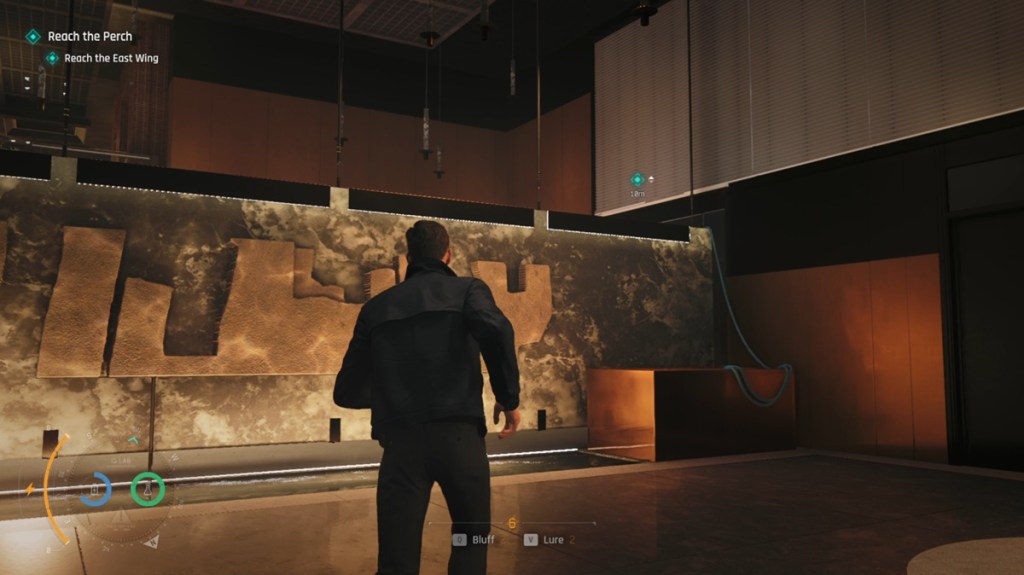
Image Credit: IO Interactive A/S (screenshot by Sanmay/ Beebom) 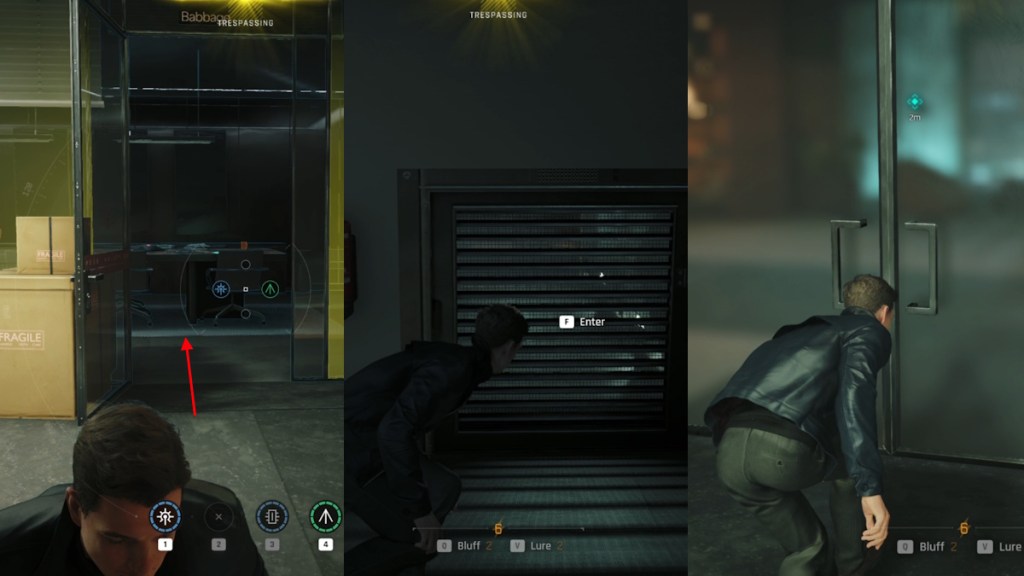
Image Credit: IO Interactive A/S (screenshot by Sanmay/ Beebom) 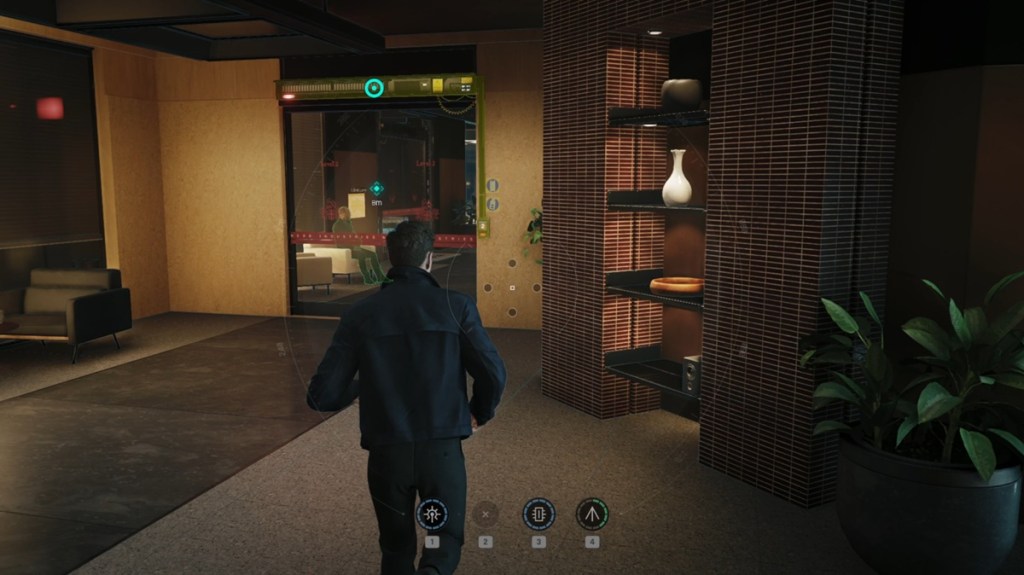
Image Credit: IO Interactive A/S (screenshot by Sanmay/ Beebom)
In the next room, you will have to turn off the lasers to make way for Greenway. Go to the right side and use Greenway’s help to move the glass block. Squeeze through the space and enter the vent in the next room. Exit into Webb’s mother’s room. Investigate the area and try to enter the next room. You won’t be able to enter, but it will give you a hint. Go back into the vent, but take a right instead of going completely back, and enter Isola Vale’s room.
Exit her room using the door to find yourself in the midst of the lasers. Look at the right side and use the Q-watch to open the room. Use the vent to get back to Webb’s mother’s room. Exit the room using the door, and now you can enter the adjacent room. Inside, you will be able to call a cleaning robot, which will open the next door. Finally, turn off the lasers using the yellow panel. Wait for Greenway, and together go upstairs.
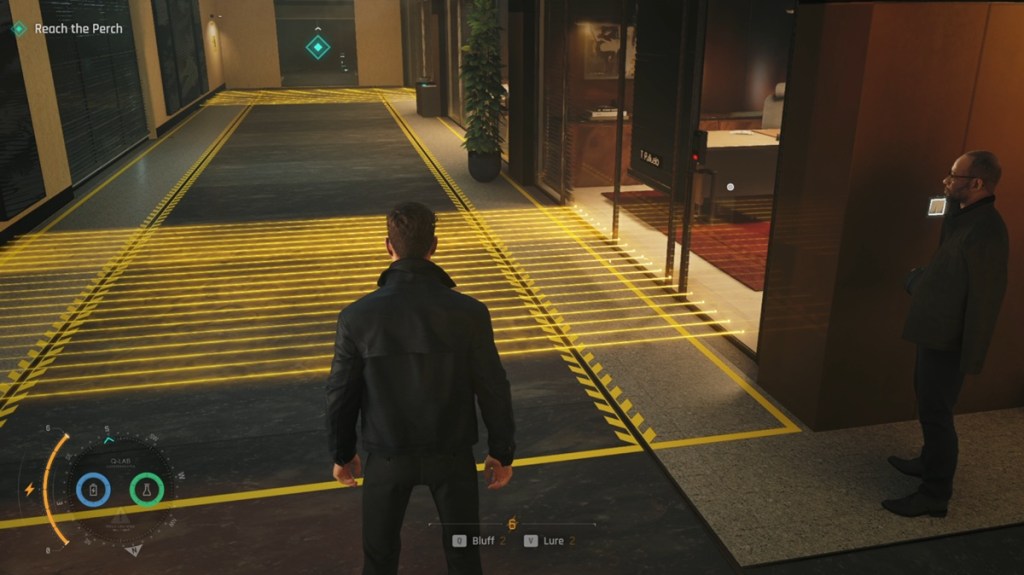
Image Credit: IO Interactive A/S (screenshot by Sanmay/ Beebom) 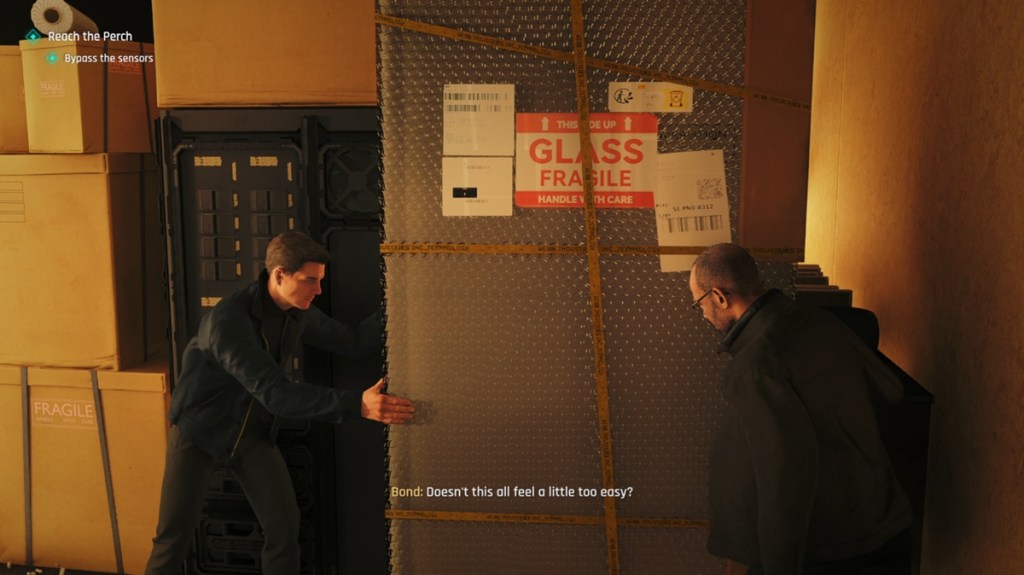
Image Credit: IO Interactive A/S (screenshot by Sanmay/ Beebom) 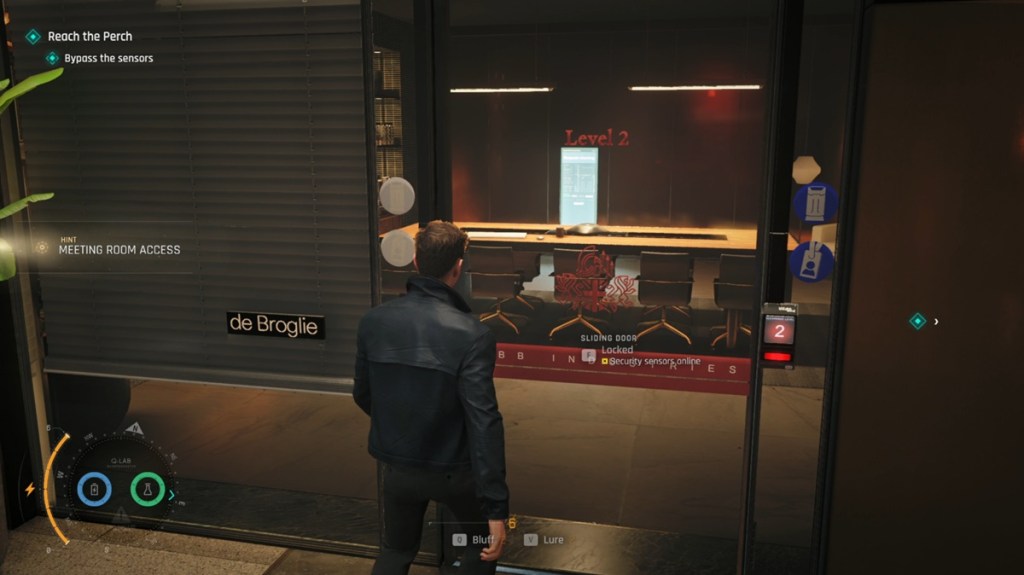
Image Credit: IO Interactive A/S (screenshot by Sanmay/ Beebom) 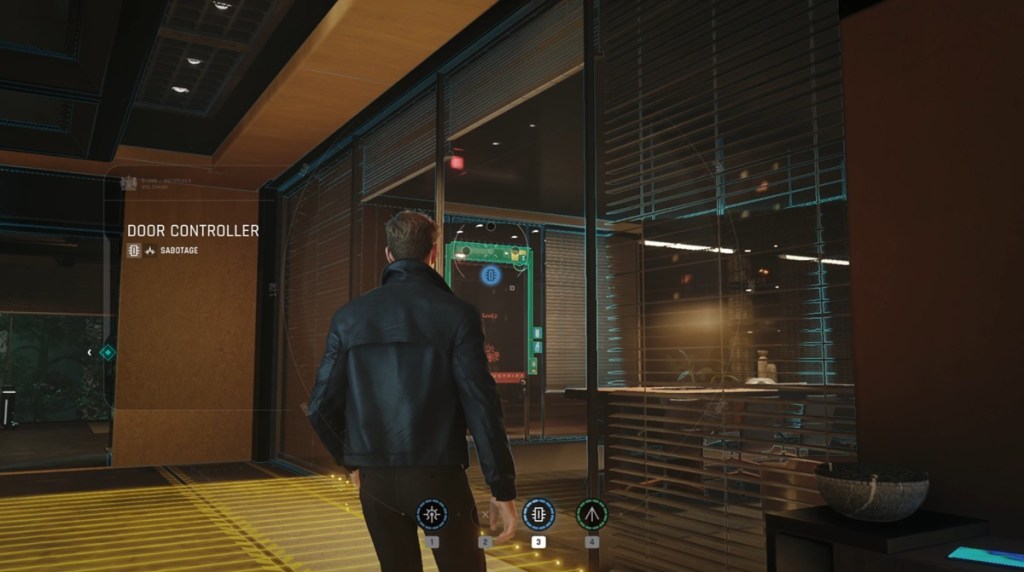
Image Credit: IO Interactive A/S (screenshot by Sanmay/ Beebom) 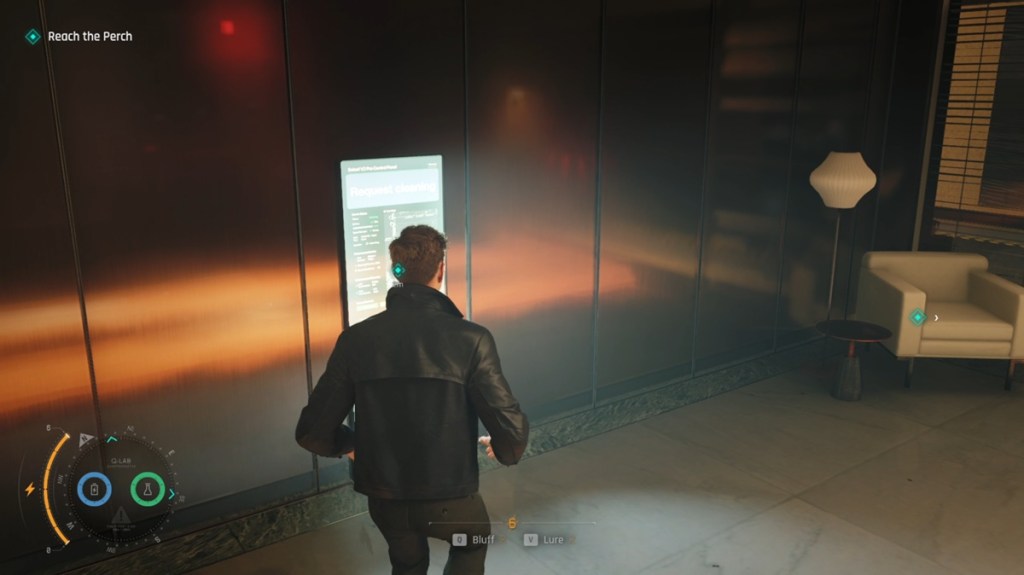
Image Credit: IO Interactive A/S (screenshot by Sanmay/ Beebom) 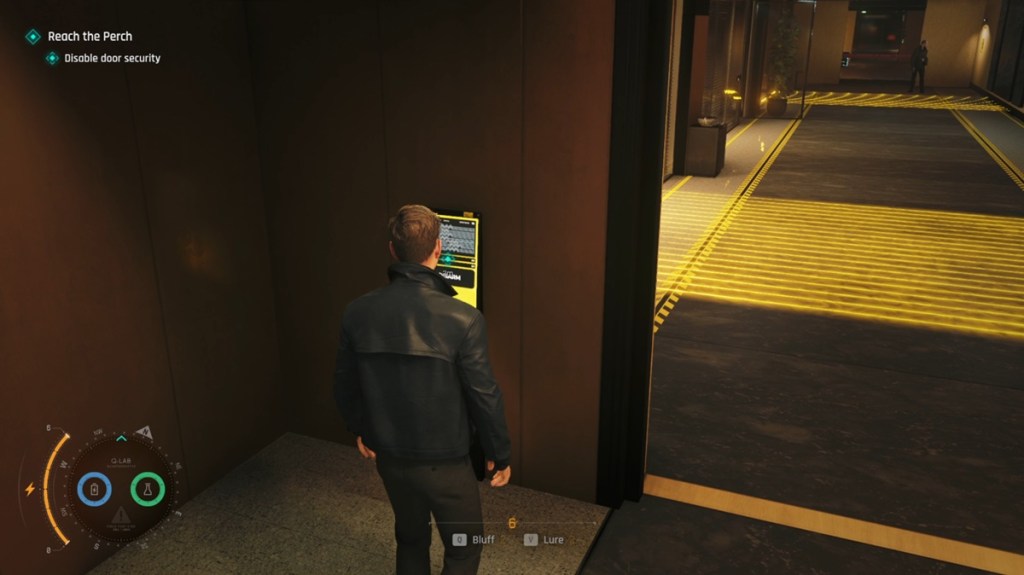
Image Credit: IO Interactive A/S (screenshot by Sanmay/ Beebom)
Part 2: Get to the Penthouse
Now, you will be tasked with entering the Penthouse. You will find yourself in a hall with broken glass and knocked-out security guards. The door on the other side will be closed, so you will have to find a way to get there. Wait for a few seconds until Greenway points to the open window and moves to help you reach it. Vault over the side of the balcony and use the ledges to move to the other side. Pick up the keycard on the other side and use it to open the door for Greenway.
Enter the next room to find Isola Vale waiting there. Now, you will have to find a way to enter the Penthouse by activating the staircase. Read the Post-It-Note on the wall, and it will give you the option to kick it open. Kick open the next door as well and turn on the terminal.
Go back to the staircase and use the terminal there to activate it. Use the staircase to get to the top.
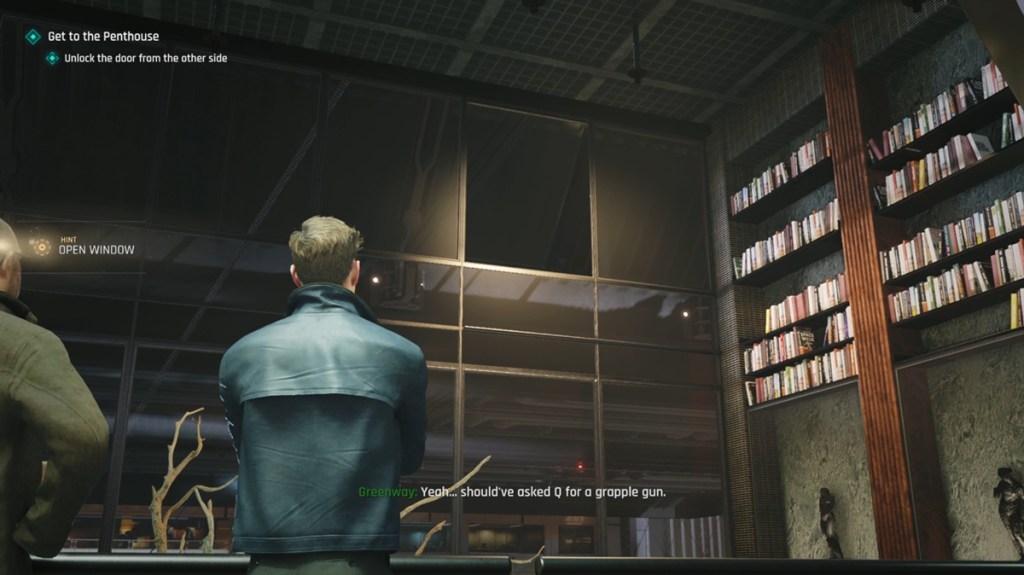
Image Credit: IO Interactive A/S (screenshot by Sanmay/ Beebom) 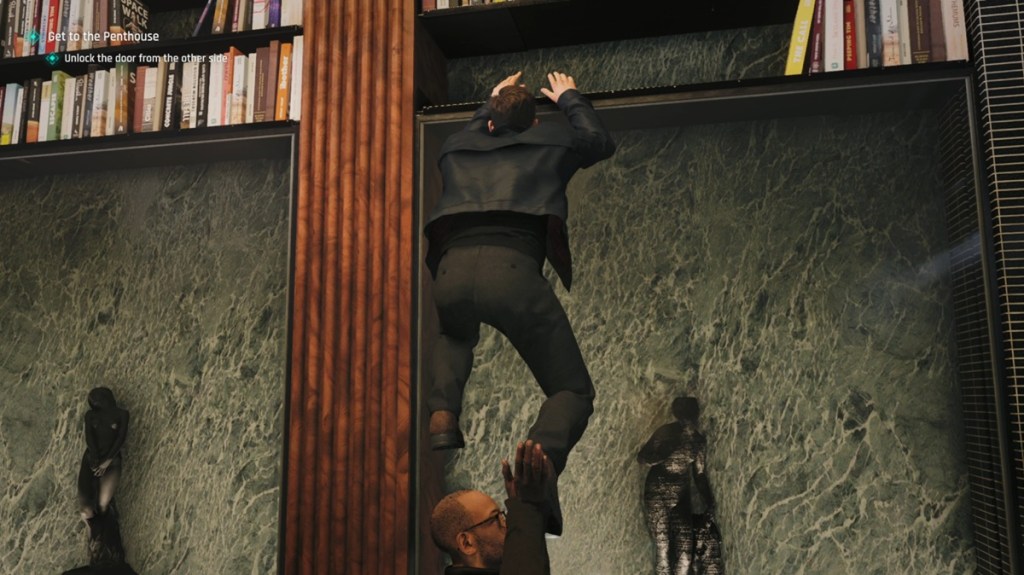
Image Credit: IO Interactive A/S (screenshot by Sanmay/ Beebom) 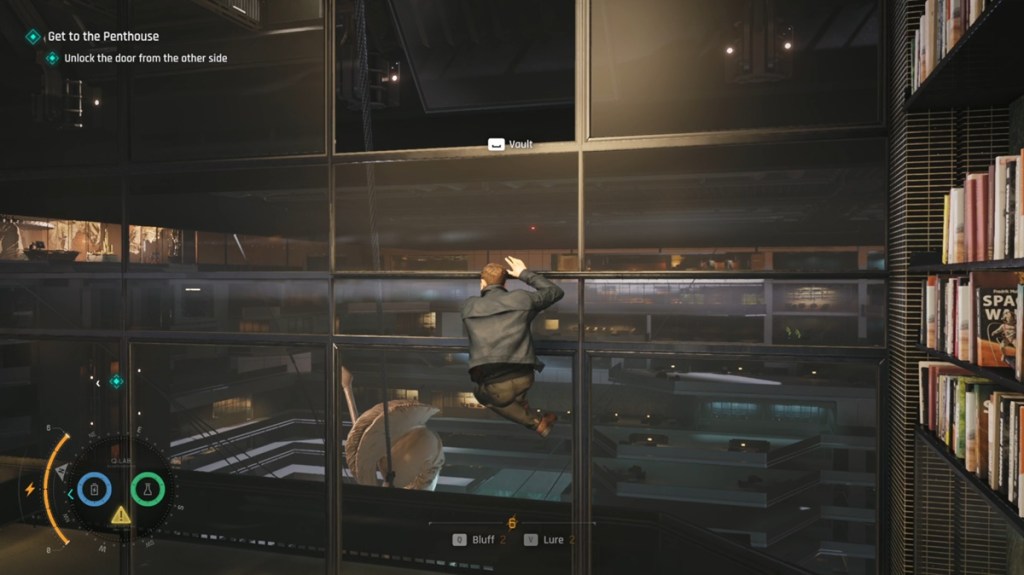
Image Credit: IO Interactive A/S (screenshot by Sanmay/ Beebom) 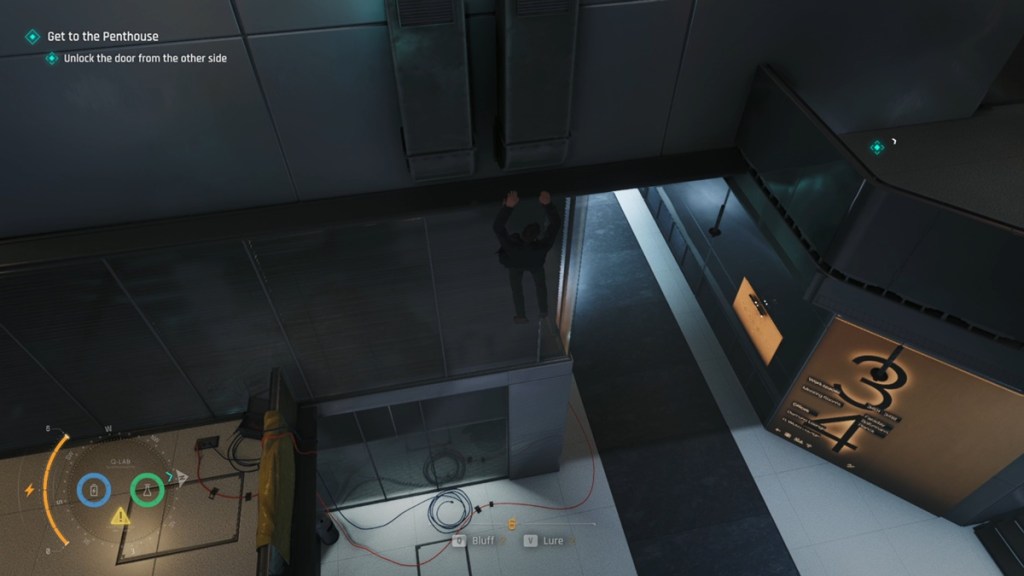
Image Credit: IO Interactive A/S (screenshot by Sanmay/ Beebom) 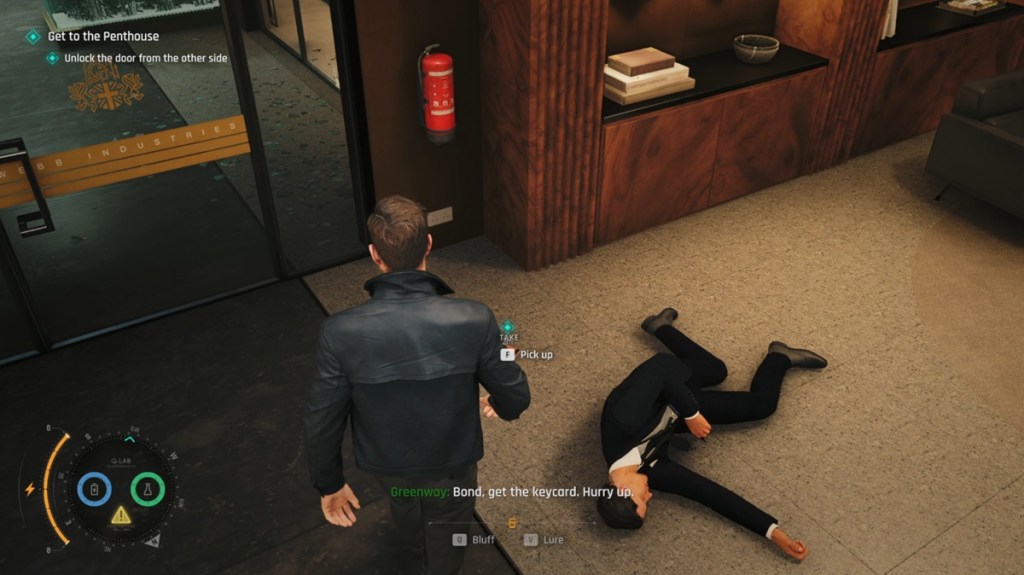
Image Credit: IO Interactive A/S (screenshot by Sanmay/ Beebom) 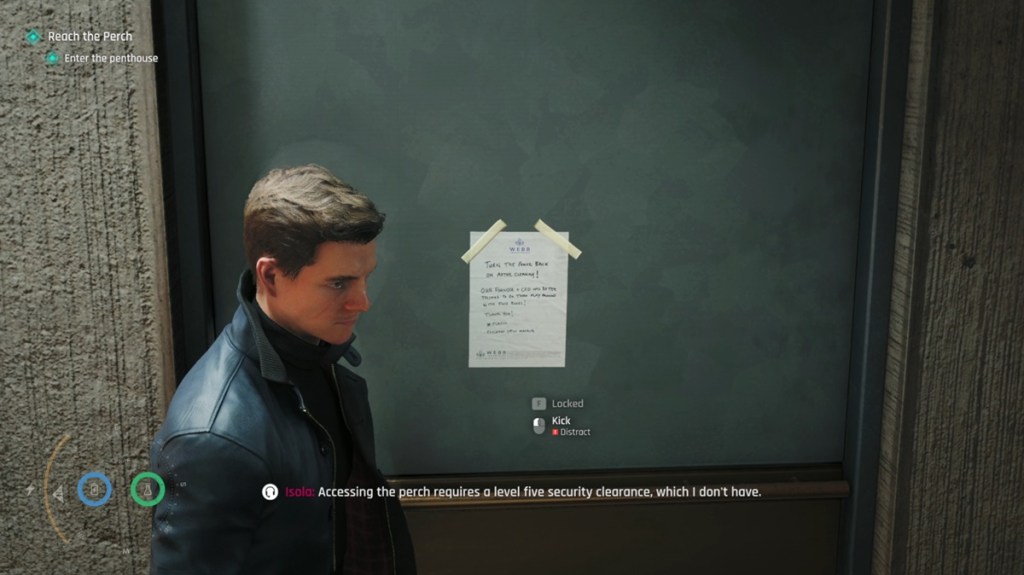
Image Credit: IO Interactive A/S (screenshot by Sanmay/ Beebom) 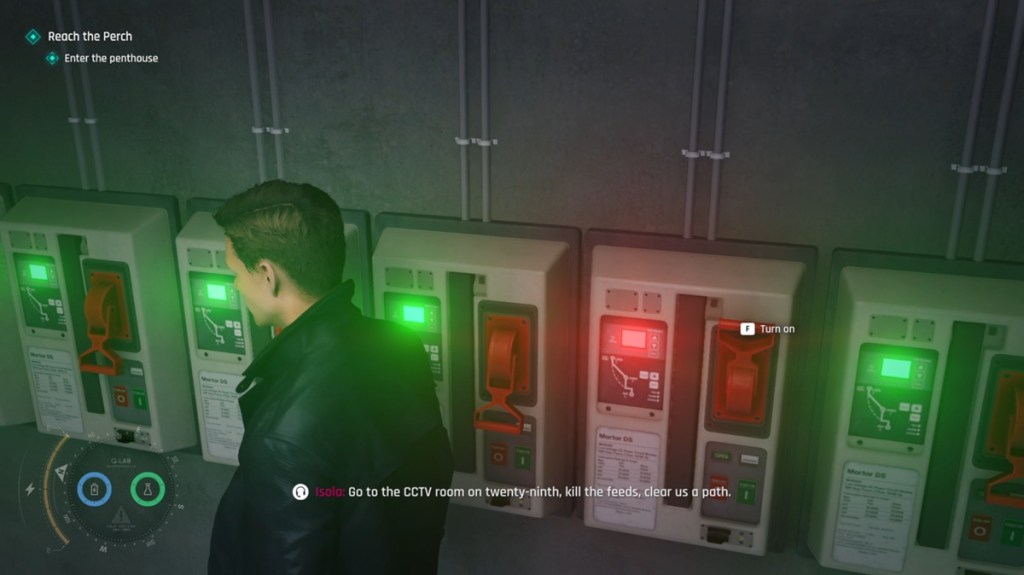
Image Credit: IO Interactive A/S (screenshot by Sanmay/ Beebom) 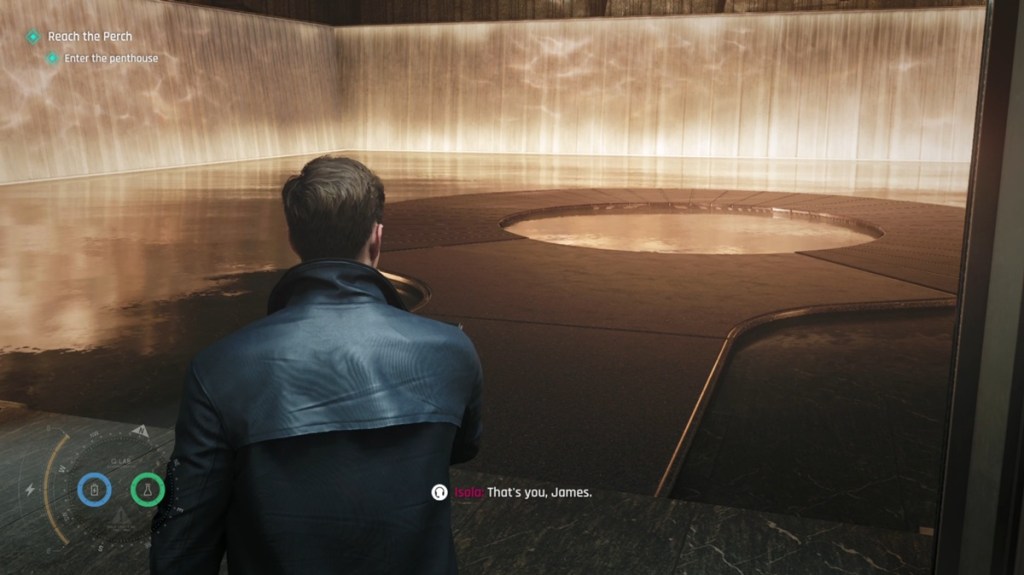
Image Credit: IO Interactive A/S (screenshot by Sanmay/ Beebom) 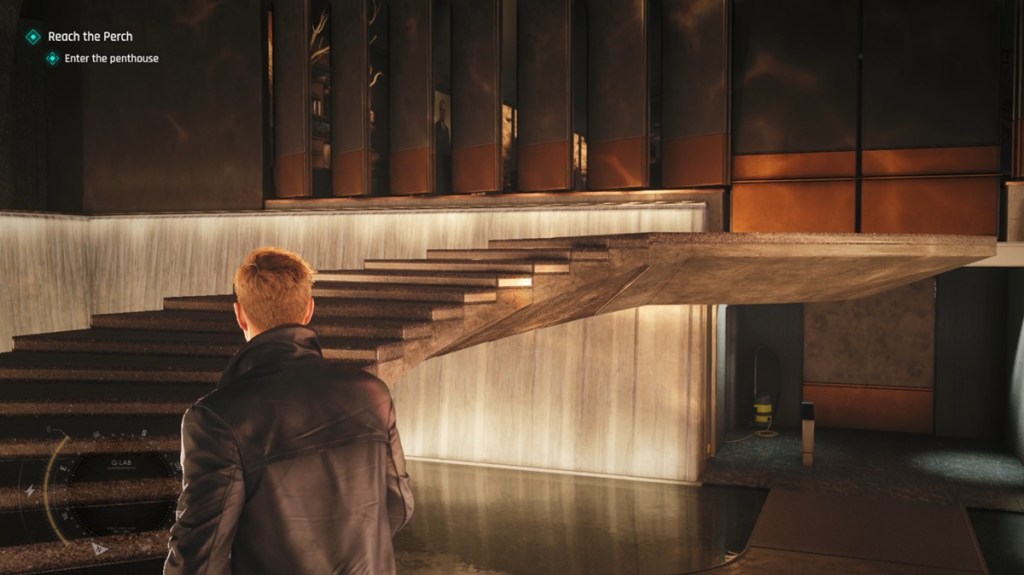
Image Credit: IO Interactive A/S (screenshot by Sanmay/ Beebom)
Part 3: Locate and Open the Safe
Now, you will have to locate and open the safe to progress the mission. To locate the safe, head to the main desk and open the drawer. Press the button inside the drawer to reveal the safe. Next, you will need to investigate the following items to get the 007 First Light safe codes:
- Diploma: 1
- Painting: 4
- Game: 9
- Model: 3
Each of the items that you need to investigate comes with a number, which forms the safe code. Isola gave you a note, which mentions Diploma, Painting, Game, and Model in this exact sequence. Putting the codes together, the code for the safe is 1493. Make sure to select the ‘E’ button after entering the code; otherwise, it won’t work. Check the files and go back to the desk and press the button again.
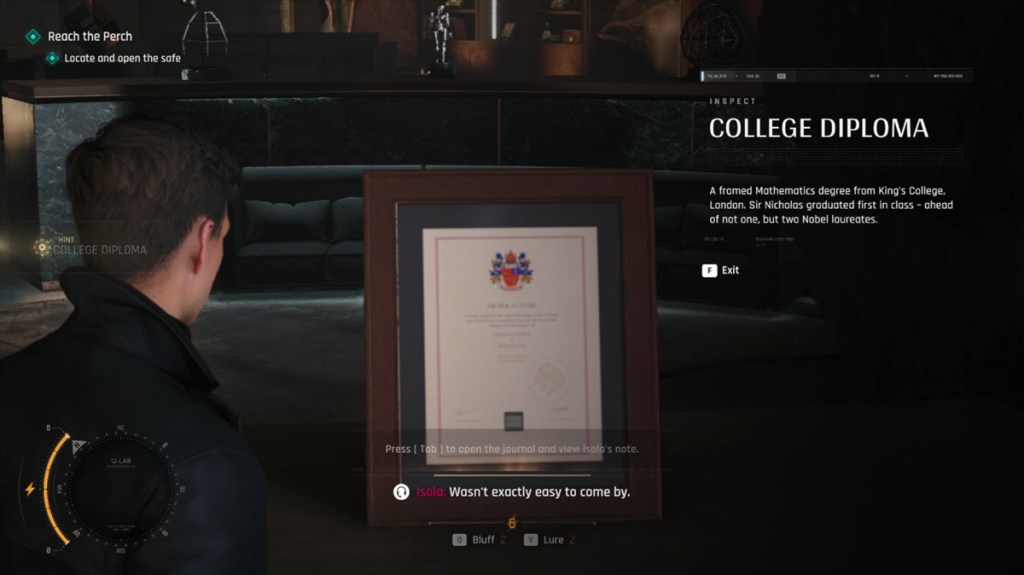
Image Credit: IO Interactive A/S (screenshot by Sanmay/ Beebom) 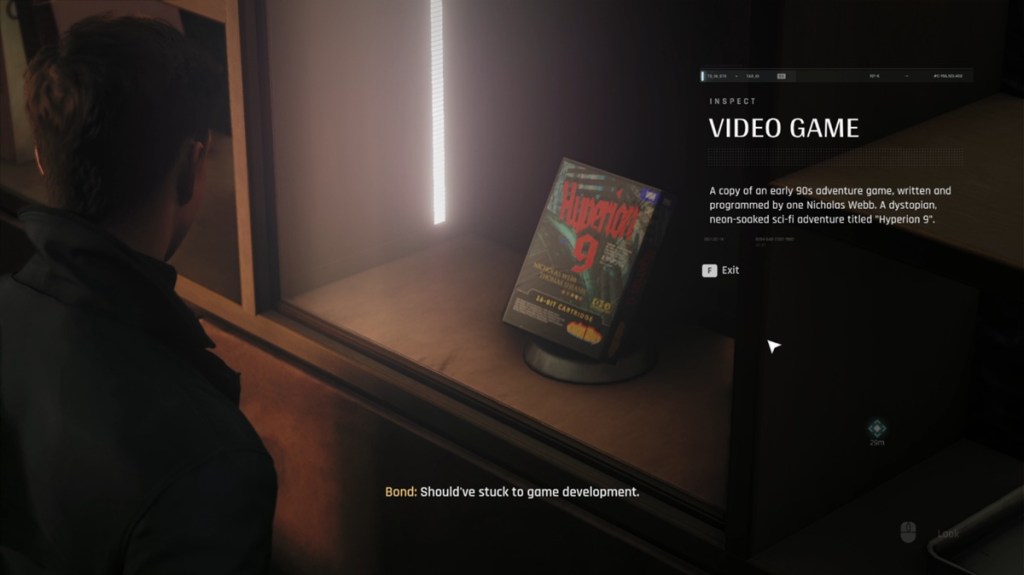
Image Credit: IO Interactive A/S (screenshot by Sanmay/ Beebom) 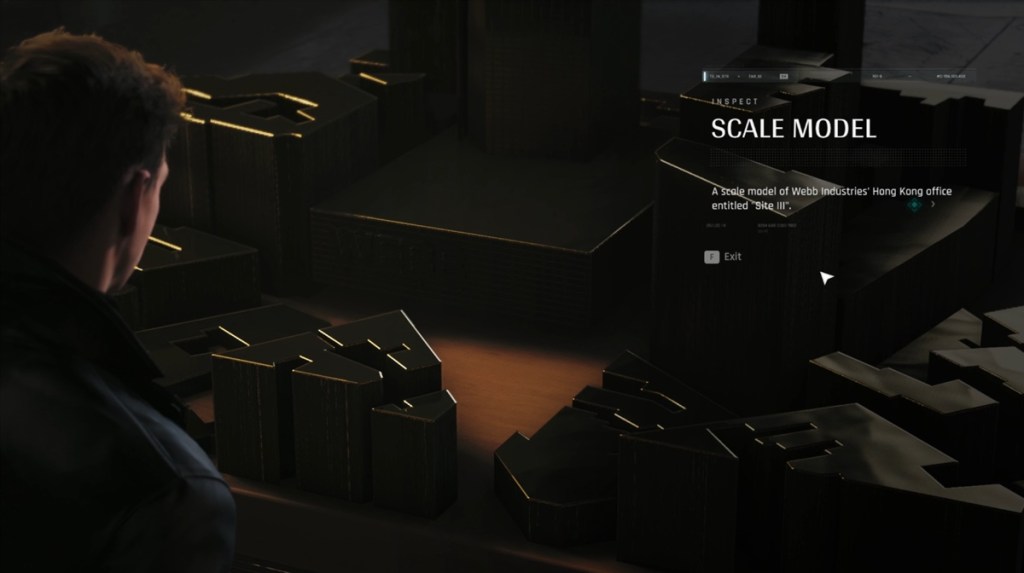
Image Credit: IO Interactive A/S (screenshot by Sanmay/ Beebom) 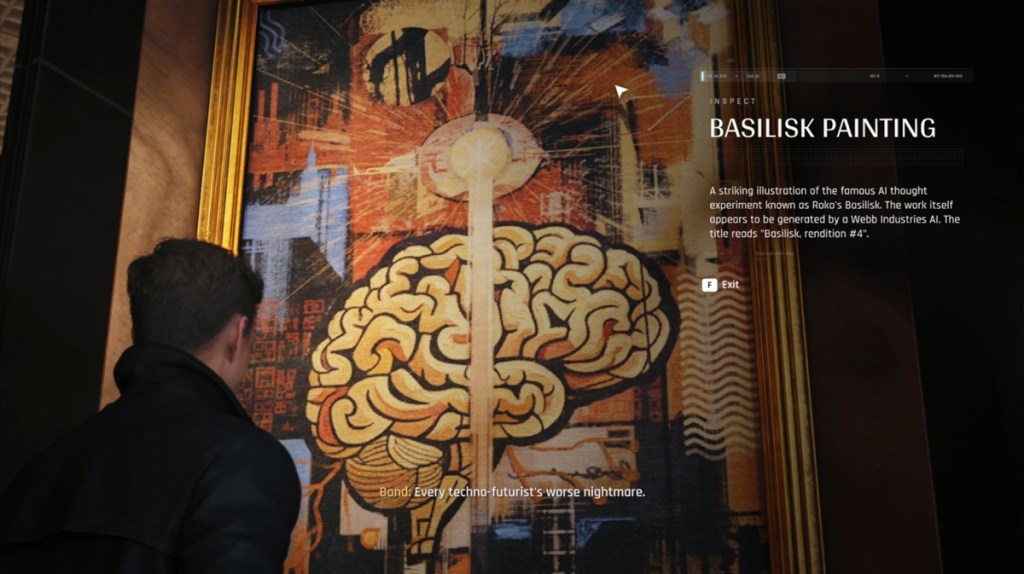
Image Credit: IO Interactive A/S (screenshot by Sanmay/ Beebom) 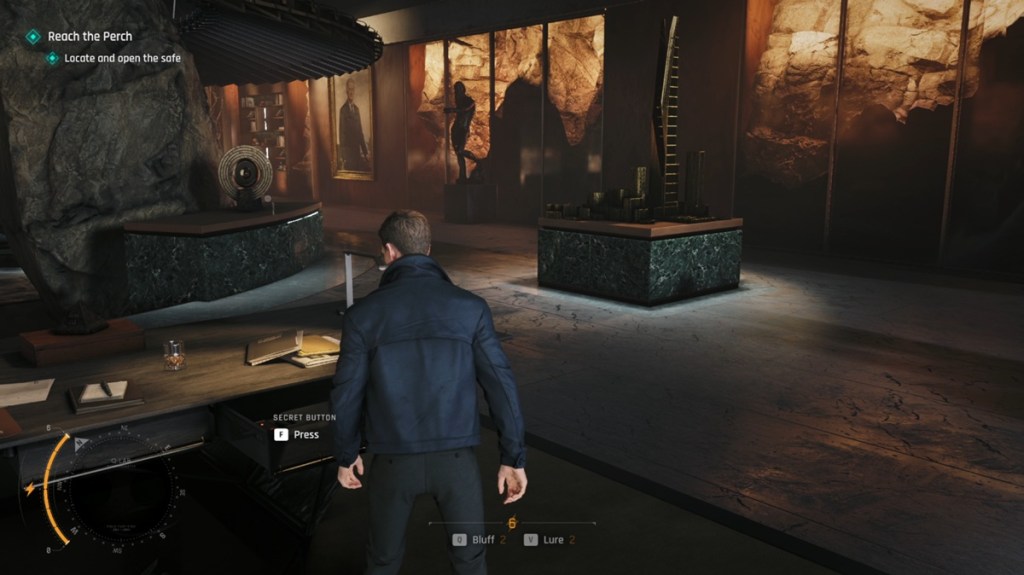
Image Credit: IO Interactive A/S (screenshot by Sanmay/ Beebom) 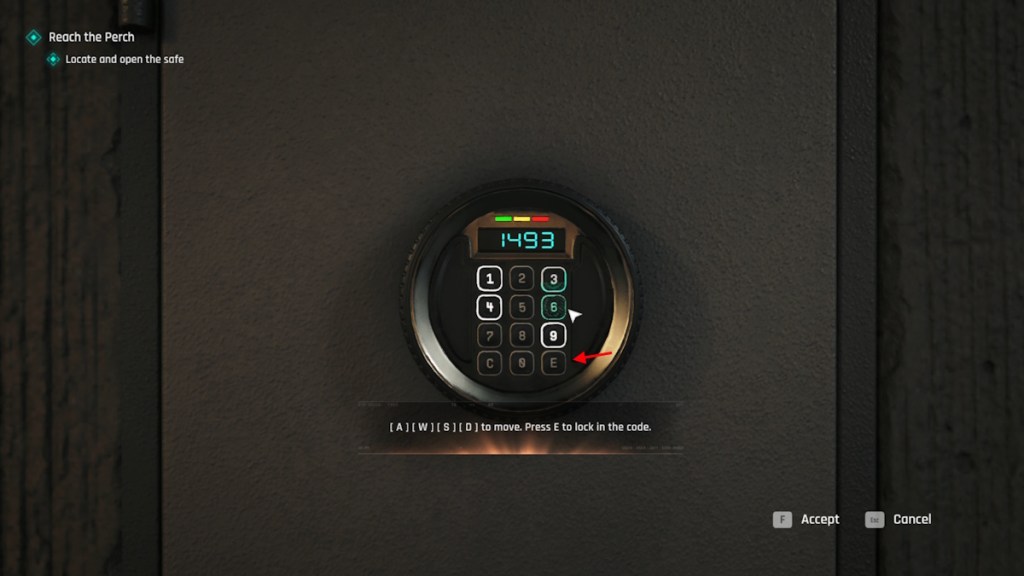
Image Credit: IO Interactive A/S (screenshot by Sanmay/ Beebom)
Part 5: Stay Hidden
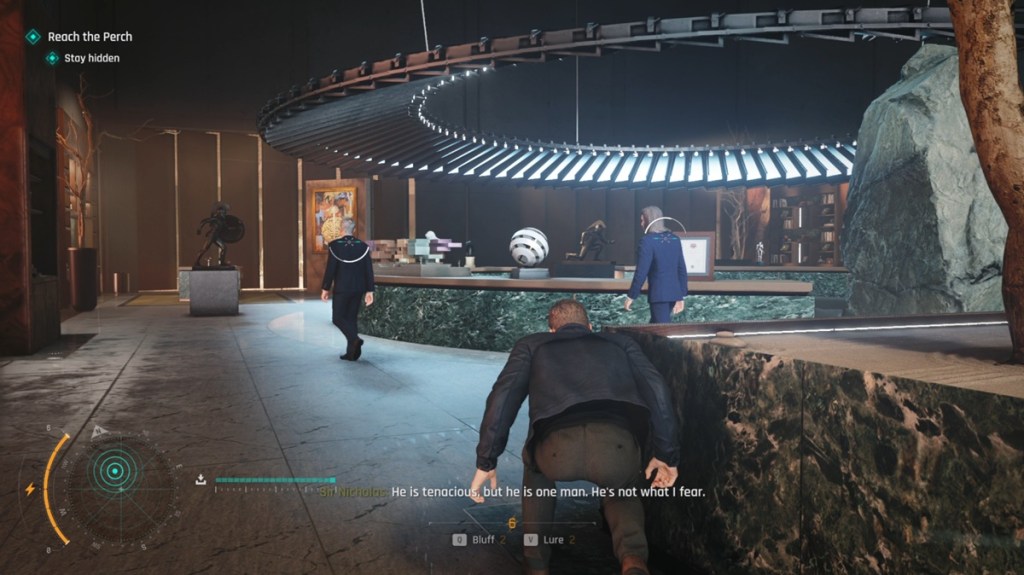
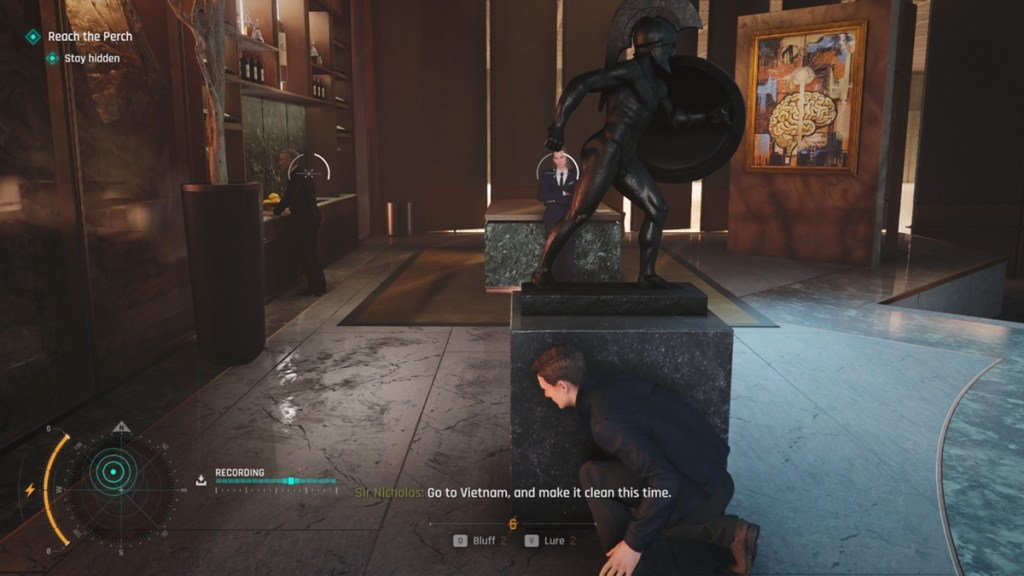
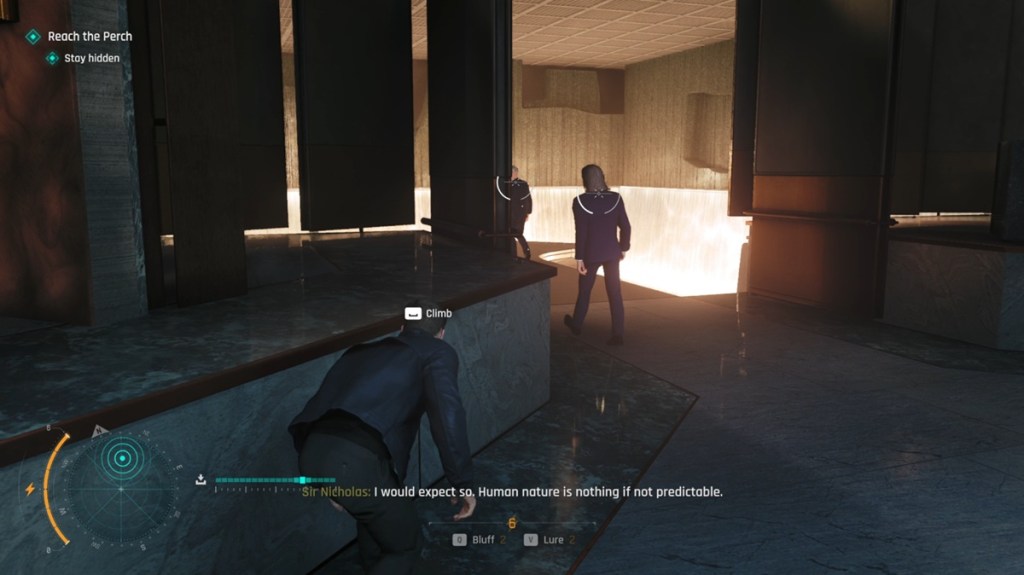
Damian and Nicholas will now enter the Penthouse. You will have to stay hidden while staying in cover to record their conversation. Use the covers, but stay out of Damian’s sight, or else he will kill you without a moment’s notice.
Part 6: Escape the Penthouse
Now, you will have to escape the penthouse within 4 minutes. First, go to the Cat statue to open a secret door. Take the vent on the left side of the hidden room to progress further. Take down the first guard you see to avoid a confrontation and continue making your way to the exit. Vault over the railing after defeating the guards. You will find more security below, but instead of confronting them, head to the right side’s door to use a different path.
Open the vent in the room using either Dart or Laser. Climb the vent and continue moving. In the next room, quickly take down the first guard you see in front of you. Simply use a gadget to disorient them and perform a Takedown. Continue moving, and at the end of the hallway, break through the wall to move to the next room.
Continue moving and defeat the guard standing before the elevator. Next, call for the elevator and use it to go up. The elevator will break suddenly, so force open the door and climb your way to the zipline. Use it to reach the Perch and escape the Penthouse.
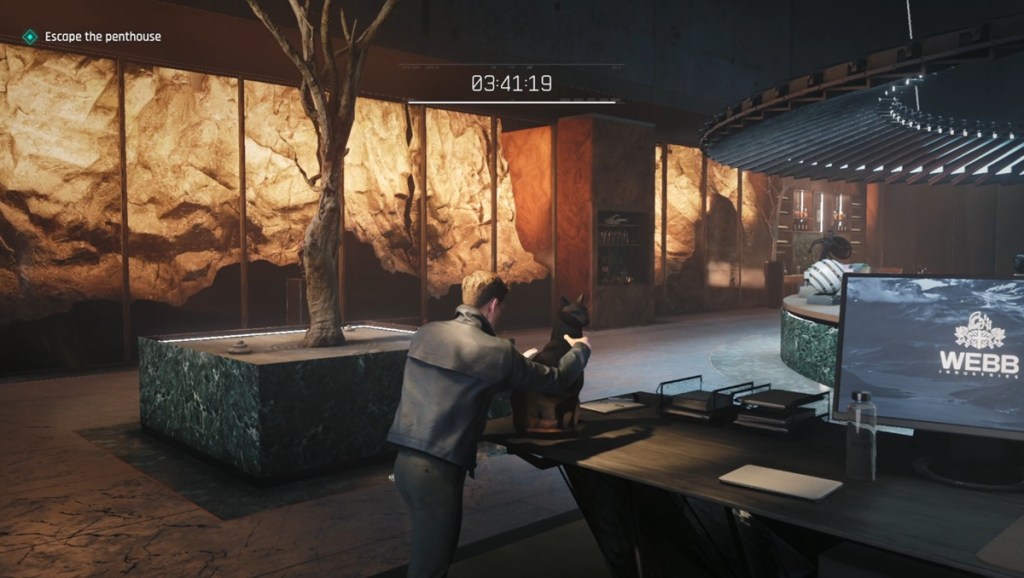
Image Credit: IO Interactive A/S (screenshot by Sanmay/ Beebom) 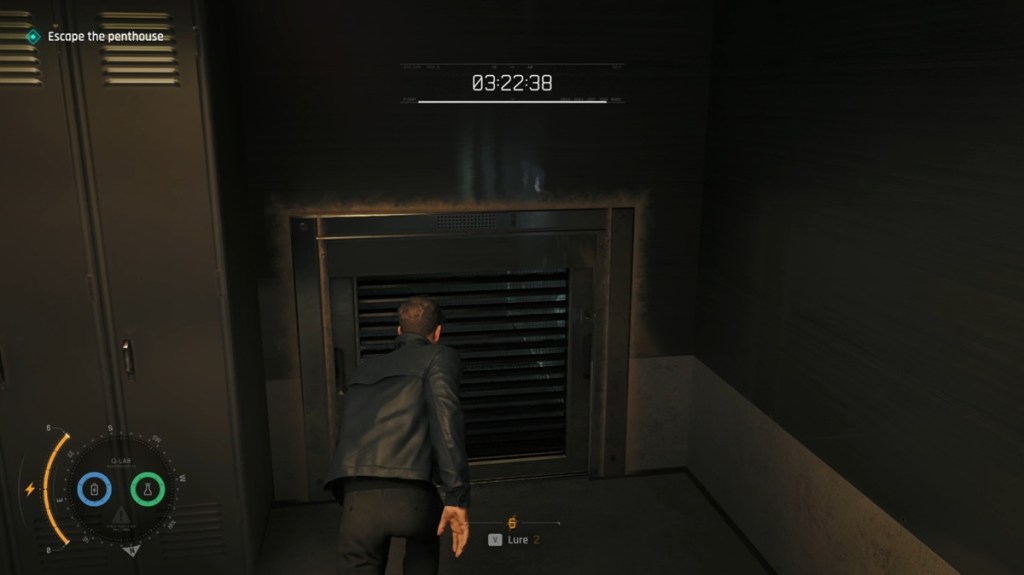
Image Credit: IO Interactive A/S (screenshot by Sanmay/ Beebom) 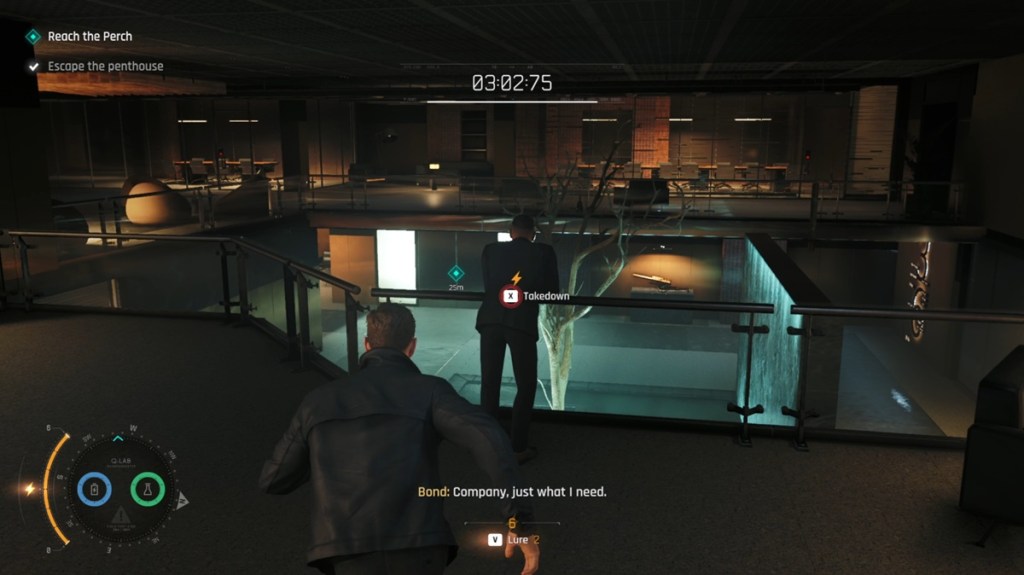
Image Credit: IO Interactive A/S (screenshot by Sanmay/ Beebom) 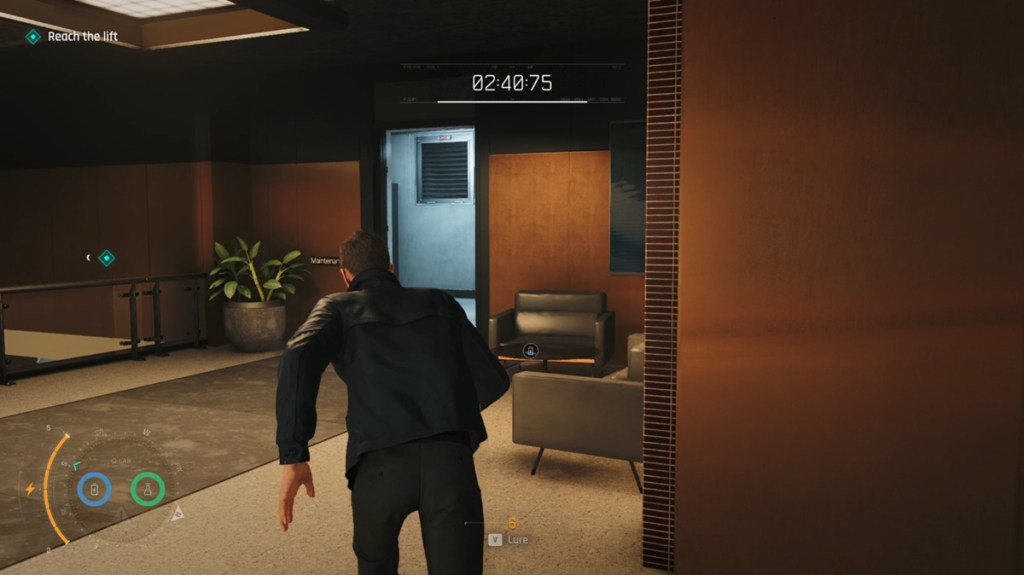
Image Credit: IO Interactive A/S (screenshot by Sanmay/ Beebom) 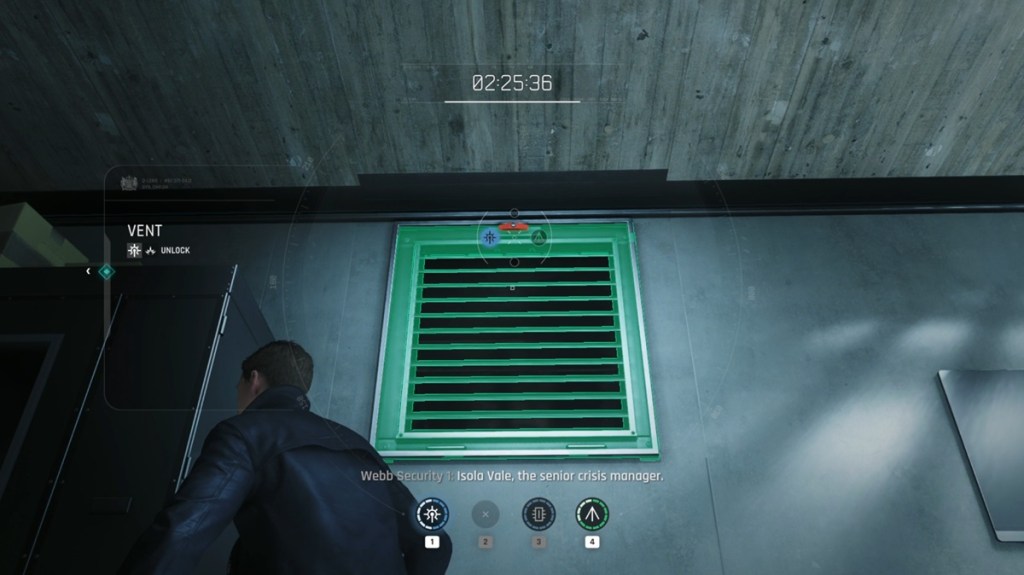
Image Credit: IO Interactive A/S (screenshot by Sanmay/ Beebom) 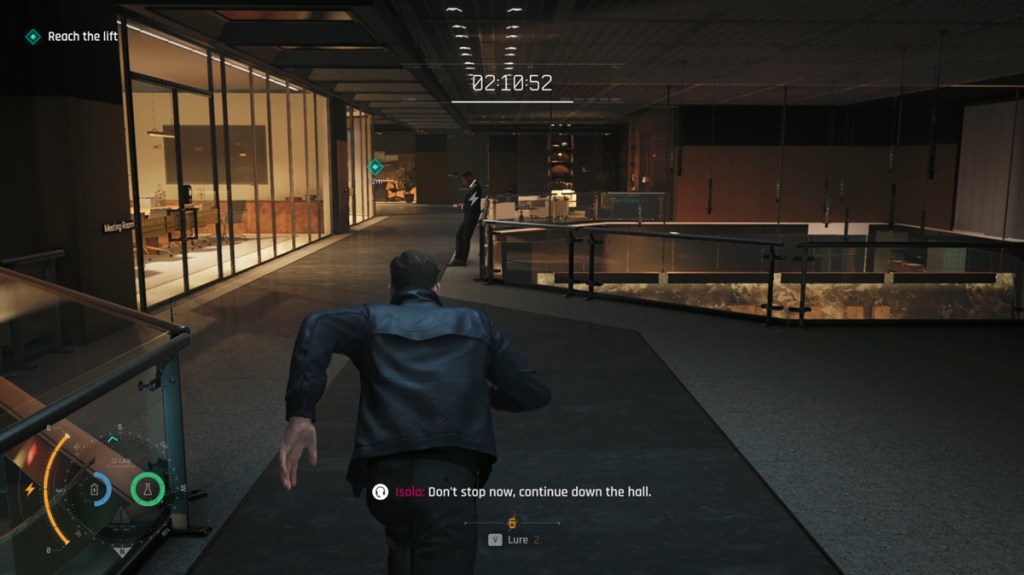
Image Credit: IO Interactive A/S (screenshot by Sanmay/ Beebom) 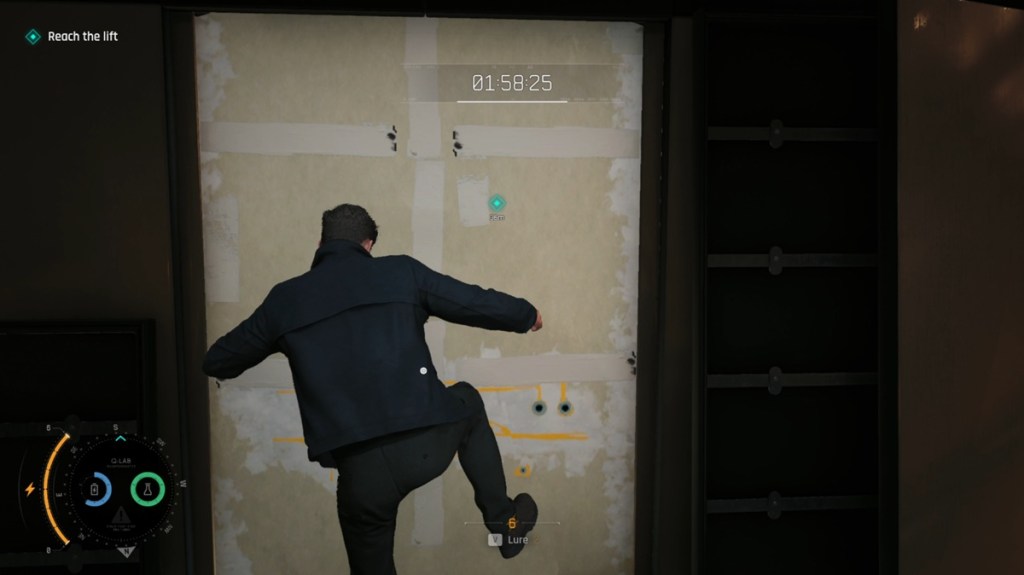
Image Credit: IO Interactive A/S (screenshot by Sanmay/ Beebom) 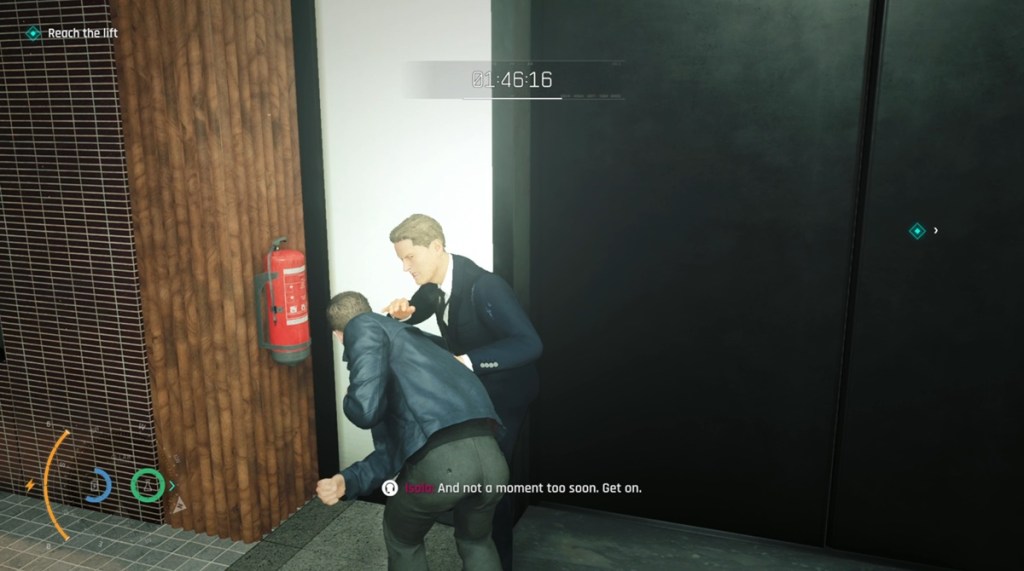
Image Credit: IO Interactive A/S (screenshot by Sanmay/ Beebom) 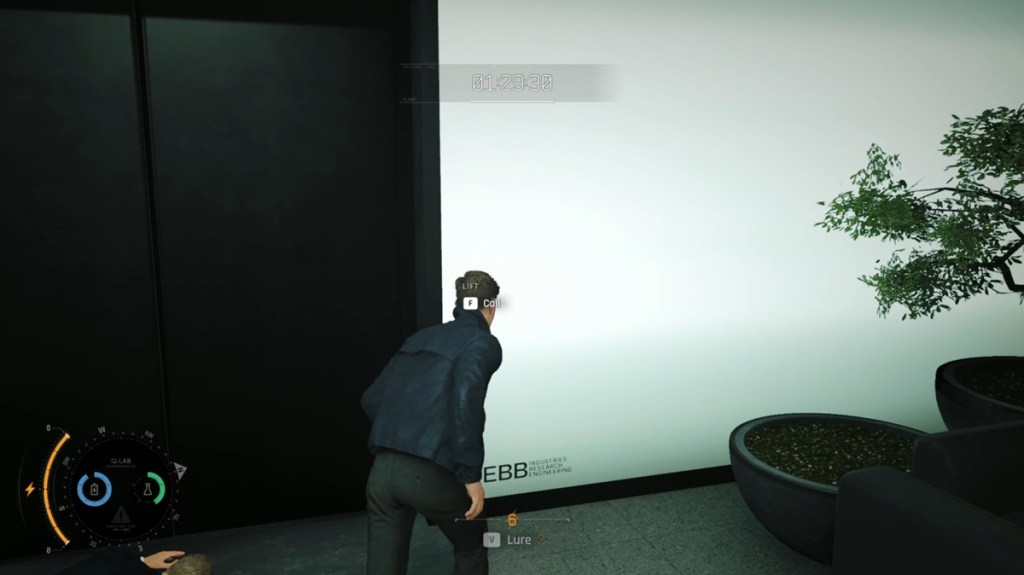
Image Credit: IO Interactive A/S (screenshot by Sanmay/ Beebom) 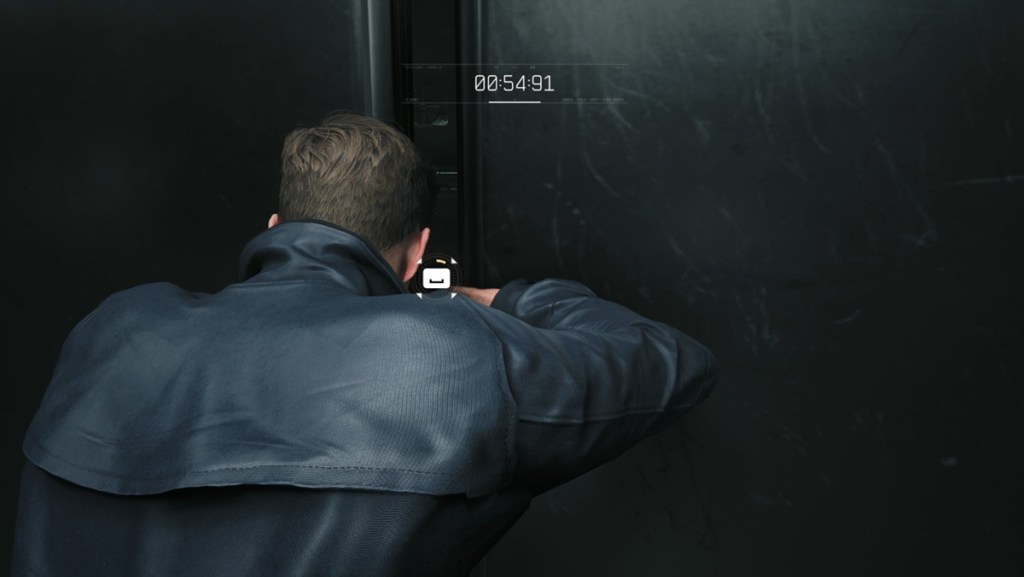
Image Credit: IO Interactive A/S (screenshot by Sanmay/ Beebom) 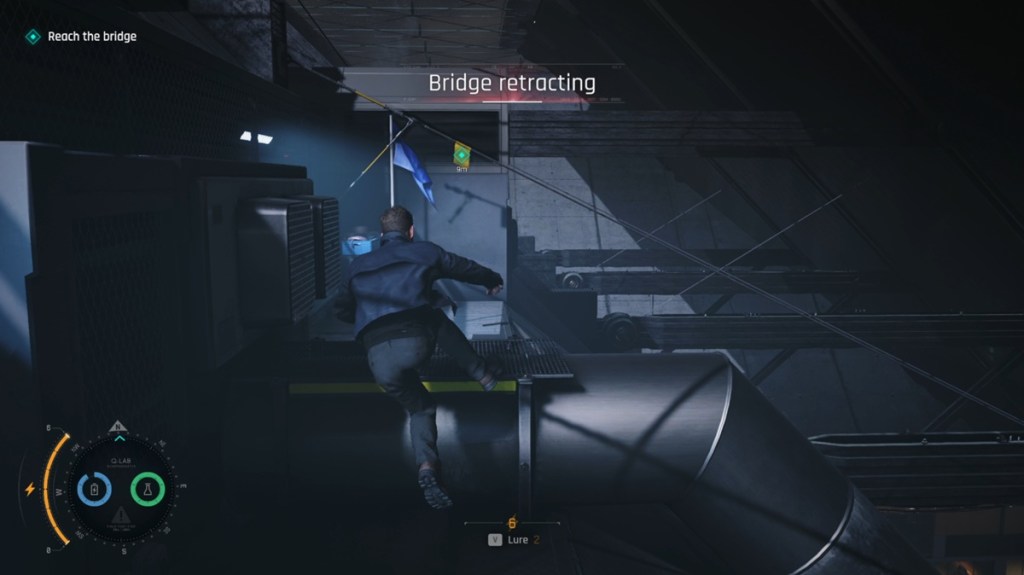
Image Credit: IO Interactive A/S (screenshot by Sanmay/ Beebom)
Part 7: Catch Up to Greenway
Now, both Bond and Greenway will finally reach Perch. However, Bond will need to find a white coat to enter the area. First, go outside and eavesdrop on the conversation. Call the Cleaning bot using the terminal on the left side. Here, you can use the Q-Lens to see the bot carrying the key with it and disposing of it in the container.
Sneak into the Disposable Unit room, just next to the terminal you just used, and pick up the locker key. Go to the locker room on the opposite end and open locker 6. Disguise yourself with the coat and go back to the Perch entryway. You will now be allowed to go past.
Inside, use Dart on the enemy on the left and go past him. Vault over the stairs and go up to find Greenway waiting for you.
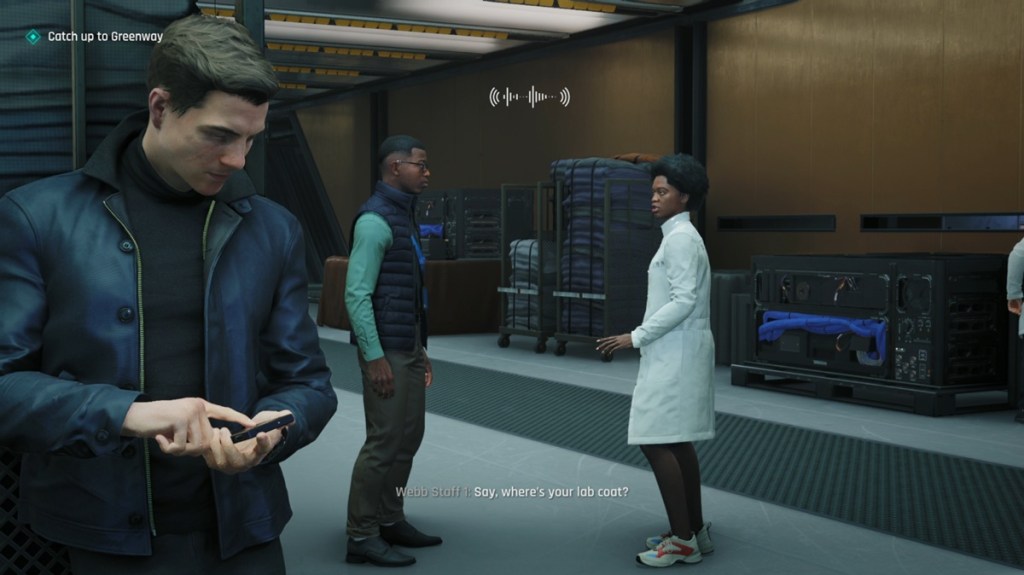
Image Credit: IO Interactive A/S (screenshot by Sanmay/ Beebom) 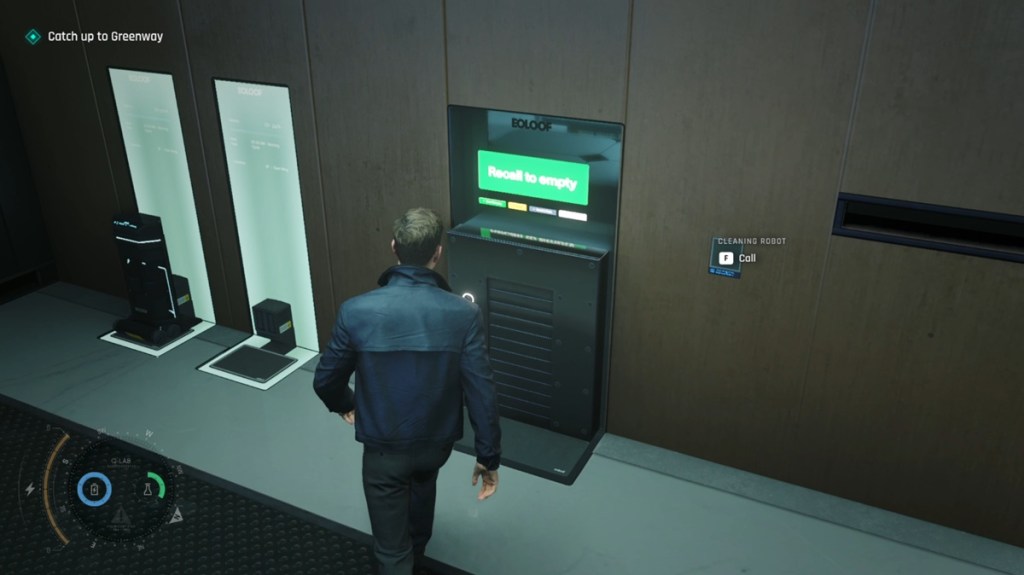
Image Credit: IO Interactive A/S (screenshot by Sanmay/ Beebom) 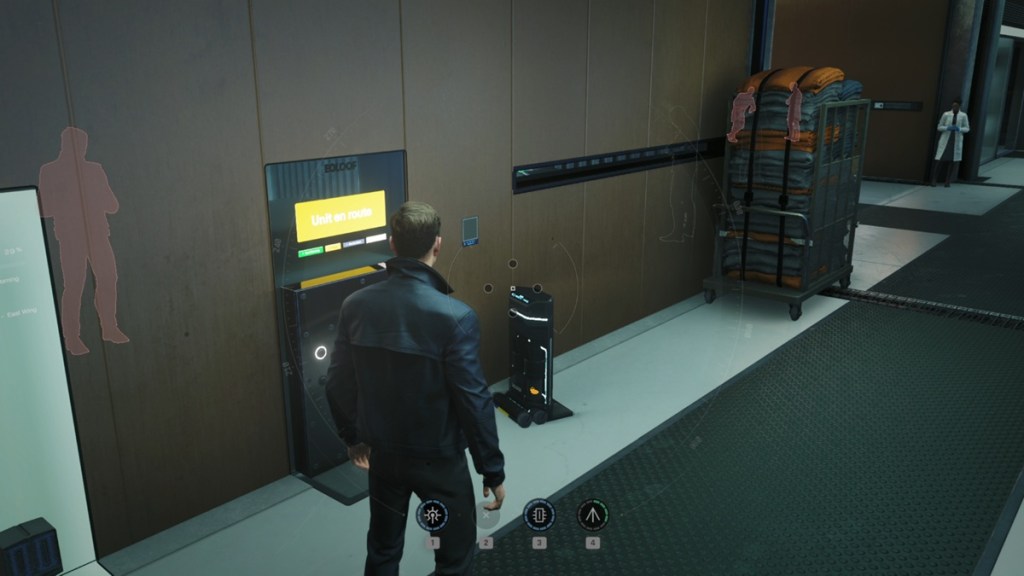
Image Credit: IO Interactive A/S (screenshot by Sanmay/ Beebom) 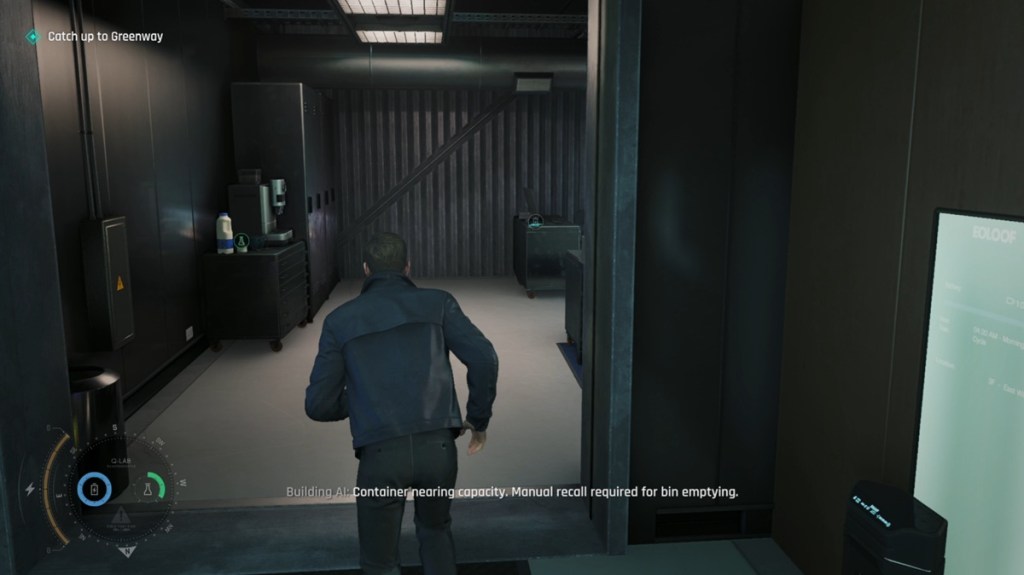
Image Credit: IO Interactive A/S (screenshot by Sanmay/ Beebom) 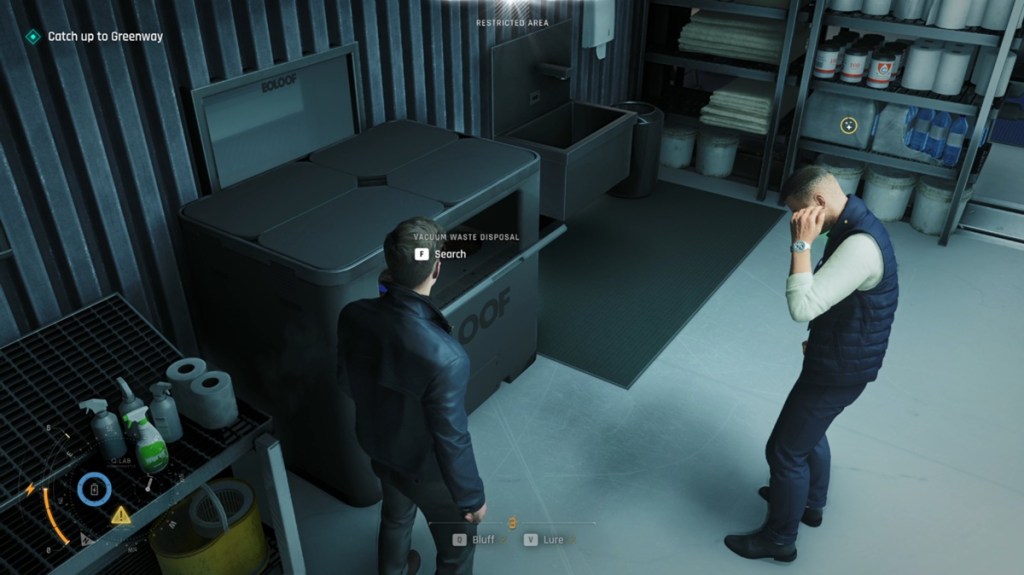
Image Credit: IO Interactive A/S (screenshot by Sanmay/ Beebom) 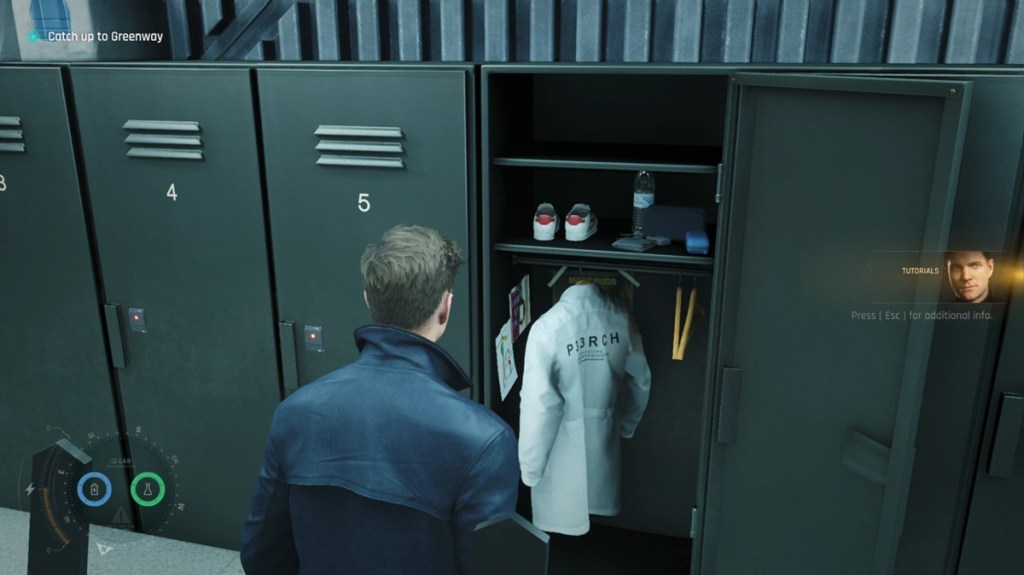
Image Credit: IO Interactive A/S (screenshot by Sanmay/ Beebom) 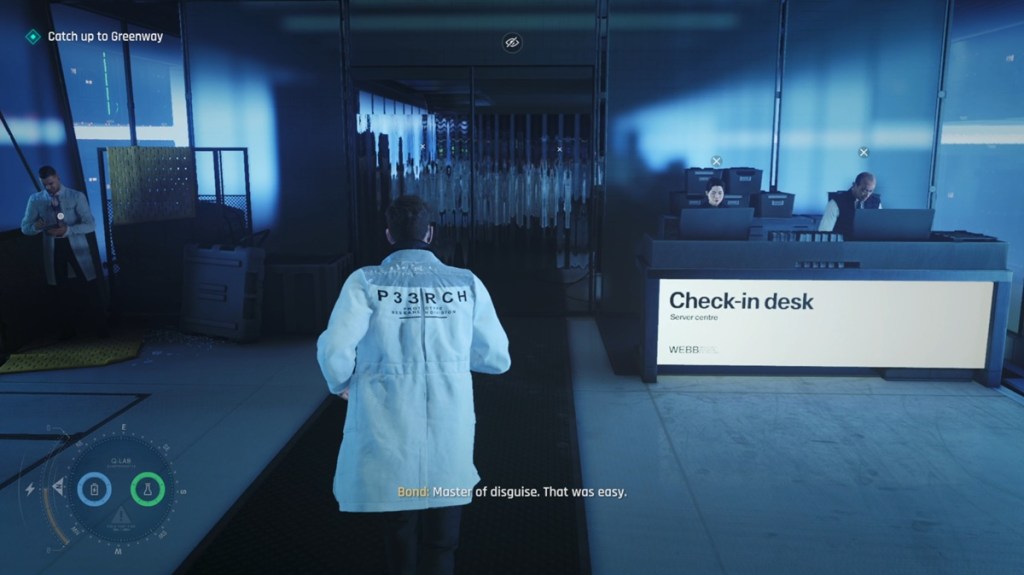
Image Credit: IO Interactive A/S (screenshot by Sanmay/ Beebom) 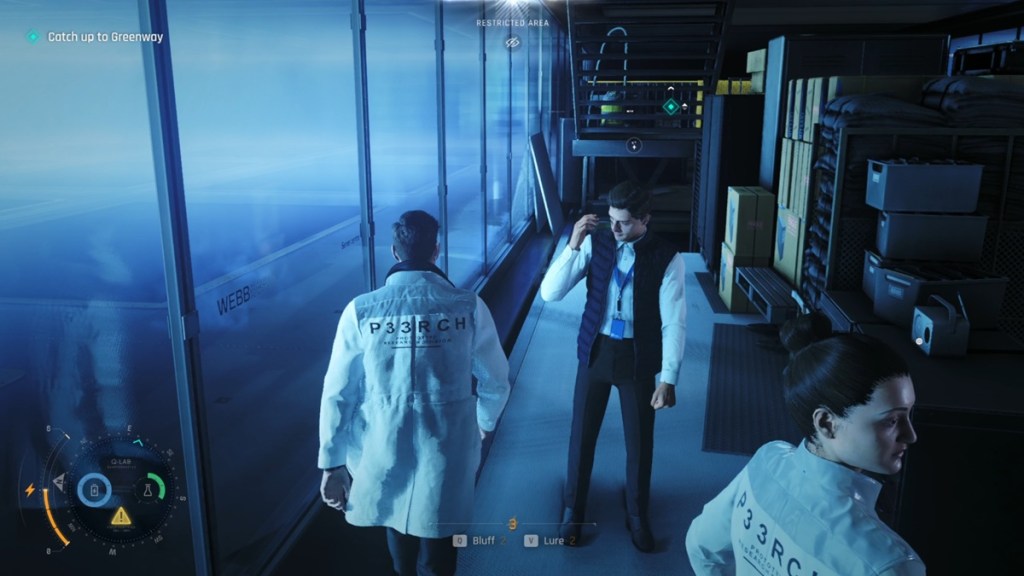
Image Credit: IO Interactive A/S (screenshot by Sanmay/ Beebom) 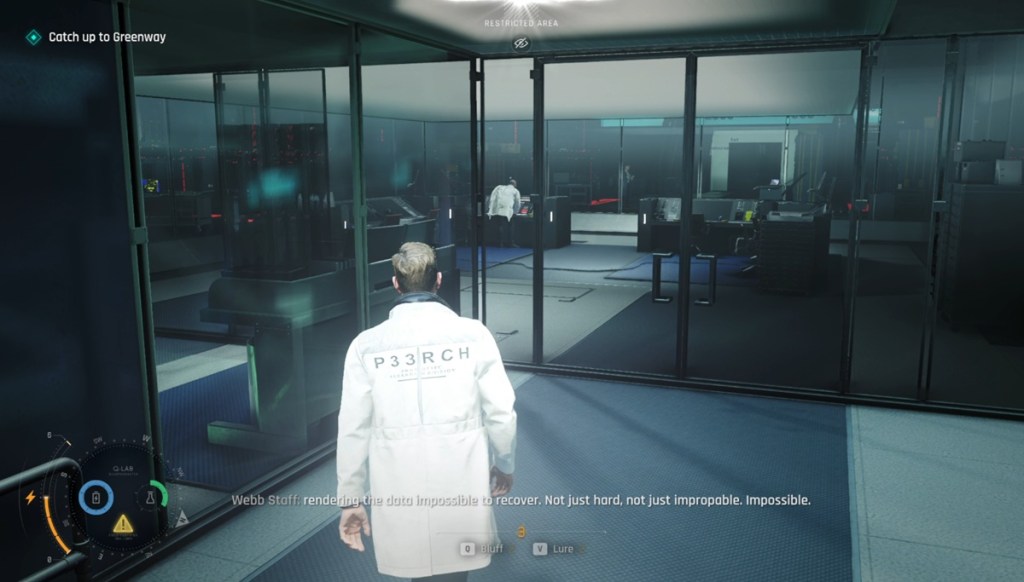
Image Credit: IO Interactive A/S (screenshot by Sanmay/ Beebom)
Part 8: Obtain Evidence
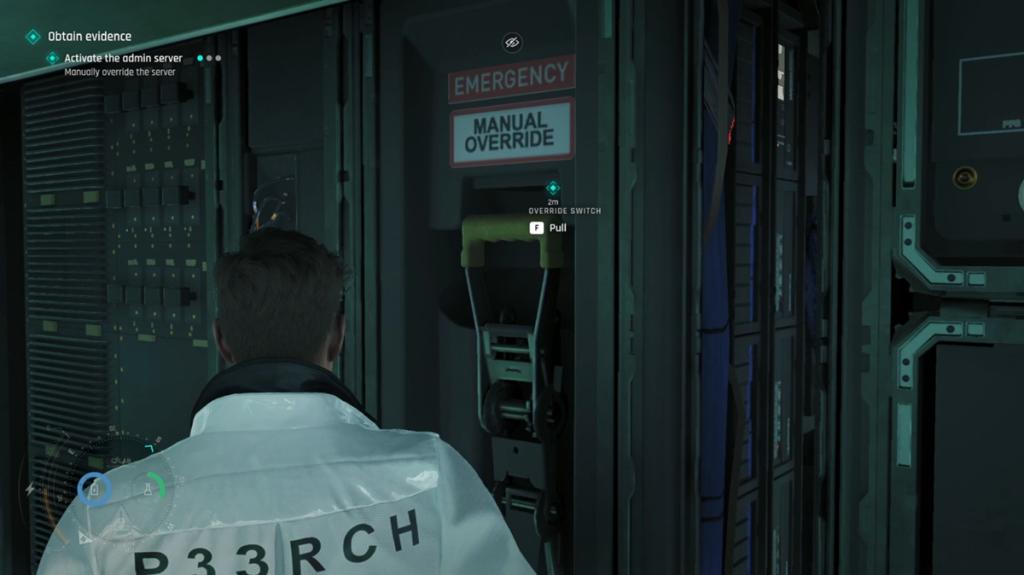
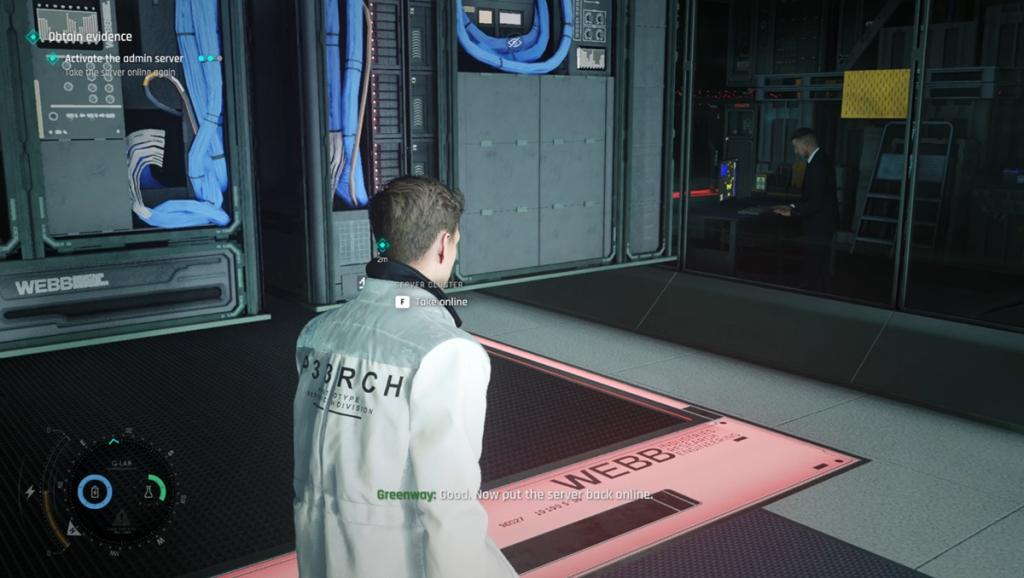
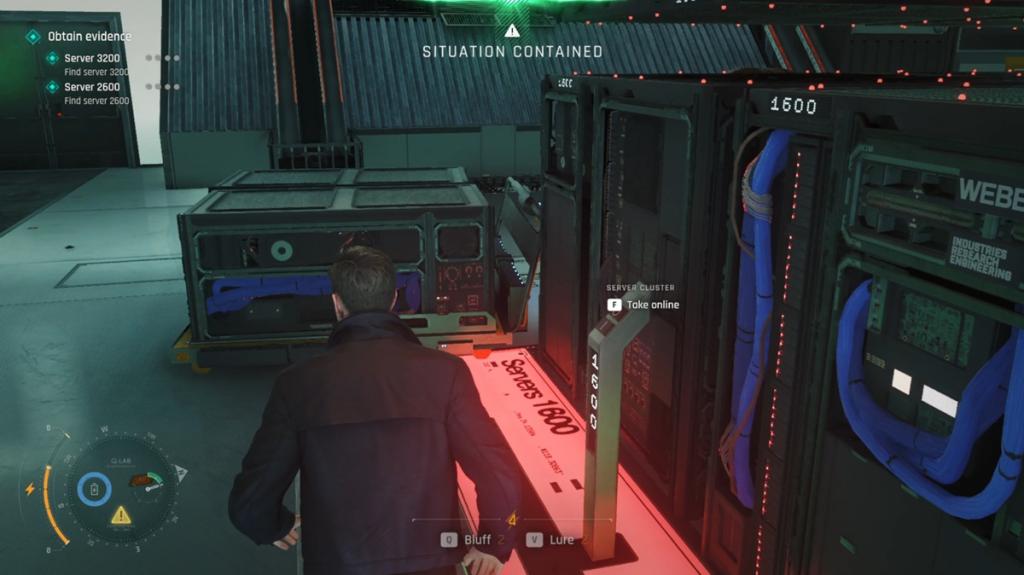
Greenway will ask you to activate the server. Once you do it in the other room, he will tell you to take it offline and manually activate it again. Now, you will have to do the same for the servers 3200, 2600, and 1100 in the other room. Defeat the guards near the servers, so that they don’t keep turning it off for you.
Part 9: Escape the Data Center and Reach the Flight Deck
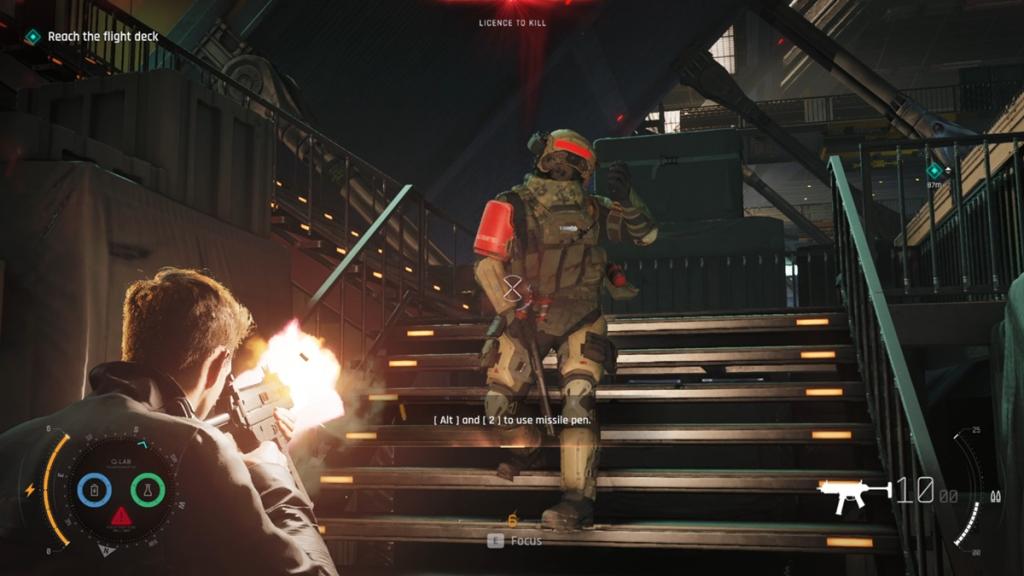
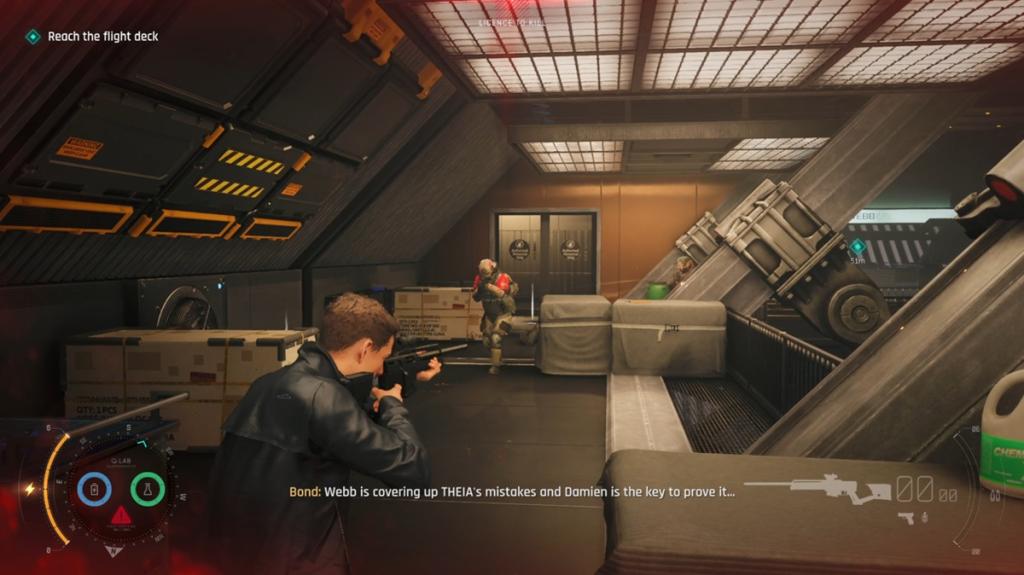
Now, you will have to escape the Data Center. First, use the Missile Pen gadget to open the vent. Go through the exit, and you will now have to reach the Flight Deck. This place will be crawling with enemies, so defeat them one by one as you go through.
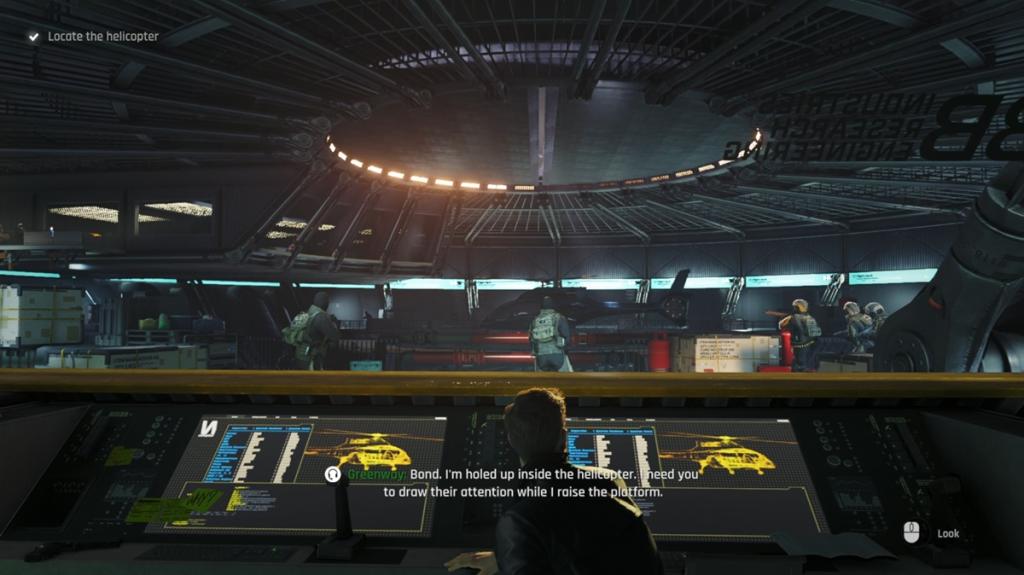
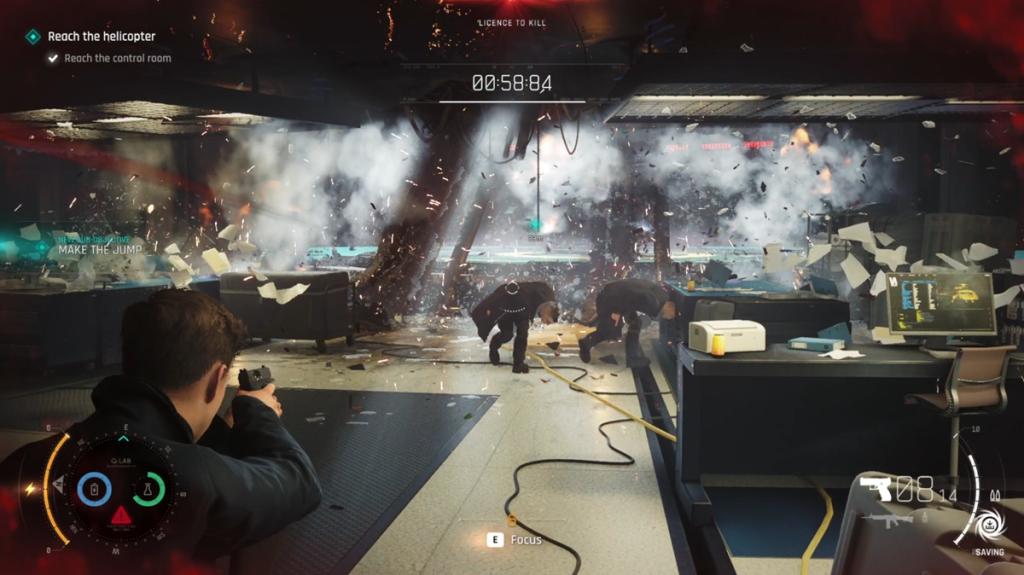
Eventually, you will reach the Flight Deck and find the helicopter. Run up the left stairs while defeating enemies, and then jump to the Helicopter to escape.
So, there you have it. This is the complete 007 First Light ‘Knightfall’ mission walkthrough. If you have any more questions, ask us in the comments section below.