The rsync command is a powerful and versatile tool designed for efficient file synchronization for your Linux environment. Whether you’re a system administrator, developer, or just a Linux enthusiast, harnessing the capabilities of the rsync command can improve your workflow to a great extent. In this article, we walk you through some practical examples of how to use the rsync command in Linux.
How to Install rsync in Linux System
Before we discuss the examples of the rsync command in Linux, let us first learn how to install it. Use the command specific to your Linux distribution to install rsync:
- Debian-based systems:
sudo apt install rsync- CentO-based systems:
sudo yum install rsyncRsync Linux Command Syntax and Options
The simple syntax of the rsync command makes it an ideal choice for every type of user. The syntax to use the rsync command in Linux command is:
rsync <options> <source_directory> <destination_directory>In the above syntax, <source_directory> can be on a local system or a remote host. Similarly, the <destination_directory> can also be on a local system or a remote system. Some of the options to pair with the rsync command are:
| Option | Description |
|---|---|
| -z | Compresses file data before sending |
| -r | recursively searches for missing data in a directory |
| -a | switches to archive mode and includes all necessary options like, recursively, preserving file permissions, symbolic links, file ownership, and timestamps of the file |
| -v | delete files that don’t exist on the sender’s system |
| -delete | delete files that don’t exist on sender’s system |
Practical Examples of Rsync Command in Linux
With that out of the way, let us look at some examples of how to use the rsync command on your Linux systems.
1. Syncing Directories on a Local Filesystem
This scenario is one of the most common use cases for rsync. Suppose you have two duplicate folders on your system with some differences and you need to sync them after comparing them. You can use the rsync command as:
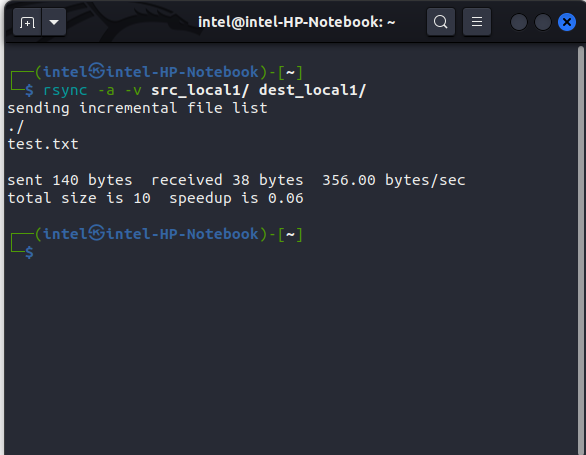
rsync <options> <source_directory> <destination_directory>For example, if you want to sync the source folder “src_local1” and the destination “dest_local1”:
rsync -a -v src_local1/ dest_local1/Note: If you need to preserve the permissions and ownership for the directory contents, use the -p (preserve permissions) and the -o (preserve owners).
2. Syncing a File on a Local Filesystem
Much like you can sync two directories, you can use the rsync command to sync individual files also. To sync a file use this syntax:
rsync <options> <source_file> <destination_file>For example, to sync a file named test.txt, use this command:
rsync -a -v src_local1/test.txt dest_local1/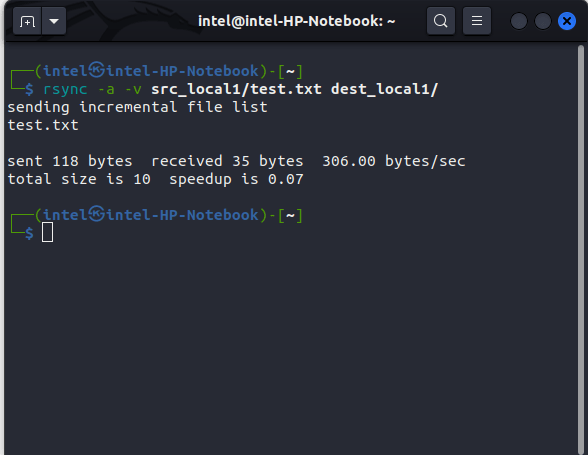
3. Sync Files and Directories from a Remote System to Local System
With the rsync command, you can even copy/sync with a remote system from your local system. Use this syntax to copy files from a remote system:
rsync <options> <remote_username>@<remote_system_ip_address>:<remote_directory> <local_directory>For example, if you need to transfer from the remote source directory named “src_remote” to the “dest_local”, use the command:
rsync -a -v root@45.79.126.148:~/src_remote1/ ~/dest_local/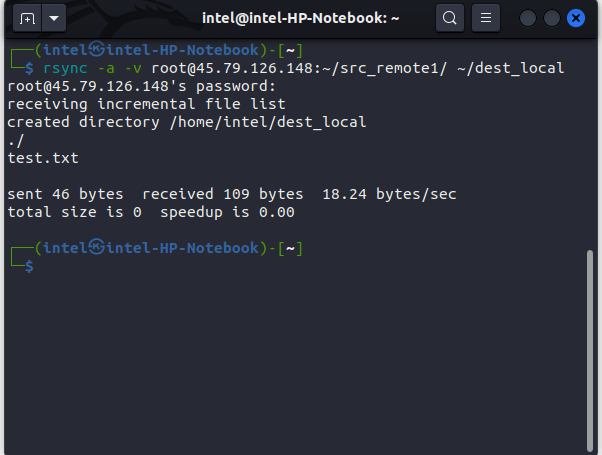
4. Sync Files and Directories from Local System to a Remote System
Just like you can copy files from a remote system to your local machine, you can also use the rsync command to sync files from your local system to a remote system to which you have access:
rsync <options> <local_source> <remote_username>@<remote_destination_ip>:<remote_destination_directory>For example, to copy the entire “src_local” local source directory to the “dest_remote” directory in the remote system, use this:
rsync -a -v ~/src_local1/ root@45.79.126.148:~/dest_remote1/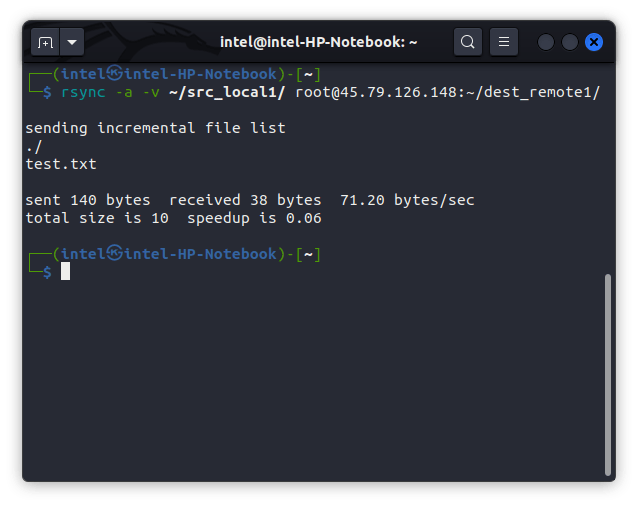
5. Remove Source Files After Sync
If you need to remove the source files after syncing them up with the destination, add the –remove-source-files flag like:
rsync <options> --remove-source-files <source_file> <destination_file>For example, to delete the old backup of the file “test.txt” after you are done copying from the local machine to the remote system:
rsync -a --remove-source-files ~/src_local1/test.txt root@45.79.126.148:~/dest_local1/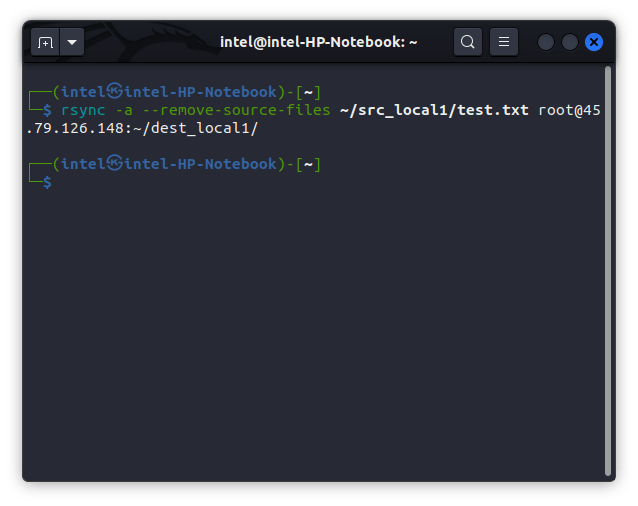
6. Exclude or Include Only Certain Files/Directories from Copying/Syncing with Rsync
To exclude specific files/directories for rsync from synchronization, use the –exclude flag like:
rsync <options> --exclude="<pattern_to_exclude>" <source> <destination>And to include certain file types with the rsync command, use the –include flag like:
rsync <options> --include="<pattern_to_include>" <source> <destination>For example, to exclude all .txt files and include all .py files inside the src_local1 directory:
rsync -a -v --exclude=*.txt --include=*.py ~/src_local1/ root@45.79.126.148:~/dest_local1/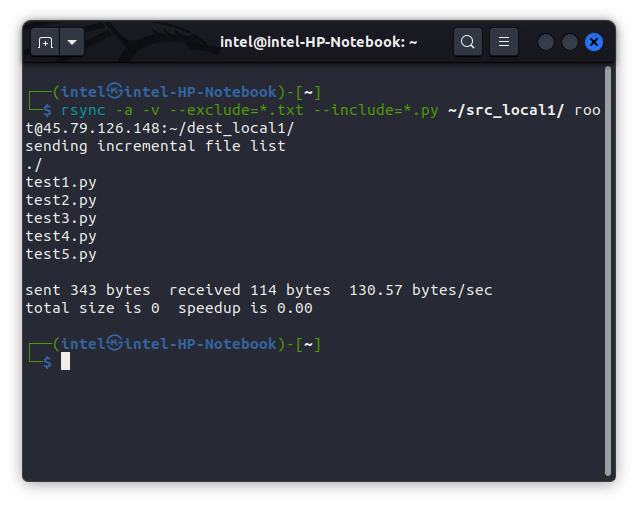
7. Set File Size Limit for Syncing
You can even limit the maximum file size which the rsync command can be allowed to transfer using the –max-size flag:
rsync <options> --max-size='<size_limit' <source> <destination>For example, if you need to set the file size limit for copying to 1GB:
rsync -a -v --max-size='1G' ~/src_local1/ ~/dest_local1/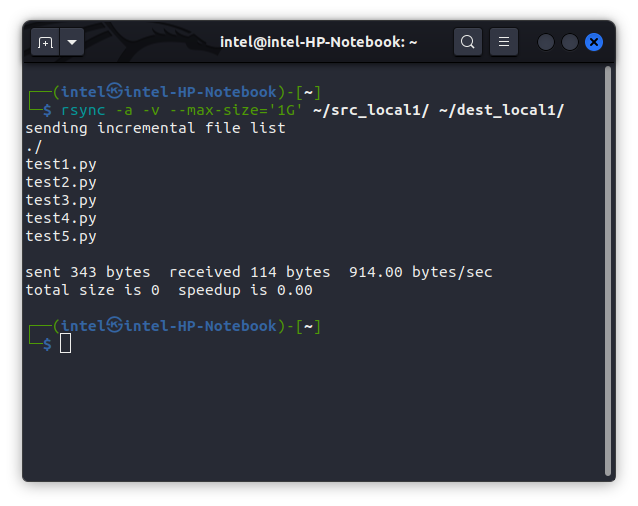
8. Set Bandwidth Limit for Syncing
If you are in a network where you have constraints on network speeds, you can use the –bwlimit flag with the rsync command. Be sure to set the bandwidth in kbps with this syntax:
rsync <options> --bwlimit=<bandwith_limit> <source> <destination>For example, to set the bandwidth to 100kbps you can use the rsync command as:
rsync -a -v --bwlimit='100' ~/src_local1/ ~/dest_local1/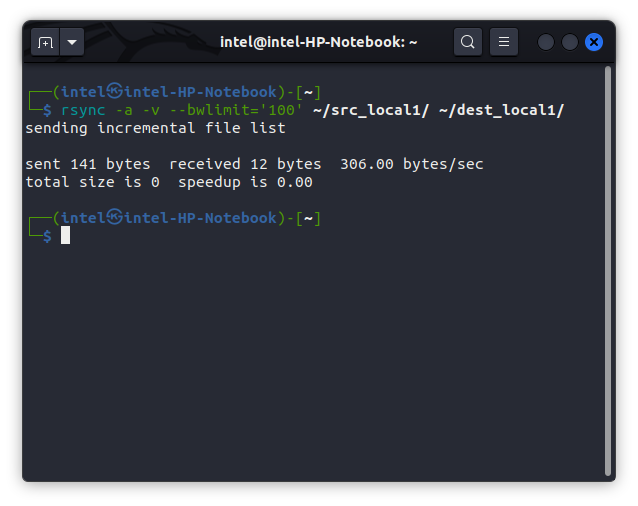
9. Compress Data and Copy to The Destination
Sometimes you are in a poor network and need to send data from your system to a different destination machine, you can compress the data and then send it. This will ensure the overall data transferred is low which can work even at slow speeds. To compress the data, use the -z flag with the rsync Linux command:
rsync <options> -z <source> <destination>For example, to compress the file test.txt and send it to a remote destination directory ~/dest_remote1/:
rsync -a -v -z ~/src_local1/test.txt root@45.79.126.148:~/dest_remote1/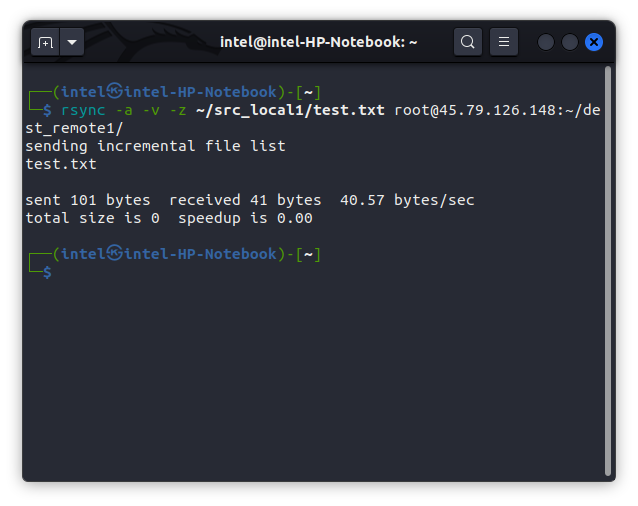
Note: Do not use the -z flag when transferring files in a local system which can make the whole operation very slow.
10. Display the Current Progress of the Transfer
Sometimes while transferring large files using the rsync Linux command, all you can see is a blinking cursor which gives you no idea of what is actually going on. To show a progress bar of the current transfer taking place, use the –progress flag with the rsync command:
rsync -a --progress ~/src_local1/ ~/dest_local1/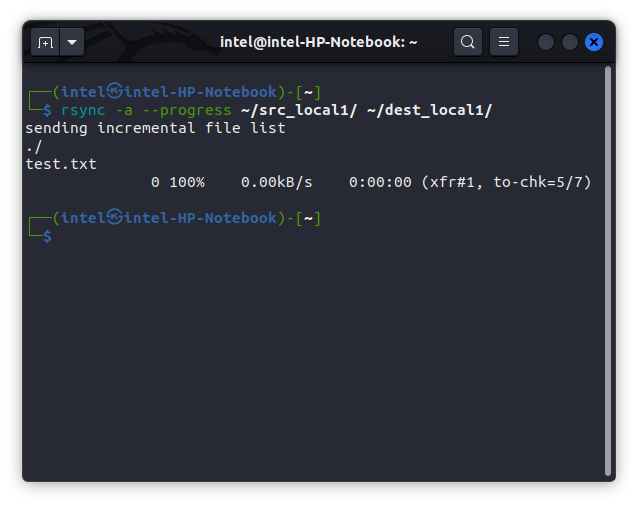
Rsync Linux Command not working? How to Fix!
It is frustrating when you need to transfer some files with the rsync command and are faced with some errors. Well, here are some common troubleshooting tips to fix the rsync command not working issue:
1. rsync Command Not Found
At times, you could face the rsync command not found error on Linux systems. This could be due to a wrongly installed rsync package, so make sure your Linux system has rsync installed. If not, use the appropriate command to install the rsync package on your distro.
2. Permission Denied
Generally, this error arises when you try to write to a directory where you do not have write permissions. Check out our extensive guide on Permissions in Linux.
3. rsync Failed to Set Times on
This type of error arises when the modification time for files and directories is different on both the source and destination machines. This leads to a conflict of modification times and ultimately to the error.