- ChromeOS comes built-in with a couple of screen recording utilities.
- While the default screen capture utility only records your screen, Screencast can record your face with annotation capabilities.
- If you want to screen record with the audio from your Chromebook, you can use the Screenshot & Screen Recorder extension.
Among other things like taking a screenshot or carrying out regular day-to-day tasks on your Chromebook, you might have to record a screen someday. Fortunately, Google’s built-in screenshot utility comes with screen recording capabilities. Not only that, but it also comes with a standalone app to make presenting easier. If you’re wondering how to use these tools, here’s how to record the screen on your Chromebook.
How to Screen Record on Chromebook Using Screen Capture
Chromebook’s screen capture utility comes with a built-in screen recording tool that’s extremely easy to use. Here’s where to find it.
- Click on the Time section at the bottom right to open ChromeOS’ Quick Settings and select Screen capture. You can also use Ctrl + Shift + Overview keyboard shortcut to launch the Screen capture overlay.

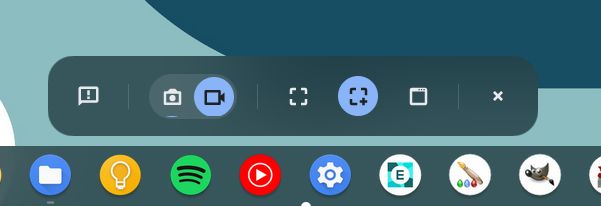
- From the bottom overlay that appears, click on the Video icon.
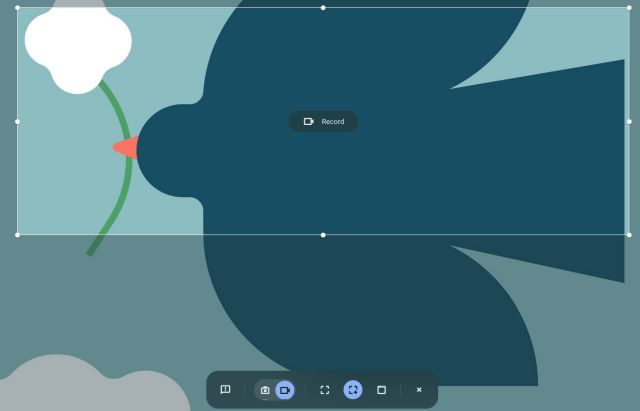
- Select the region you want to capture and click on the Record button in the middle.
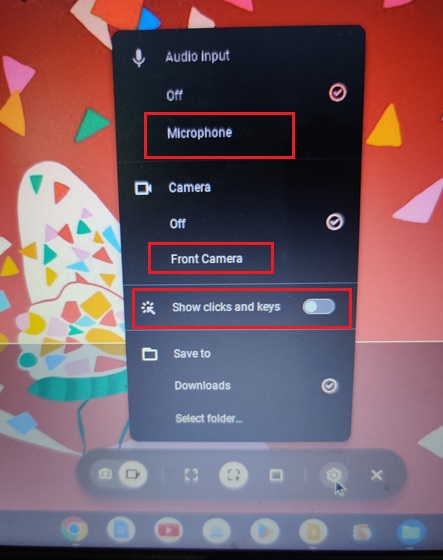
- The utility will start recording. Before you start, you can also click on cogwheel icon and select Microphone and Front Camera options to enable voice and video capture. Additionally, you can turn on the Show clicks and keys toggle.
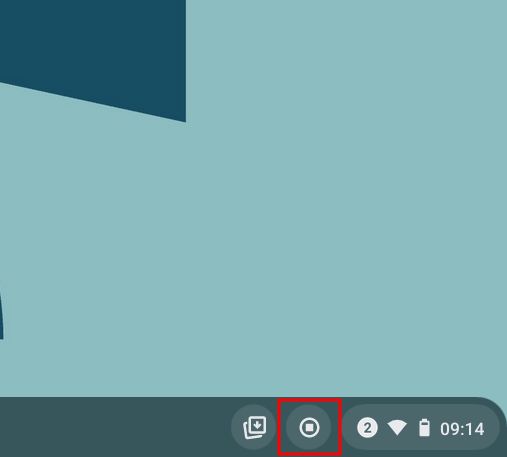
- To stop the screen recording, click on the Stop Recording button in the taskbar. The screen recording will then be stored in the Downloads folder.
It’s worth noting that the native Chromebook screen recorder does not record device audio internally. It records audio of whatever you are playing on your Chromebook via the microphone only. If you want to record the audio device internally, move to the last section.
How to Screen Record on Chromebook Using Screencast
Google added a standalone app in ChromeOS 103 called Screencast, which you can find in the app drawer. It is a tool that’s meant for teachers, to make it easier for them to record presentations. It allows annotation and can record your face in the screen recording. You can make engaging lessons and demos by recording your screen with Screencast on your Chromebook.
Besides, it also lets you generate a transcript, offer translations, and more. That said, it’s worth noting that Screencast works only if your device language is set to English (US). Here’s how to use it:
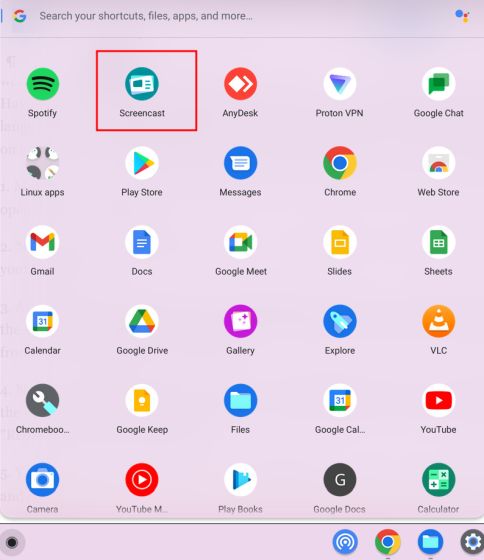
- Head over to the ChromeOS launcher and click on Screencast to launch the app.
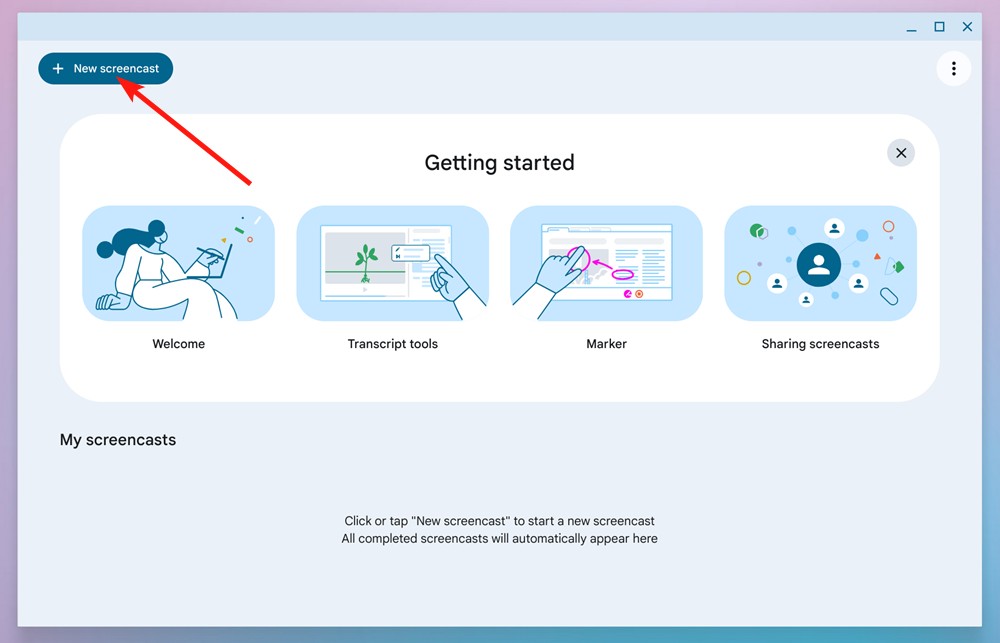
- Click on the + New screencast button from the top left to start recording.
- You can then choose between full-screen area, window, or partial area to start recording.
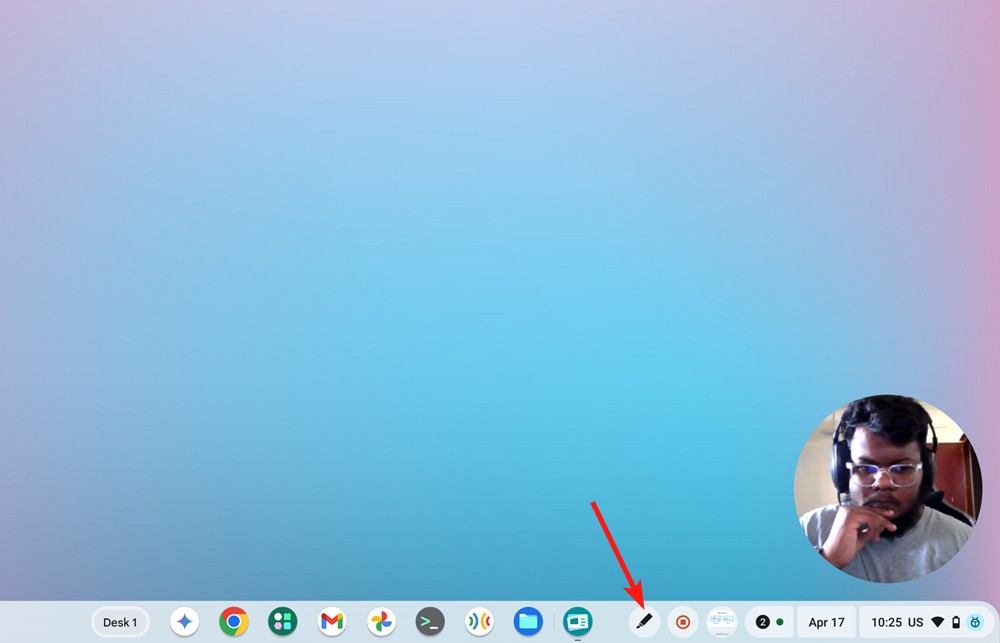
- You can click on the pen icon to start annotating, or drag the camera circle anywhere you want.
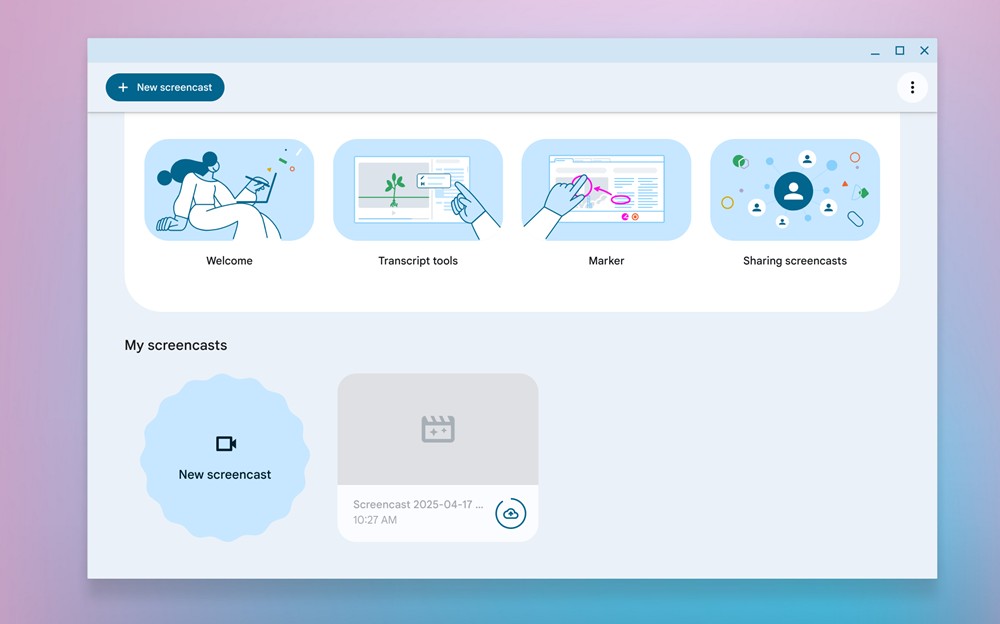
- The recordings will be saved. You can access all the videos and transcripts in the Screencast app.
How to Screen Record with Device Audio on Chromebook
If you wish to record the device audio on your Chromebook while recording the screen, Screenshot & Screen Recorder extension is a great tool. It’s one of the best Chrome extensions that lets you record the internal audio on Chromebooks. You also get advanced features like webcam view, audio recording from the mic, and more. Here is how it works:
- Install the Screenshot & Screen Recorder extension from the Chrome Web Store.
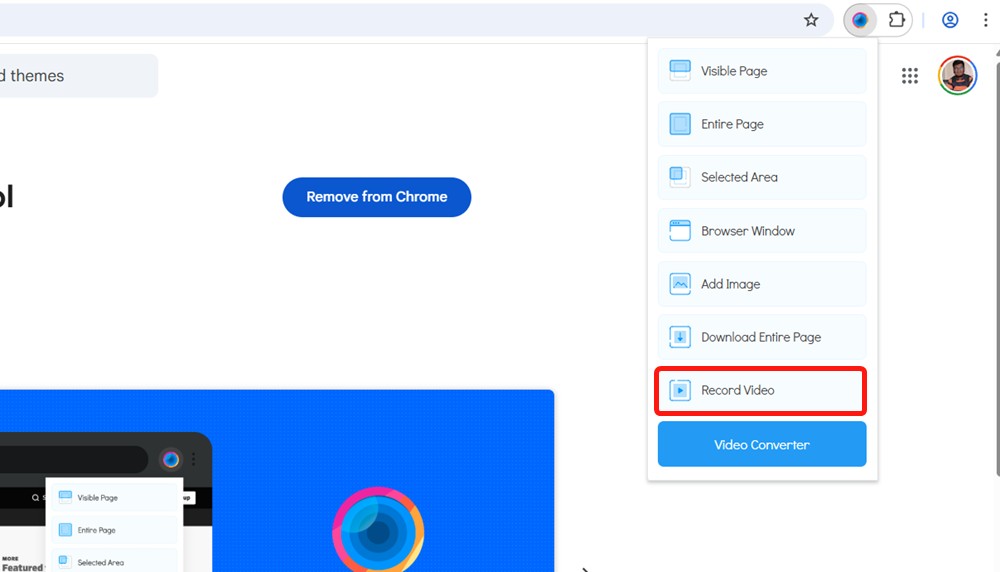
- Launch Screenshot & Screen Recorder Tool from the list of extensions and click on Record Video.
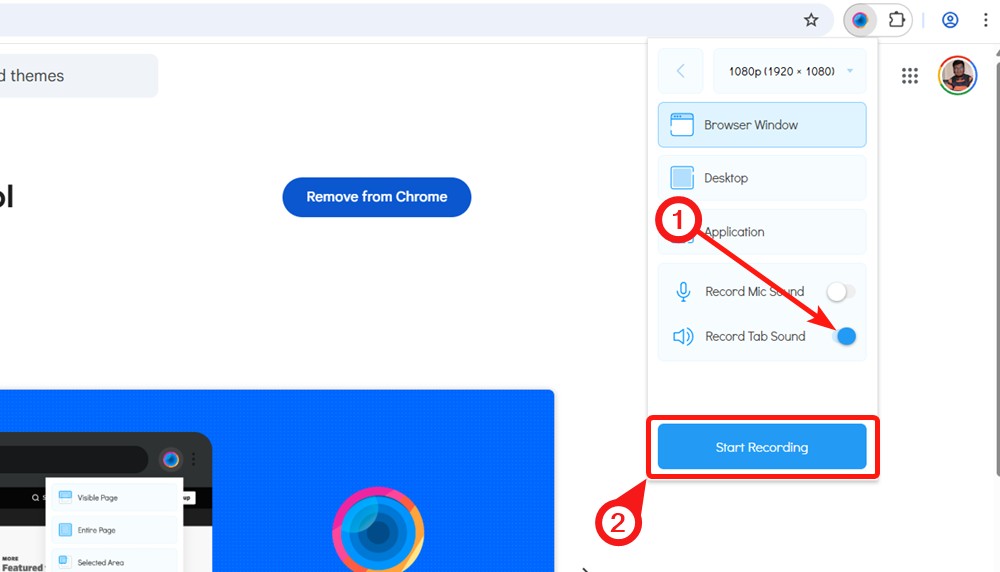
- Enable the Record Tab Sound toggle to record the sounds of your Chromebook.
- Lastly, click on Start Recording.
So these are the three easiest ways to record the screen on your Chromebook. While the basic Screen Capture feature is great, I would have loved it if the tool allowed me to choose the file format, as WEBM is not a friendly video format. And while the Screencast app is fantastic, a local download option would make it even better. ChromeOS’ app library has grown massively over the years, and you can choose from some of the best Chromebook apps that will increase your productivity.